That 5 lug conversion is hilarious, but I have to say its got me thinking....
I wish I had pics of the process, but if an explanation is not enough, this can be taken out.
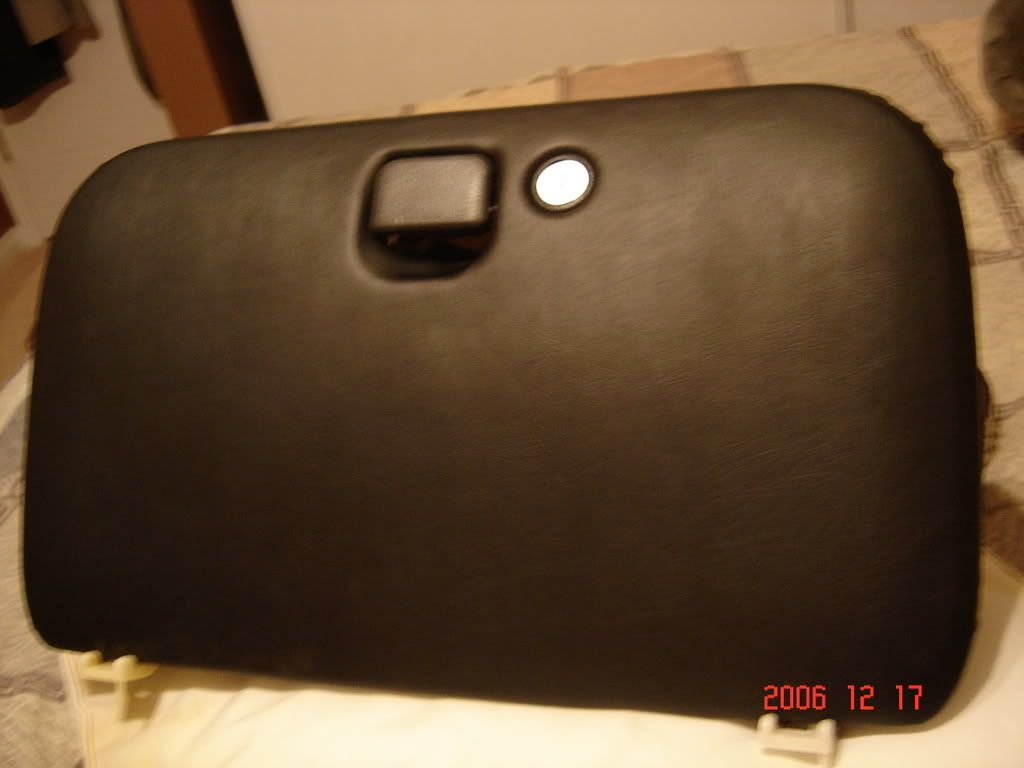
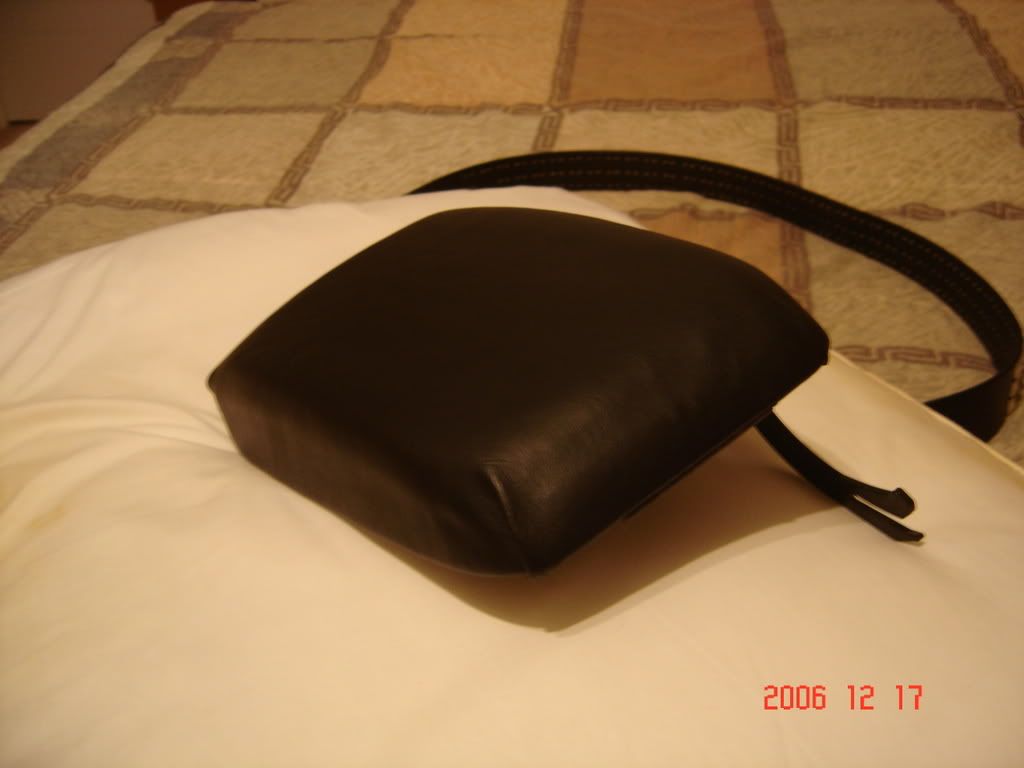
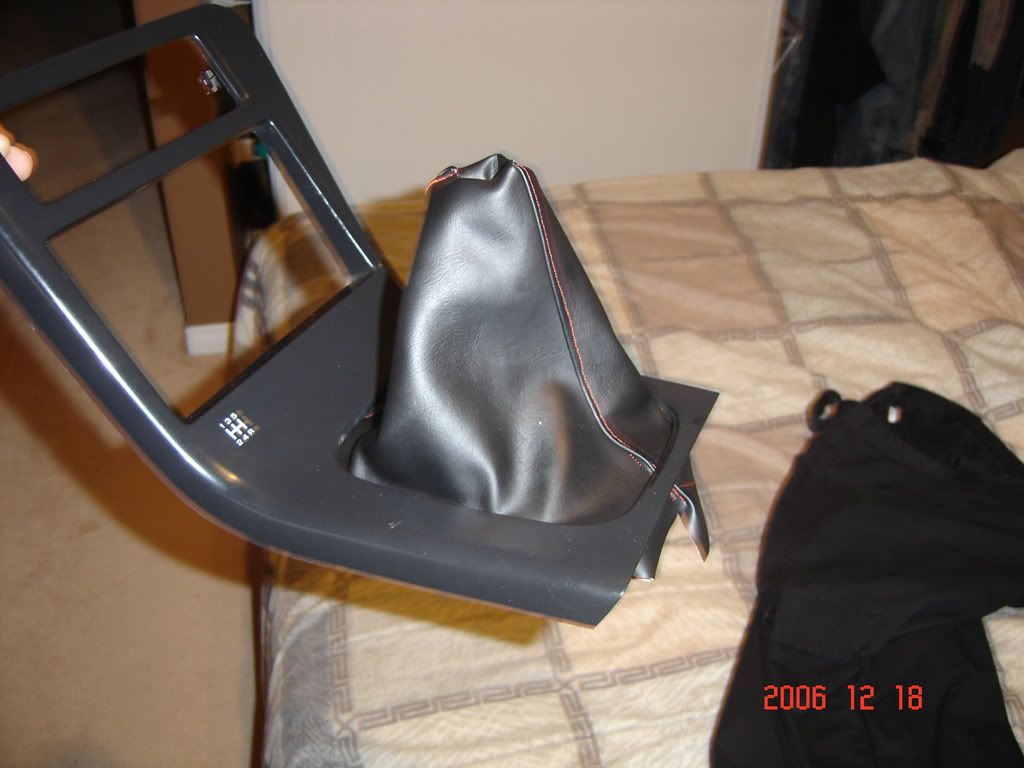
Custom p-leather wrapped glove box cover, cushioned arm rest, and shift boot.
The glove box is pretty simple, its just a matter of taking it all apart, ripping off the old tweet (I left the foam backing, however), applying some fabric glue and cutting and gluing to the back side. Then just put eveything back together and turns out like this
For the arm rest, I found some foam padding around my house that i stacked and glued together, taking care to make it slightly bigger than the arm rest itself for visual reasons once its covered.

Then its the same deal, spray on some fabric glue, put on your material, and start tucking / cutting / gluing on the backside. Once you're all done, screw that back piece on so it holds the frabric.

The next thing I did was sew up a shifter boot. I just took the old one apart by cutting the thread with an exacto knife, transfered the pattern onto my new material and cut away. Now for obvious reasons, you'll want to sew this upside down (two pieces of material facing in on each other). What I did to achieve a nicer seam is that I folded over the material like this.

And you end up with a seam looking like this (pardon my janky looking thread, it was my first time sewing)

Then invert it, put it all back together and it looks like this:
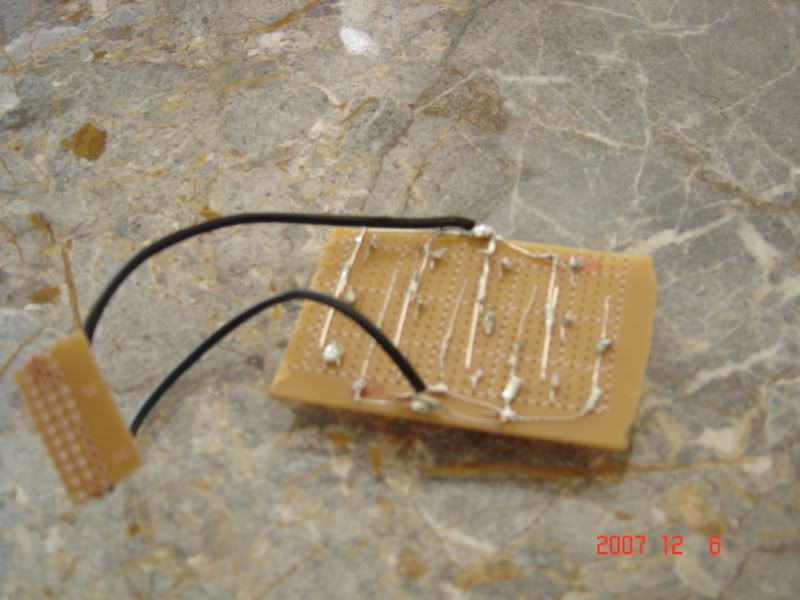
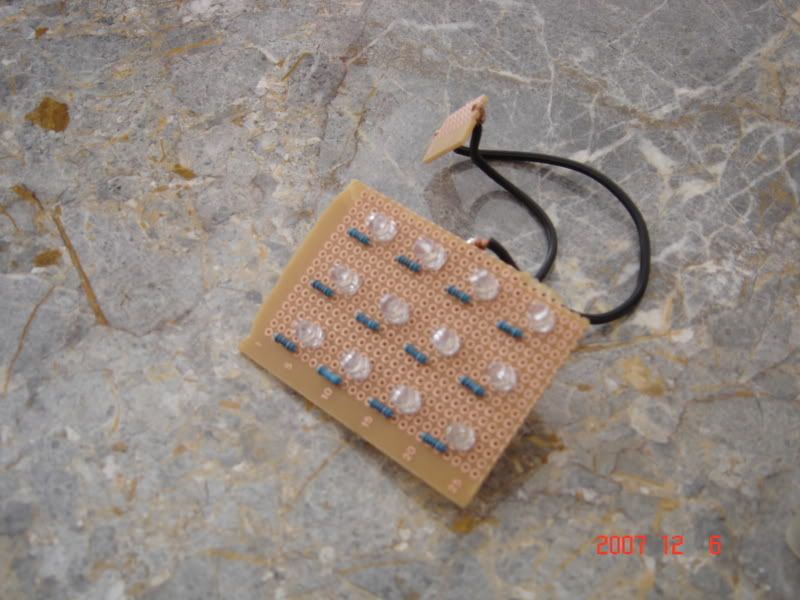
Another fun project was my LED foot/dome lights.
I bought some led's off ebay, they come in all sorts of different kinds (I'll let you do the research). Mine came with the appropriate resistors too. I bought some soldering iron, and this sort of backboard that you can put the LED's on.
Solder it all together and end up with:
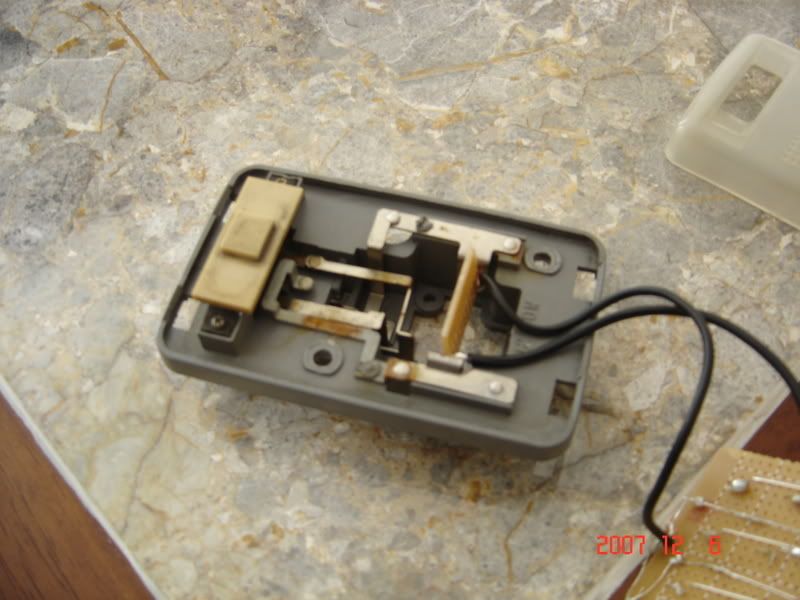
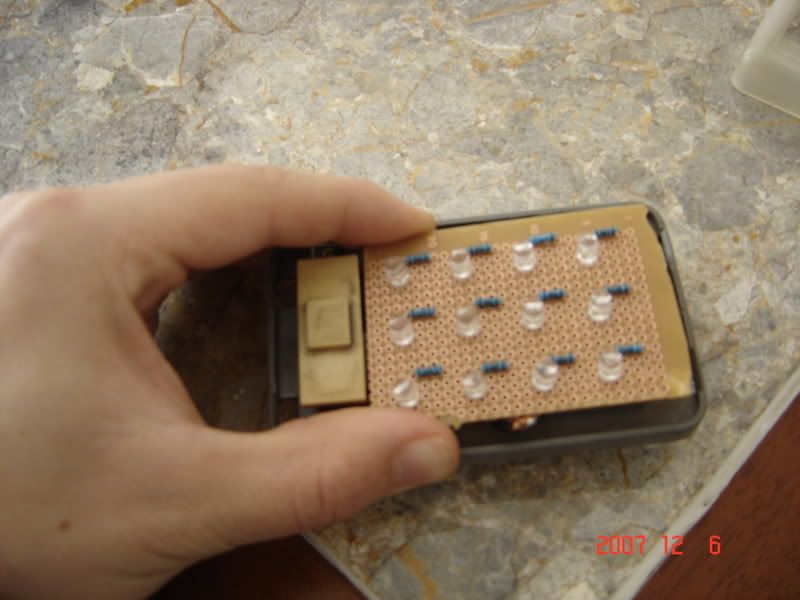
Foot light:

Dome light (pardon the tape, it was temporary.)

Now the camera shots dont give these justice. I thought they looked damn good, and they light up the interior nicely.