|
Post Whore!
Join Date: Jun 2006
Location: Simi Valley, CA
Age: 48
Posts: 2,642
|
HOW TO PAINT YOUR OWN RIDE for Under $300
I DO NOT OFFER THIS AS A SERVICE! PLEASE DO NOT PM ME ASKING TO SPRAY YOUR CAR!
INTRODUCTION:
This will not cover any body work or rust repair – you are on your own with that.
This process is based on using your original paint job as a base/prime coat to apply the new paint to.
This would mean that you do not have severe rust, chips, scratches, or dents. These items must be thoroughly prepped and primered before painting.
DO NOT FOOL YOURSELF - automotive paint will not cover any blemishes or imperfections in the surface. Some colors may show more than others, but dont think you can get away with leaving a dent or chip in the original paint.
WHATS NEEDED: (besides the materials list)
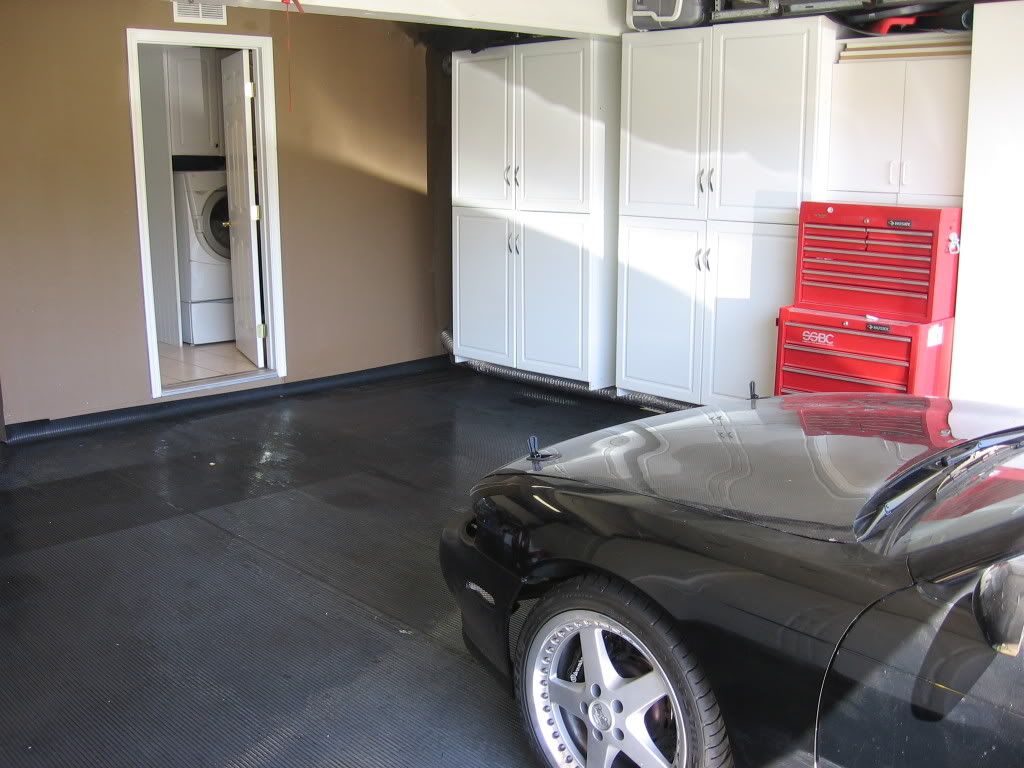
- Garage or workspace that’s large enough to fit your car. You need the ability to walk around your vehicle safely without your clothing or compressor hoses touching the car.
- A large enough area to also paint your bumpers and spoilers seperately, if not, then paint these pieces first.
- Air compressor (duh) - mine is 60gallon
 but most 20+ gallons would do fine. but most 20+ gallons would do fine.
- Air pressure regulator for the gun (if not included)
- A in-line dry filter or a brand new hose to make sure you don’t have any moisture in the air-feed.
- Long enough hose to get all the way around the car
- Ample lighting - you have to make sure you can see what your doing
- Jack and jack-stands
- Small table for paint & mixing equipment
- Tweezers (to remove particles and shit that lands on the painted surface, it is still a garage)
- Twine, wire, rope, or saw horses. Something to hang or hold your spoilers and bumpers. (Hanging the spoiler is recommended)
COUPLE THINGS YOU SHOULD KNOW:
- Automotive painting will definitely have toxic and noticeable fumes. Be careful to always use your respirator, and make sure you are clear of neighbors or other irritants
- The over-spray will get everywhere, so if you don’t want it painted - COVER IT.
- Wet the garage floor - a trade secret to make sure overspray does not stick
- To avoid foreign substances, keep the room closed off throughout the process.
- Avoid windy days.
- Ideal temperature would be 70 degrees with little to no humidity.
- Familiarize yourself with the new equipment, and with the materials.
- RTFM! That’s right folks, read those product labels for very valuable information on proper use.
- Read the solvents and paint mixes so you are prepared ahead of time.
- Set aside the entire day.
MATERIALS LIST:
Preparation Supplies: $63.00
- $ 6.56 = 600 GRIT WET/DRY 9x11 SANDING SHEETS (5-PACK) - Used to sand off that clear-coat
- $ 6.99 = LATEX GLOVES – so you DON’T touch the car with your bare hands
- $14.65 = 48” x 180’ 3M MASKING FILE (ROLL) - To wrap EVERYTHING you don’t want painted. CF hoods, windows, taping off the inside door-jams, wrapping your suspension components, etc.
or Home Depot has the same thing, same price
- $ 4.97 = SIMPLE GREEN DEGREASER to wash after wet-sand
Home Depot
- $ 2.96 = FLANNEL CLOTHS (or find Micro-fiber cloths) to wash and dry the car
Home Depot
- $ 6.97 = 2” BLUE PAINTERS TAPE ROLL - Great for taping off lights, windows, mirrors, and taping down the masking film
Home Depot
- $ 3.50 = EXACTO KNIFE or razor blade - Cutting the masking tape around lights, windows, etc.
Home Depot
- $ 9.67 = 6-PACK 1-MIL 9x12’ DROP CLOTHS- to cover the garage walls and door.
Home Depot
- $ 6.57 = DUCT TAPE - used to tape up the drop cloths (painters tape does not work for shit for this)
Automotive Paint and Painting Kit: $80-120:
SINGLE STAGE URETHANE FAST PAINT KIT – Click on 144 Factory Packed colors to see selection
Complete Ready-To-Spray 1-Gallon Kits include:
1-Gallon Urethane Color
1-Quart Urethane Hardener
1-Quart Reducer of Your Choice
5-EA Quality 190 Micron Nylon Automotive Strainers
5-EA Wooden Paint Mixing Sticks
Additional Painting Materials: $77.00
Grand total: under $300
THE PROCESS:
- Clean out the garage and remove anything that’s not bolted down (just easier this way)
NOTE: Good time to run the compressor and get it filled
- Prep, assemble, and connect your HVLP spray gun.
- Tape off the garage walls, cabinets, etc using the drop cloths and duct tape. You don’t need to do the ceiling or floor, just cover every exposed wall.
- Set up your table and get everything you need for the process layed out in front of you, yet out of the way of your painting process.
- “Mount” the HVLP gun holder to the table. Great suggestion, and not a lesson you want to learn the hard way - when you accidentally knock a full paint gun of the stand or table

NOTE: Use your latex gloves from now on
- Wash your car as you usually do (or maybe better than usual)
- Remove your bumpers and spoilers (definitely easier, and a must if you are doing a color change)
- Remove headlights, taillights, mirrors, door panels, etc (or just tape them off later in process)
- Wet-sand the car, bumpers, and spoilers. Sand every surface you intend to paint, and remember that your just removing the clear coat and providing yourself with a “rough” surface to apply the paint to.
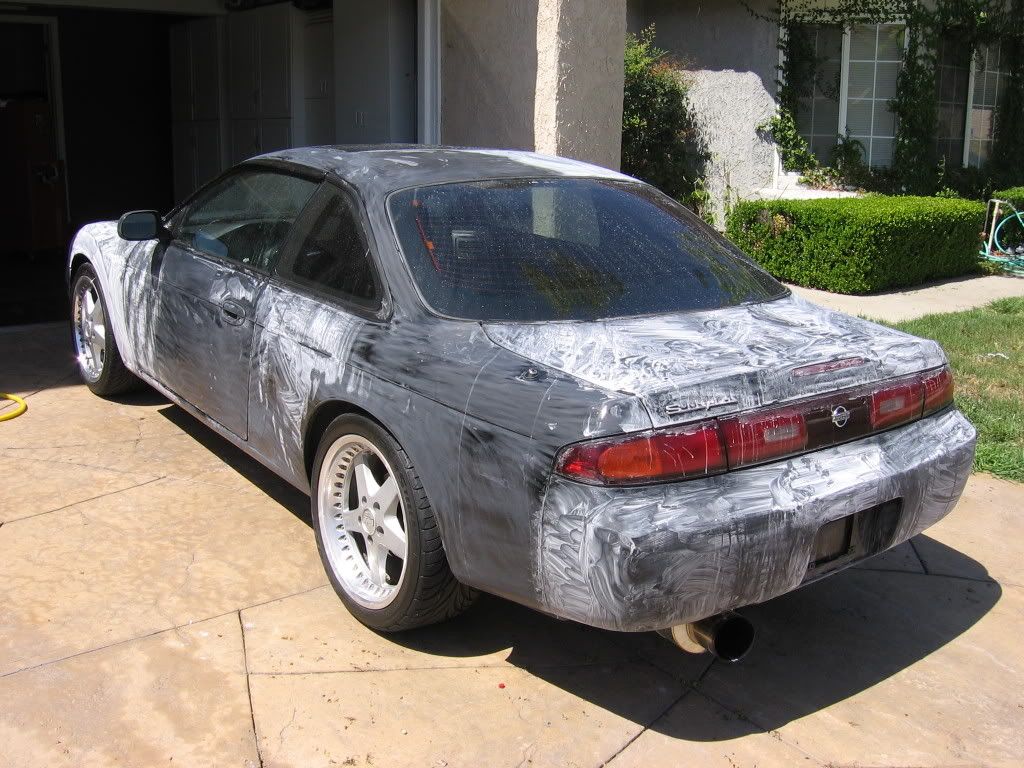
- Wash the car & parts once again using the degreaser and flannel cloths (these are tacky and great for removing everything from the surface)
- Dry the car and parts with the additional flannel cloths
- Using the blue painters tape and 3M masking film, tape off any items you didn’t remove, all windows, and all other surfaces that you don’t wish to paint.
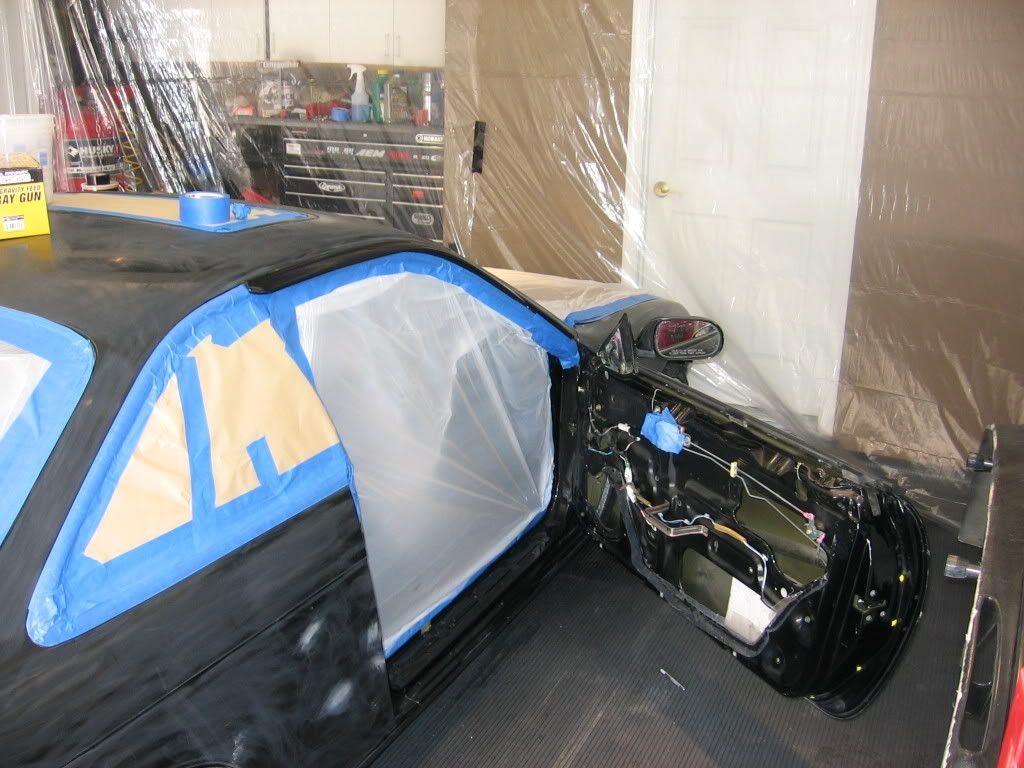
- Now pull your car into the garage
- Jack up the car and remove the wheels
- Use the 3M masking film and wrap your suspension components, taping off anything else exposed.
- Clean and wet down the garage floor (wetting is optional)
- Close off the garage
- Lay out or hang your bumpers and/or spoilers.
NOTE: For hanging your spoiler, best thing to do is to place a bolt into one of the threaded holes and tie it off. Just make sure they are hung out of the way.
NOTE: If you do not have any room for the bumpers and spoilers, then just paint these items separately, but paint them first. This will only you to practice your technique, and you wont have to wait until the car is dry enough to get it out of the way.
- Wipe down the car one final time, with a clean flannel cloth.
- Make sure all drop cloths are secure
- Get yourself prepared for painting – Paint suit, gloves, respirator, goggles.
Mixing the paint: Mix your first batch of paint, and only mix a single quart at a time.
Reading the solvent and paint labels to see how long each mixed batch of paint will last.
Use the graduated mixing cups to follow the exact mixing ratios.
Be sure to stir each item together as you are mixing.
Using the cone paper-filter, poor the paint into the gun cup. (this is where the paint gun stand comes in very handy) Test pattern: Spray a test pattern at one of your drop cloths, and adjust the gun nozzle as necessary (refer to the gun’s instructions). This is to make sure there is a consistent flow.
The pattern should resemble a vertical cigar shape and NOT look like the Imperial Deathstar. Painting Technique: There are many references on the Internet, but here is one that I found helpful. Explaining it myself would take 6 more pages.
http://www.autobody101.com/articles/...e=Gun%20Travel Basic steps to follow: - Top down. Like the writeup say, do the roof, hood, trunk first, then to to each side of the vehicle starting from the top down.
- Start to spray well before you reach the vehicles surface, and end the spray well after the vehicles surface. Starting or finishing while directly pointing at the vehicle will cause paint build-up and runs.
- Overlap each spray pattern. I basicaly overlaped each row about 30%.
- Do one side of the vehicle at a time. Don’t go round, and round, and round the car thinking you have to do each layer exactly the same.
- Do not apply heavy coats. Just apply even and consistent applications with each coat.
- Pull that gun trigger! All the way in, all the way out. No half-ass pulls or releases.
- Compressor out of air? Dont forget to wait for that compressor to fill up. The car isnt gonna dry before you can continue to apply the paint, but do stop between panels to allow it to fill back up.
Flash time and applying additional coats This should be listed on the paint/solvent labels, and will also vary by paint kit.
The Urethane FAST kit has like a 15-min flash time. This means that by the time your done with the coat, and then have that second batch mixed up, your ready to go again!
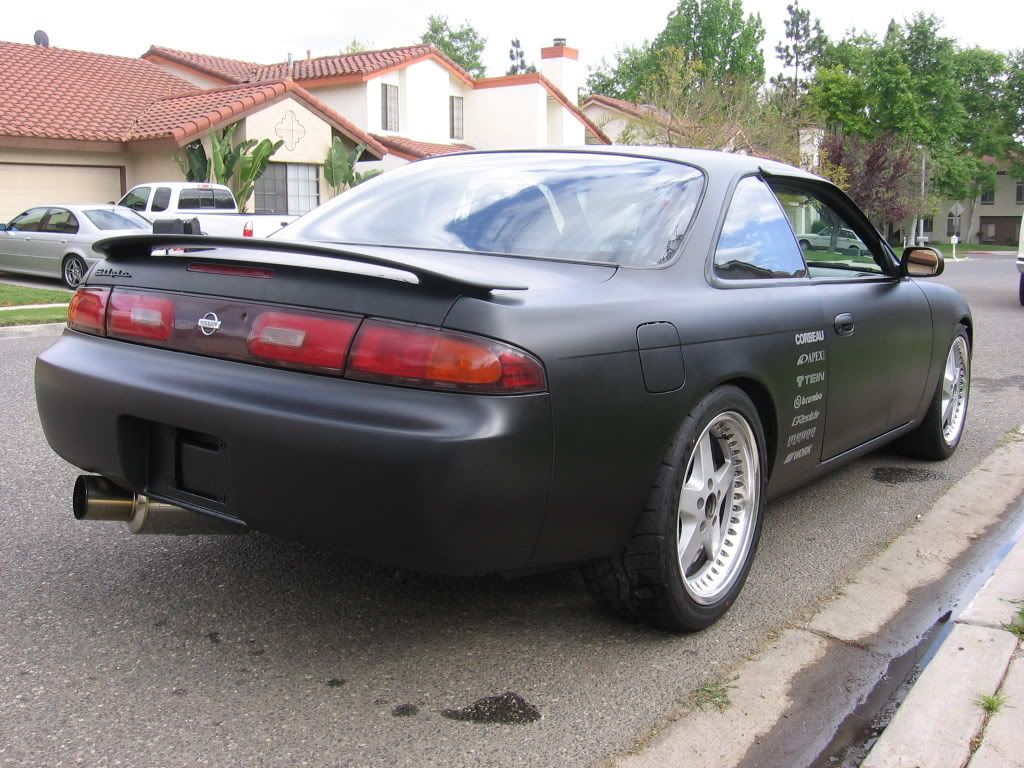
Run razors and tweezers will come in handy when you have pesky runs or foreign objects that float onto the vehicle. Careful to follow directions with the razors, and you should know what to do with those tweezers. Final curing time, For color wet/sanding, buffing, and care, read the instructions listed on the paint product. Final step: Take some pics and share with your fellow Zilvian’s.
(However, you should prepare yourself for the fact that no one will like your color choice  ) ) 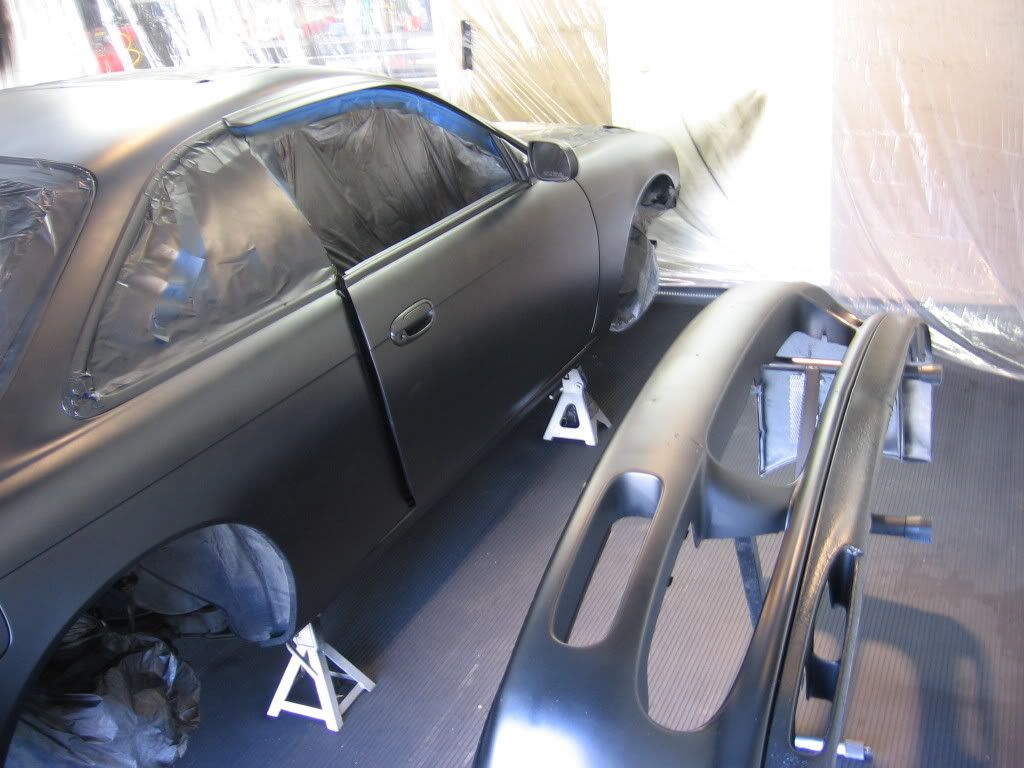
|