|
Zilvia FREAK!
Join Date: Feb 2007
Location: Southern CA
Posts: 1,190
|
Lee's Garage S13 Hatch (Grip/Daily Build)
Post number 1 is a culmination of post's that got ruined with photobucket's money grab so I just posted everything here with updated photo links (thanks Flickr). Scroll to page two and we'll pick up current info there. You can also follow the build on Instagram @Lees_Garage or YouTube "Lee's Garage". Thanks for following guys, I love sharing this stuff, especially on the forums (old man, I know......)!
Hey everyone! My name is Randy, and I like playing withcars. Lol. I’ve owned 5 S-Chassis prior to the two I used for this build, and seem to be a glutton for punishment. Let’s get into the fun stuff.
 image_zps4zbwewdbby randalllee06, onFlickr image_zps4zbwewdbby randalllee06, onFlickr
 image_zpsfpumbrbuby randalllee06, onFlickr
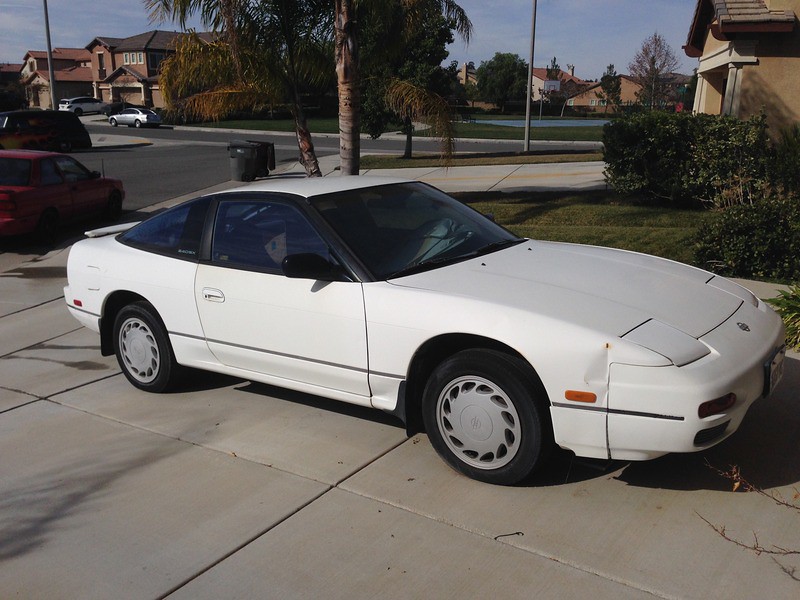
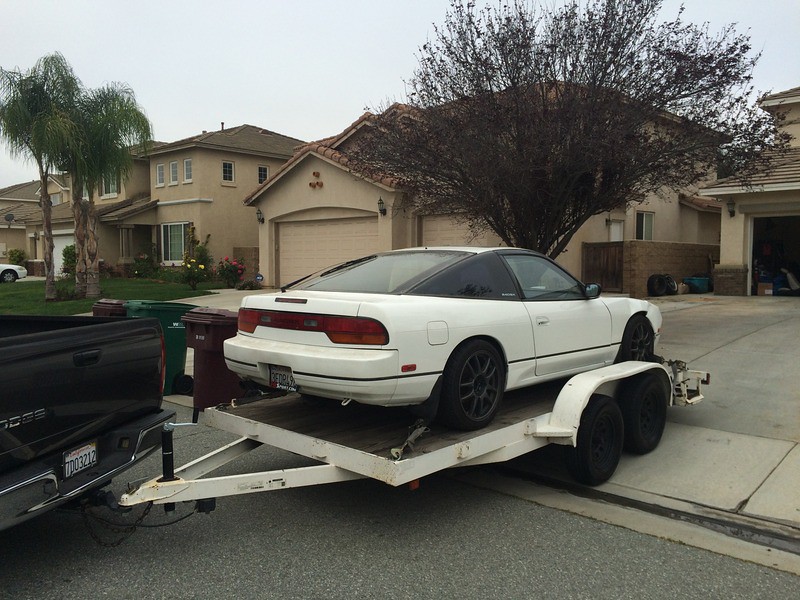
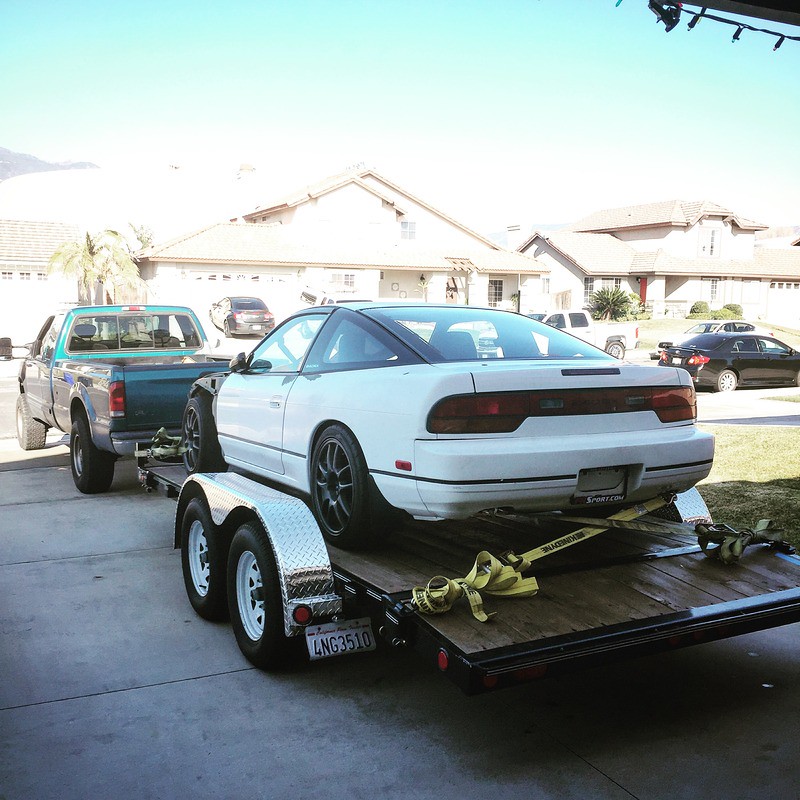
I was browsing craigslist when I stumbled upon a clean S13 fastback for what I thought was a killer price. Called the owner, and found out it was an original owner car with a couple bent valves. AAA was towing it home for me the next morning. image_zpsfpumbrbuby randalllee06, onFlickr
I was browsing craigslist when I stumbled upon a clean S13 fastback for what I thought was a killer price. Called the owner, and found out it was an original owner car with a couple bent valves. AAA was towing it home for me the next morning.
 image_zpsquadskdqby randalllee06, onFlickr
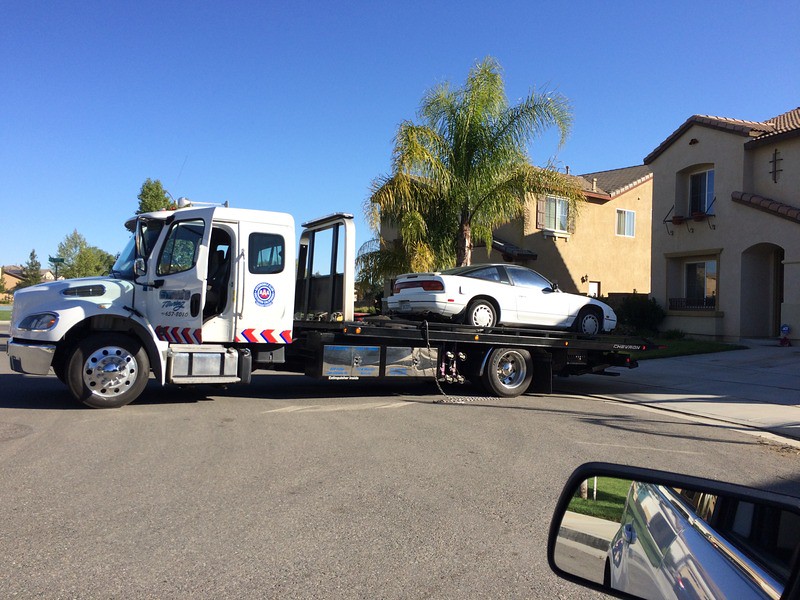
Excited to once again own a S-Chassis, I hit the forums looking for parts to get this thing back on the road. I found a Zilvia member selling his recently wrecked car with loads of goodies. I was towing that home the very next day. image_zpsquadskdqby randalllee06, onFlickr
Excited to once again own a S-Chassis, I hit the forums looking for parts to get this thing back on the road. I found a Zilvia member selling his recently wrecked car with loads of goodies. I was towing that home the very next day.
 3DFA3C9C-3A8A-4FFB-9B7F-3217A1CE5D5C_zpsaqviwhlnby randalllee06, onFlickr 3DFA3C9C-3A8A-4FFB-9B7F-3217A1CE5D5C_zpsaqviwhlnby randalllee06, onFlickr
 BC6086F9-2377-4CC6-8919-2050D199681E_zpsonayknyfby randalllee06, onFlickr
Lots of work followed……. BC6086F9-2377-4CC6-8919-2050D199681E_zpsonayknyfby randalllee06, onFlickr
Lots of work followed…….
 D53521E4-55FE-4370-BD39-F0B4E8847F90_zpsx3bmgxr9by randalllee06, onFlickr
and I ended up with this (headed to the junkyard (I know I know, I should've kept it!))…… D53521E4-55FE-4370-BD39-F0B4E8847F90_zpsx3bmgxr9by randalllee06, onFlickr
and I ended up with this (headed to the junkyard (I know I know, I should've kept it!))……
 C274B25E-517B-42C2-90B5-AAE5FE7EBCD4_zps4yu5kgeoby randalllee06, onFlickr
and this. C274B25E-517B-42C2-90B5-AAE5FE7EBCD4_zps4yu5kgeoby randalllee06, onFlickr
and this.
 22BAD44A-02AB-412E-A08E-5DBC693090E2_zpskg25r6naby randalllee06, onFlickr 22BAD44A-02AB-412E-A08E-5DBC693090E2_zpskg25r6naby randalllee06, onFlickr
 CB942617-53EB-4605-93E0-0C3CC676B918_zpsol5yk46kby randalllee06, onFlickr
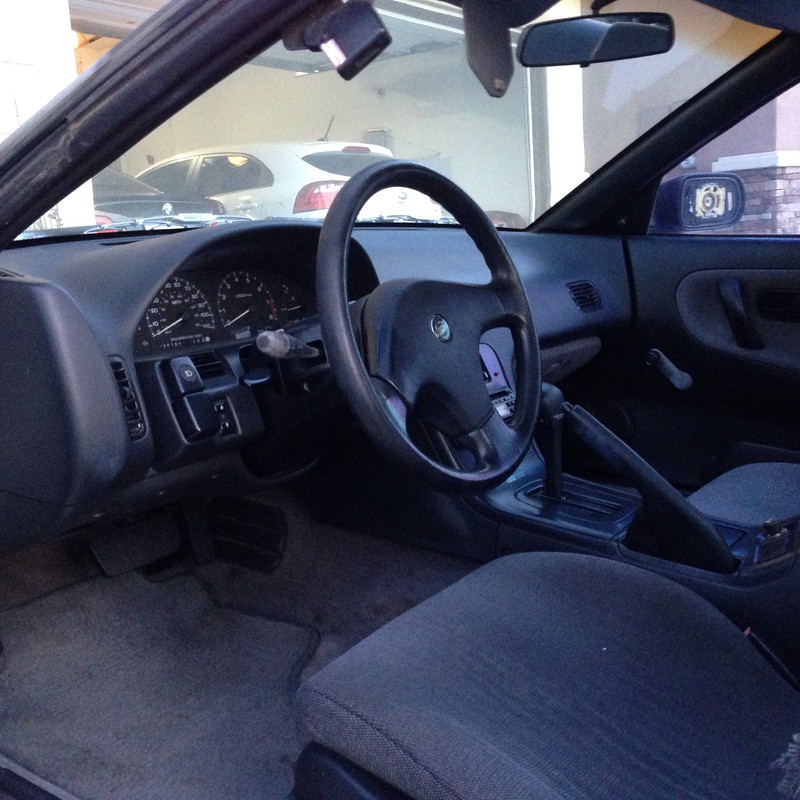
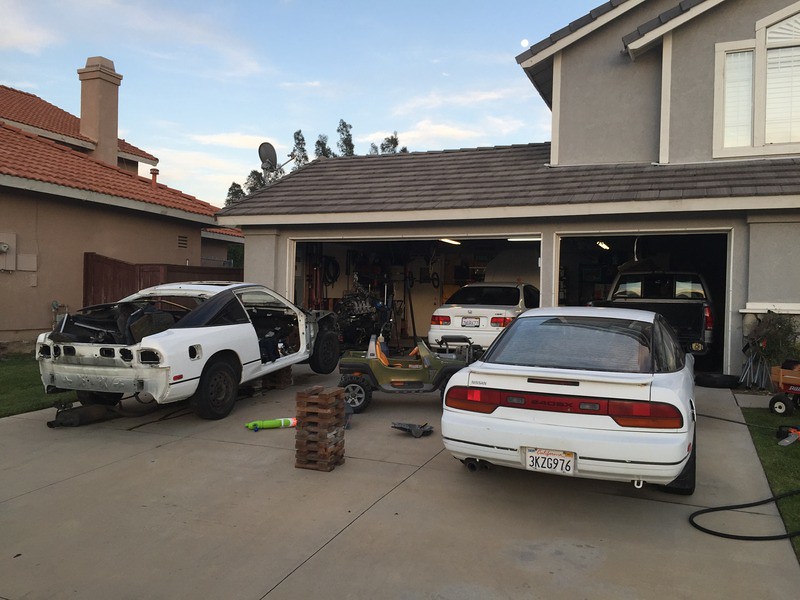
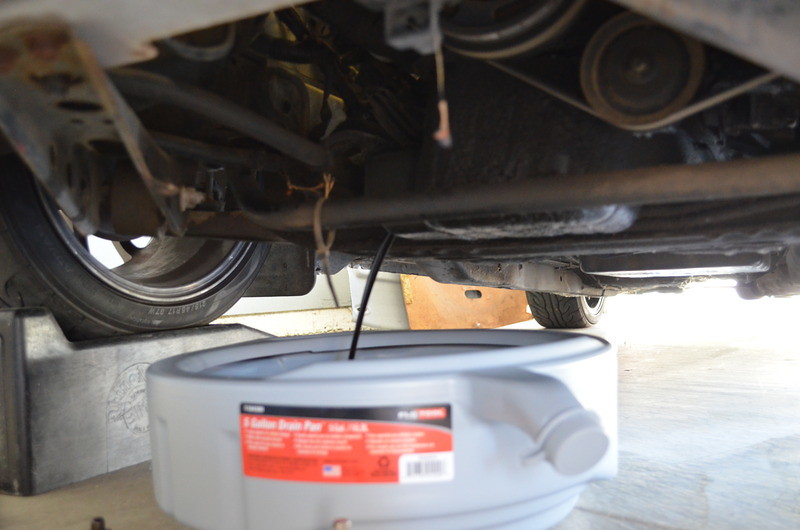
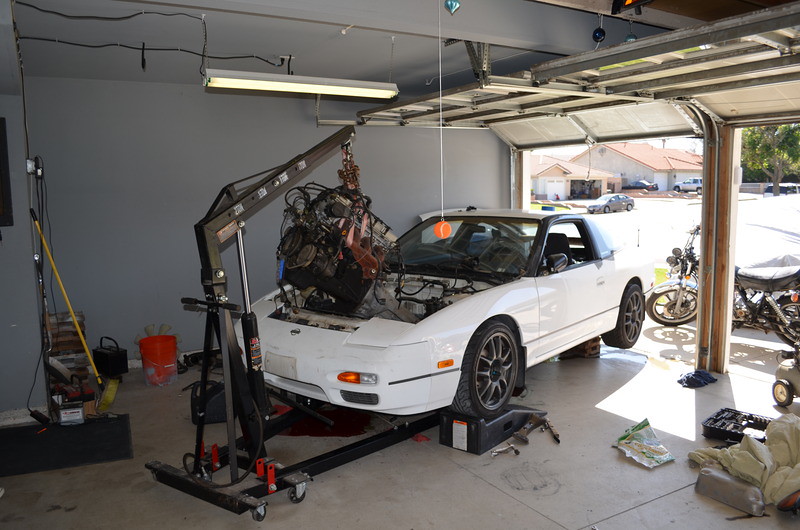
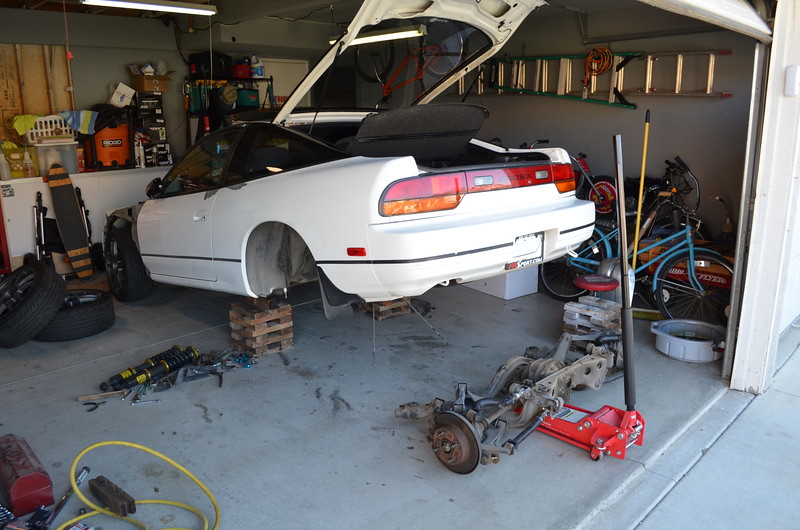
Remember, my project car still has an auto trans, and bent valves, so it was now time for a drivetrain swap.
Let’s kick this off by yanking the motor/auto trans CB942617-53EB-4605-93E0-0C3CC676B918_zpsol5yk46kby randalllee06, onFlickr
Remember, my project car still has an auto trans, and bent valves, so it was now time for a drivetrain swap.
Let’s kick this off by yanking the motor/auto trans
 DSC_0272_zps5uhhaxcyby randalllee06, onFlickr DSC_0272_zps5uhhaxcyby randalllee06, onFlickr
 DSC_0270_zps1ncdzuf3by randalllee06, onFlickr DSC_0270_zps1ncdzuf3by randalllee06, onFlickr
 DSC_0271_zpszze7ql3oby randalllee06, onFlickr DSC_0271_zpszze7ql3oby randalllee06, onFlickr
 DSC_0274_zps4eksgskbby randalllee06, onFlickr DSC_0274_zps4eksgskbby randalllee06, onFlickr
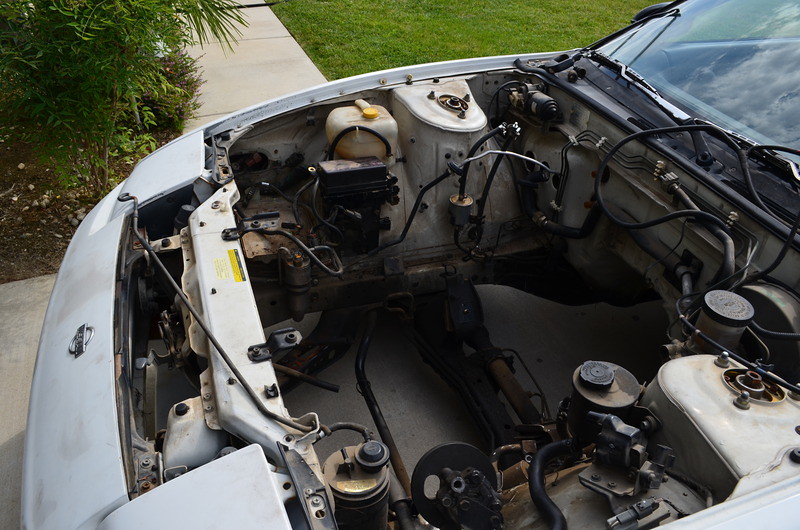
 DSC_0296_zpsamdxfe8vby randalllee06, onFlickr
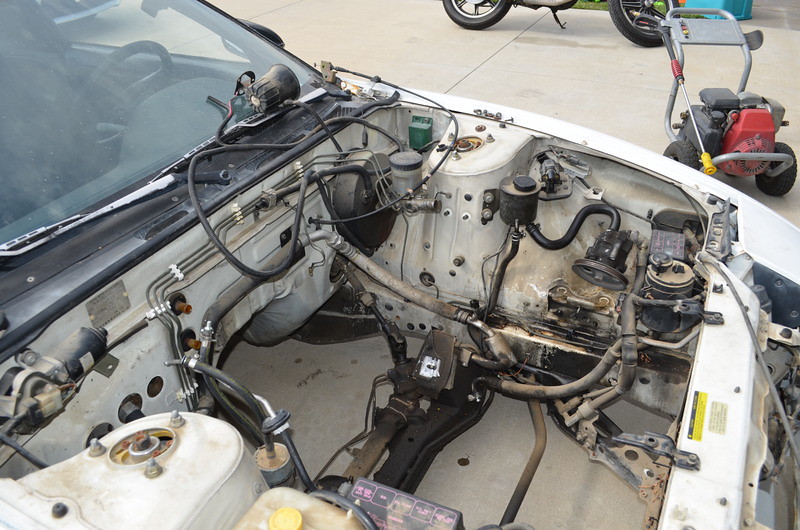
Cleaned up the bay. DSC_0296_zpsamdxfe8vby randalllee06, onFlickr
Cleaned up the bay.
 DSC_0266_zpsaahmnpgnby randalllee06, onFlickr DSC_0266_zpsaahmnpgnby randalllee06, onFlickr
 DSC_0267_zpsems6babzby randalllee06, onFlickr DSC_0267_zpsems6babzby randalllee06, onFlickr
 DSC_0268_zpswpnzlaioby randalllee06, onFlickr DSC_0268_zpswpnzlaioby randalllee06, onFlickr
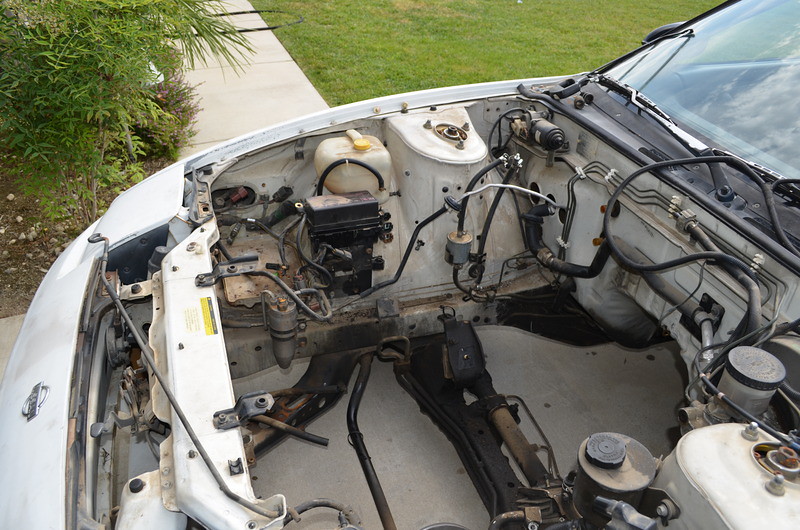
 DSC_0270_zpspqft8hbbby randalllee06, onFlickr
Much better DSC_0270_zpspqft8hbbby randalllee06, onFlickr
Much better
 DSC_0350_zpsbmmpqvqmby randalllee06, onFlickr DSC_0350_zpsbmmpqvqmby randalllee06, onFlickr
 DSC_0351_zpsq9gkvchtby randalllee06, onFlickr DSC_0351_zpsq9gkvchtby randalllee06, onFlickr
 DSC_0352_zpsqymja0x9by randalllee06, onFlickr
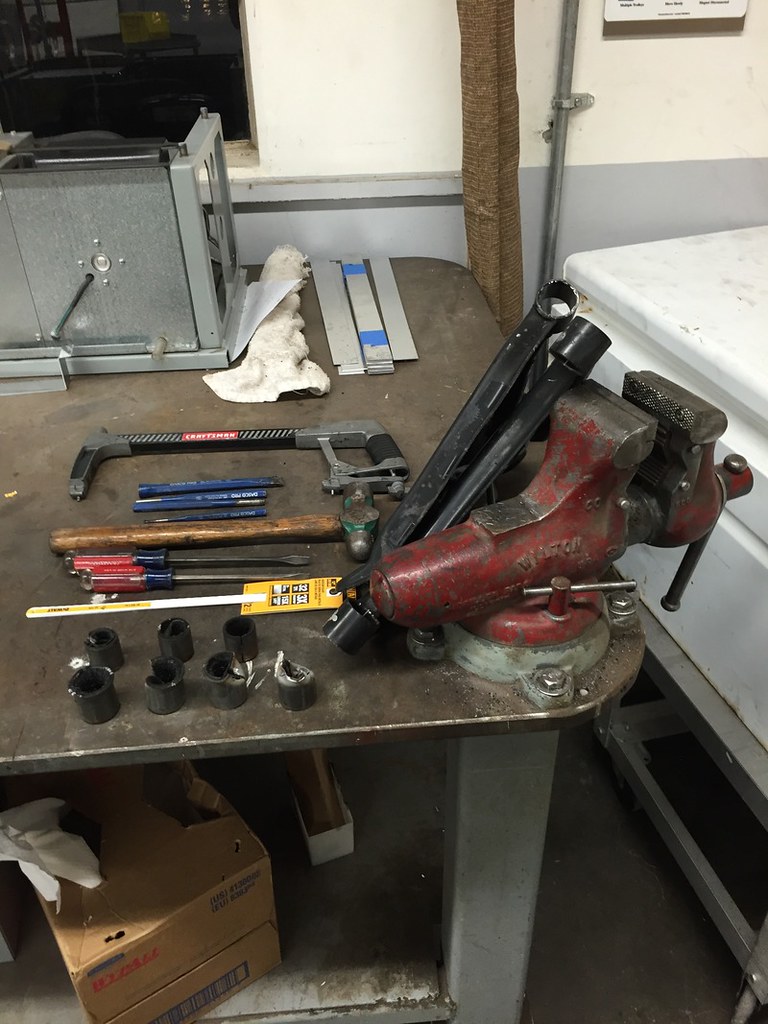
Installed a man pedal. DSC_0352_zpsqymja0x9by randalllee06, onFlickr
Installed a man pedal.
 DSC_0355_zpsjpqdcmtmby randalllee06, onFlickr DSC_0355_zpsjpqdcmtmby randalllee06, onFlickr
 DSC_0357_zpsf1uly46mby randalllee06, onFlickr
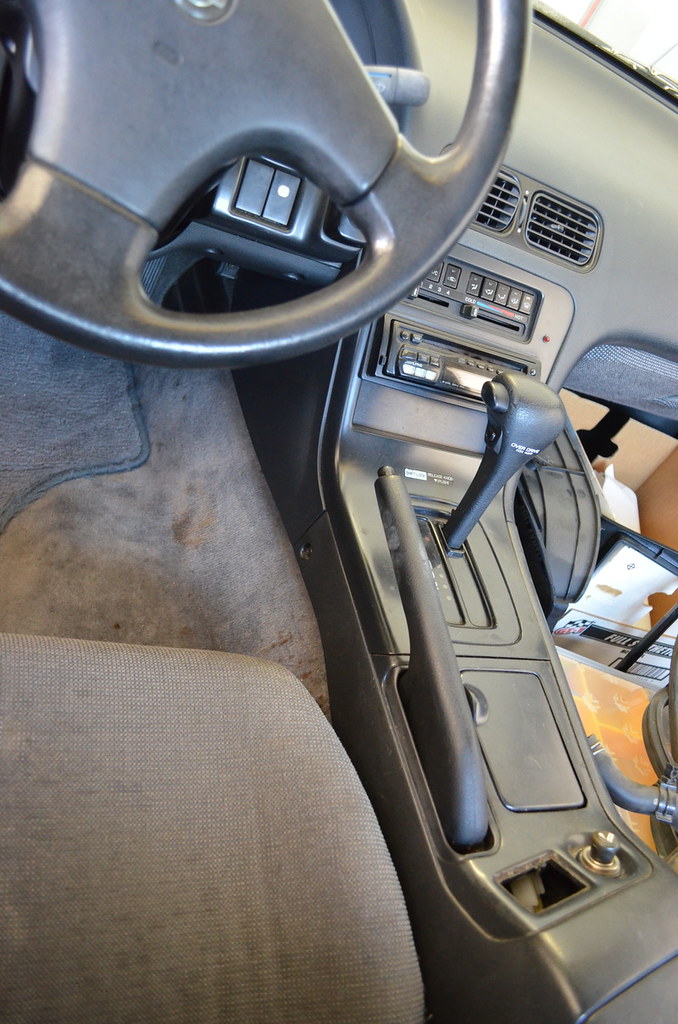
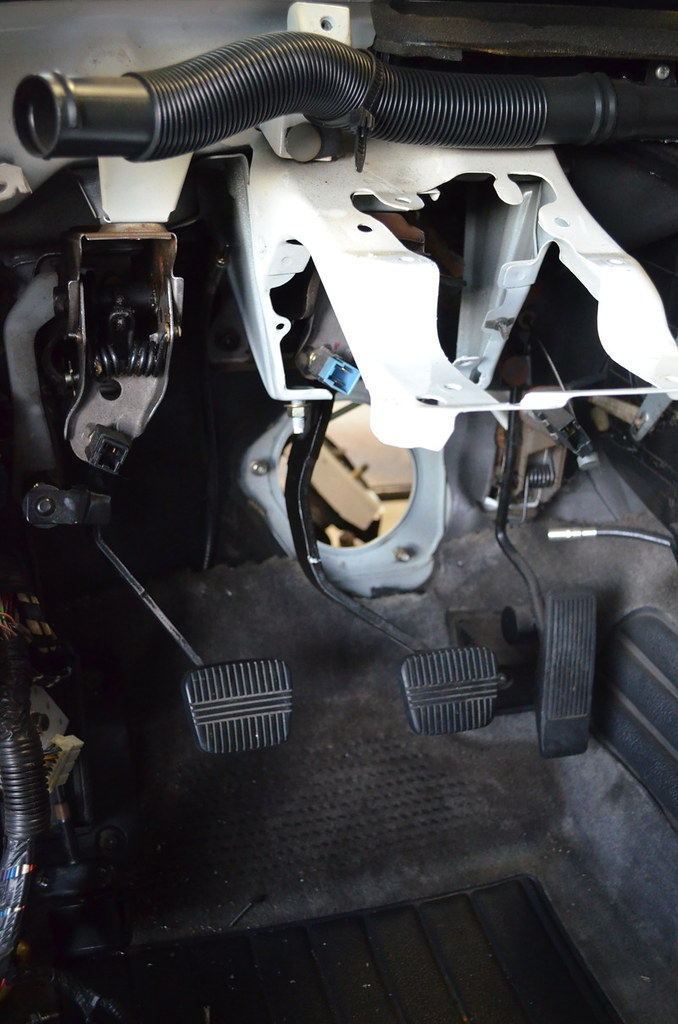
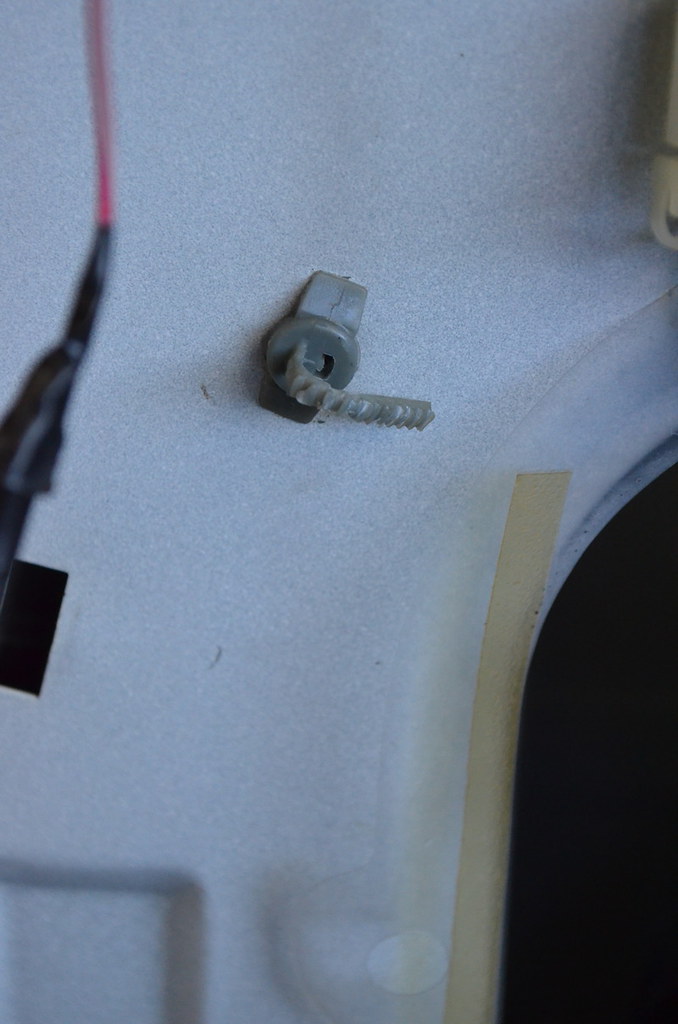
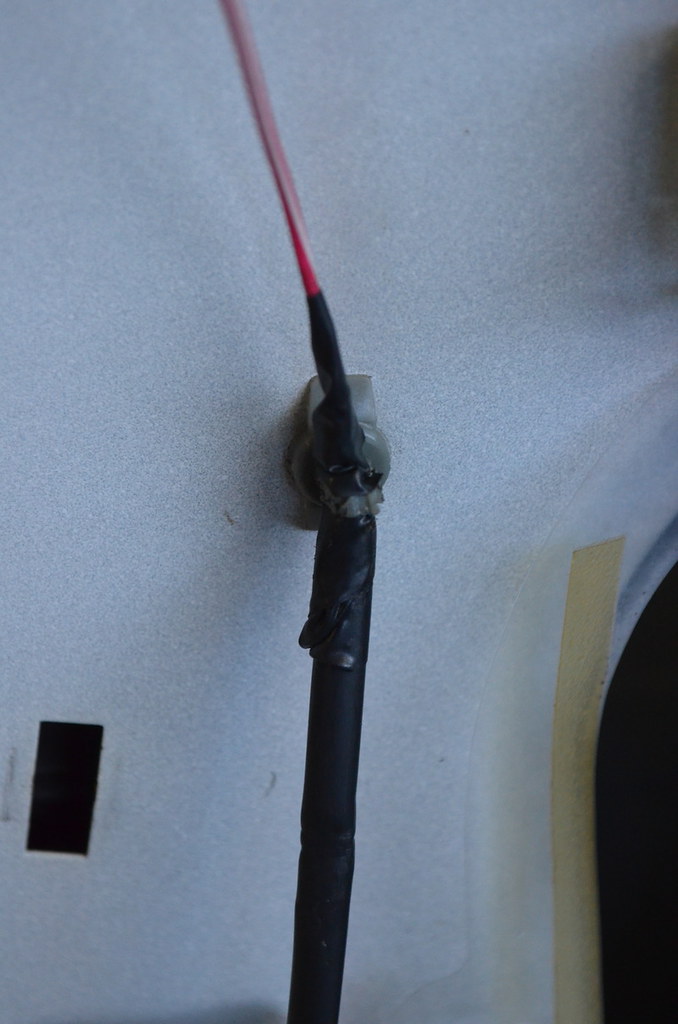
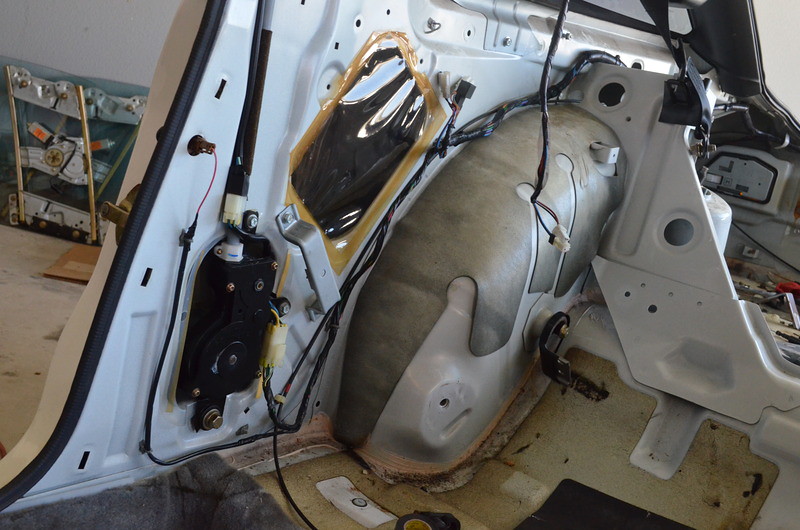
While installing the clutch pedal, etc, I found a bunch ofbutchered wiring under the dash, and decided to swap the entire harness. Thiswould also make the manual swap more complete.
Trying to make it as oem as possible. DSC_0357_zpsf1uly46mby randalllee06, onFlickr
While installing the clutch pedal, etc, I found a bunch ofbutchered wiring under the dash, and decided to swap the entire harness. Thiswould also make the manual swap more complete.
Trying to make it as oem as possible.
 DSC_0332_zpsr2wtttltby randalllee06, onFlickr DSC_0332_zpsr2wtttltby randalllee06, onFlickr
 DSC_0333_zpsz1t8froqby randalllee06, onFlickr DSC_0333_zpsz1t8froqby randalllee06, onFlickr
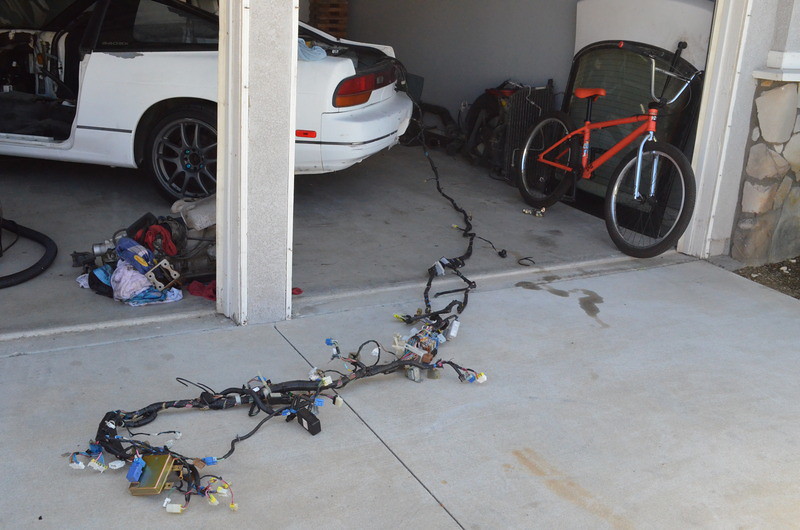
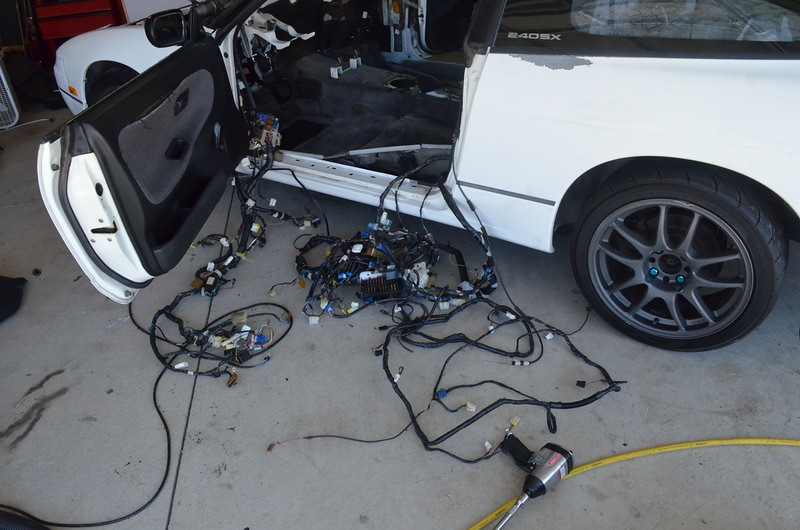
 DSC_0335_zpsu0ts0fyxby randalllee06, onFlickr
Messy DSC_0335_zpsu0ts0fyxby randalllee06, onFlickr
Messy
 DSC_0326_zpsey1bgnpgby randalllee06, onFlickr DSC_0326_zpsey1bgnpgby randalllee06, onFlickr
 DSC_0338_zpsqsjrrsvaby randalllee06, onFlickr
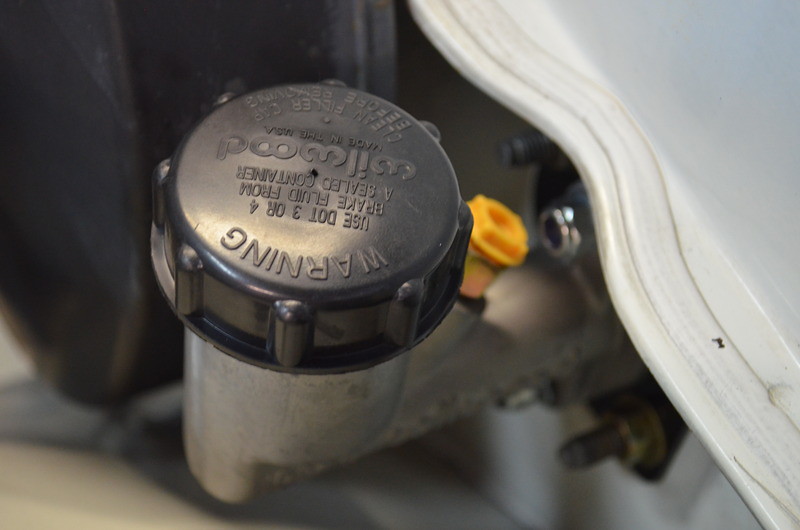
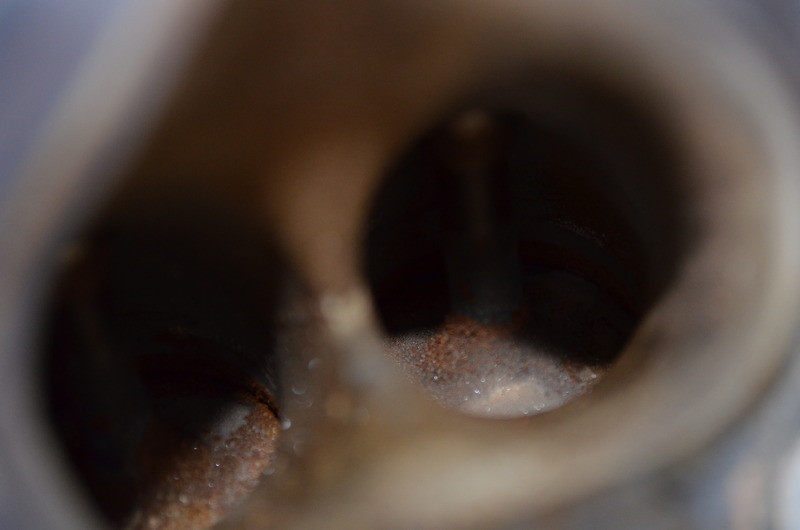
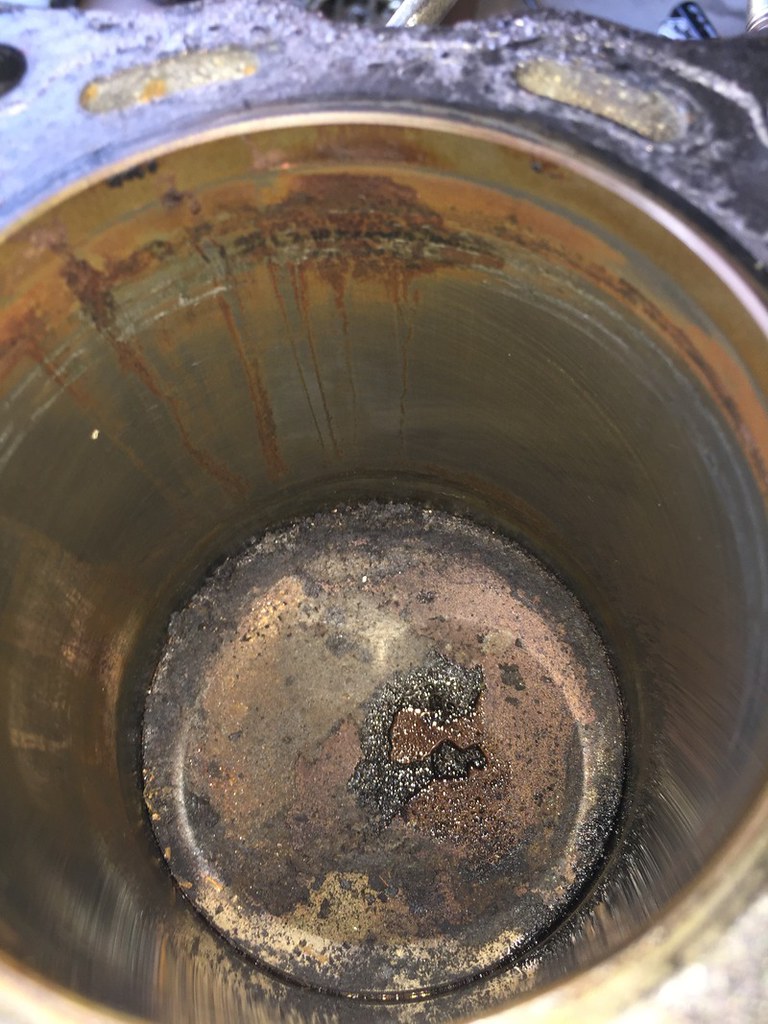
I purchased all new oem hoses and gaskets to install on theKA24DE before install, and found a not so pleasant surprise after pulling theintake . DSC_0338_zpsqsjrrsvaby randalllee06, onFlickr
I purchased all new oem hoses and gaskets to install on theKA24DE before install, and found a not so pleasant surprise after pulling theintake .
 DSC_0315_zpssdswlbbcby randalllee06, onFlickr
This led to ripping the head off, and……. (#1 cylinder) DSC_0315_zpssdswlbbcby randalllee06, onFlickr
This led to ripping the head off, and……. (#1 cylinder)
 image_zpsawstjpjnby randalllee06, onFlickr
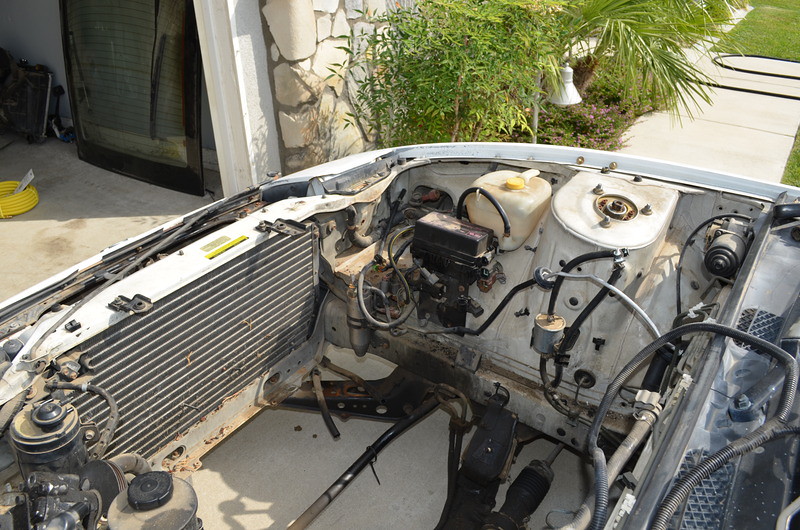
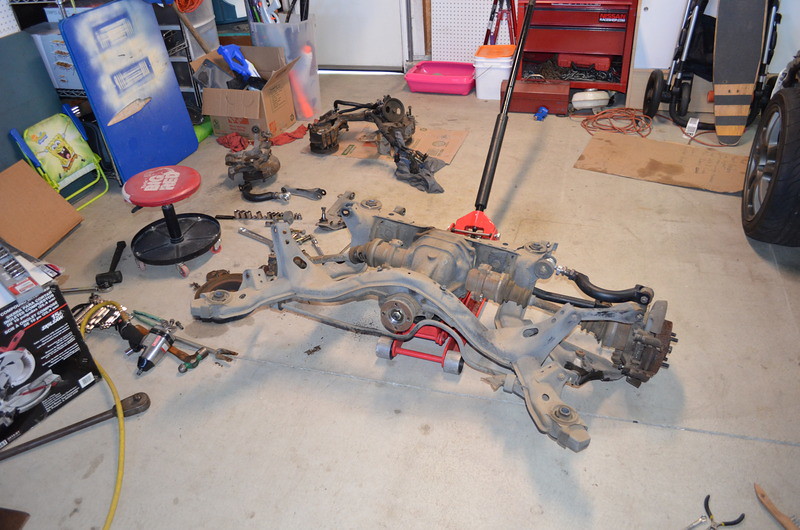
So, the head went off to a friend (port work/valve job), andthe block was sent out for a refresh. Meanwhile, I started working on the rearsubframe. image_zpsawstjpjnby randalllee06, onFlickr
So, the head went off to a friend (port work/valve job), andthe block was sent out for a refresh. Meanwhile, I started working on the rearsubframe.
 DSC_0350_zpsebnzgimlby randalllee06, onFlickr DSC_0350_zpsebnzgimlby randalllee06, onFlickr
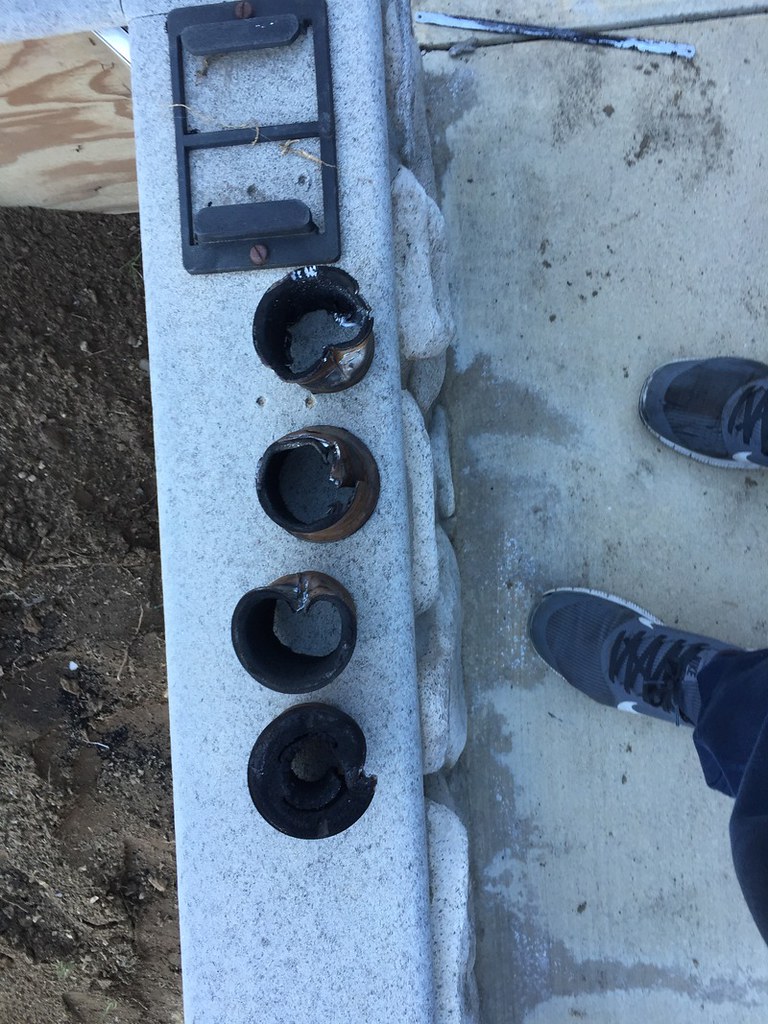
 DSC_0353_zpsvnmb4hjdby randalllee06, onFlickr
I hate these!!!! DSC_0353_zpsvnmb4hjdby randalllee06, onFlickr
I hate these!!!!
 image_zpslflywoabby randalllee06, onFlickr
Fresh powder, new bushings…. image_zpslflywoabby randalllee06, onFlickr
Fresh powder, new bushings….
 image_zpsqvjmy7rtby randalllee06, onFlickr image_zpsqvjmy7rtby randalllee06, onFlickr
 image_zpsjbe3romjby randalllee06, onFlickr
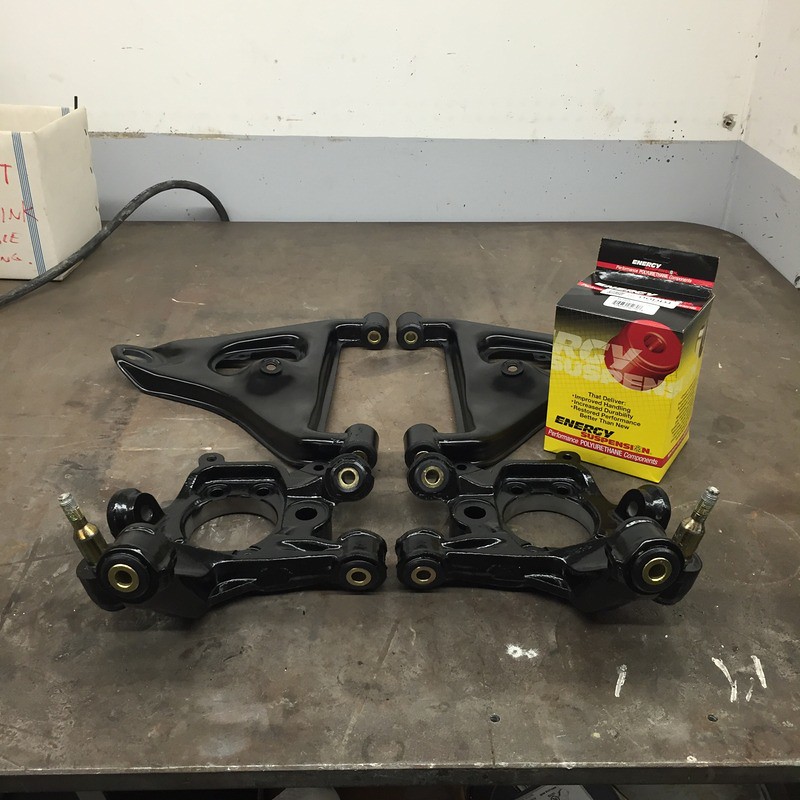
Here is the completed subframe with all new energy bushings,whiteline subframe bushings, new ball joints, and new SPL arms. image_zpsjbe3romjby randalllee06, onFlickr
Here is the completed subframe with all new energy bushings,whiteline subframe bushings, new ball joints, and new SPL arms.
 image_zpsfjzkv2csby randalllee06, onFlickr
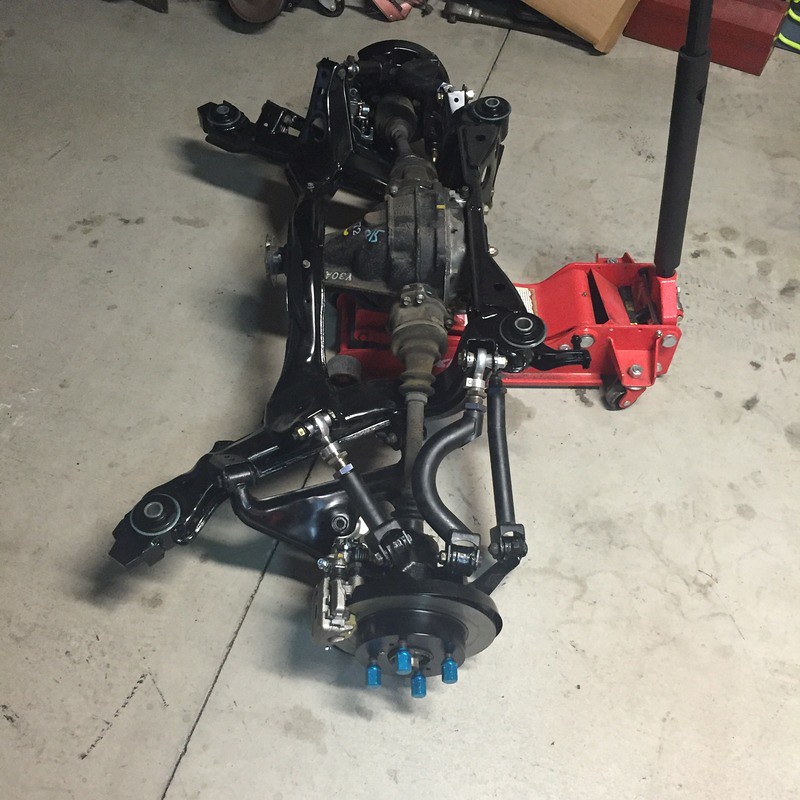
Installed the rear subframe and was very excited to see thecar back on the ground. image_zpsfjzkv2csby randalllee06, onFlickr
Installed the rear subframe and was very excited to see thecar back on the ground.
 image_zpsns4ejtenby randalllee06, onFlickr
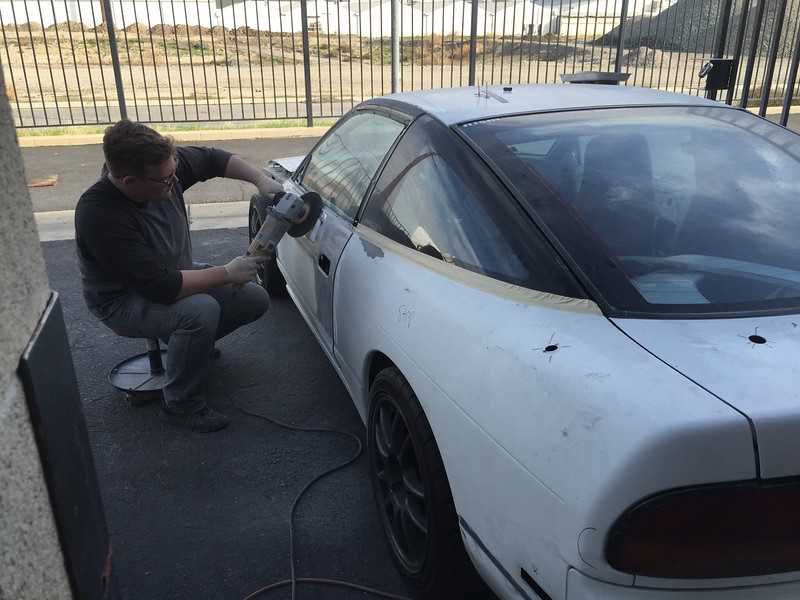
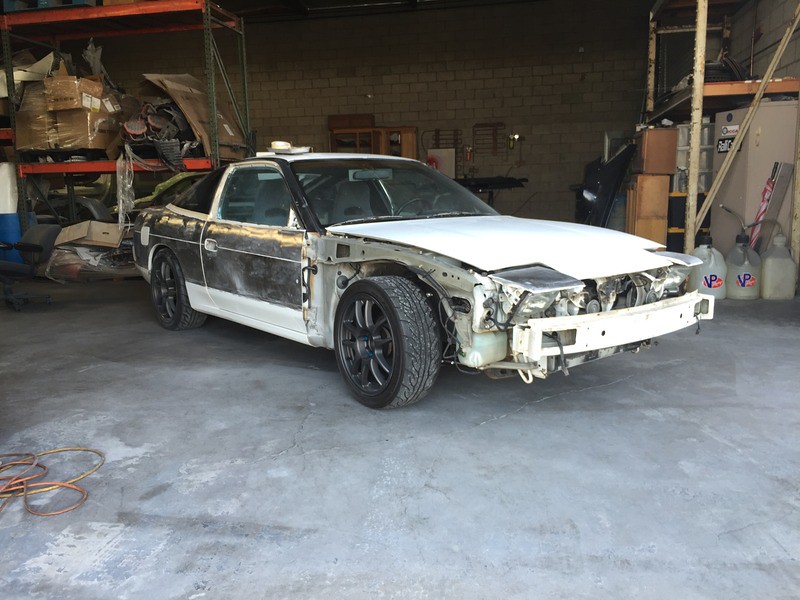
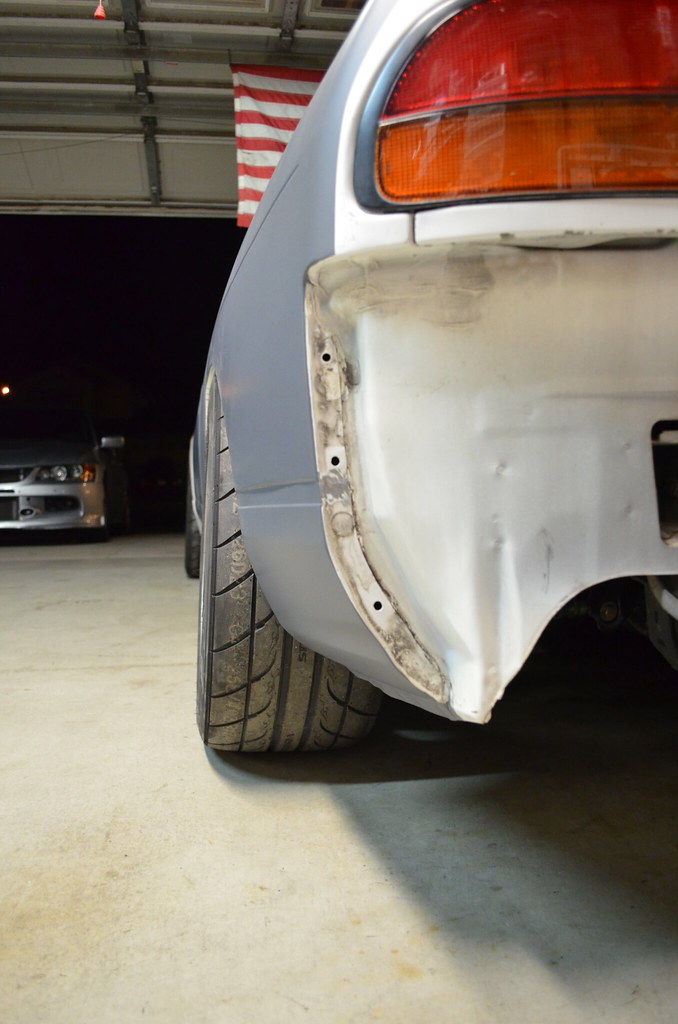
About this time I decided I wanted to paint the car, so offto the bodyshop it went. image_zpsns4ejtenby randalllee06, onFlickr
About this time I decided I wanted to paint the car, so offto the bodyshop it went.
 image_zpsdajidktkby randalllee06, onFlickr
Stripping her down. image_zpsdajidktkby randalllee06, onFlickr
Stripping her down.
 image_zpspklia1cmby randalllee06, onFlickr image_zpspklia1cmby randalllee06, onFlickr
 image_zpsz8ffnsx8by randalllee06, onFlickr image_zpsz8ffnsx8by randalllee06, onFlickr
 image_zpsndqmtyokby randalllee06, onFlickr image_zpsndqmtyokby randalllee06, onFlickr
 image_zpsjotk6jagby randalllee06, onFlickr
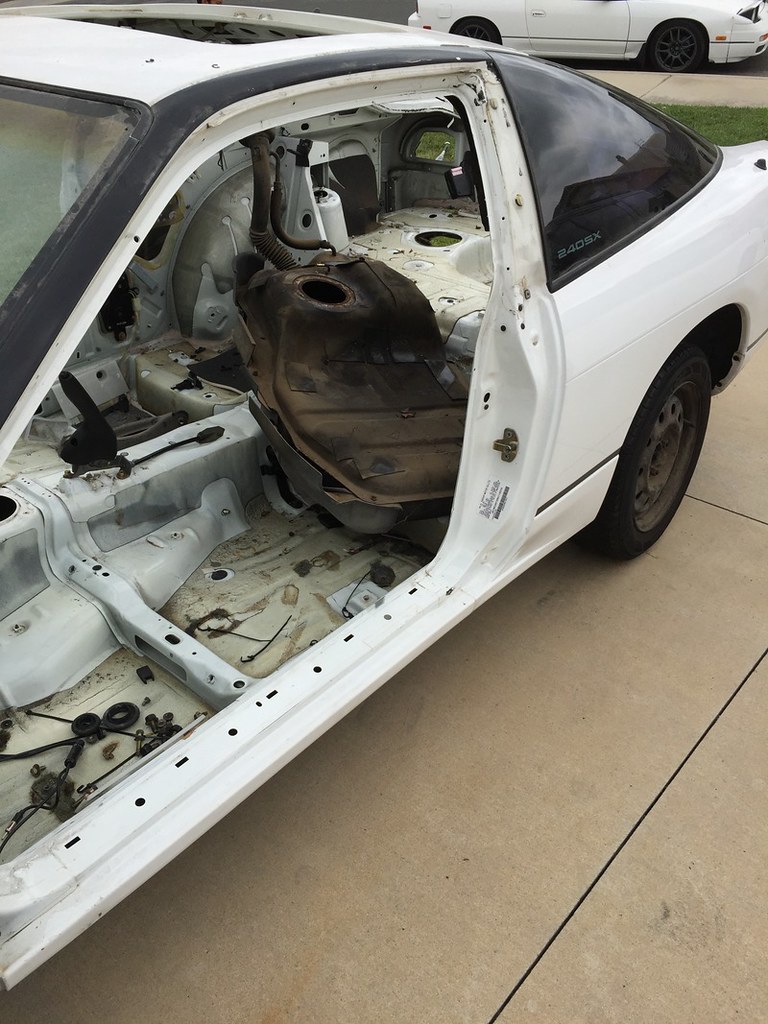
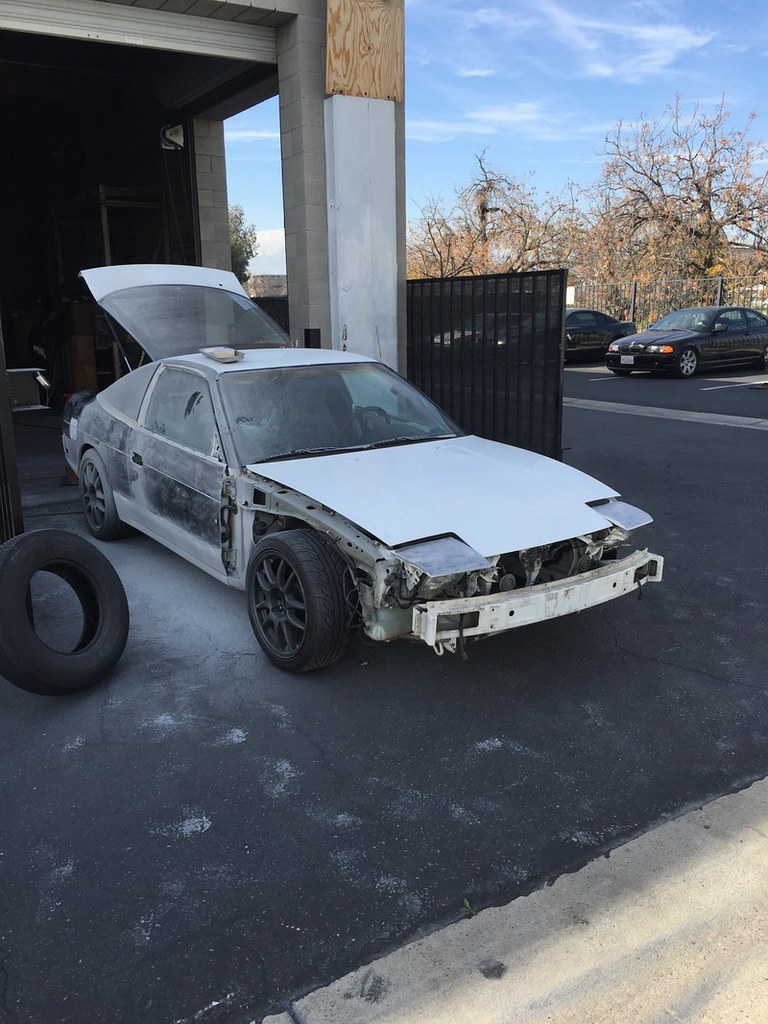
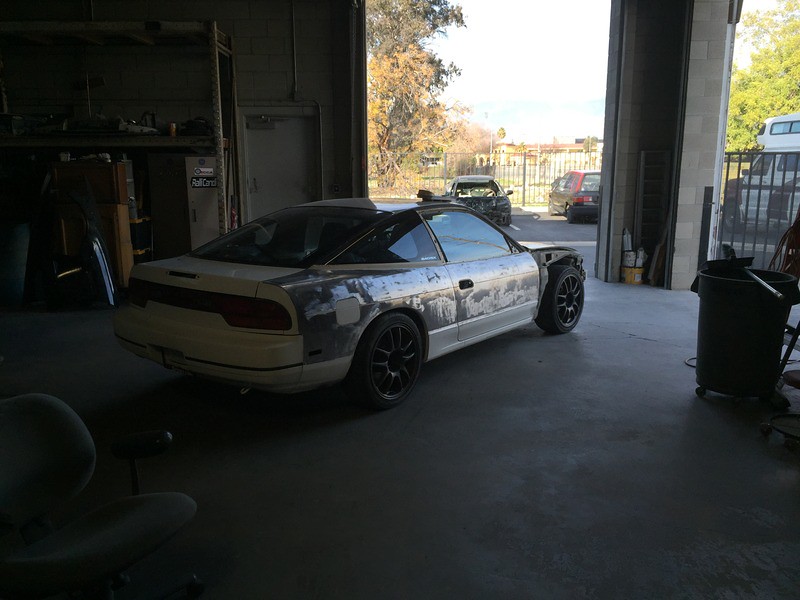
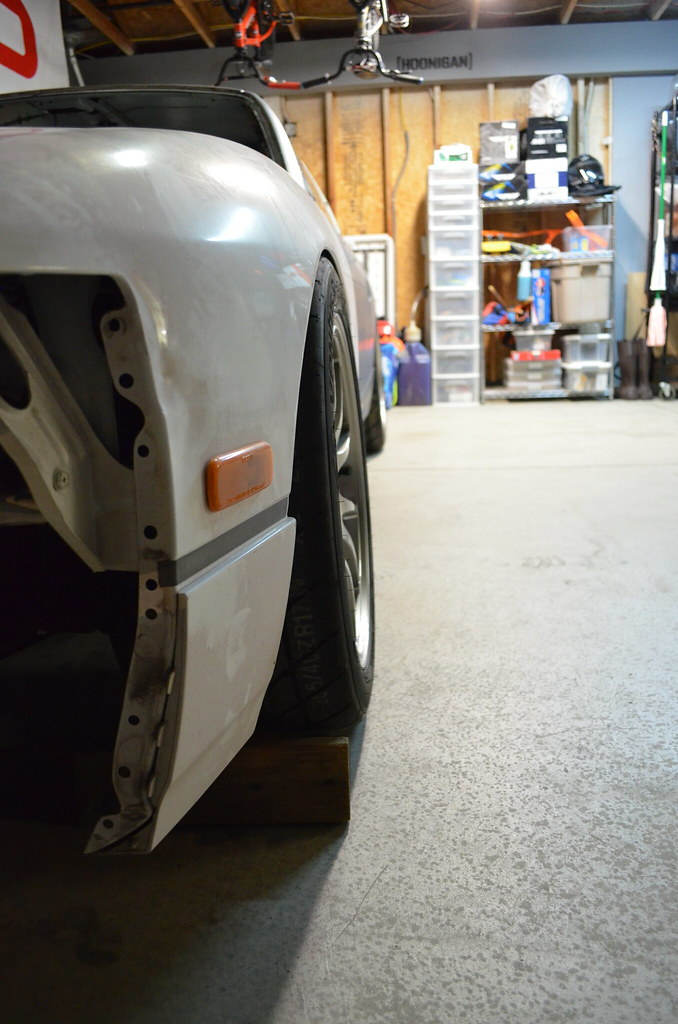
Everything aside from the hood and fenders was stripped, butI didn’t get photos of it all.
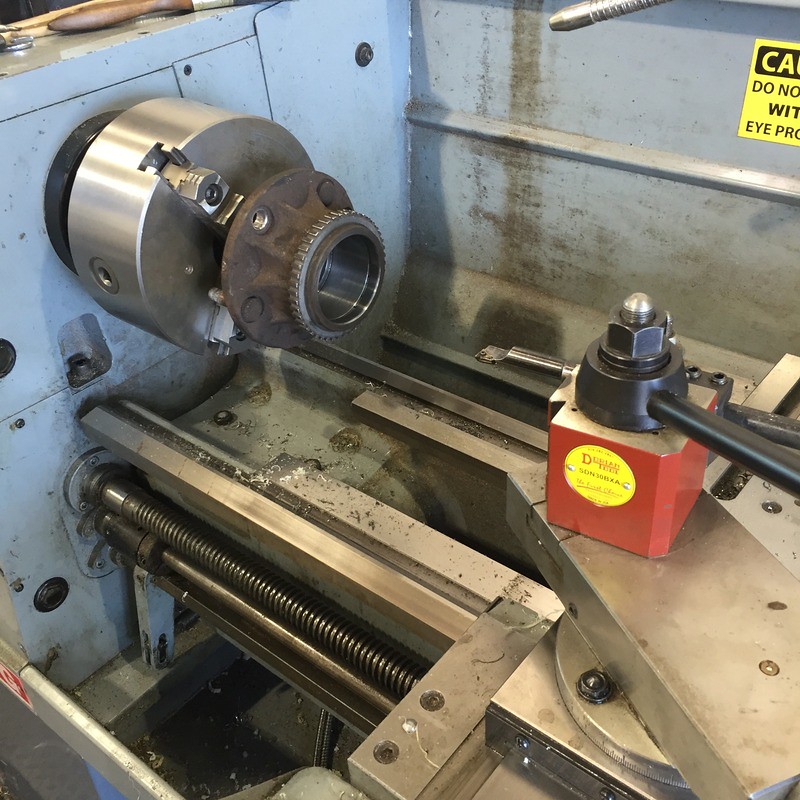
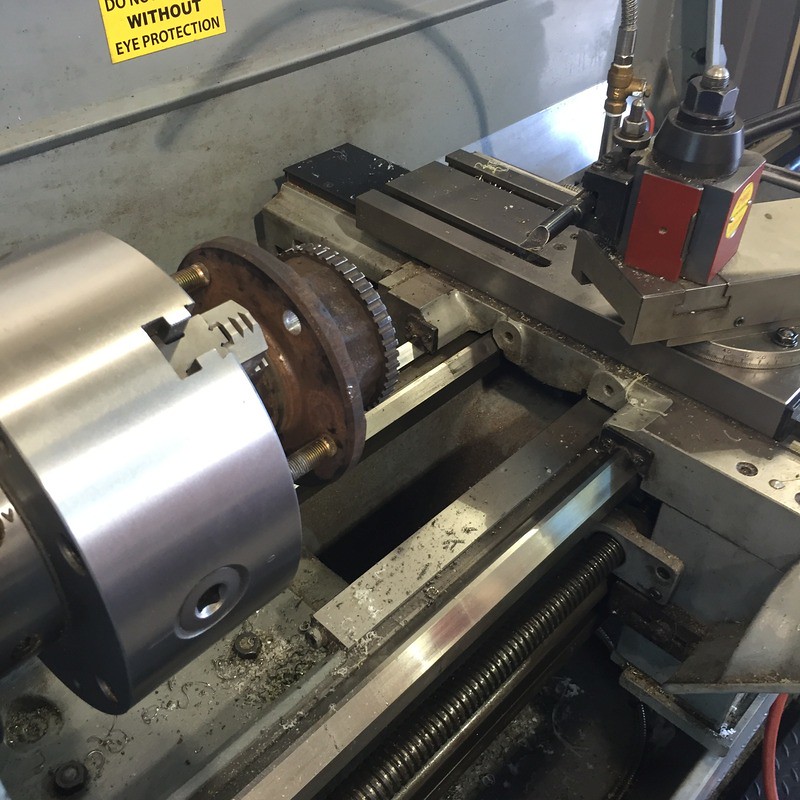
Decided to swap to 5-lug. I used J30 front hubs and z32rears. Had to machine a about 7 thousandths off of the J30’s to press the S13bearings into them. image_zpsjotk6jagby randalllee06, onFlickr
Everything aside from the hood and fenders was stripped, butI didn’t get photos of it all.
Decided to swap to 5-lug. I used J30 front hubs and z32rears. Had to machine a about 7 thousandths off of the J30’s to press the S13bearings into them.
 image_zpstsptx6uoby randalllee06, onFlickr image_zpstsptx6uoby randalllee06, onFlickr
 image_zpsiuy1qdymby randalllee06, onFlickr
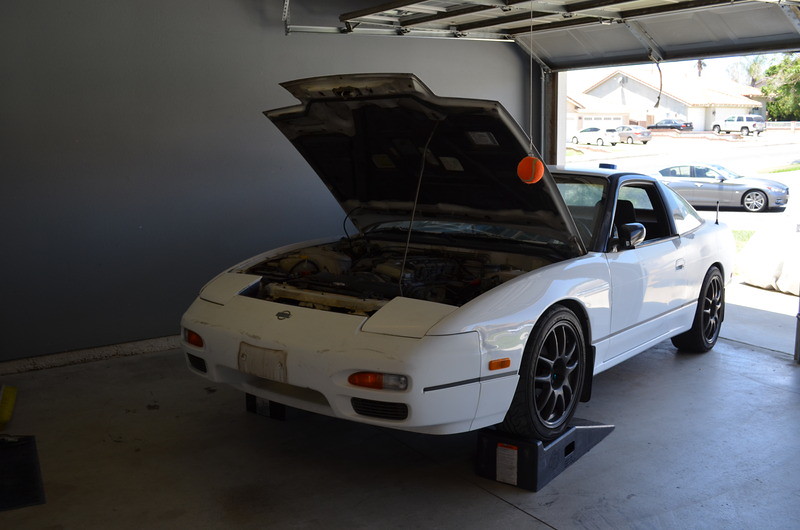
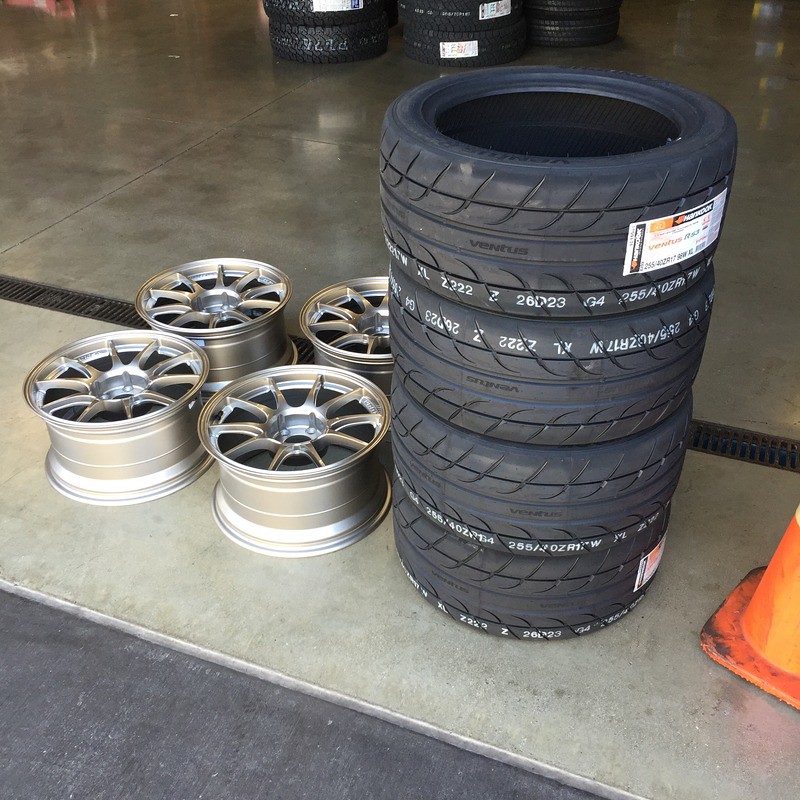
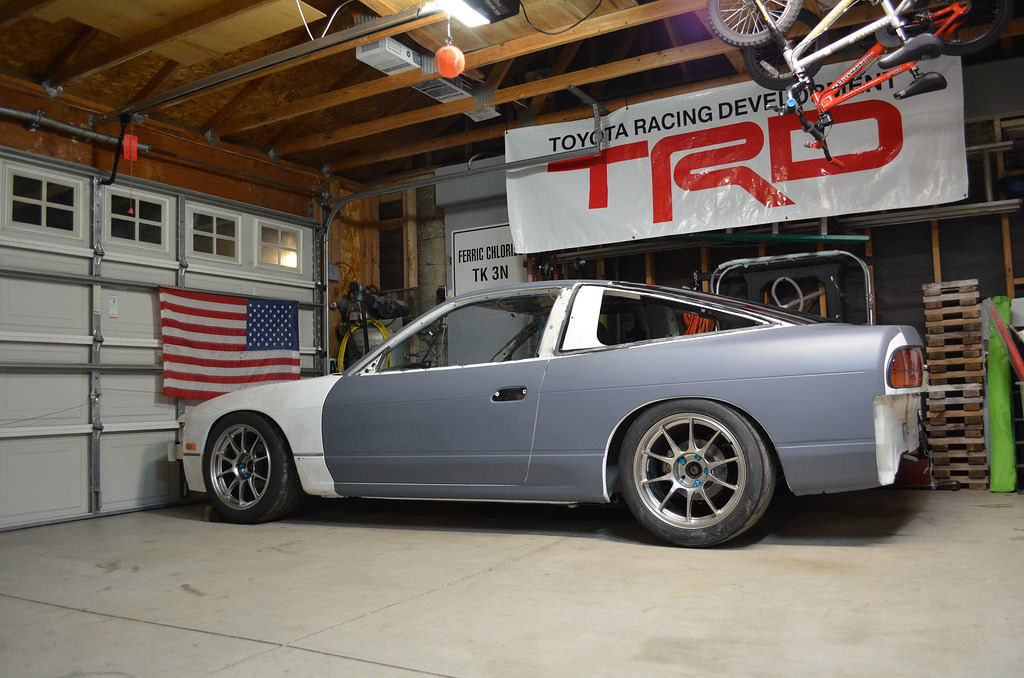
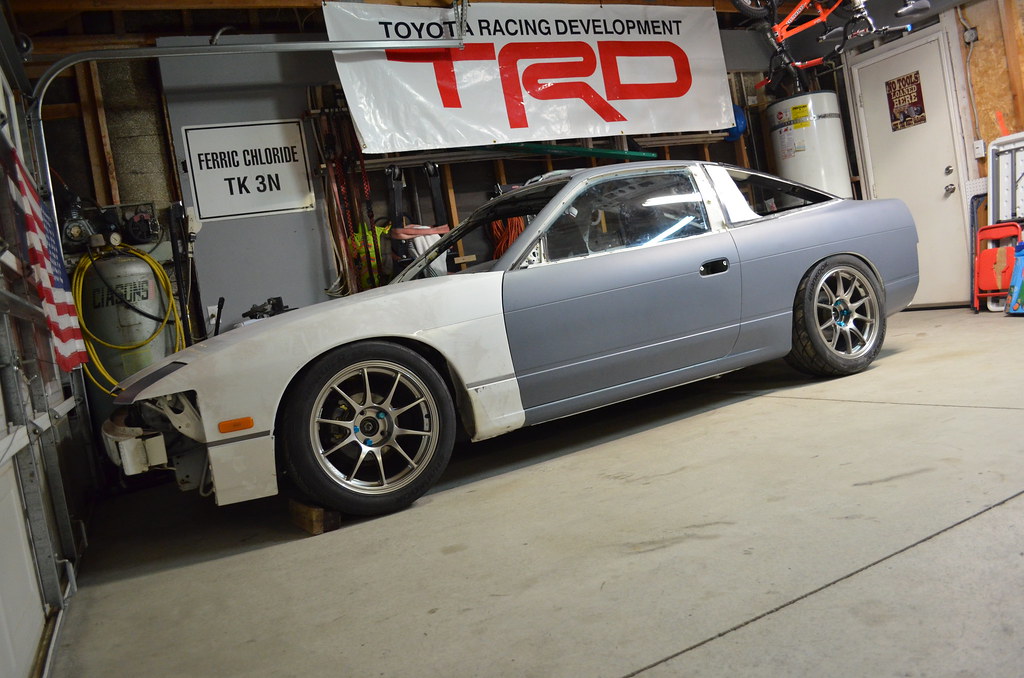
New wheels and tires. WedsSport TC105N in 17x9 +25 with255/40R17 Hankook Ventus RS3’s image_zpsiuy1qdymby randalllee06, onFlickr
New wheels and tires. WedsSport TC105N in 17x9 +25 with255/40R17 Hankook Ventus RS3’s
 image_zpsnolxo1o0by randalllee06, onFlickr
Here they are on the “mostly” primered car with ride heightand alignment pretty close to where it will end up. image_zpsnolxo1o0by randalllee06, onFlickr
Here they are on the “mostly” primered car with ride heightand alignment pretty close to where it will end up.
 27362049180_6428a5789e_bby randalllee06, onFlickr 27362049180_6428a5789e_bby randalllee06, onFlickr
 DSC_0023by randalllee06, onFlickr DSC_0023by randalllee06, onFlickr
 DSC_0018by randalllee06, onFlickr DSC_0018by randalllee06, onFlickr
 DSC_0017by randalllee06, onFlickr
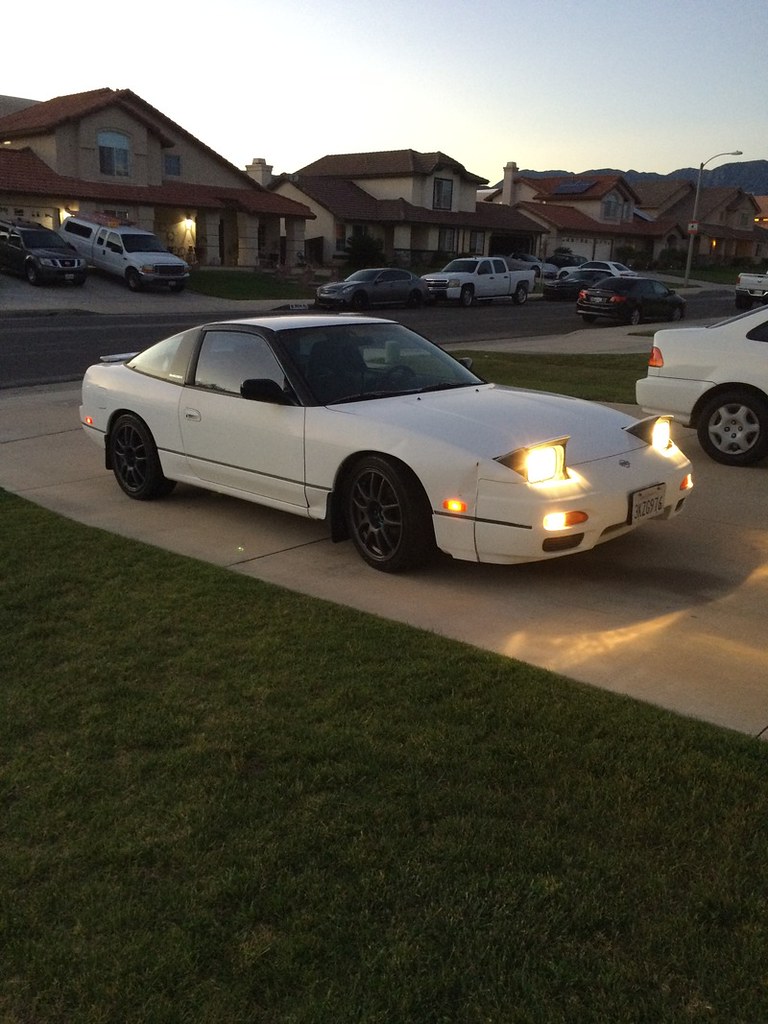
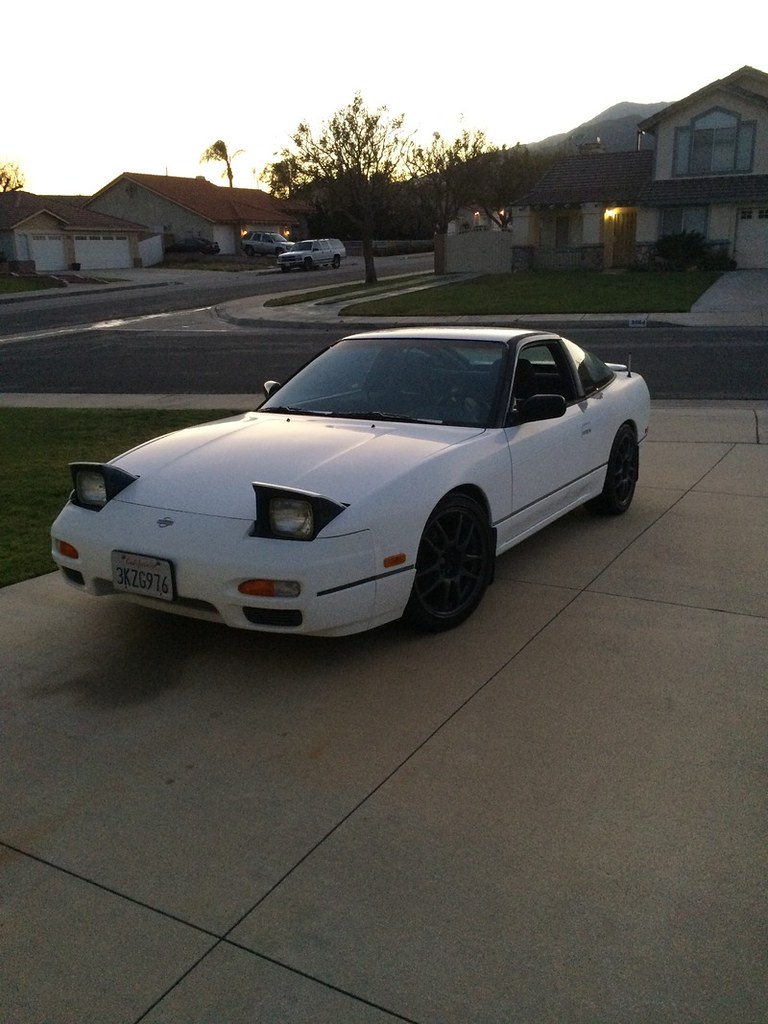
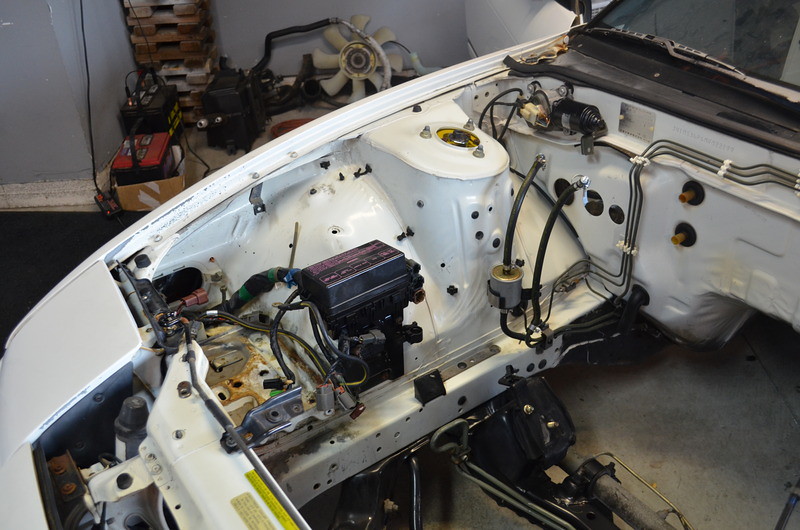
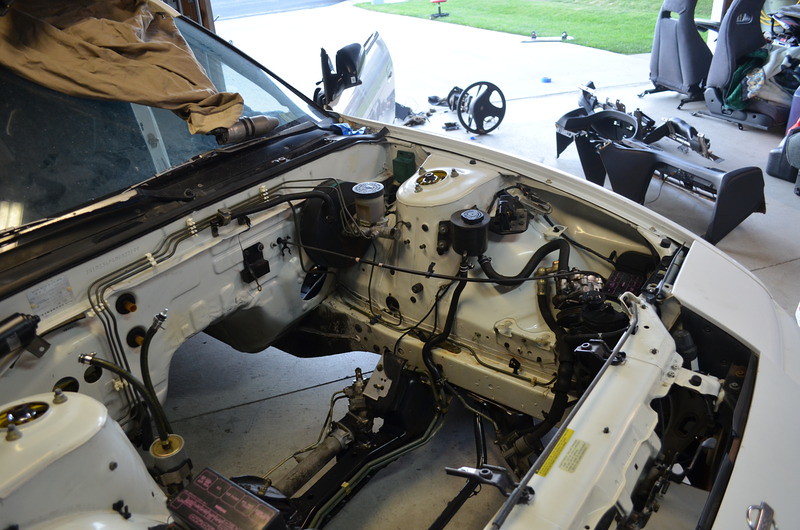
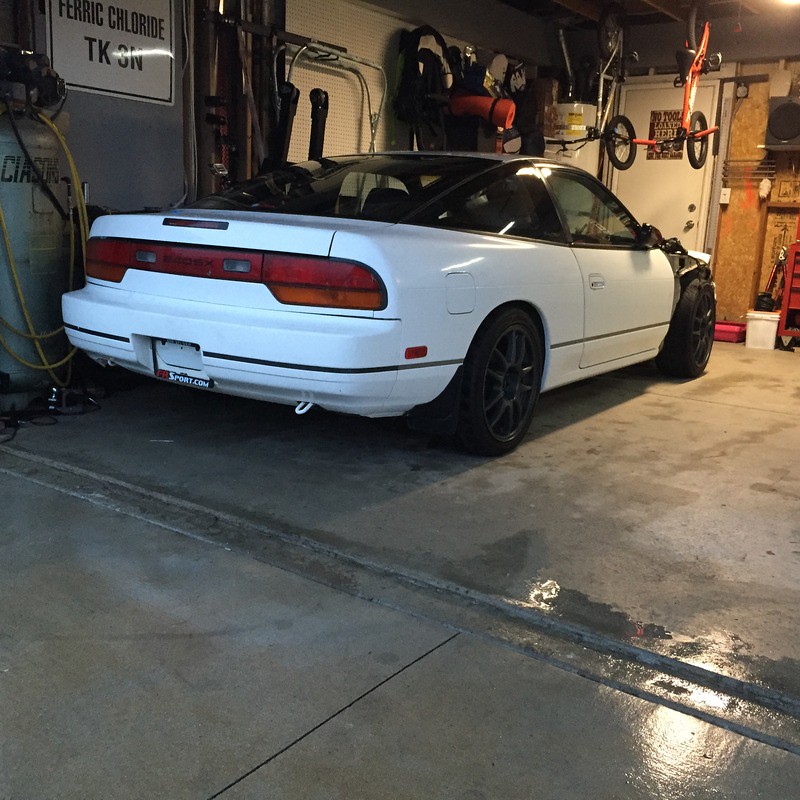
This brings us to where the car is currently. Hope youenjoyed the read so far, I should have engine updates soon. DSC_0017by randalllee06, onFlickr
This brings us to where the car is currently. Hope youenjoyed the read so far, I should have engine updates soon.
Last edited by Lees_Garage; 06-13-2018 at 03:16 PM..
Reason: Updated photos
|