The Continuation:
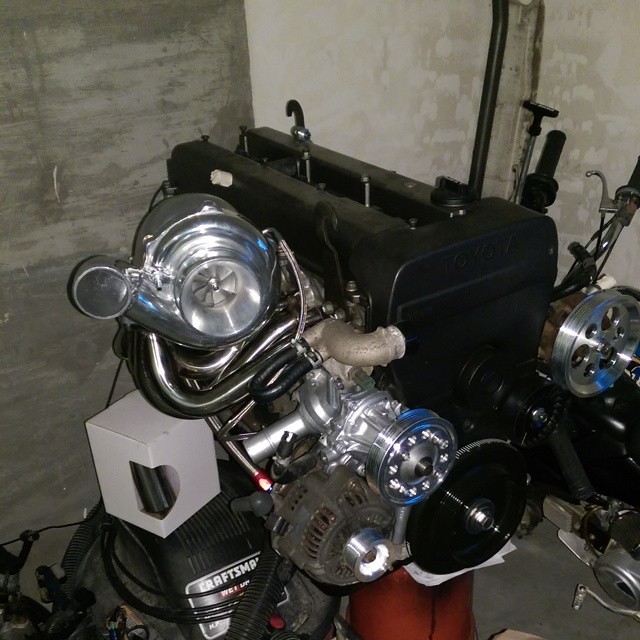
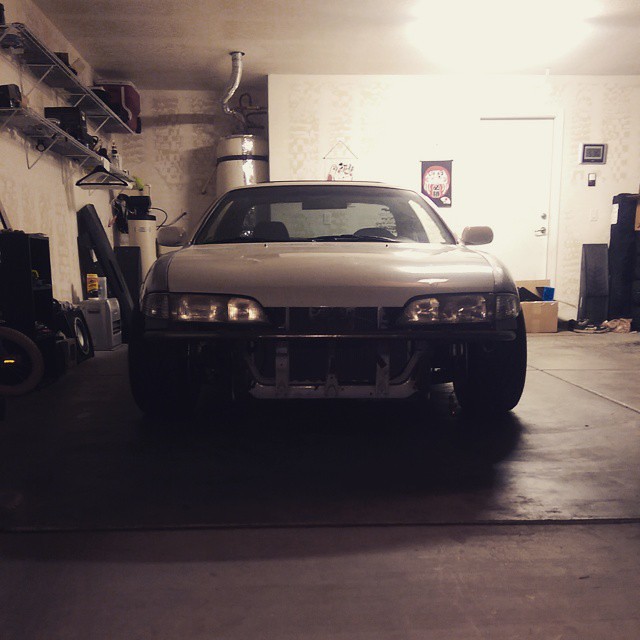
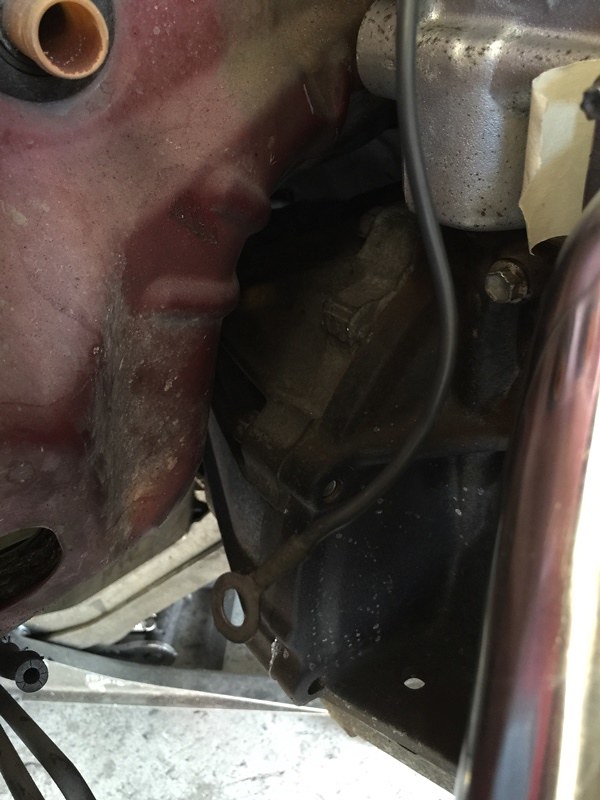
Fast forward to June 2014 (yes, it took that long to bounce back from an unexpected career change). Naturally, I was bored by this point. I was still a bit uncomfortable spending money but I wanted to get something done, so I ended up fitting my turbo kit. The holes for the studs DID NOT line up like they were supposed to…I had to bore out several of the holes to get the manifold to actually go on the motor. Starting to look good though.
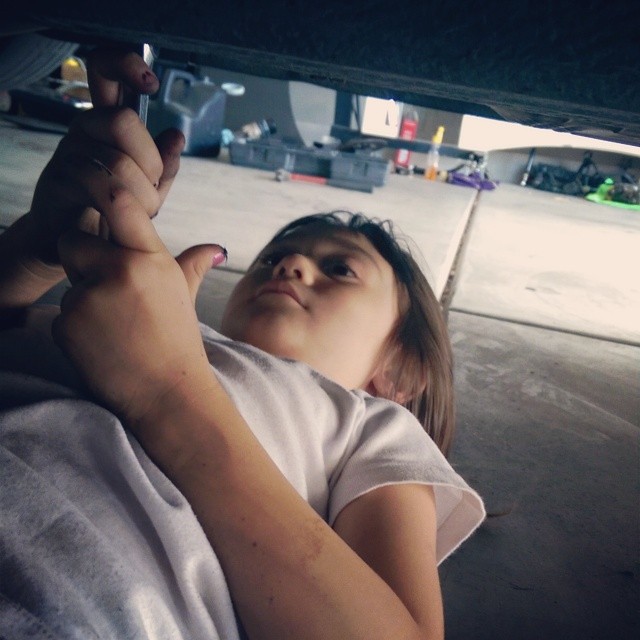
The Megan Type II exhaust that was on the car wasn’t going to be used on the JZ setup so “mini me” helped me take it off so that we could sell it. I couldn’t bring myself to cut it up. It may be a Megan product (which I don’t really get down with) but the exhaust is really a quality piece for the price.
July 2014 came around and one of my friends came to my house to help me complete a major transformation on the car.

I forgot to take pics when I got the kit and the fenders, so sorry! I wanted a clean look so I decided to go with the Chargespeed 50mm rear fenders and Origin 20mm front fenders. I had my friend/fabricator chop the rear fenders and build me a bash bar for the front bumper that would work with the zenki blinkers.
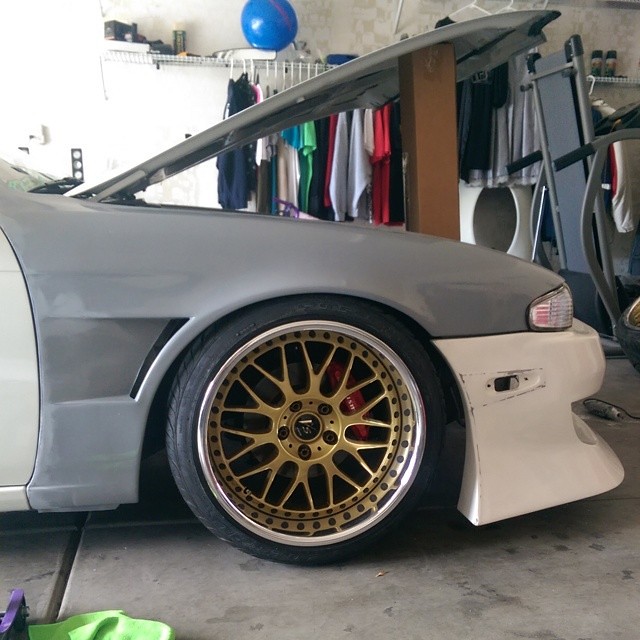
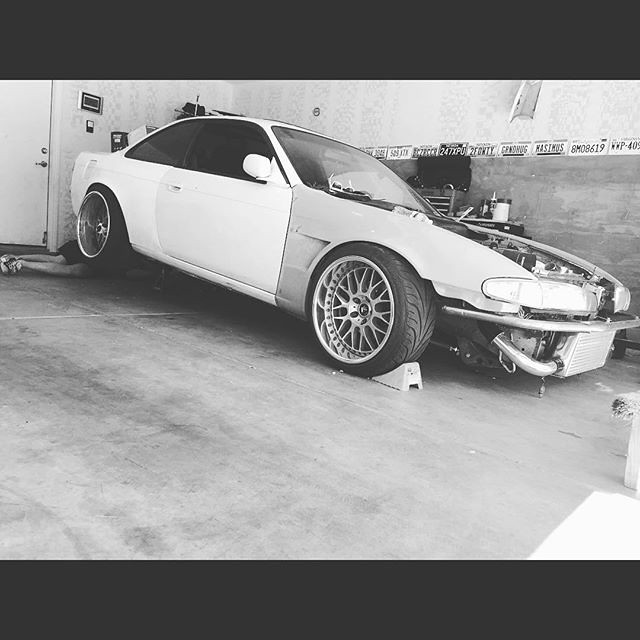
Ended up fitting the rear bumper, as well, and closed up the gap between the tires and fenders.
Like every good boy does, I went and got an alignment so I wouldn’t burn through my new tires at a ridiculous rate.
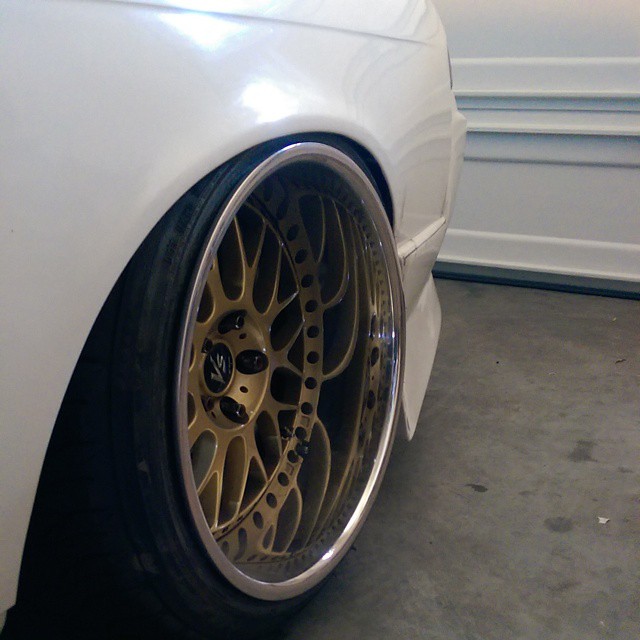
Now that the new wheels were on, it was time to part with the old ones. We had a good run girls, you will be missed.
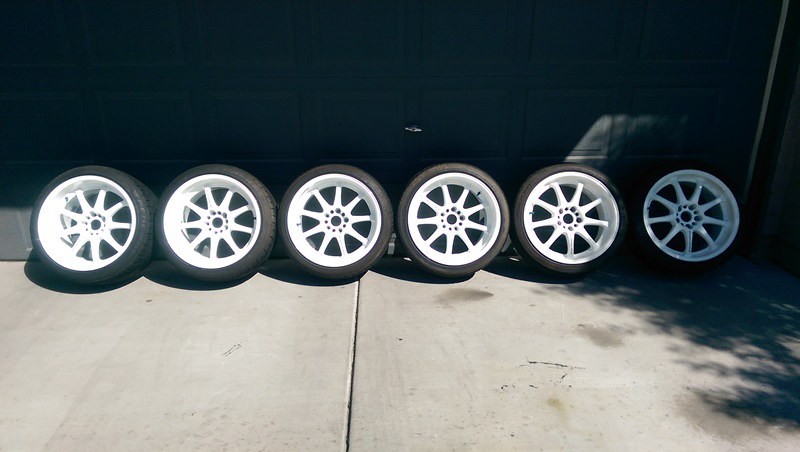
If you couldn’t tell by now, I LOVE me some Work Wheels.
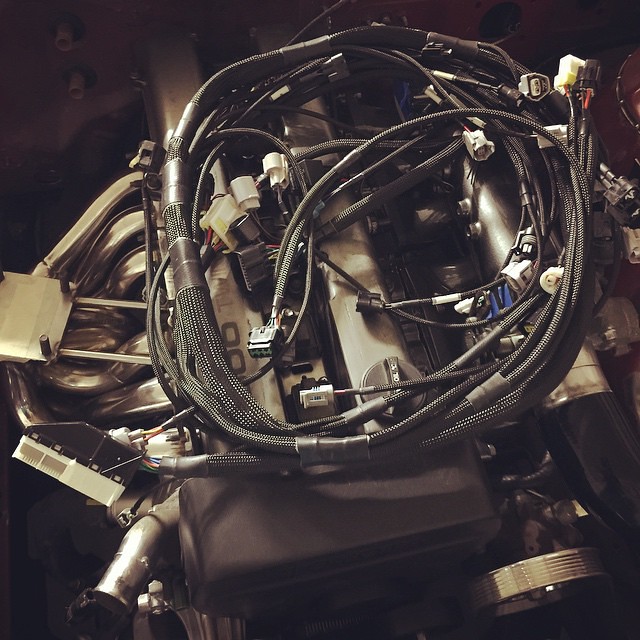
Somewhere along this build me and my good friend picked up a sponsorship from Wiring Specialties if we agreed to help them get the word out about their company and build quality cars to represent their product. Obviously this required no thought on our part and we took the deal. In January 2015 Wiring Specialties delivered on their promise and sent me one of their first completed 1JZ Pro harnesses. This thing is so nice I can’t even describe it. Thank you so much to Yury and the whole team at WS, the level of support that they have given us so far has been so good. I couldn’t have asked for a better group of people to be teamed up with.

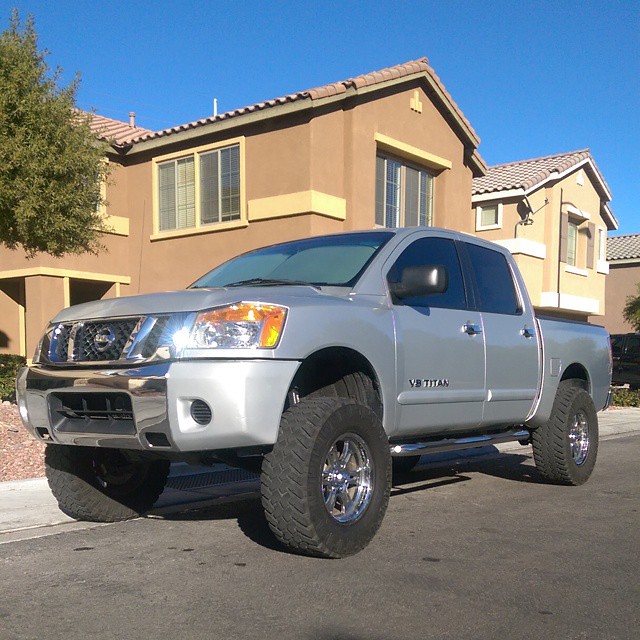
Several days after receiving the wiring harness I picked up a new DD. Obviously a truck is the worst DD you could ever have, but the convenience of having a vehicle that you can load up the bed or use to tow other vehicles far outweighs the gas mileage issues.
Now that I had a truck it was time to get some things done with this build. It was the end of January 2015 and I found a buyer for the KA24. I bought an engine hoist and pulled the motor by myself in two days after work. It really wasn’t all that bad by myself; I have pulled so many SR’s I can’t even remember the count.

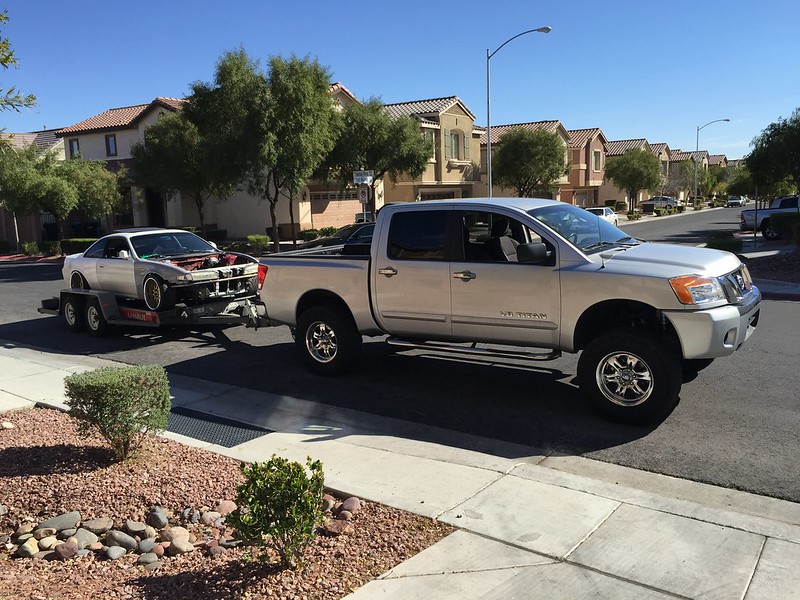
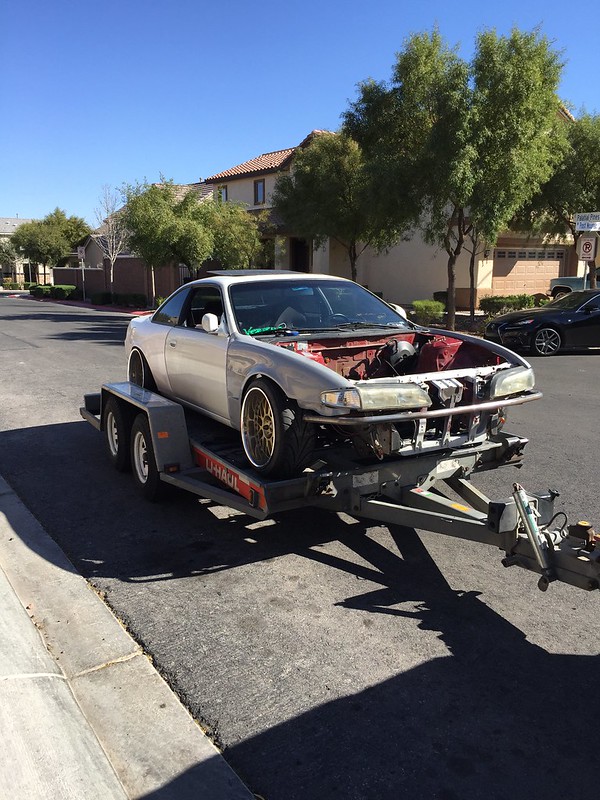
With the KA motor out of the car and sold it was time to get some more fabrication work done. I loaded the whip onto the trailer and took it down to my friend’s shop.
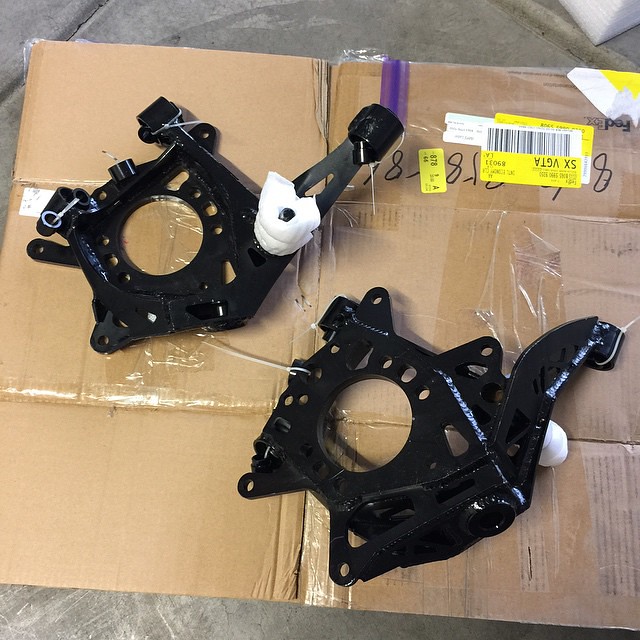
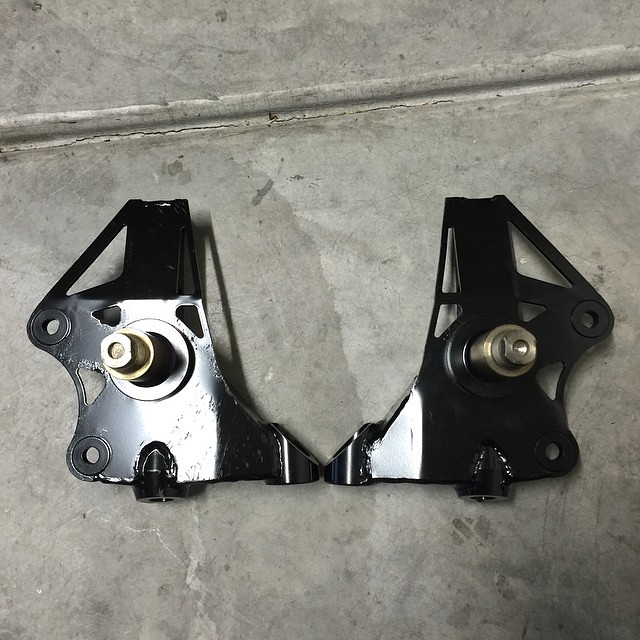
While the car was at the shop, I spent more money on more parts. I ended up purchasing a set of front and rear drop knuckles from GKtech. I really wanted a low car but I’m not too fond of my suspension geometry being all messed up from being too low. I’m hoping this purchase will prevent any future issues from arising and I hope my car will handle amazingly once they are installed.
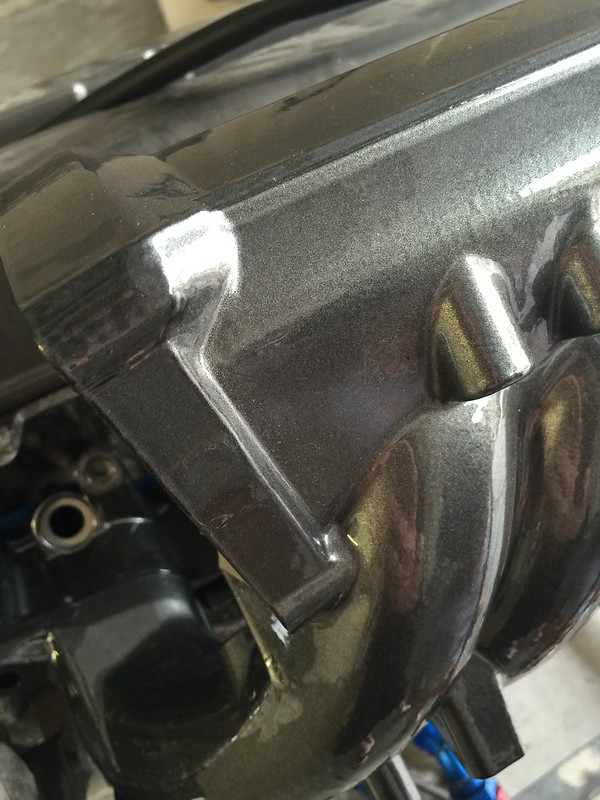
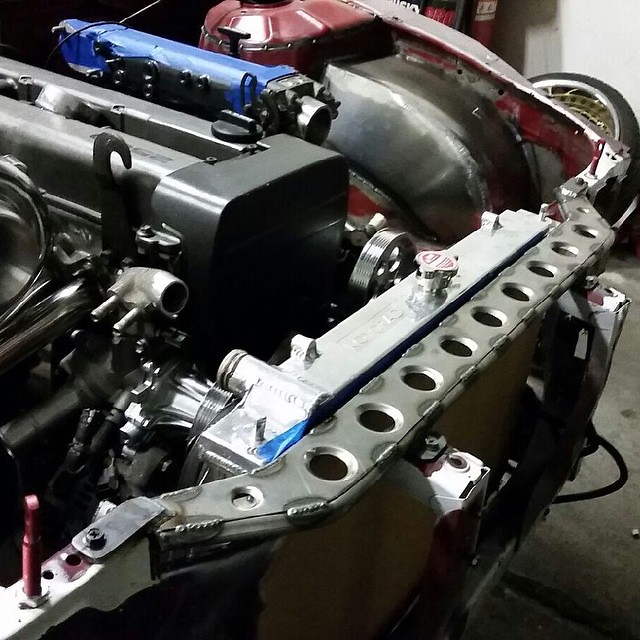
Took the intake manifold and fuel rail runners in to get powder coated. It turned out really well IMO. The color is called Slate Gray Metallic
Found a guy on eBay that was 3D printing gauge panels to replace the S14 radio surround. He was only making them for 52mm gauges but I contacted him to see if he could make me a panel to fit my 60mm Defi’s and he did. SCORE!!!

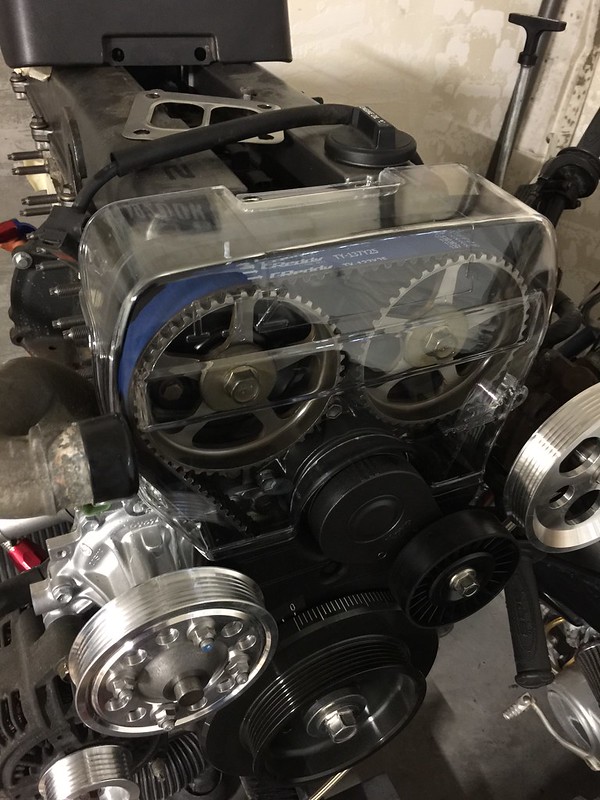
I also picked up a clear cam cover because I thought it was neat. Not sure if I will use it or not. Maybe swap back and forth between this and the stock one???
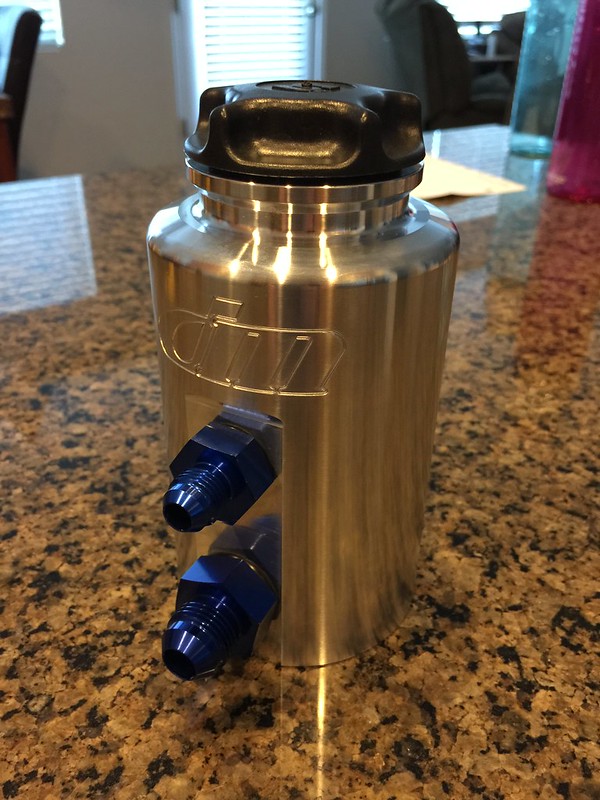
I was still waiting on a backordered Beech Performance Power Steering reservoir from Driftmotion (from a second parts order that I had placed) so I contacted them. They said they had no ETA on when Beech was going to be producing more reservoirs so they sent me one of their in house DM brand reservoirs that hadn’t even been released yet. So much nicer than the Beech unit IMO.
It is now May 2015 and my fabricator said that he was ready for me to bring the motor down. I picked a hell of a nice day to go. I loaded everything up and took it down to his shop to drop it off.

This was my first time getting to see any of the fab work and I was really impressed, as I usually am with Jesse’s work. Here are some shots of the tubs in progress.
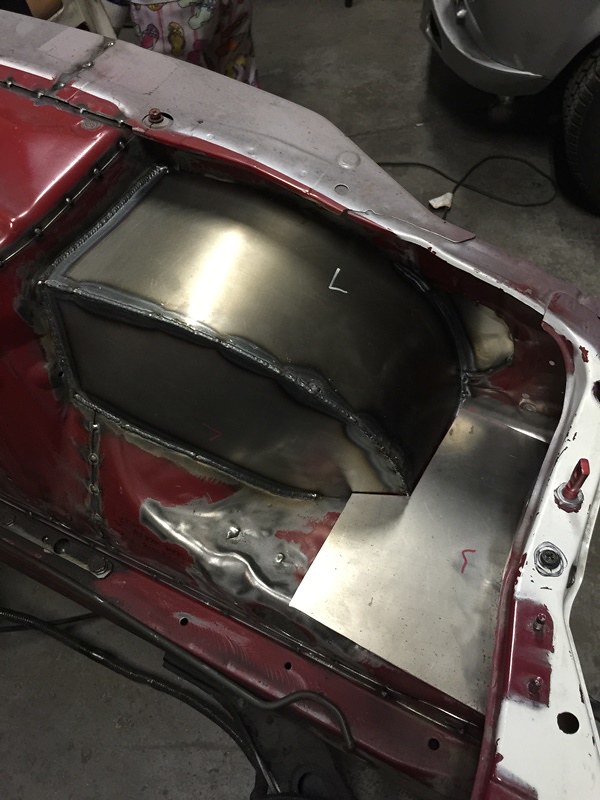
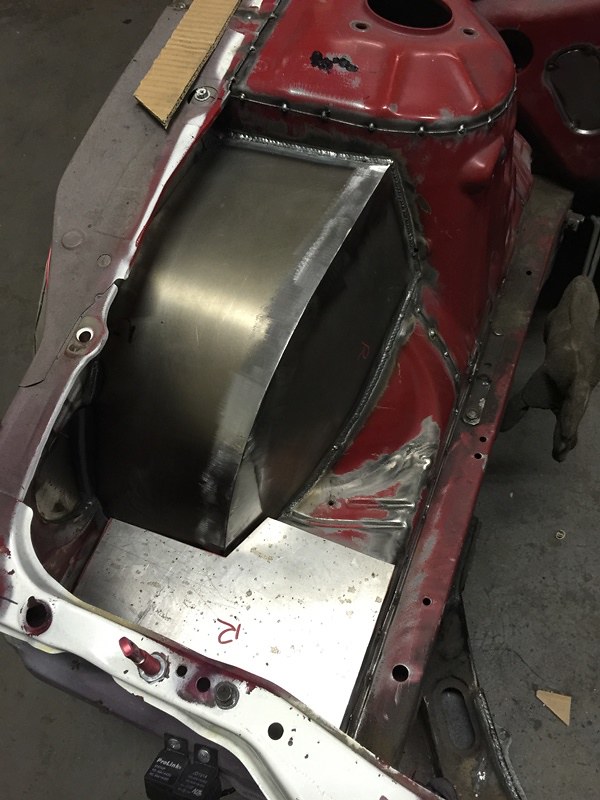
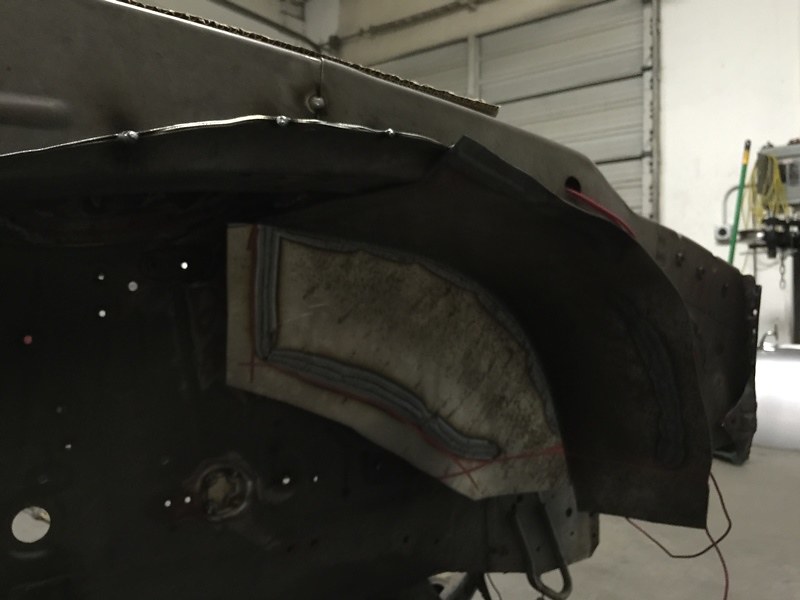
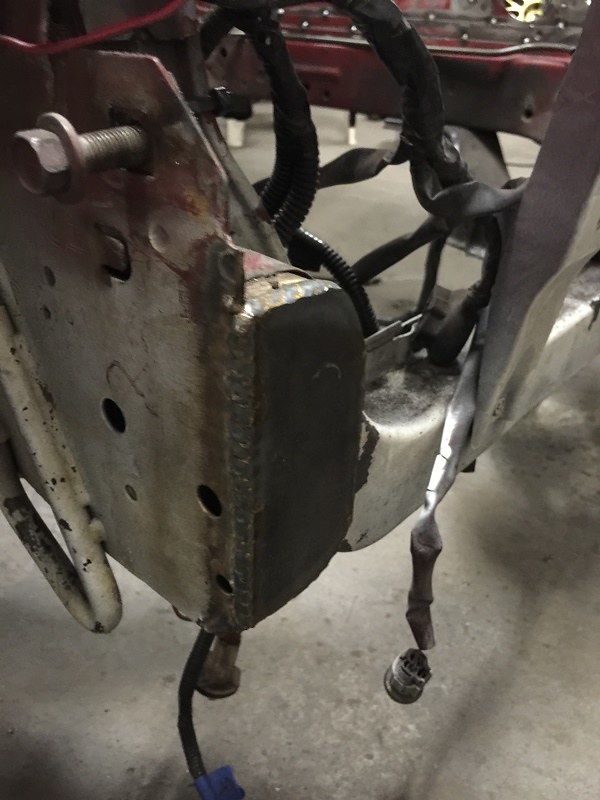
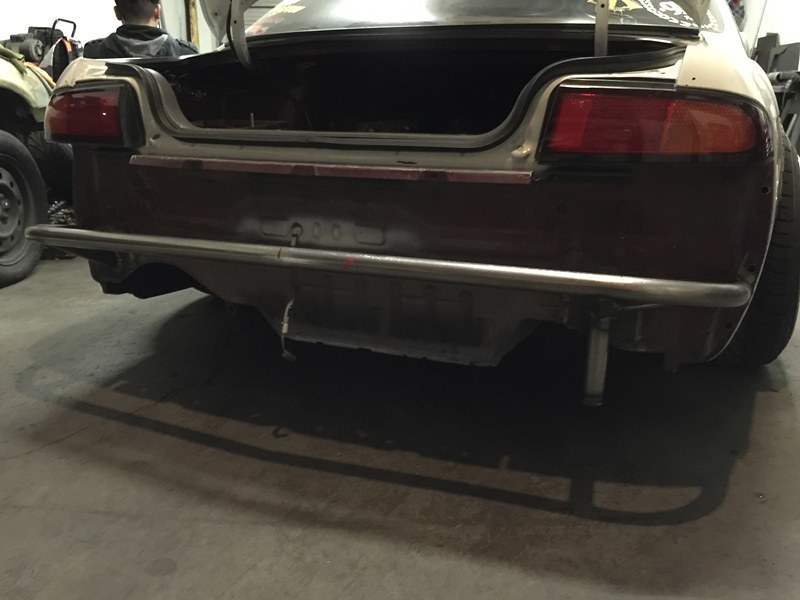
Among other things, I had him stitch weld the engine bay, build a rear bash bar with a jack point, and chop off the ends of the frame rails and box them in to make clearance for the intercooler.
We dropped in the motor and I left everything with Jesse to finish up what we could at this point. With the Freed Engineering mount kit and Cusco solid motor mounts the engine sat perfectly. There was more than enough room in the transmission tunnel for me to drop the motor in and not have to bang anything with a hammer.
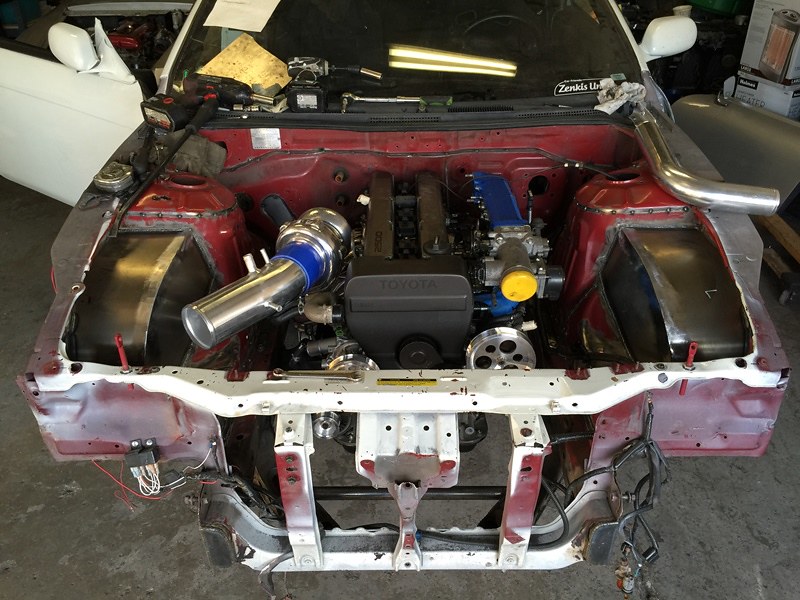
The next time I checked in with him the removable core support was completed, the throttle body had been chopped, the water neck was also modified. Here is an in progress shot that I took when I went back to Jesse’s shop. Everything on the core support is removable to make taking the engine out much easier than it normally would be. The throttle body had the traction control removed and the water neck was modified to work with the KA Koyo radiator that I already had.
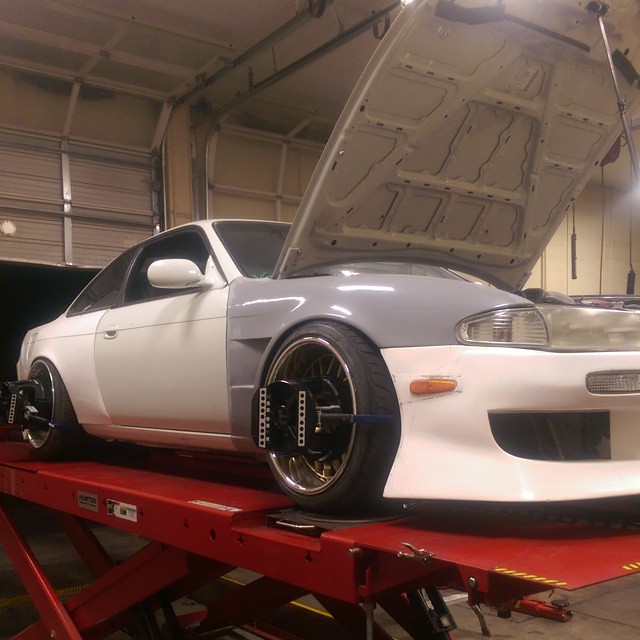
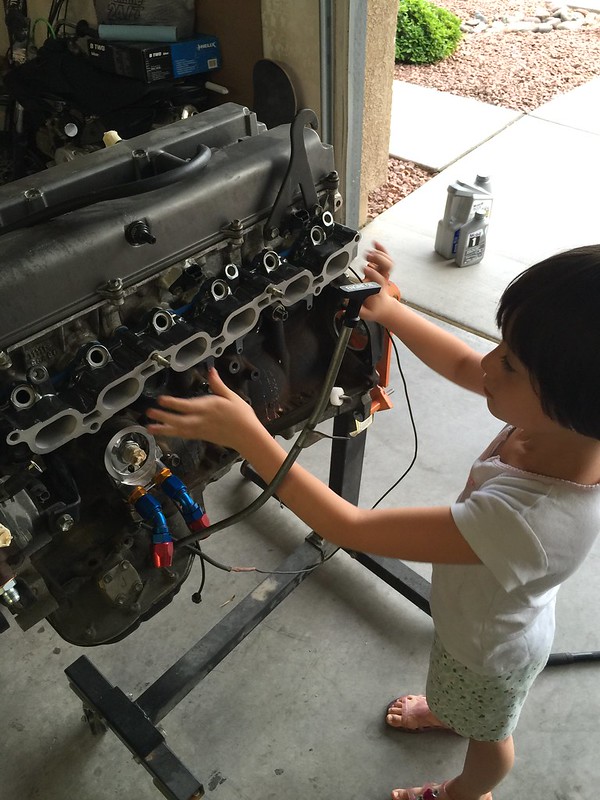
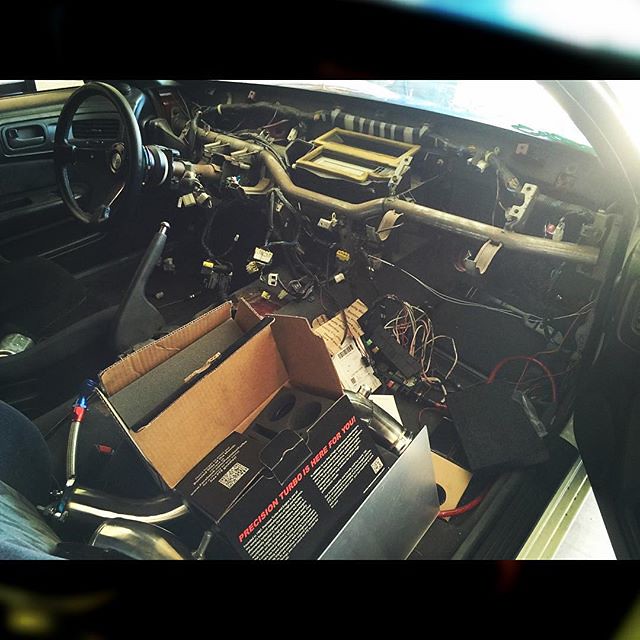
A few days later I got to pick up the car and get it back to the garage. I wasn’t ready to install the engine harness, but I wanted to take a picture of the first time the harness and motor have actually met….
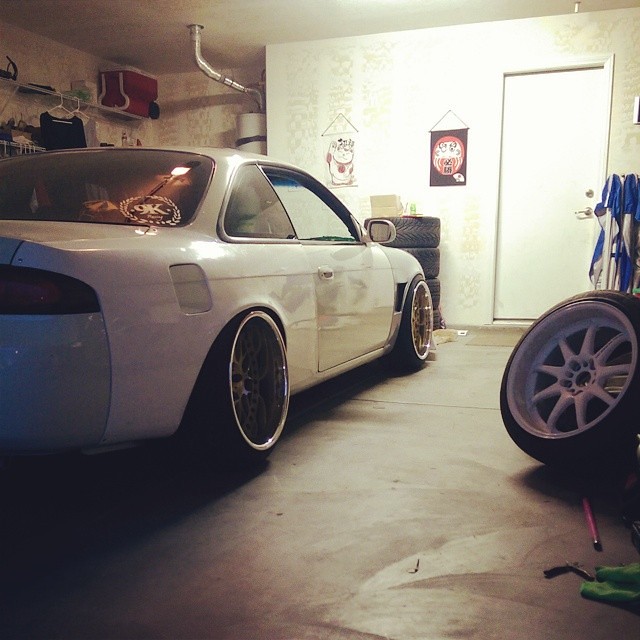
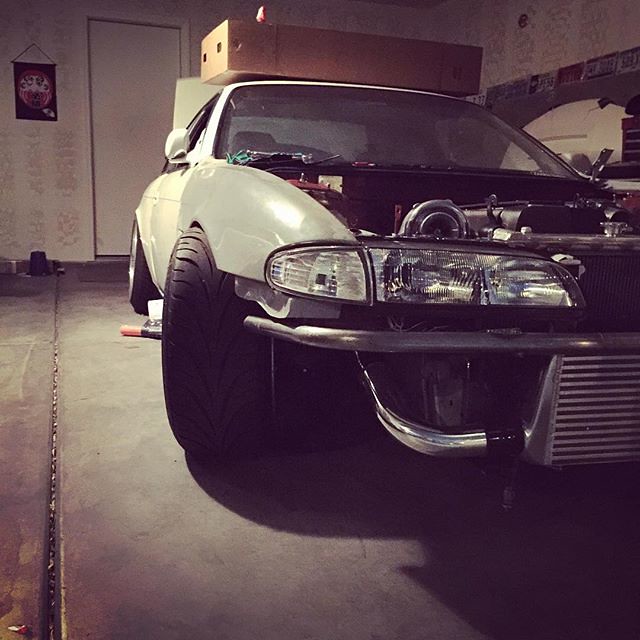
After several months of me dealing with anxiety and work I finally felt good enough again to work on the car. The summer in Vegas doesn’t really motivate anyone to work on their car, to be honest, and my anxiety seems to get far worse if I start feeling hot. So here we are in September 2015. I had flip flopped with the idea of converting my car to a kouki several times but I instead pulled the plug on some EDM zenki glass lights out of Spain (thanks Razmus). Looks a million times better than my old faded USDM plastic lamps.
Face down, ass up. We had to lift the back of the car in order to unbolt the transmission mount and lower it a bit while we cut the shifter opening a little better to accommodate the tripod shifter.
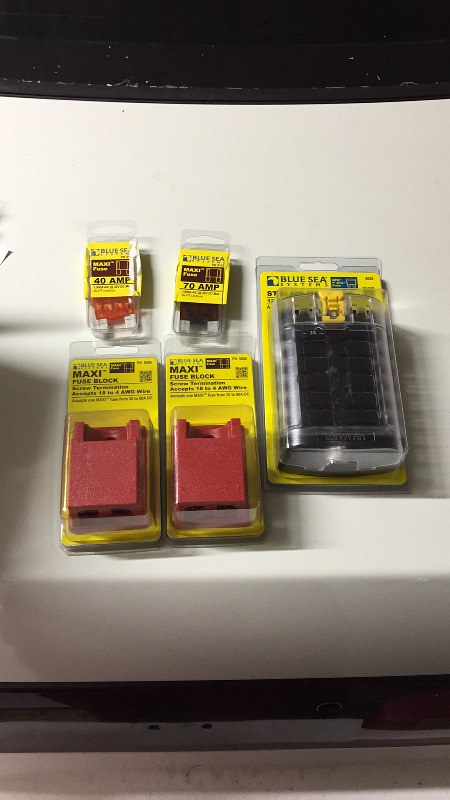
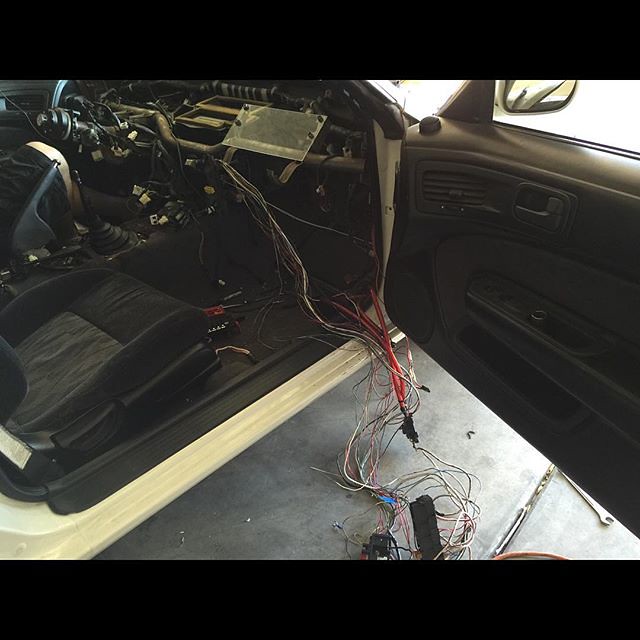
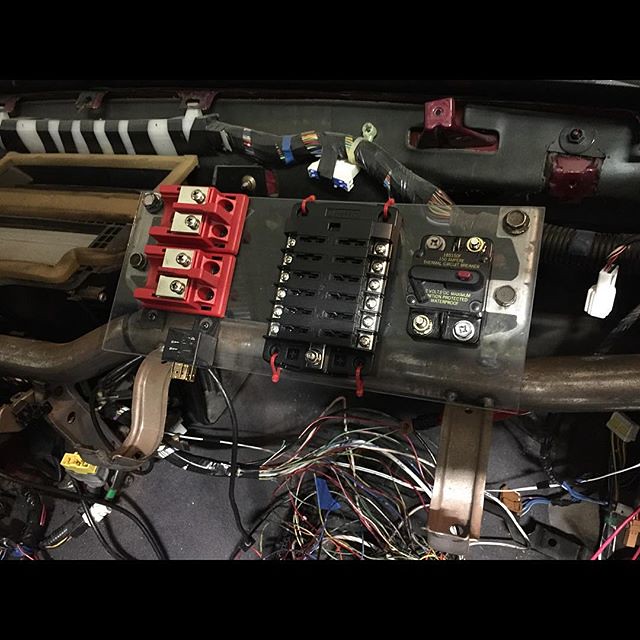
The interior in the car is still out so it was time to get to work on finishing up the wire tuck that one of my friends had done for me. I bought some fuse blocks and started to get to work. I’m no master of wiring, but the little amount of crap that my boy Ross had left for me was simple enough that I could clean it up.
You can see what’s left of the original fuse box on the floor board.
I want to cut out the rest of the slack so I straightened everything out as much as I could and got to labeling.
The zipties are temporary, but this is what me and my homie Eric came up with. It’s not fancy but I think it will get the job done. I’m checking into some things though and this may not be my final setup.
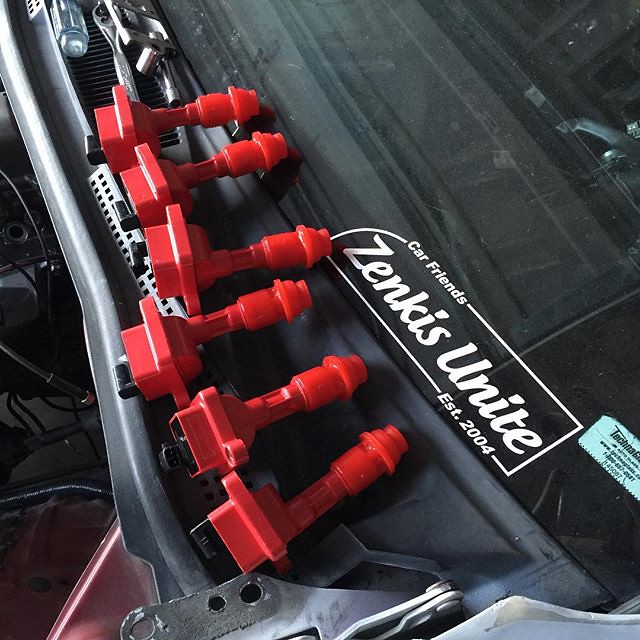
I cleaned up the SuperSpark coilpacks that I bought and then realized that I need to go buy some new screws before I throw them on the motor.
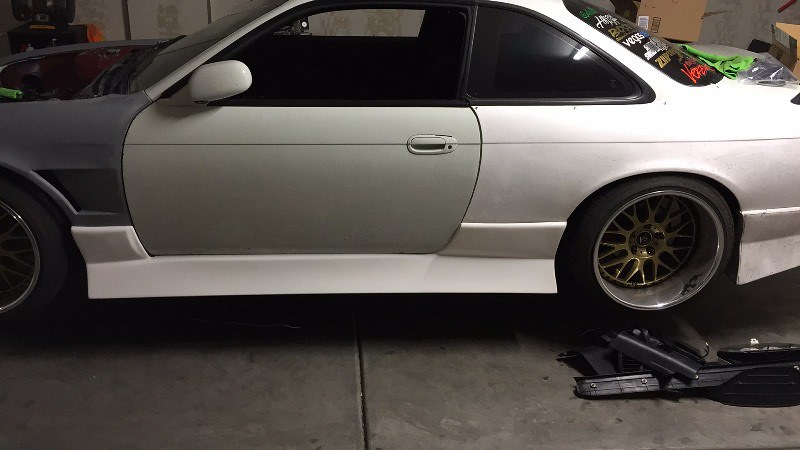
I got some time to fit the side skirts as well and I have to say that the fit is pretty good right from Origin, but there are some areas that need to be trimmed so I won’t be leaving these on for now.
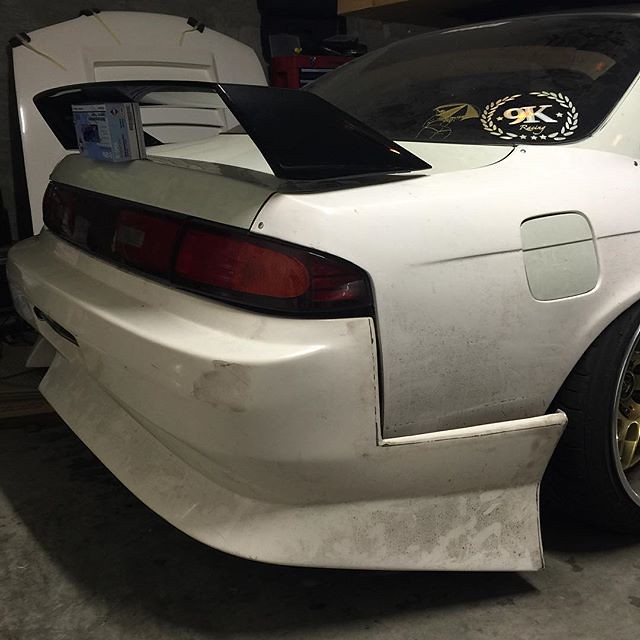
Fra-gee-lay….must be Italian.

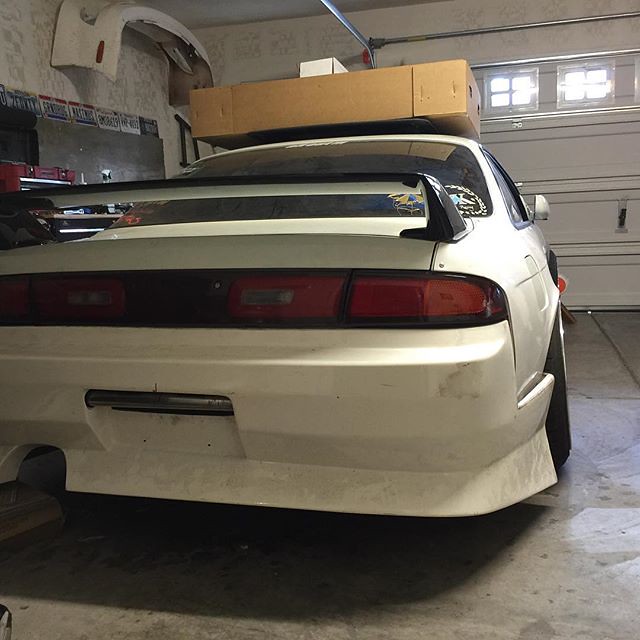
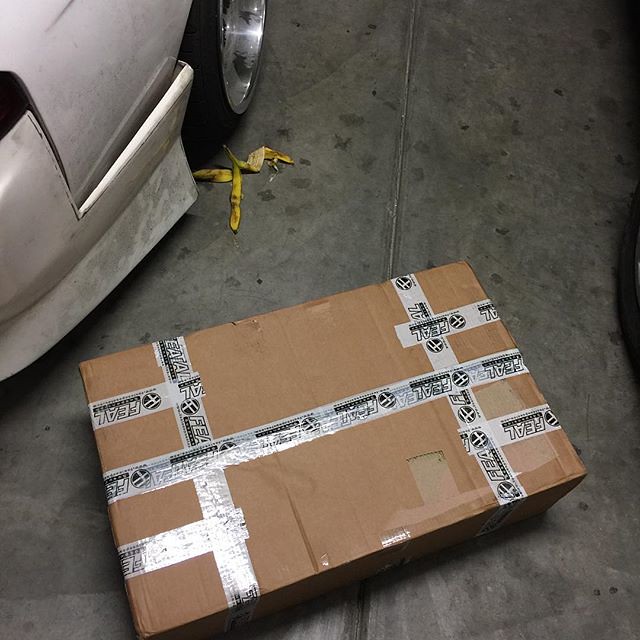
Nope it’s just something from Japan. I was going to put a big ass wing on this car, but about a month ago everyone and their mom started doing that so I figured I would go OEM. I really want to build a car that embodies the Japanese street style that I saw when I was over there, so OEM really is the best choice in the end.
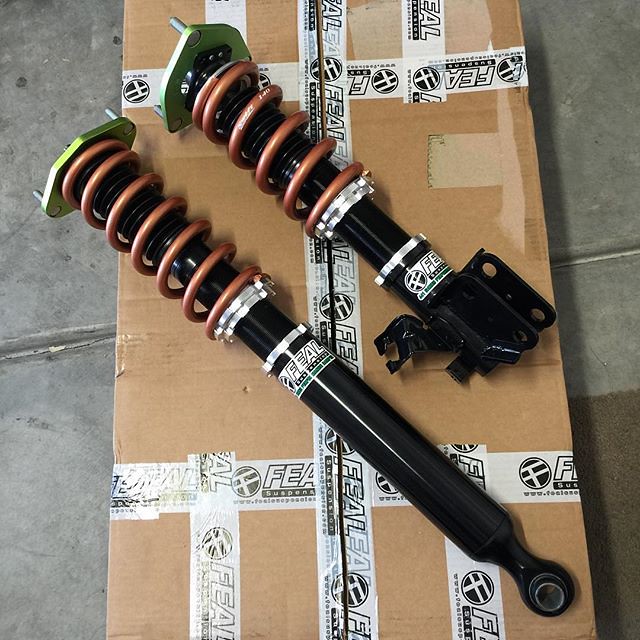
The end of the month came and the Street Driven Tour passed through the city. I contacted Odi from Feal Suspension to see if he could build me a custom set of coilovers and bring them to the Street Driven Tour to save me money on shipping. He built them, brought them, and they are REALLY nice.
It’s a Feal 441 drift setup with 14kg Swift springs in front and 6kg Swift springs in the rear. When they build coilovers for you they valve them according to the spring rates that you asked for in your build. This was the main reason I went with their suspension; I can’t wait to drive on these things.
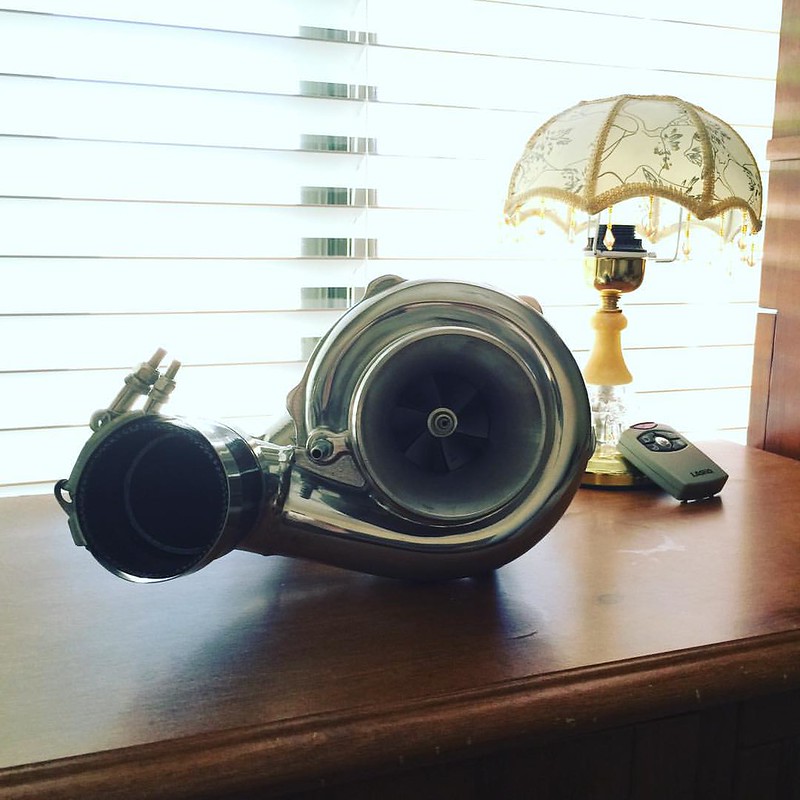
That’s all I have right now, so here is a picture of my turbo sunbathing. Excuse the extremely ugly ass lamp…I’m not even sure why we still have that.
TO BE CONTINUED….