Quote:
Originally Posted by jankyzenki

Hey Dolph_KyaS13, not trying to copy your exact paint job but how did you go about painting your valve covers?
|
No worries.
I originally posted a how too in the valvecover thread but I keep getting PM's about this so here are my secrets revealed

First I made an illustrator file for the shapes of the livery. It was damn near impossible to find a good pattern in high resolution but after searching forever I found someone had created and traced it in Illustrator.
I had the Shapes cut out in low tac vinyl at a local signage shop.

To prep the covers themselves, I sanded them down to remove the factory casting marks so the vinyl stencils would adhere and paint would not bleed.

I used zinc chromite primer (read the label follow the instructions) and primed the sanded valve covers.
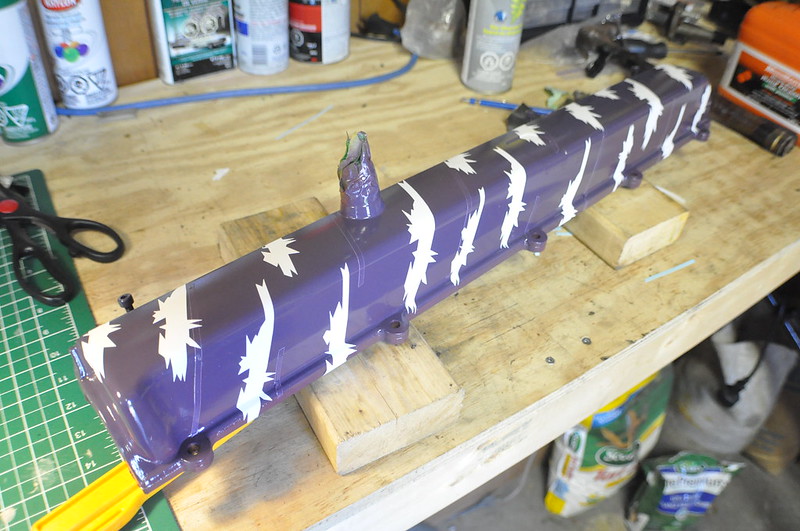
First colour to go on was the red, I then used pin stripe tape to mask the red lines. The paint used was just Kylon spray paint I bought at Canadian Tire but im pretty sure its available at walmart in the states.
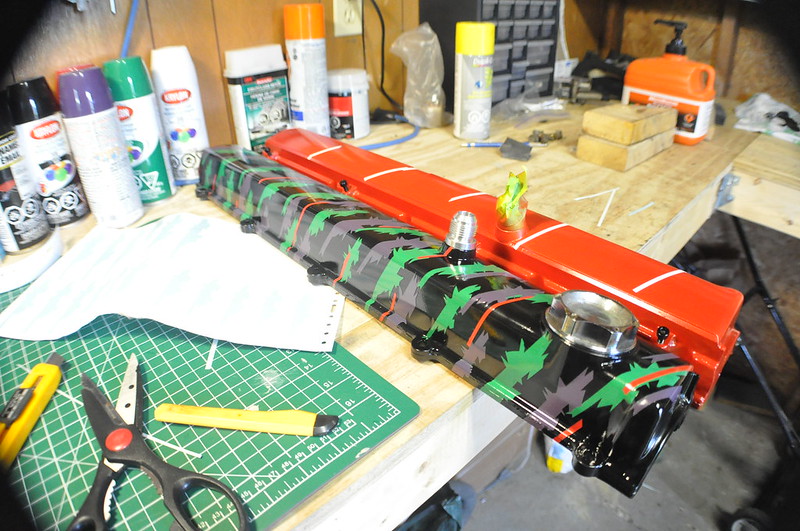
Once the red was all masked, I painted the covers purple. After leaving it to try overnight (there is a lot of waiting) I used the stencils to mask the purple part of the livery.
It was just a matter of repeating the steps with the green, applying the stencils and then painting the whole thing black.
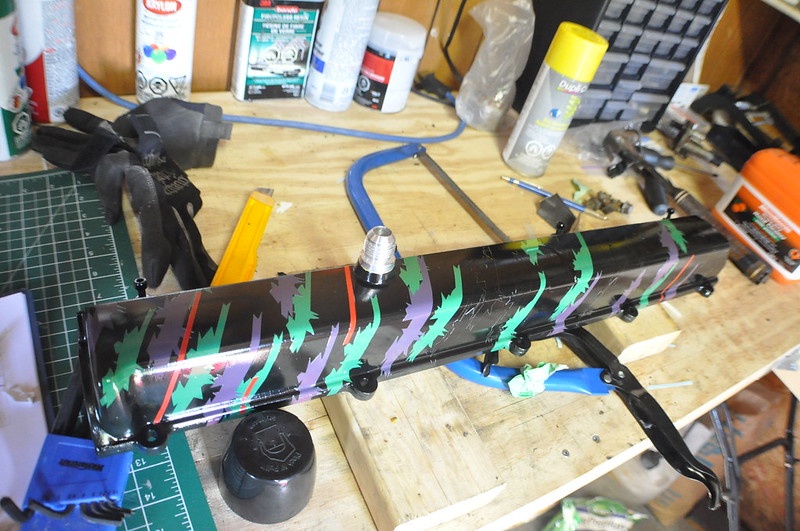
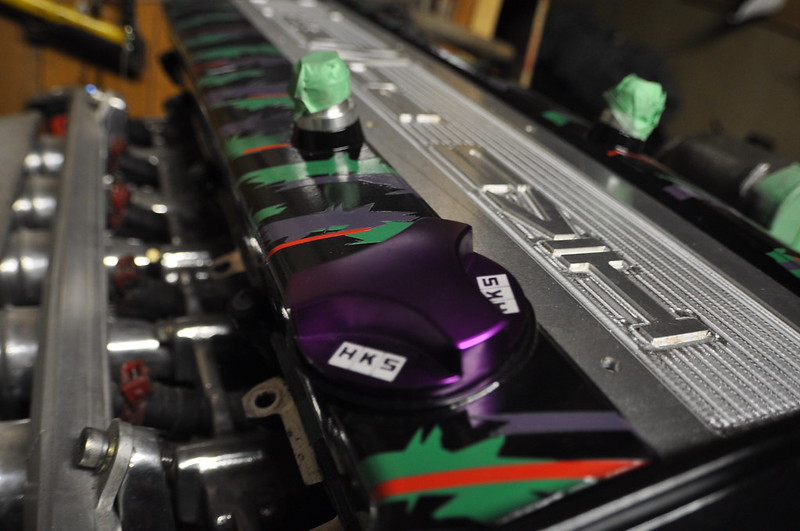
Once dry, carefully peel off the stencils. This is the best part as all the waiting pays off. After all the stencils were removed, I sprayed a thick coat of clear over the everything.
Like everything else painted, its all in the prep-work. I used regular primer at first and it did not adhere to the aluminum. Take your time and make sure everything is 100% dry between coats and stencil application and it should work out just fine.

-Jordie