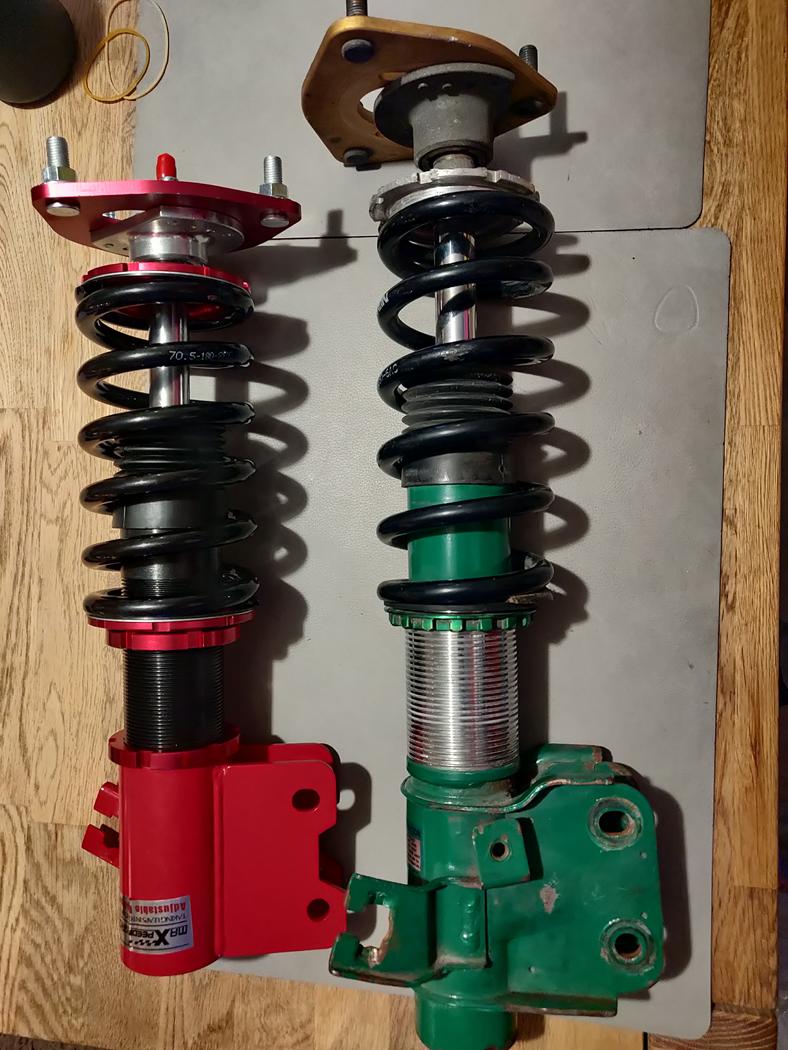
As i have mentioned earlier, my Tein coilovers were so outdated that i couldnt get any replacement parts for them. I was fortunate to have MaXpeedingRods reach out to me, and ask me if i wanted to try their coilovers, since the coilovers that i got with the car were old and useless. And of course I was thrilled by the idea of trying a new product. So here comes my honest review and some specs about the item.
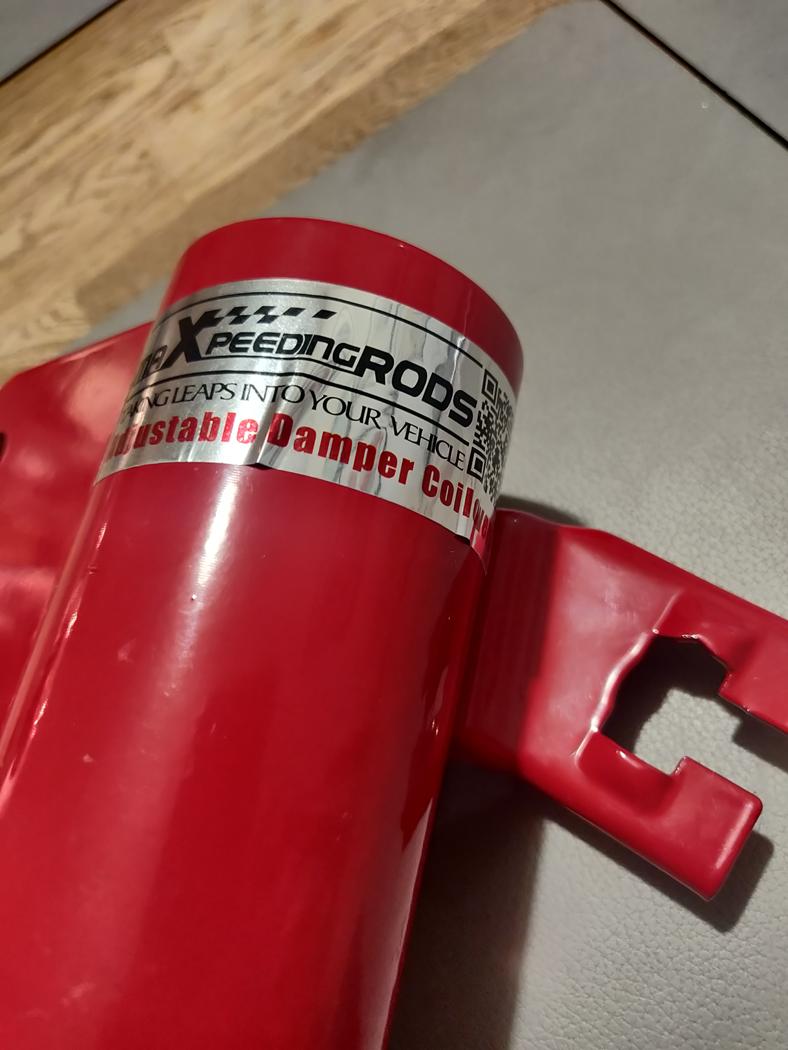
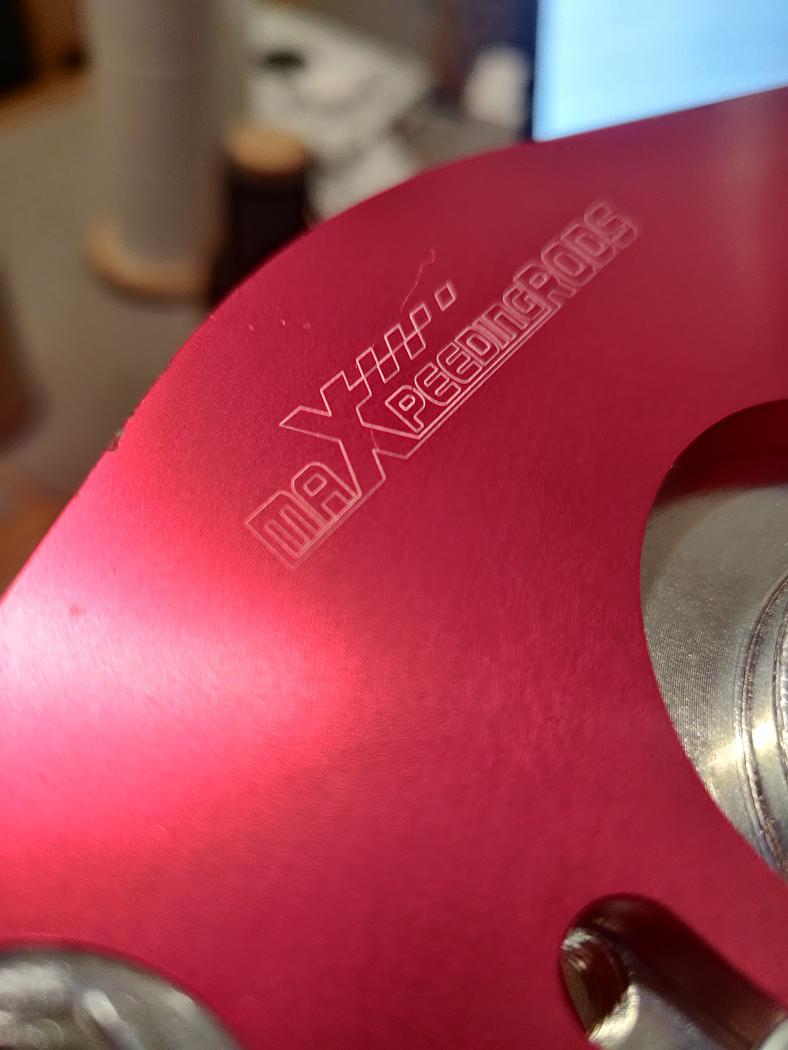
The product is the CO-NIS-S13-R-LC which is a 24-way adjustable damper. The box is nicely made, and even has the MaXpeedingRods logo on the side - A nice touch. My coilovers came powdercoated and anodized in red, but the ones in the link at the bottom is yellow.
Unfortunally the box did take a bit of damage in shipping, but the coilovers are intact. So i cannot complain about that.
Some little specs about the dampers:
The coilover is designed with a classic monotube construction.
The front:
Spring rate Front: 8 kg/mm (448 lbs/in)
The front can be adjusted about 8,5cm from highest point ot the lowest.
Preload in the front is 7,6mm.
Piston is 22mm wide
Spring outer diameter is 96mm
The Rear:
Spring rate Rear: 7 kg/mm (392 lbs/in)
The rear can be adjusted about 6,7cm from higest point to the lowest.
Preload in the rear is 6,7mm
Piston is 12,5mm wide
Spring outer diameter is 95,5mm
The spring rate might be on the higher end for a streetcar, but that should definitely be a big plus for a trackcar as it makes your speed demon feel like a gocart.
I will try driving with the original springs to start off with, and if i will not like them, i will see if i can find some softer replacements in the range of 7kg/5kg. I will keep you guys posted.
The dampers come adjusted from the factory. So no need to re-adjust the preload. Which saves a lot of time and unnecessary stress! Highly appreciated minor detail.
I would absolutely recommend to go through everything and tighten it up just to be on the safe side. In my case, the locking rings were loose on my set, and that can never be a safe thing. So please pay attention to this when getting your own set. We dont want any casualties due to a mishap like that.
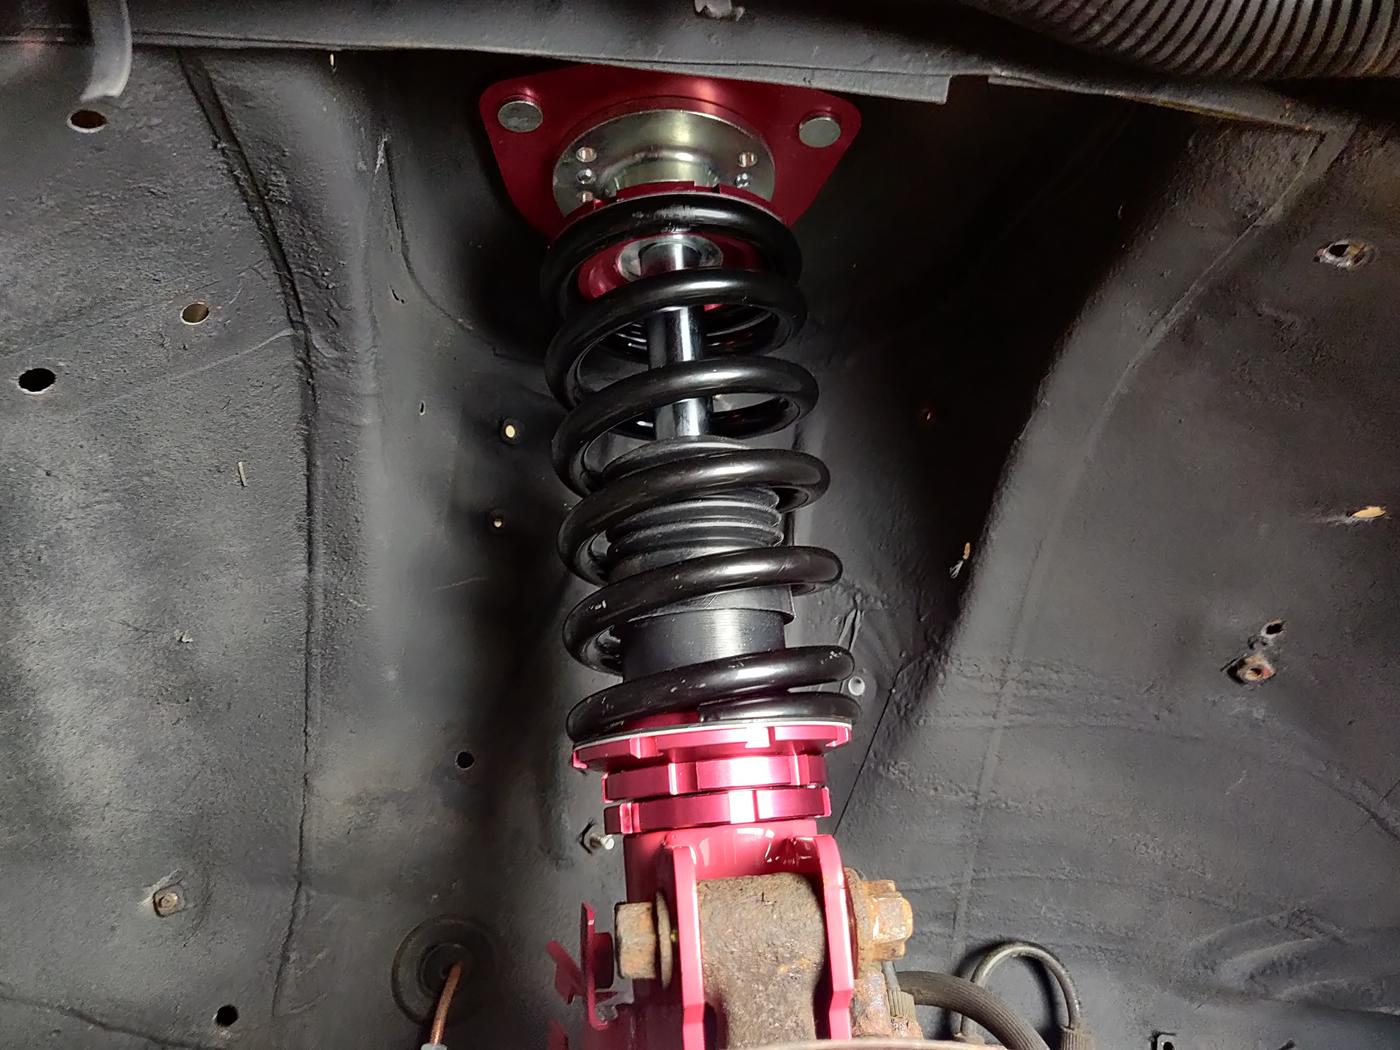
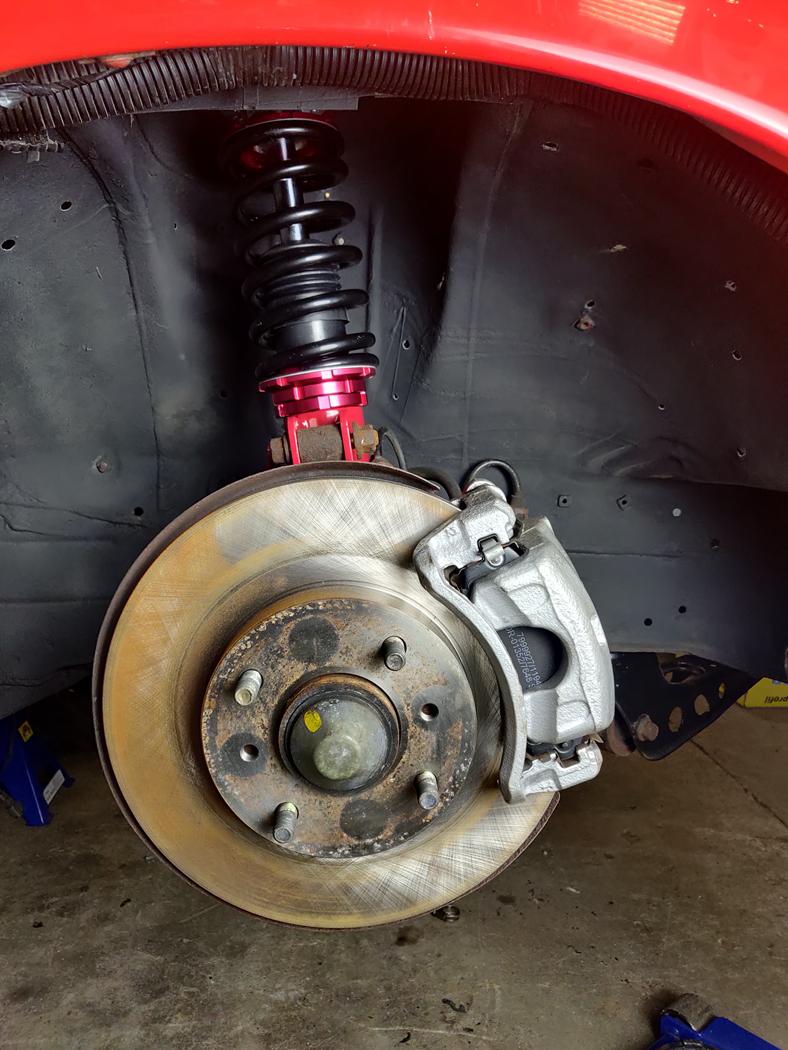
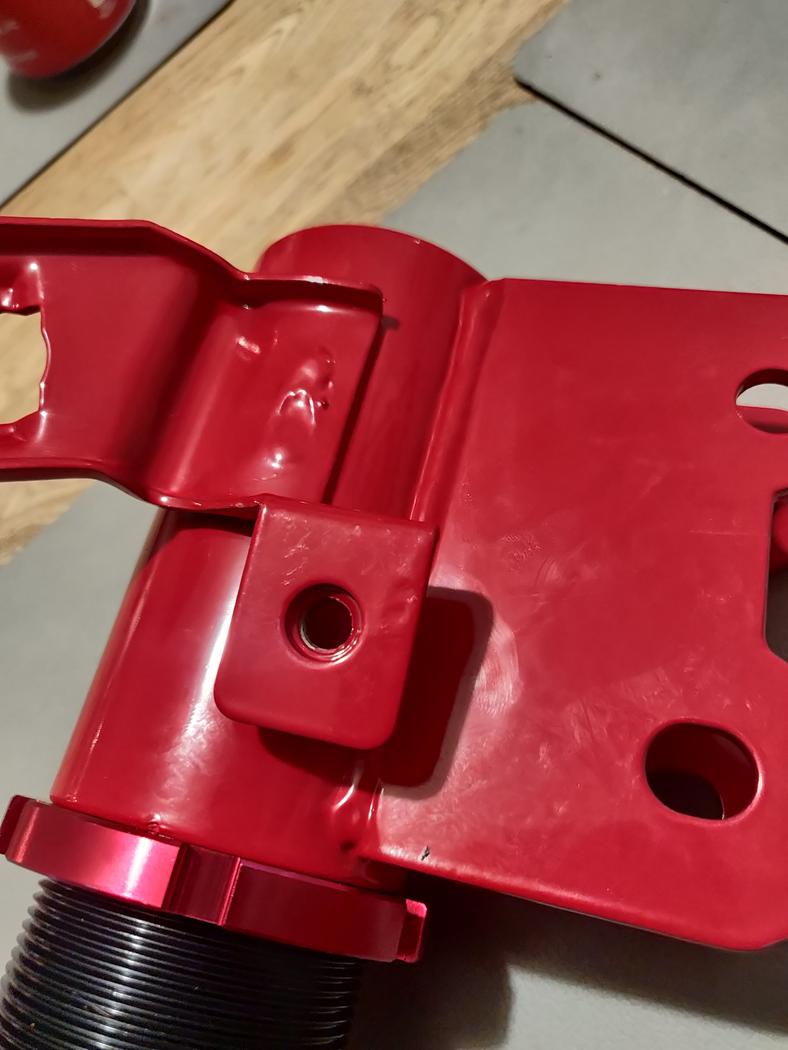
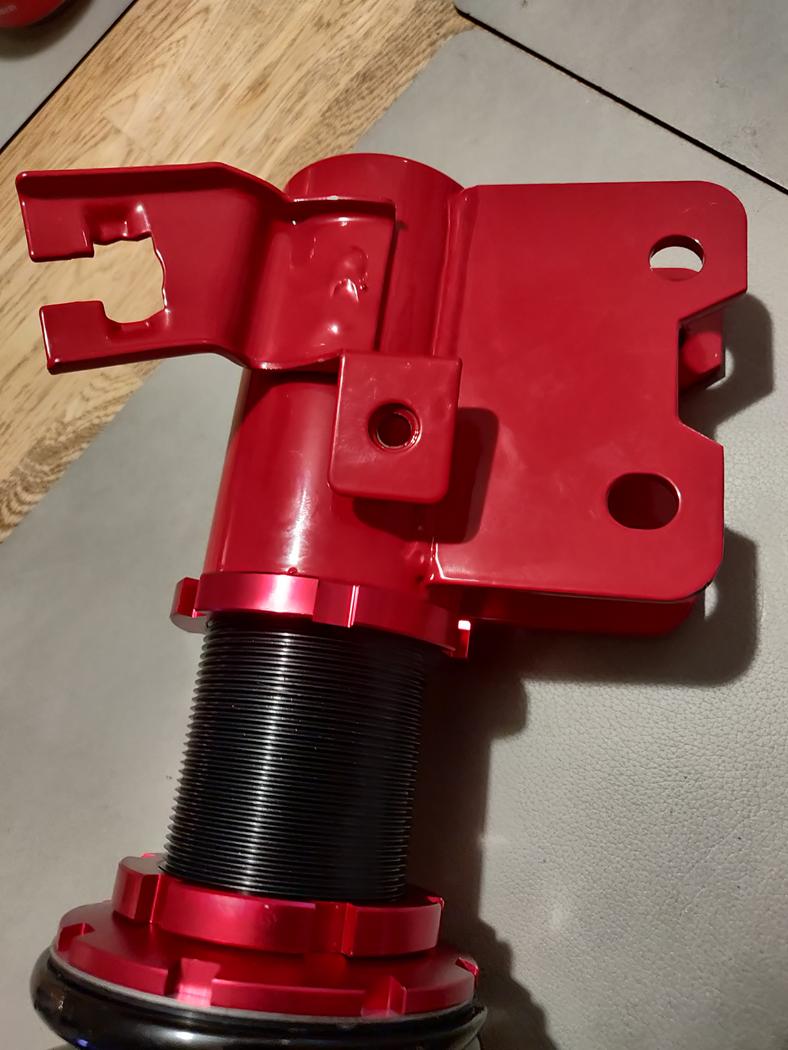
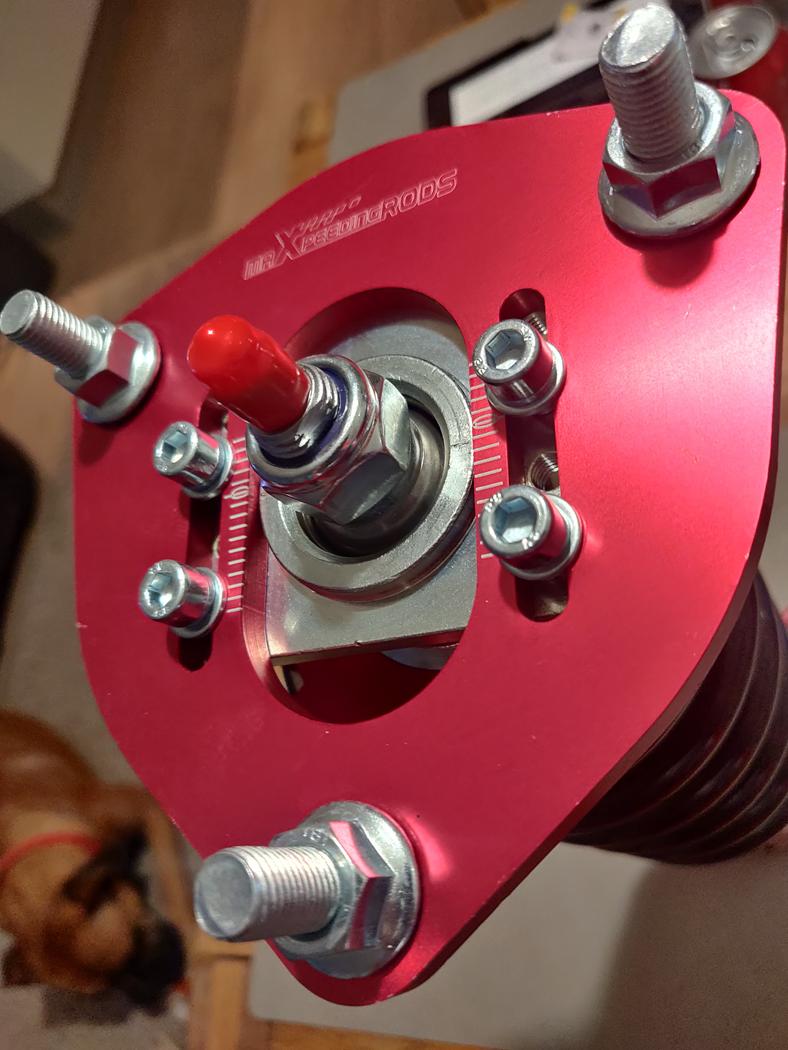
The topmounts are made of machined aluminum with a pillowball. The topmount also have camber adjustments. The Nissan S13 (180SX, 200SX and 240SX) normally have the camber adjustments on the spindle, so this option can give some extra camber, if you are into that. #cambergang!
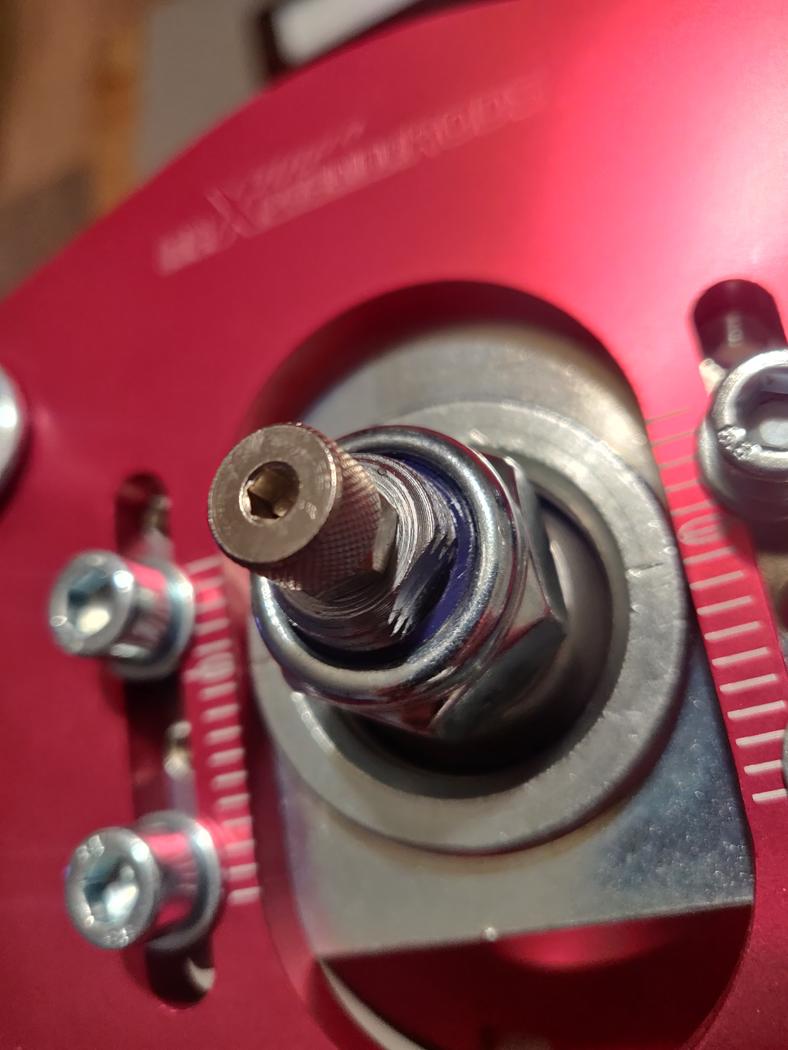
When looking for the damper stiffness adjustment you should know that it is done from the top. It has 24 clicks that goes from hard to soft. Trust me I counted myself!
The Installation of the coilovers is fairly easy. They are only connected with nuts at the top and bolts and nuts at the bottom. Easy peasy and straight forward.
The process should go as follows: just unbolt your old suspension - start with removing the brake lines and ABS-line, if you have this. Put a jack or a jackstand under your Lower controlarm. Then remove the bottom bolts and nuts, so the dampers would not fall down. and finish removing the bolts from the top. The safest step by step procedure. Ask my toes, they once had a hobby related injury.
To install the MaXpeedingRods coilover, is as simple as the removal. Just reverse the procedure of removal. But pay attention to the front coilovers as there is a left and a right one, the rear ones are the same. Start with the top, and work your way down. I always find that very easy and thorough. And make sure that the brake lines are secured properly, and please remember to tighten all bolts and nuts to the factory specifications.
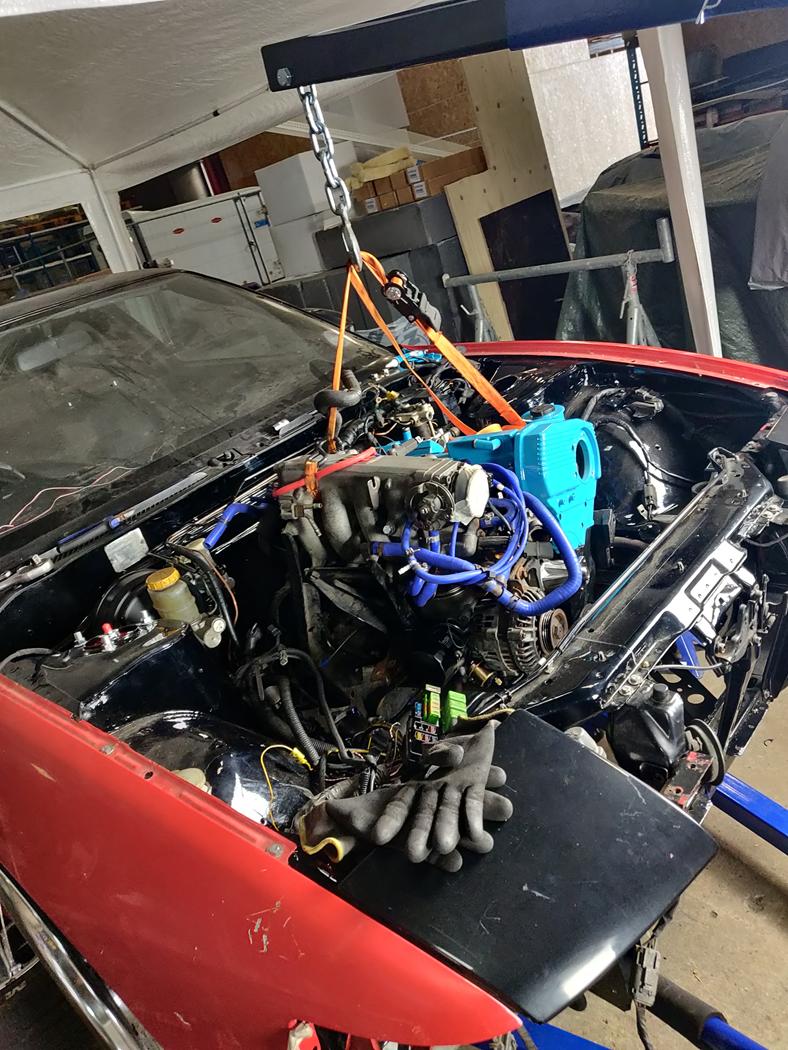
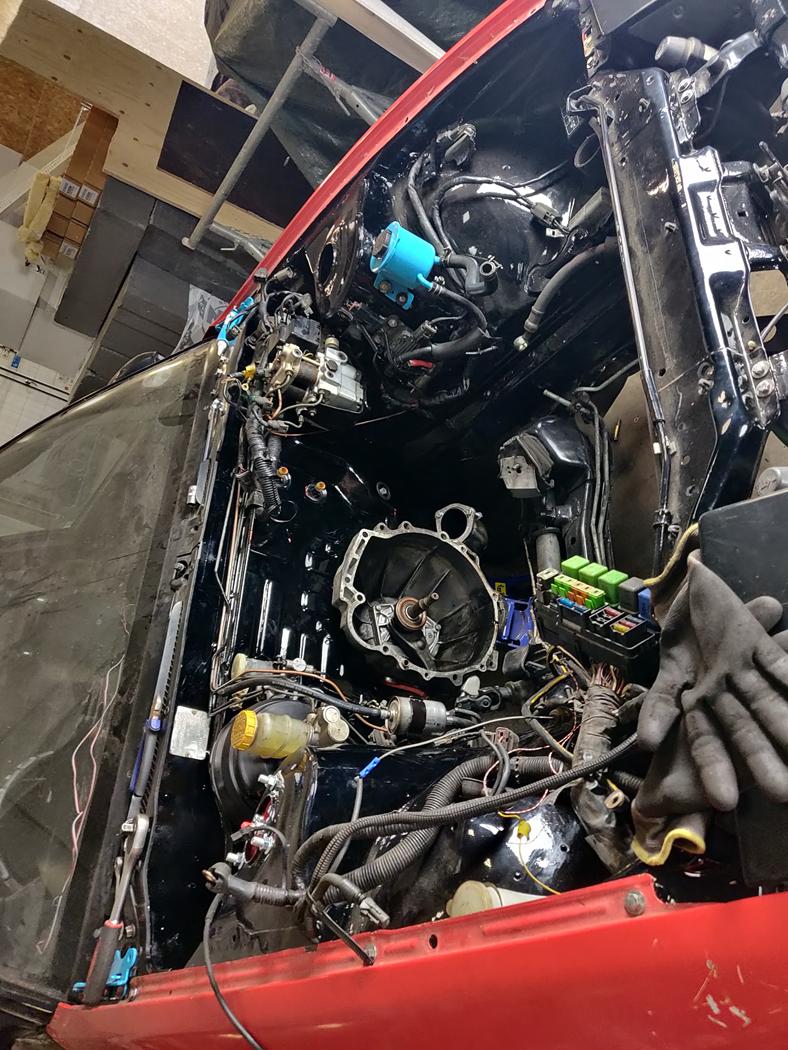
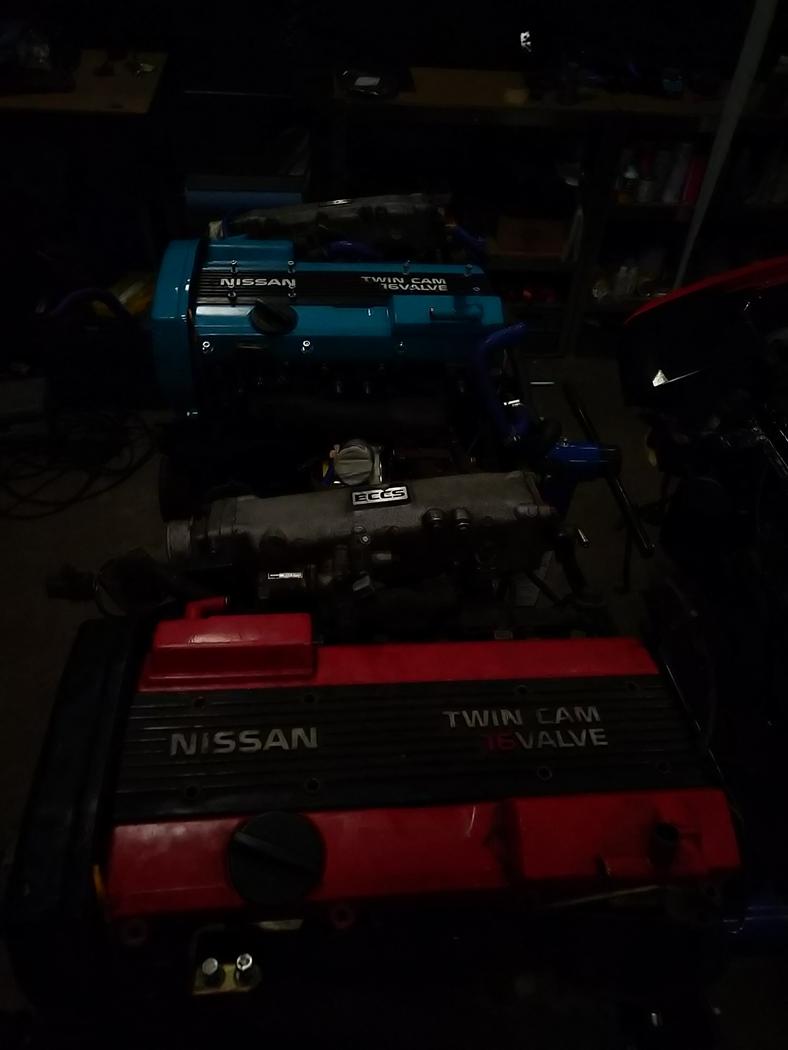
Unfortunally i can?t testdrive the car with the MaXpeedingRods coilovers at the moment. First of because its december, but the bigger problem is that my engine is taken apart to repair a "small" problem.
But i will get back in the start of 2021 with an updated review.
If you are interested in buying a set of your own, MaXpeedingRods have made an offer for you where you can save a few bucks:
https://www.maxpeedingrods.co.uk/pro...racking=gojira
Anyway?
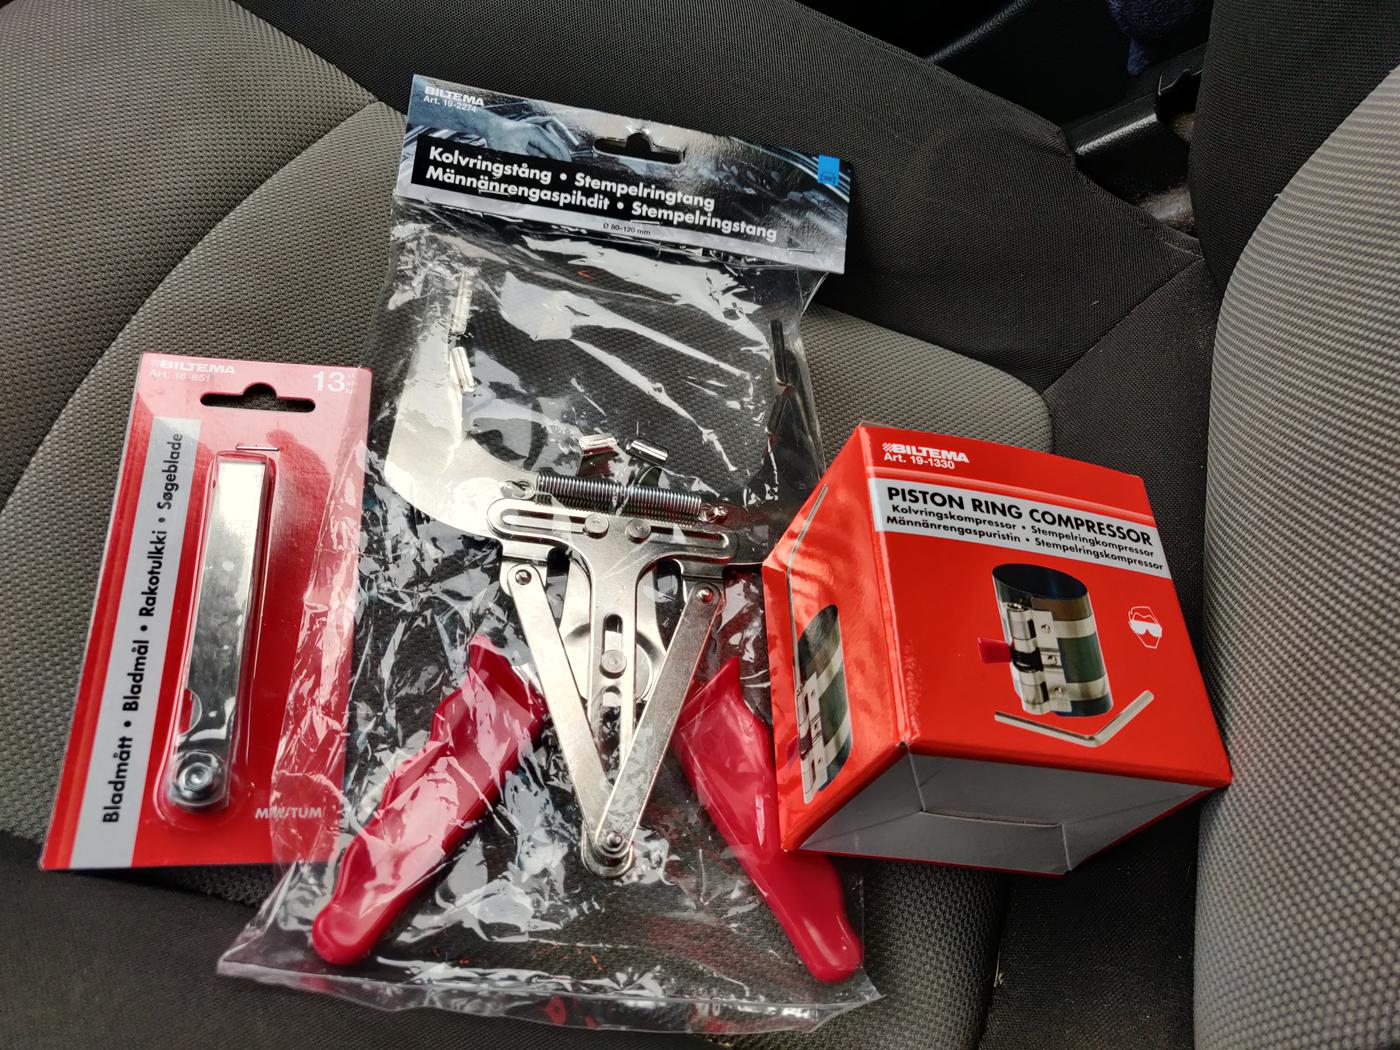
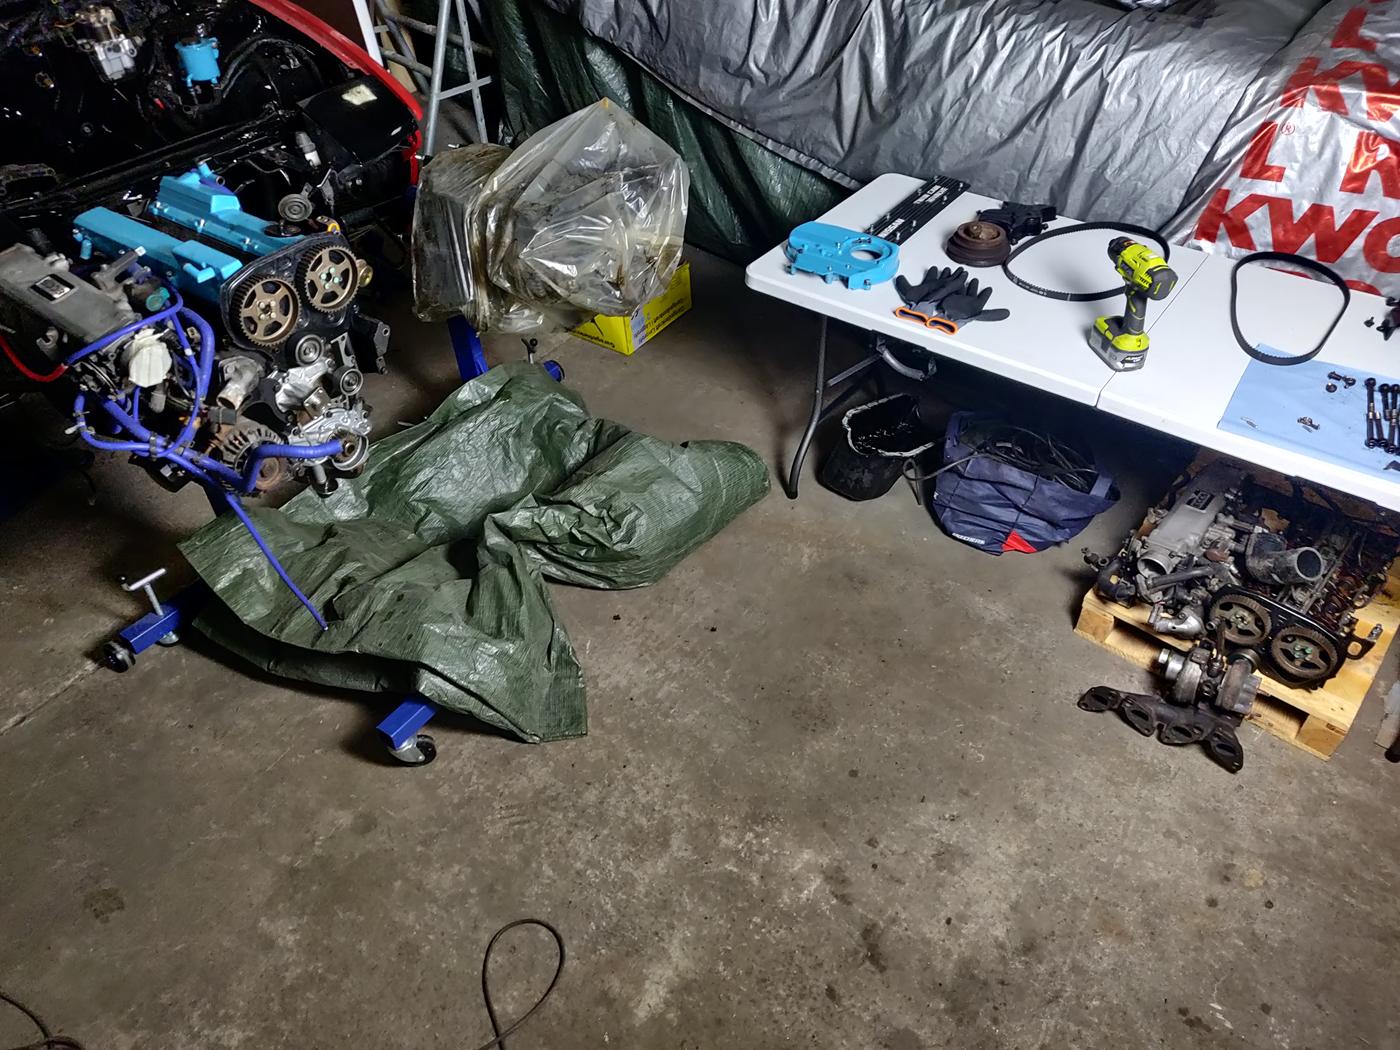
I went to pick up some tools to take apart the engine to see the damage.
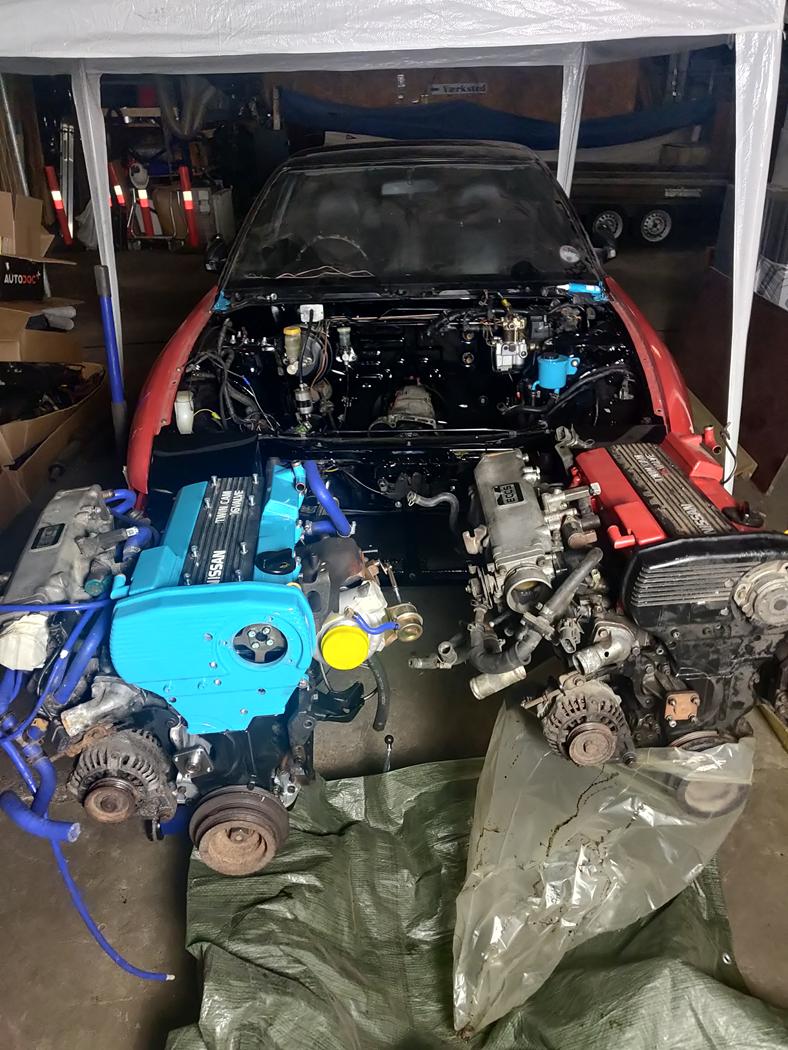
I also needed to take apart the spare engine to take out the oil squirters.
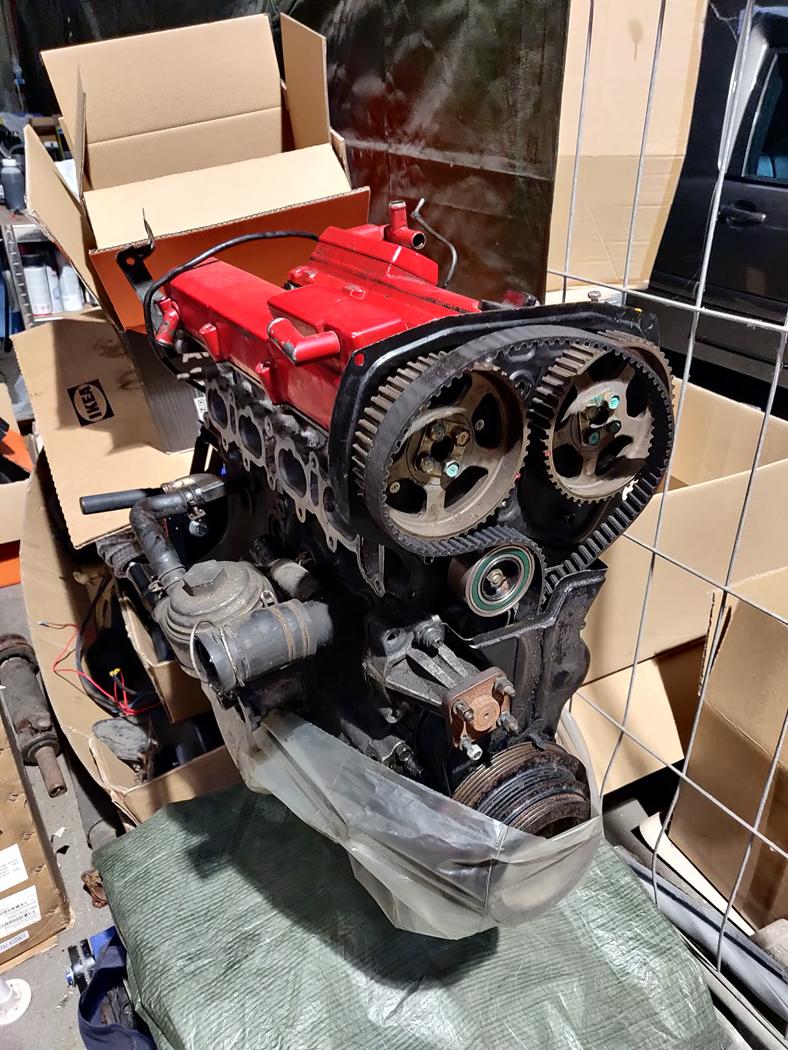
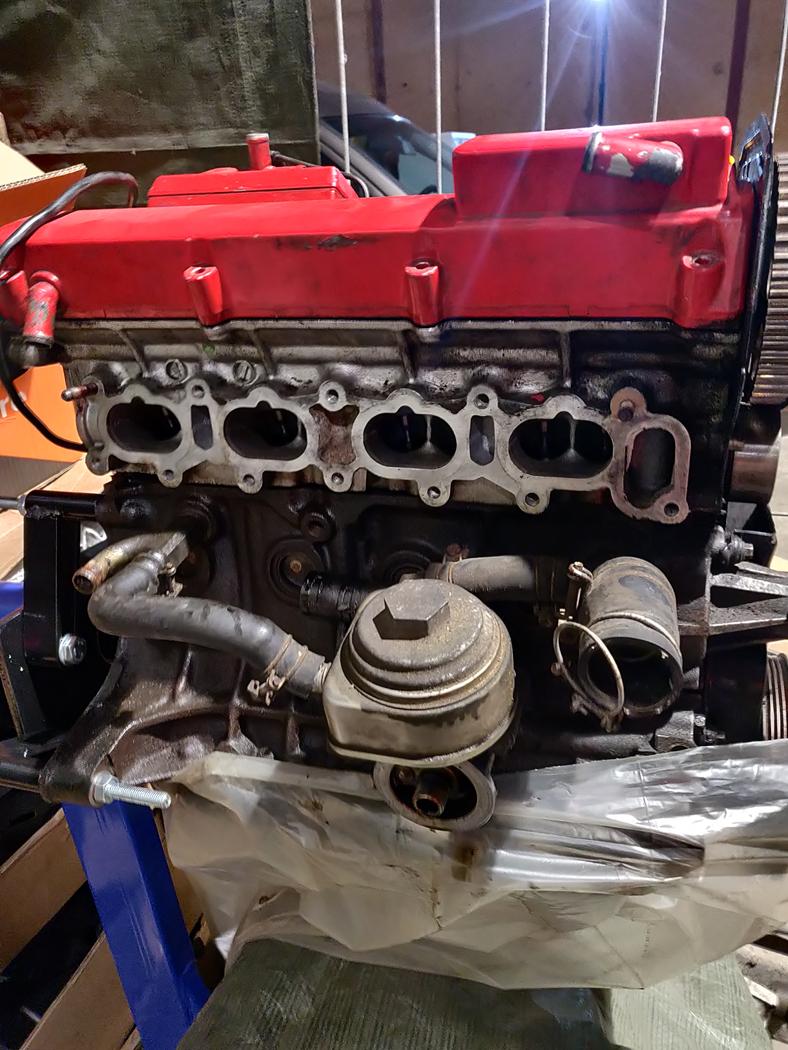

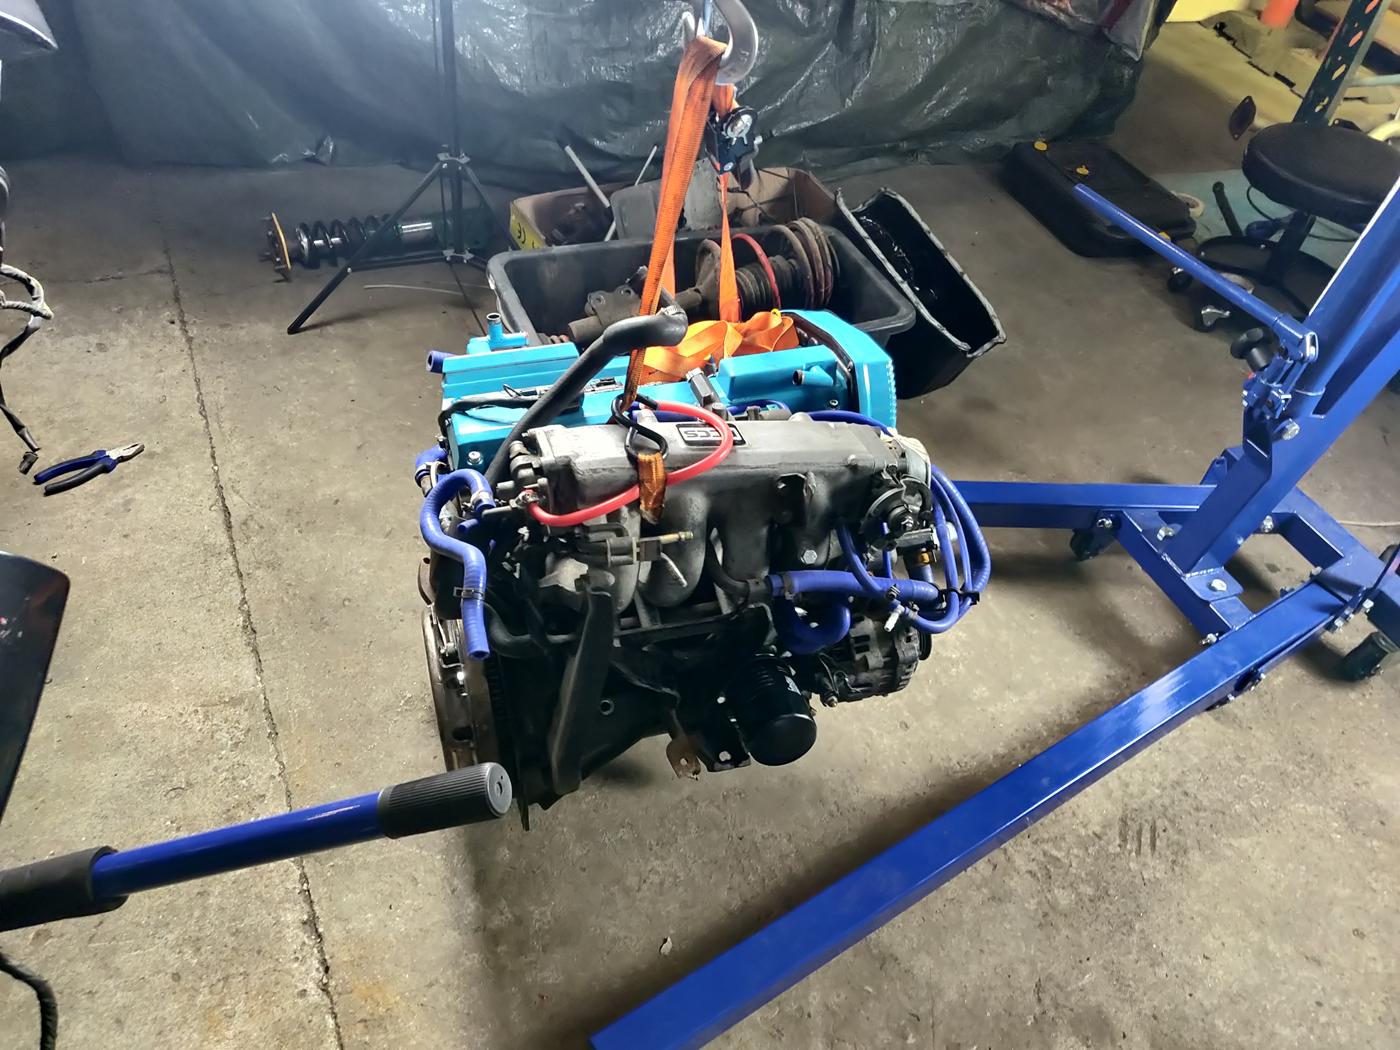
And a also needed to take out the other CA18DET so I can take it apart?
This is how the oil squirters have to look, and how the ones in my engine looked?
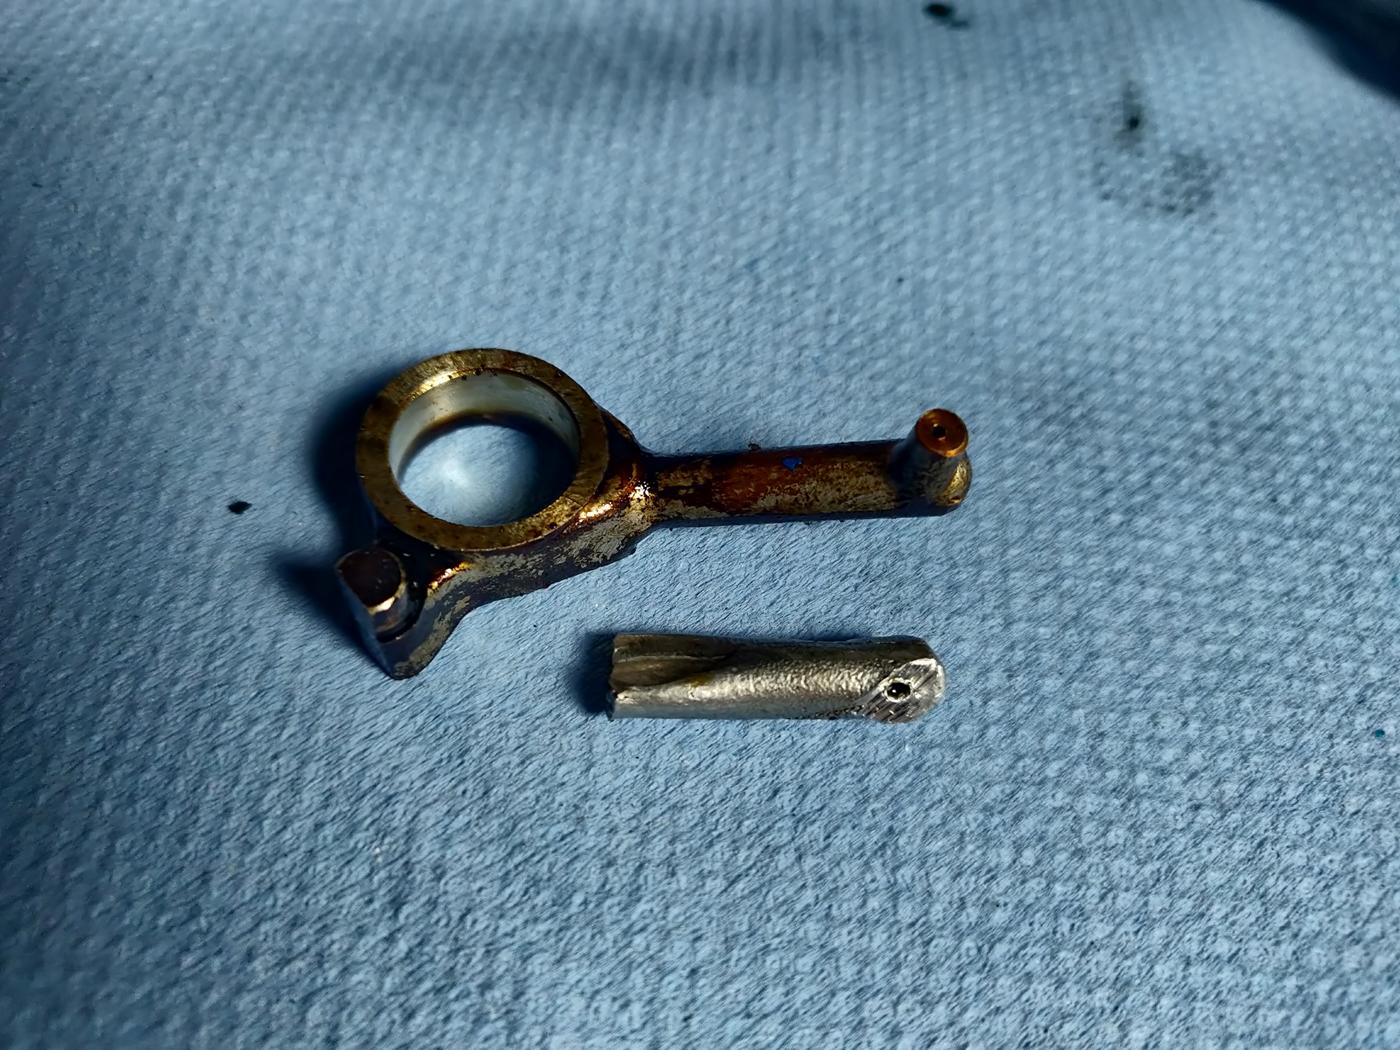

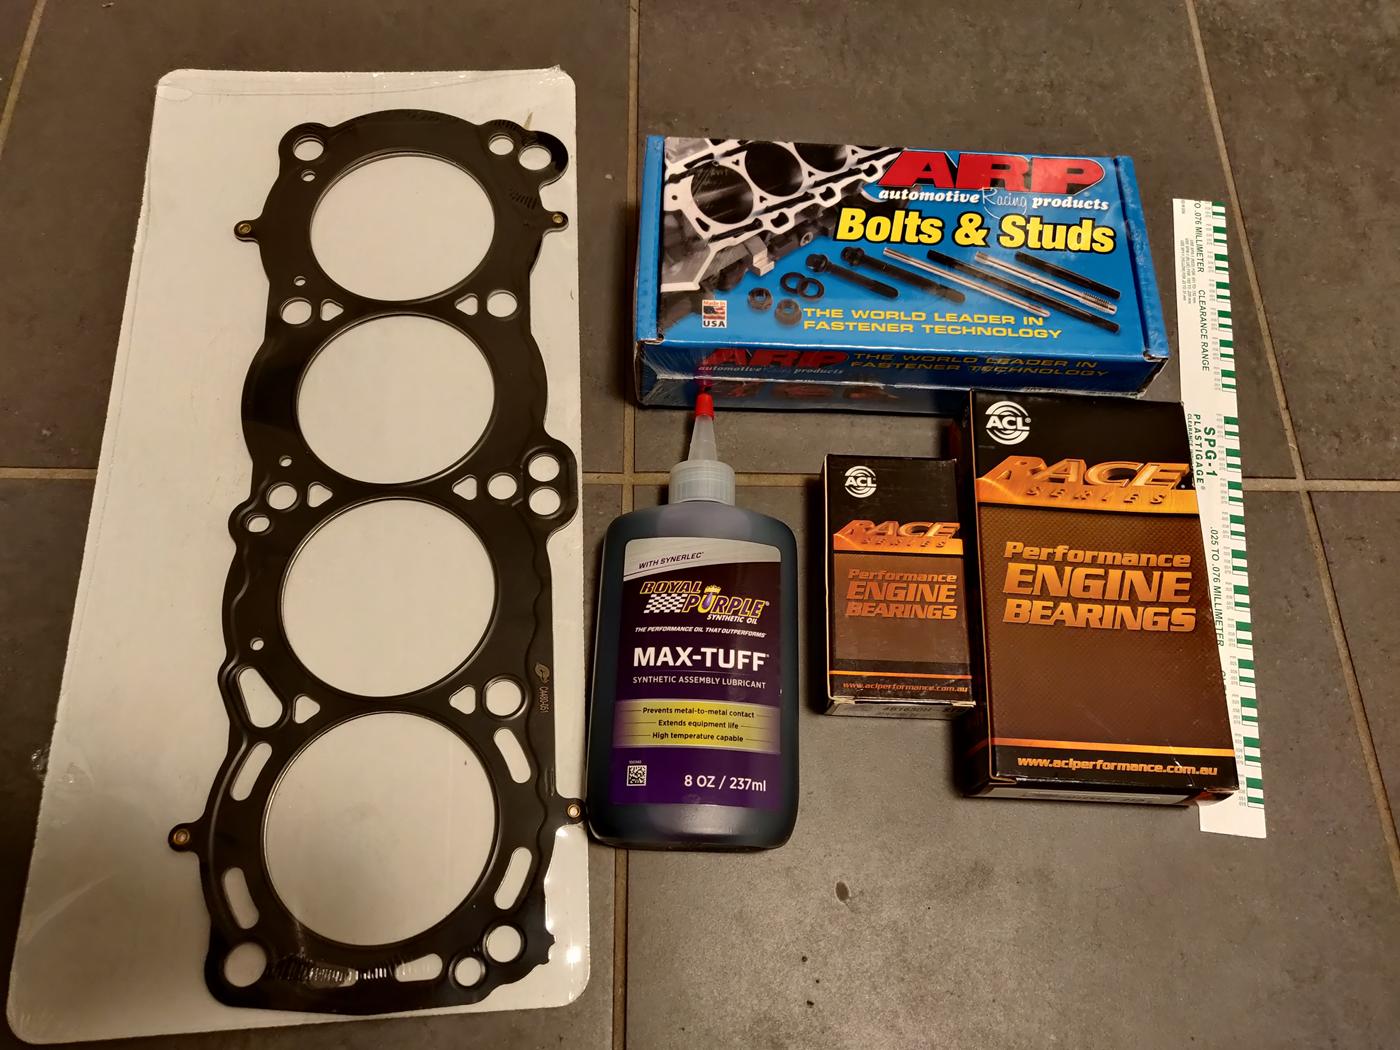
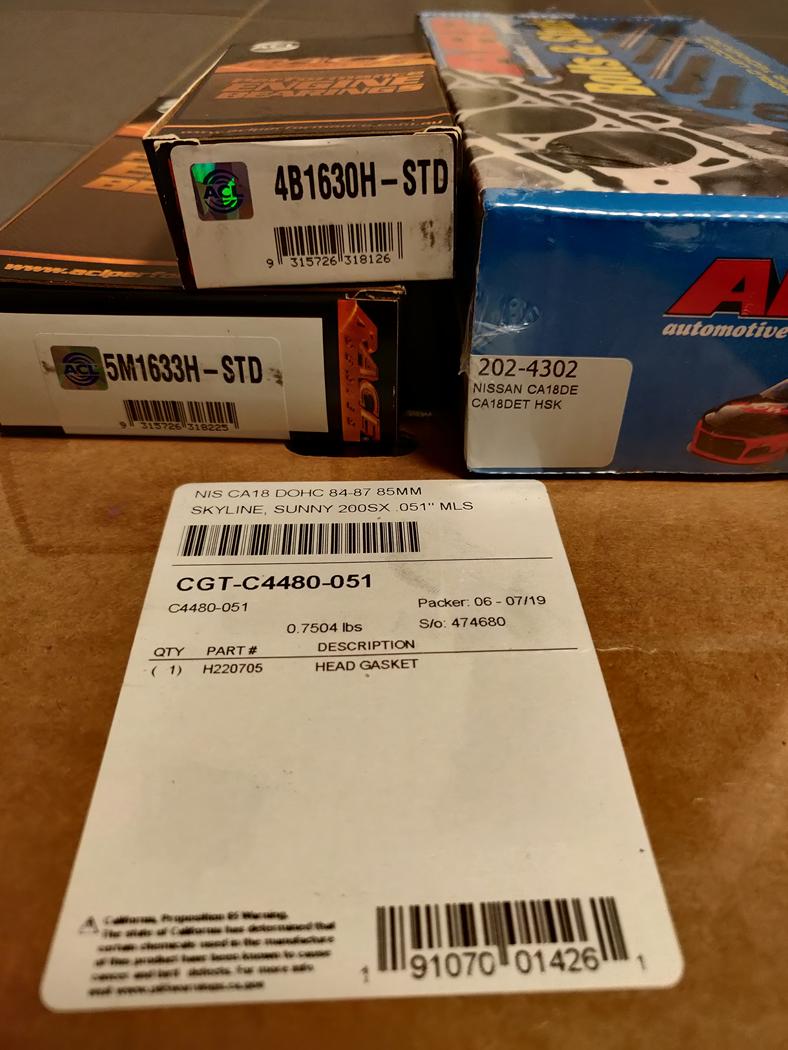
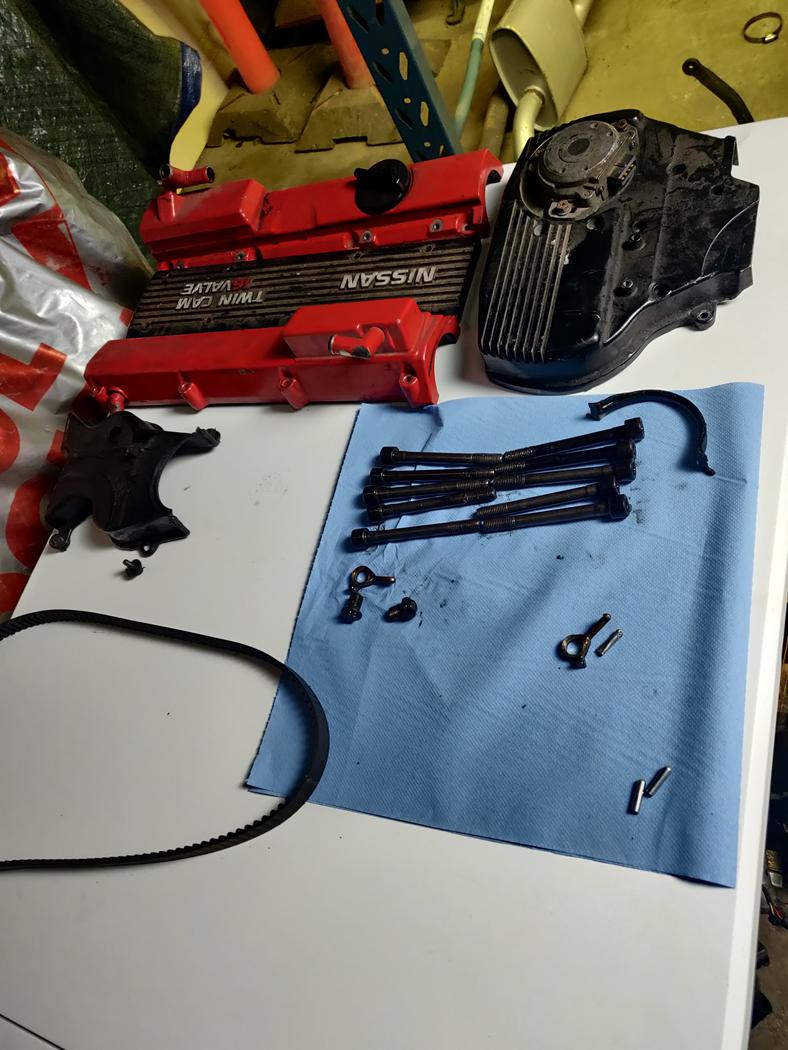
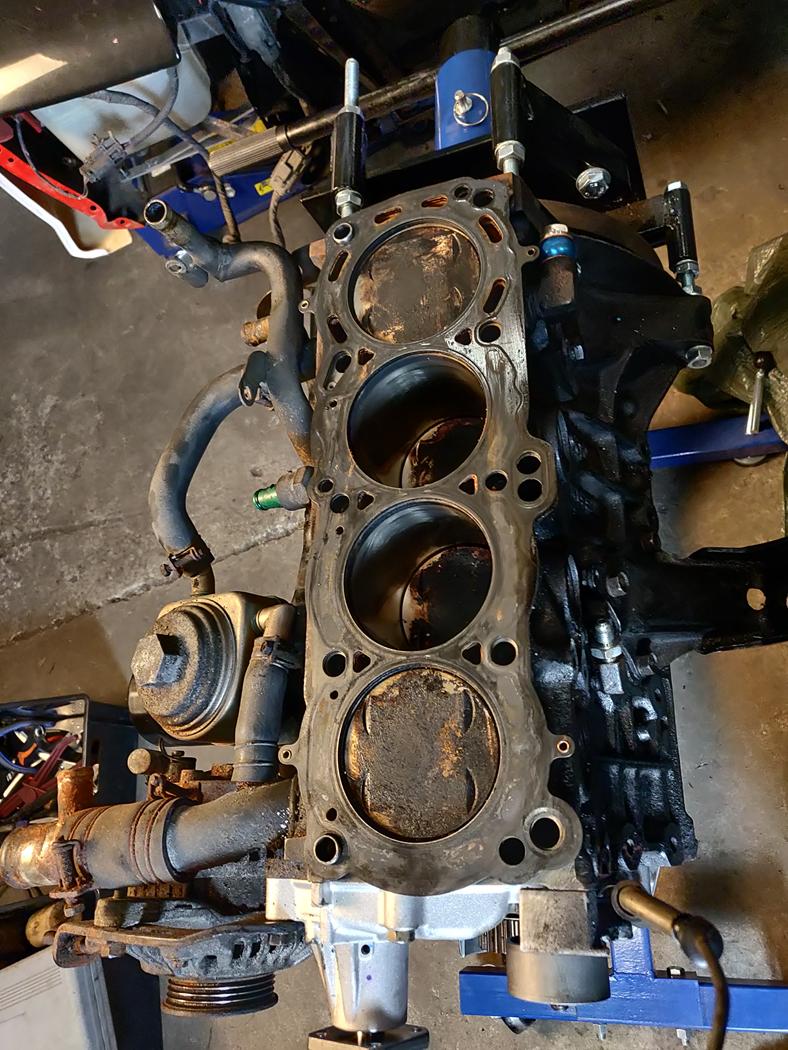
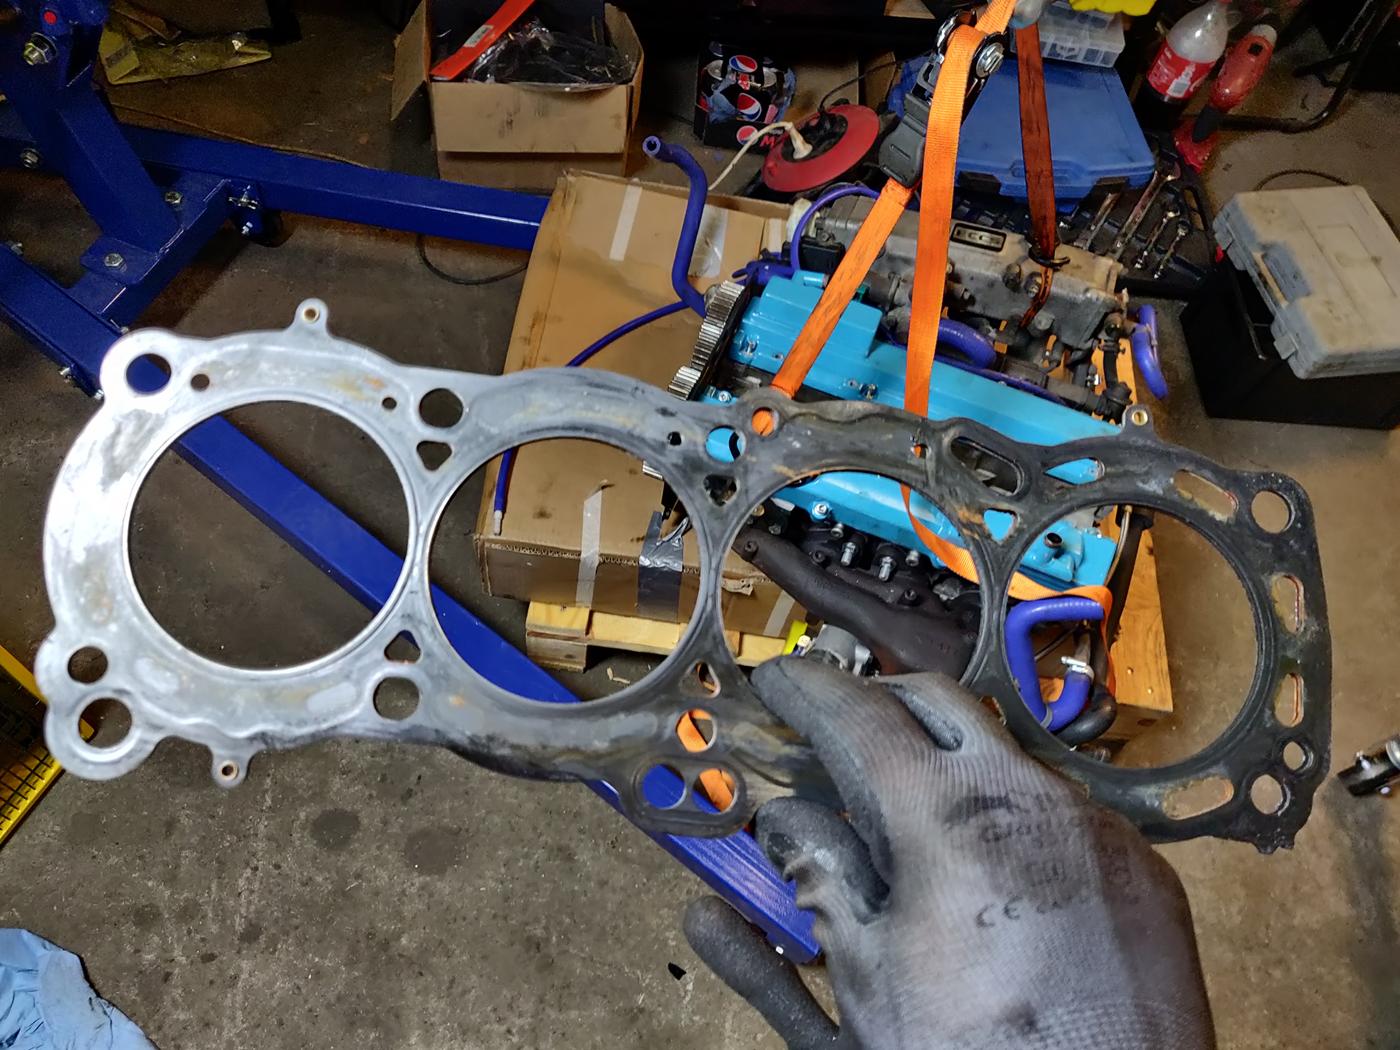
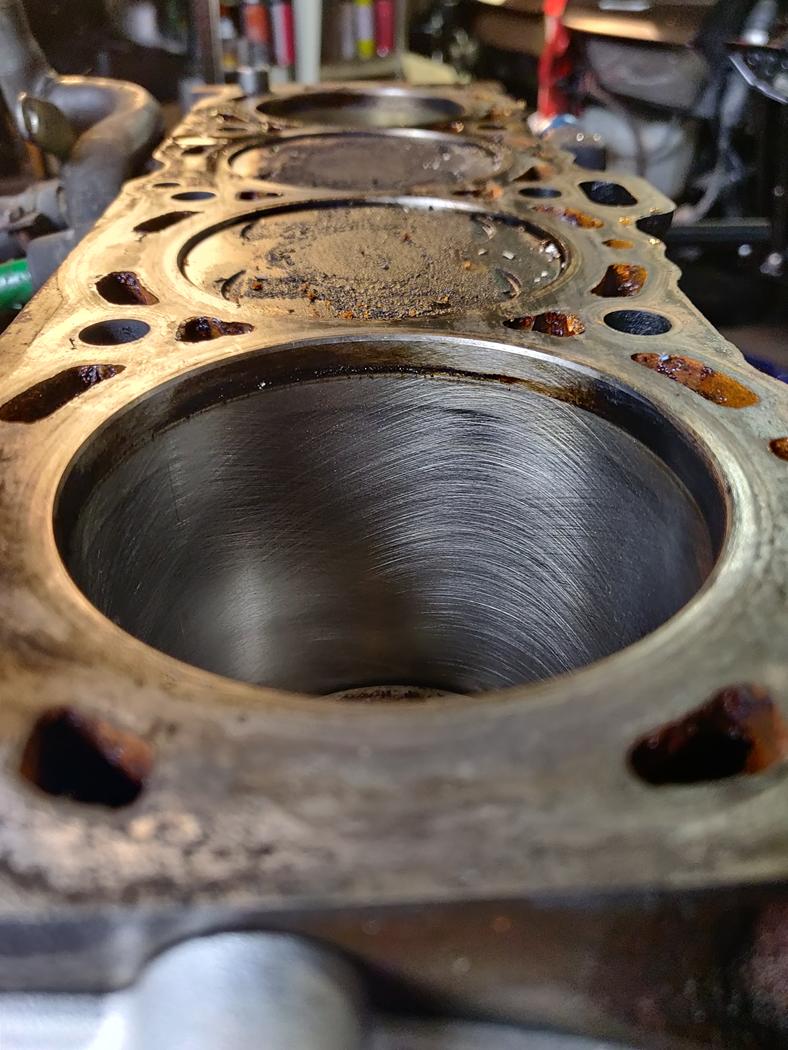
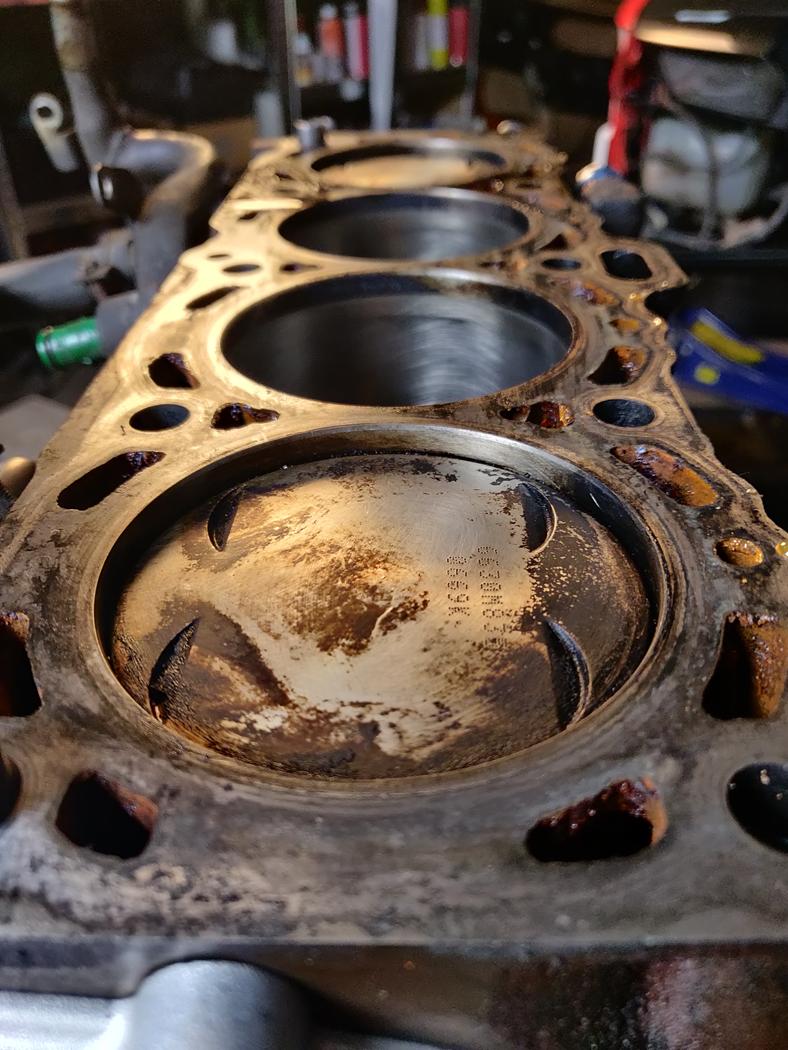
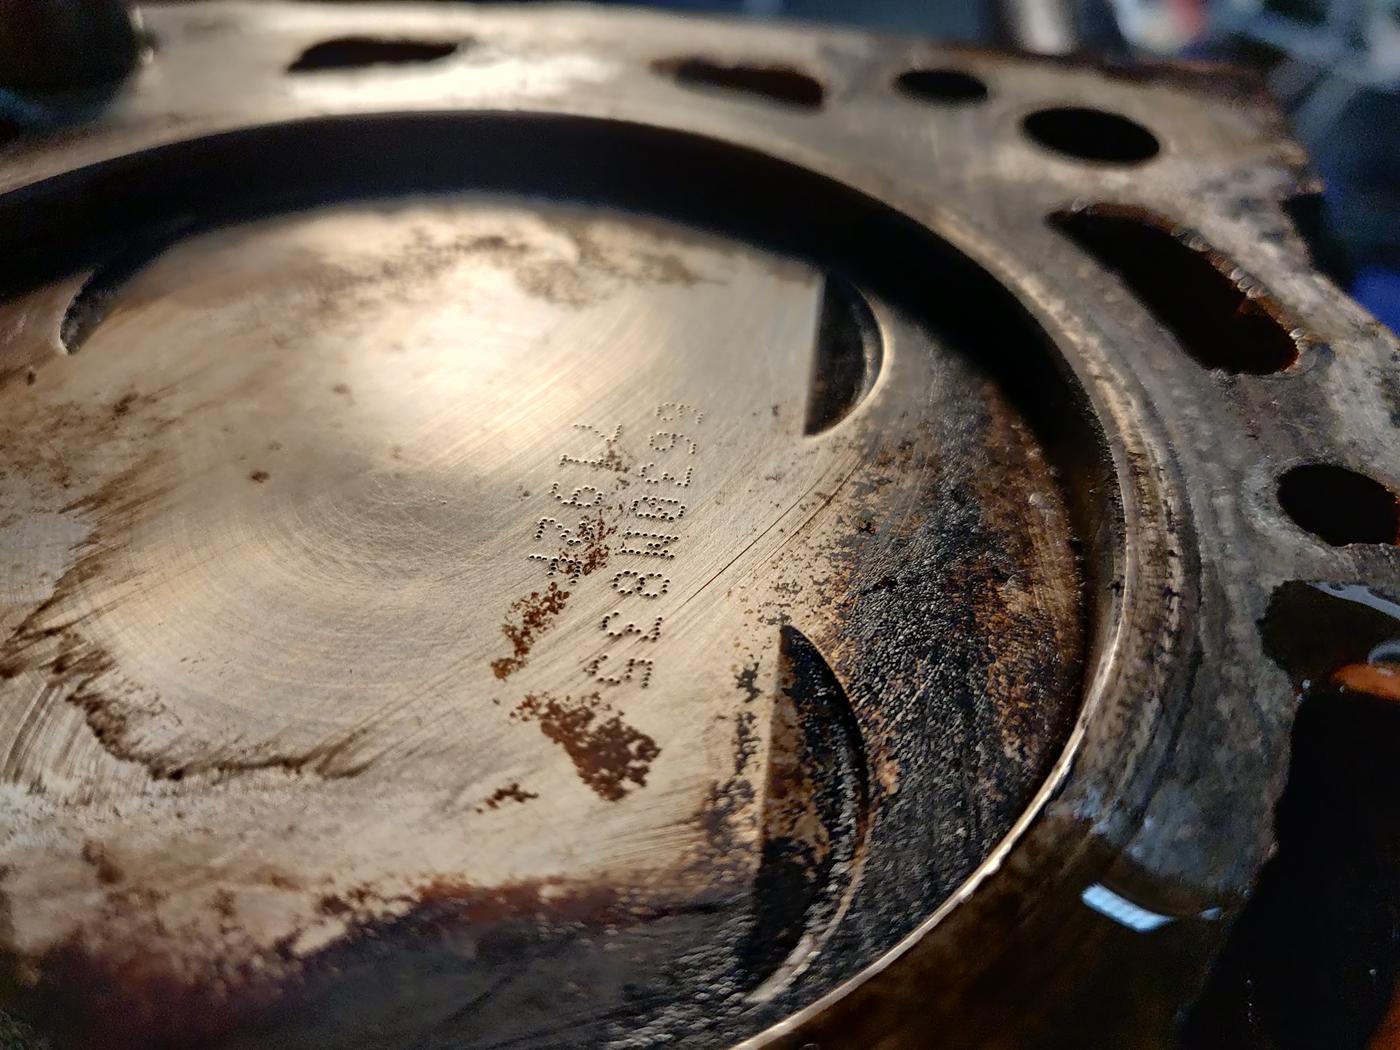
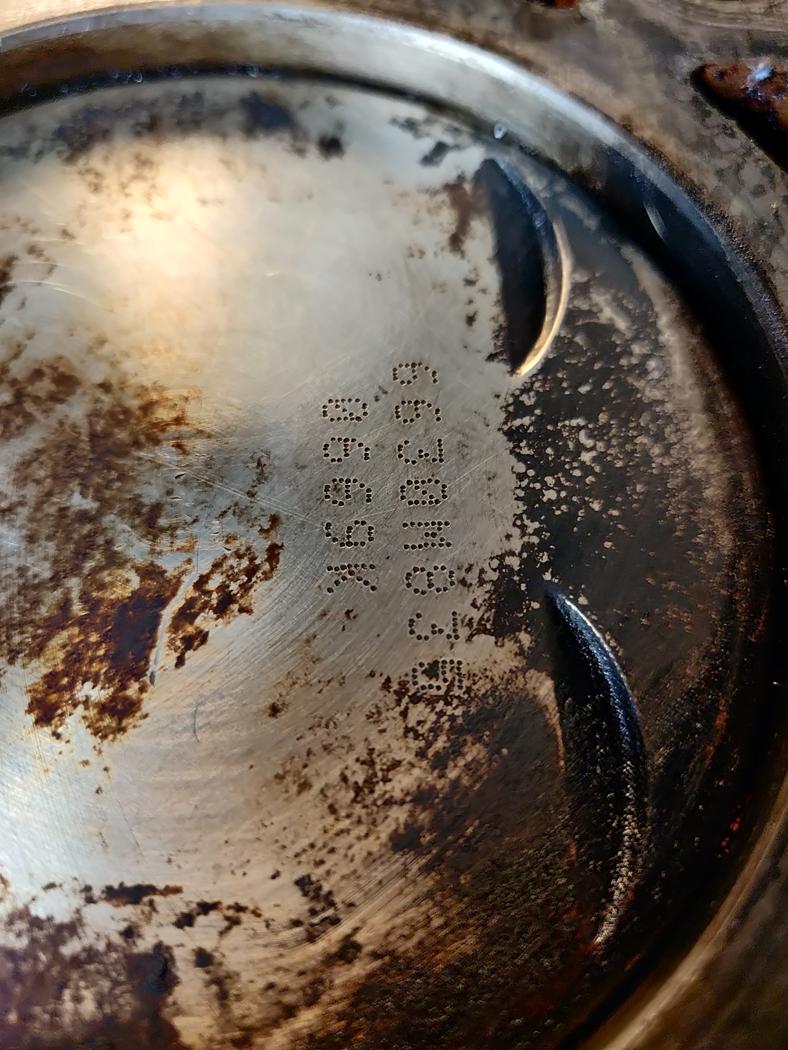
When took of the head, I found a Cometic 85mm 1.3mm MLS headgasket and nicely machined cylinders together with some 83,5mm Wiseco pistons.
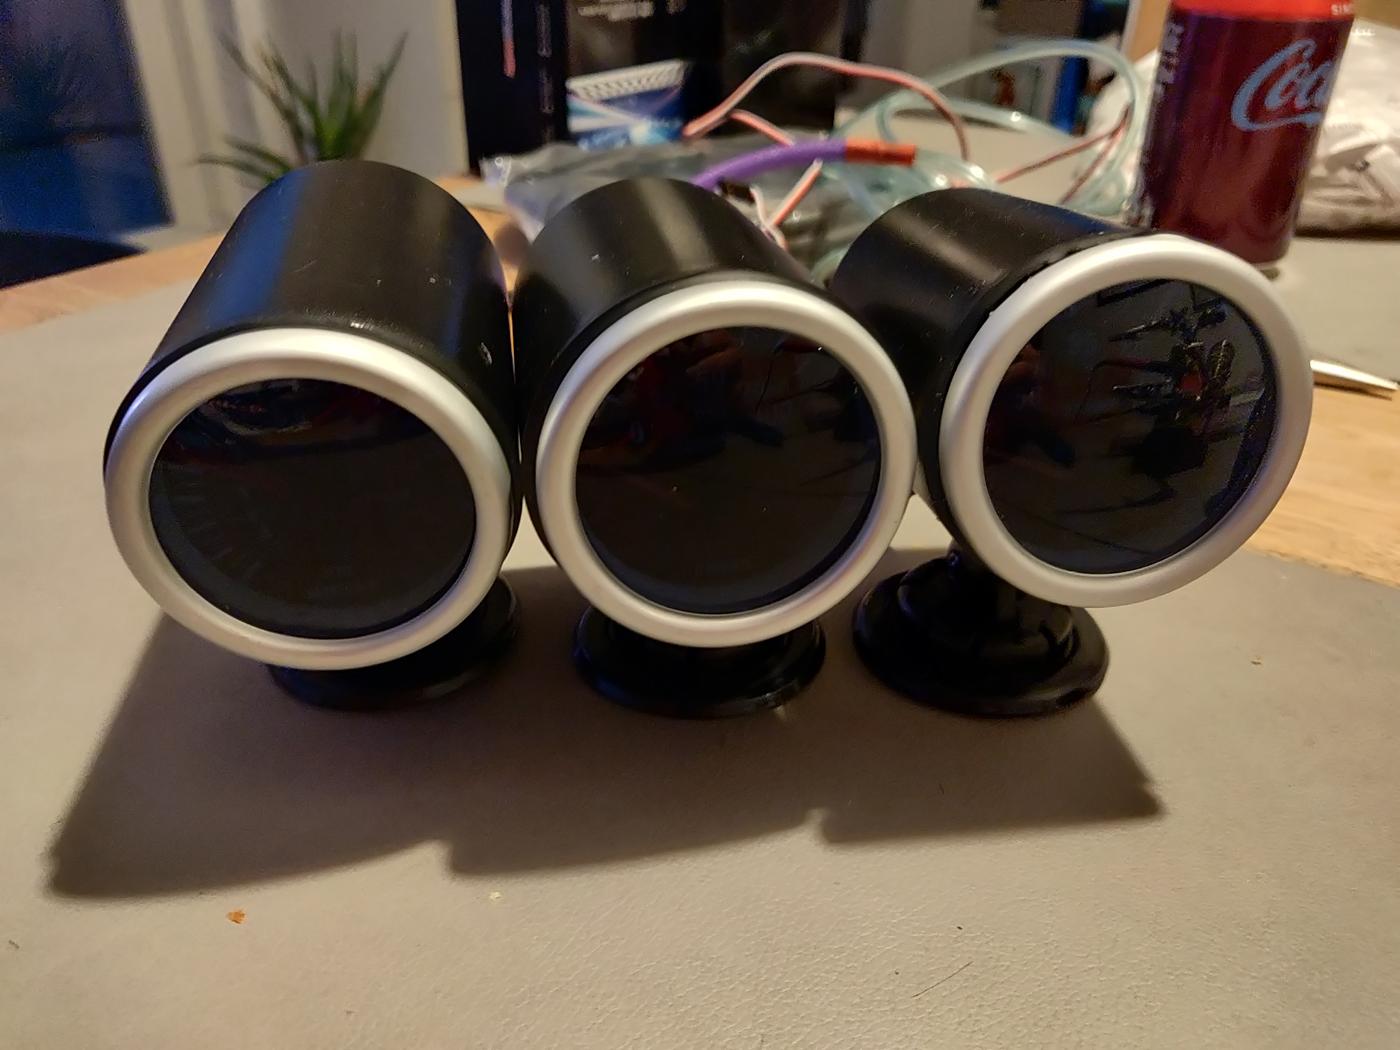
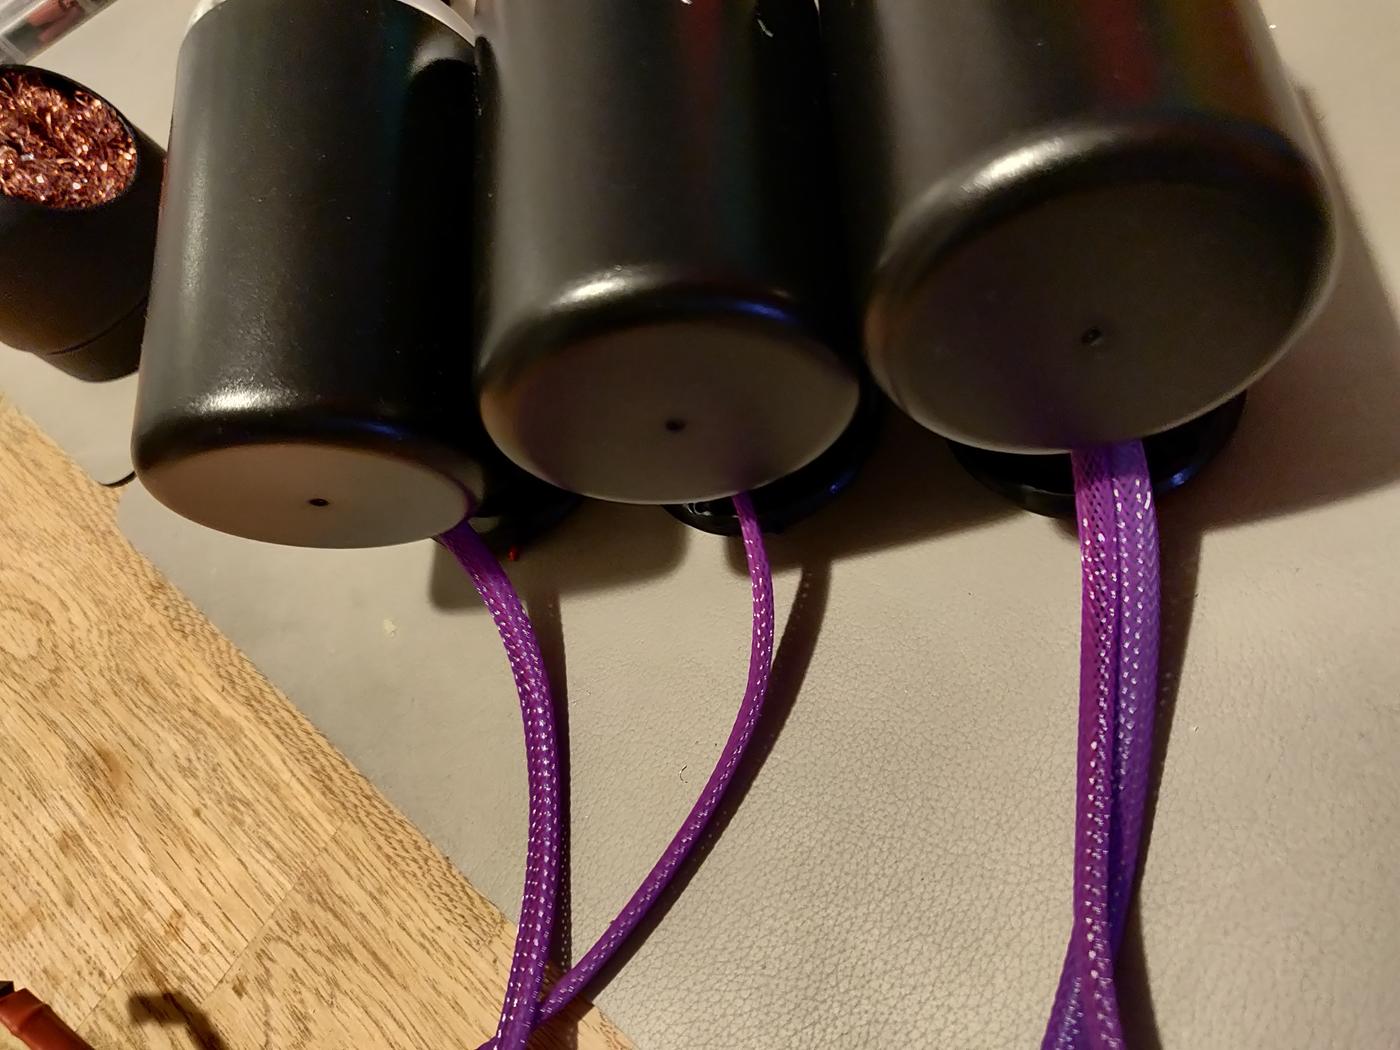
While I was waiting for parts for the engine, I made the wires for the 3 gauges Ill install on the dash.
Its oil temp, oil pressure (ofc) and a boost gauge. To make it look half decent, I used some cable sleeve from when I modded and watercooled computers.
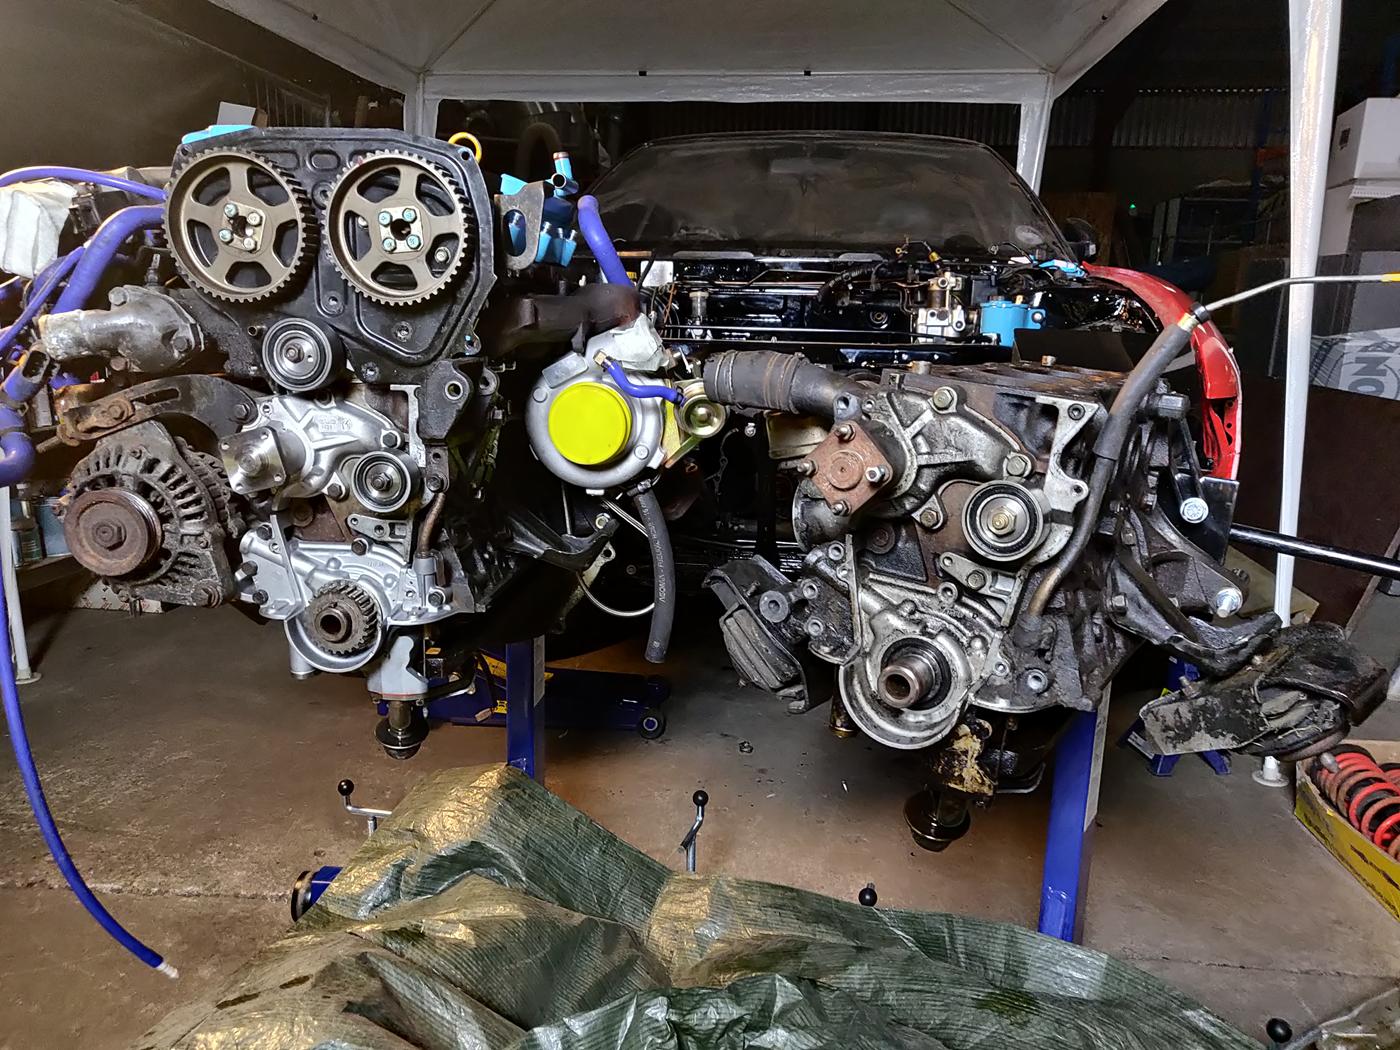
And the parts for the engine arrived. I guess the pictures speak for themselves?