Hi guys,
Just went through the process of figuring out how to properly mount OEM Navan skirts, and thought I'd share what I've learned so I can save someone else the hassle later on.
S14 Navan skirts fitting guide!
What you need:
Parts:
- A set of skirts
-
01281-00641 (4x) - GROMMET, these plug into the lower side of the rocker and will provide a bolt hole for the lower 2 mounting points
-
01241-00841 (4x) - GROMMET SCREW, these hook into your rear wheel arch and provide a bolt hole for the rear 2 mounting points
-
76848-35F00 (10x) - CLIP, these plug into the holes that you'll be drilling in the rocker
-
01553-07551 (10x) - CLIP, these slide into the slotted holes in your skirts, and then clip into the part above
- 6x20mm screws (8x)
Tools:
- A tape measure
- Some wide masking tape
- A metric drill bit set
- Accu drill
- Vernier calipers
- Center punch
- Screw drivers
- Socket set
- Small round file set
- Deburring countersunk drillbit
- A pencil/pen
Consumables:
- High quality double sided tape
- Touch up paint
- Hollow section wax
- Food and drinks as it'll take you a while
In an old topic from 2015 user "driver11324" shared a couple screenshots from the original Nissan installation guide, provided to dealers in Japan. You can find a PDF of this guide here:
https://drive.google.com/file/d/1bpj...ew?usp=sharing
Unfortunately, this guide is missing one of the templates and also the measuring tape that was supposed to come with it. However, the most important template is included. I printed this template a bunch of times in different scales, 50% came very close to true size. Cut out the template, and stick it to a piece of cardboard using some masking tape, cut the cardboard to shape as well.


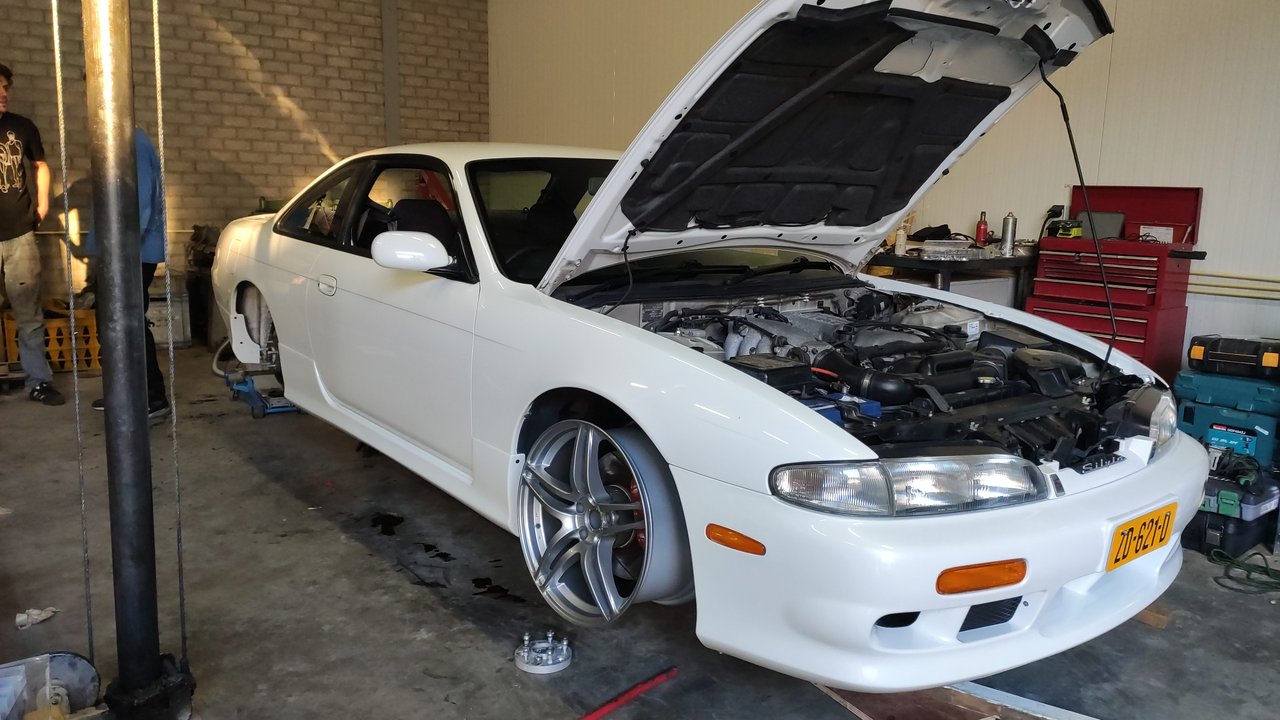
First step is to get your car on jack stands as high as possible, a 4 post lift would be ideal.

Get your measuring tape and measure the distance from the front inner edge of the skirt to the second mounting point and have someone hold it parallel to the rear 4 mounting holes, you'll notice that the front most mounting hole is slightly offset from the rest, this template is missing so I decided they'll probably stay on without using it. Note down the distances on a piece of paper.

Tape in your rocker panels for protection and also to have an easier surface to mark with your pencil. Stick your measuring tape to the the car or have someone hold it, and mark the locations. Now, use your template to mark the location of the top hole. This should come out ever so slightly under the body line "edge" in the rocker.


NOTE: Measure both side skirts, mine were slightly different measurements!
Clip in the 01553-07551 CLIP in your skirts and offer them up to the car, the clips should line up exactly to your markings.
Get your center punch and drill a small (3.0 or 3.5mm) pilot hole, then use a 7mm drill to get it roughly up to size and finally, after filing the inside of the hole and using your countersunk deburring bit, one more pass with a 7.5mm drill should get the hole exactly to the right size for a hammer-in fit
(but PLEASE check with your calipers first, if you drill them too big the clips won't work!).


Offer up the skirts again, push the skirts exactly into their final position and have someone mark the buttom 2 slotted holes. Use your center punch to mark a your drilling spot in the center of this hole, then get out your vernier calipers and mark another spot 15mm in front. Drill pilot holes again, then drill the main hole to 9mm, deburr and a final pass to 9.5mm
(again, please check!). The hole in front should be around 5mm.

Remove the tape and inspect the holes you drilled.

Now would be a good time to apply some hollow section wax to prevent rust, and make sure to touch up the bare metal spots.
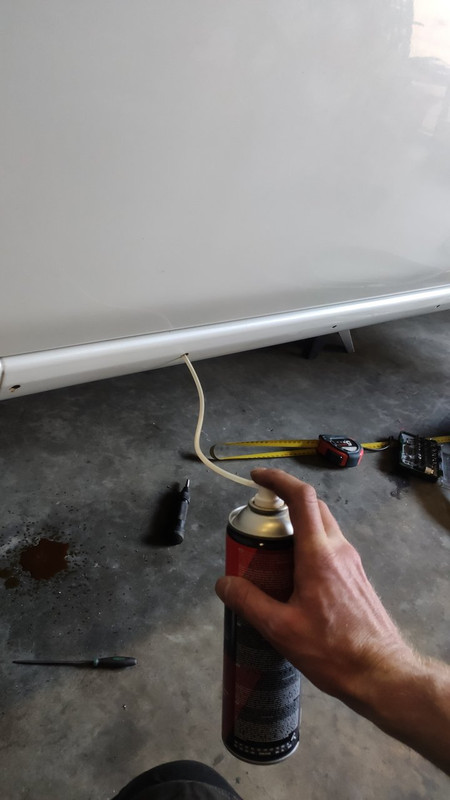
Allow some time to dry, then soak the clips (76848-35F00 and 01281-00641) in wax as well, and hammer them in place.


Apply your double sided tape to the skirts, peel up a small bit of the protection tape and stick it over the edge for easy removal.
Fit your skirts, get them roughly in place and fit all the hardware loosely, then firmly hit the skirts in a slightly upwards direction to get the clips seated. Because the clips can move around the bit in the slotted holes, you can now get your skirts to exactly the right position (following the body lines along the doors) and when you're happy you can tighten the bolts and remove the protective film of your double sided tape.

DONE!