|
|||||||
| Builds (and builds only) Got a build thread? It goes here, build threads anywhere else on the forum will be locked and never moved. |
 |
|
|
Thread Tools | Display Modes |
 11-14-2024, 12:32 PM
|
#63 | |
|
Leaky Injector
 |
Quote:
 I brought my wife in the car for the first time, and she was not happy. Its noisy, rattles and the sound system isnt great. So, the fantastic husband i am, i wanted to change it. Well... the noise and rattle is part of the charm of an old car. So i wanted to change the speaker setup a bit. As mentioned earlier, i wanted the compressor and airtank for the aircups in the trunk, and also i want to have a trunk thats useable. So i cant have a big subwoofer. So my other option is to get creative. And thats exactly what i did. The sub and amp is not anything fancy. Actually its the cheapest stuff i could find on aliexpress. It was bench tested and everything works as advertised. I started off with covering everything with some high quality painters tape and plastic. 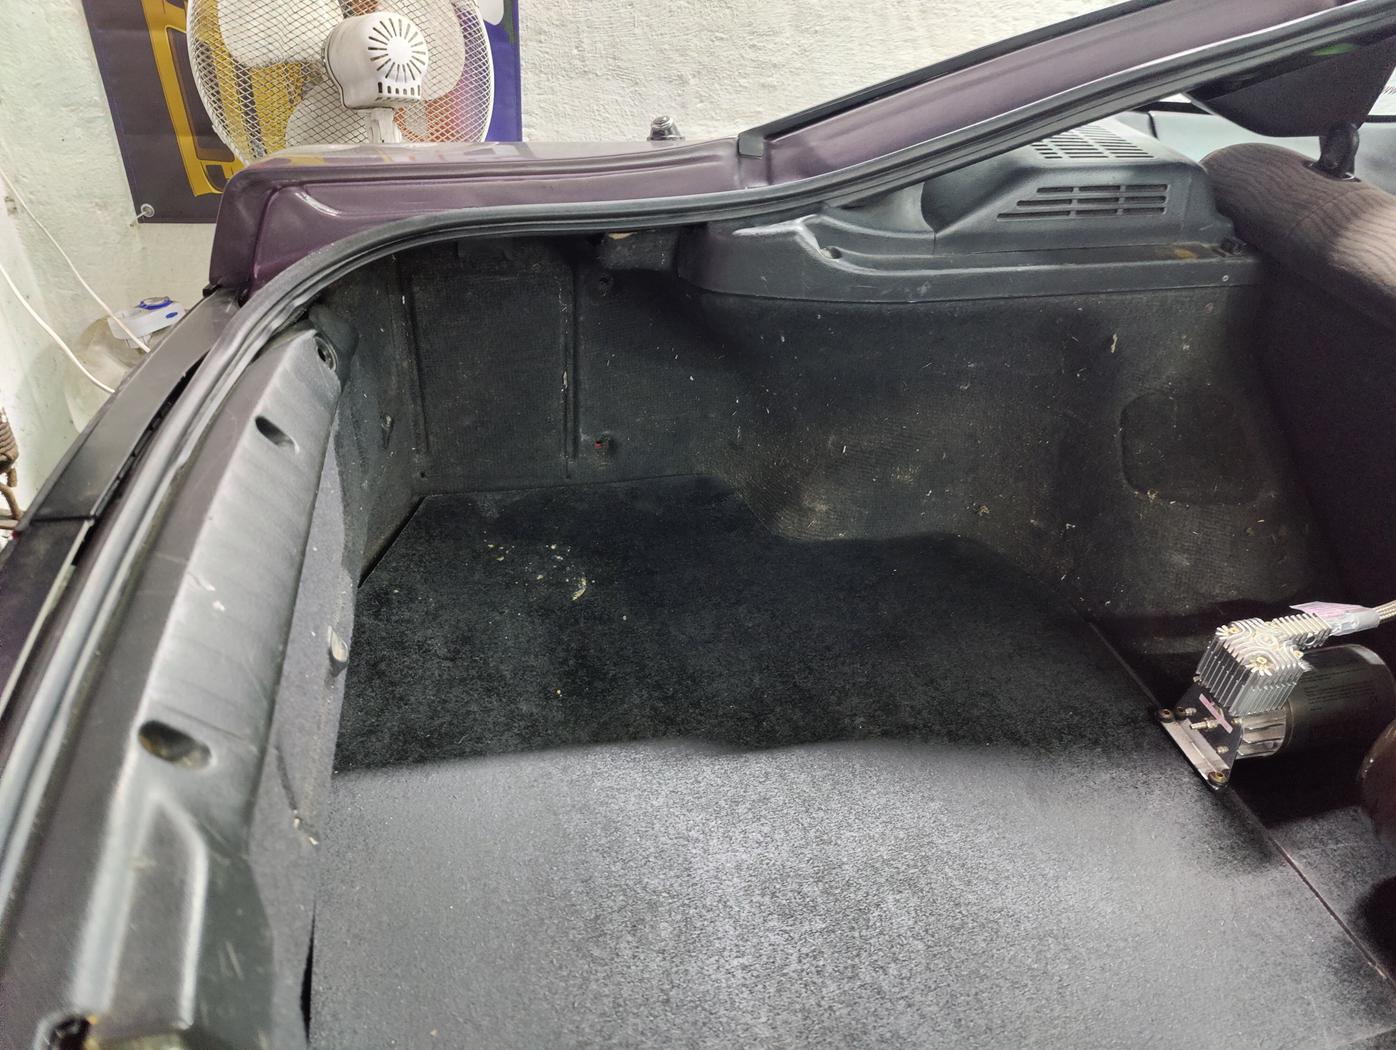 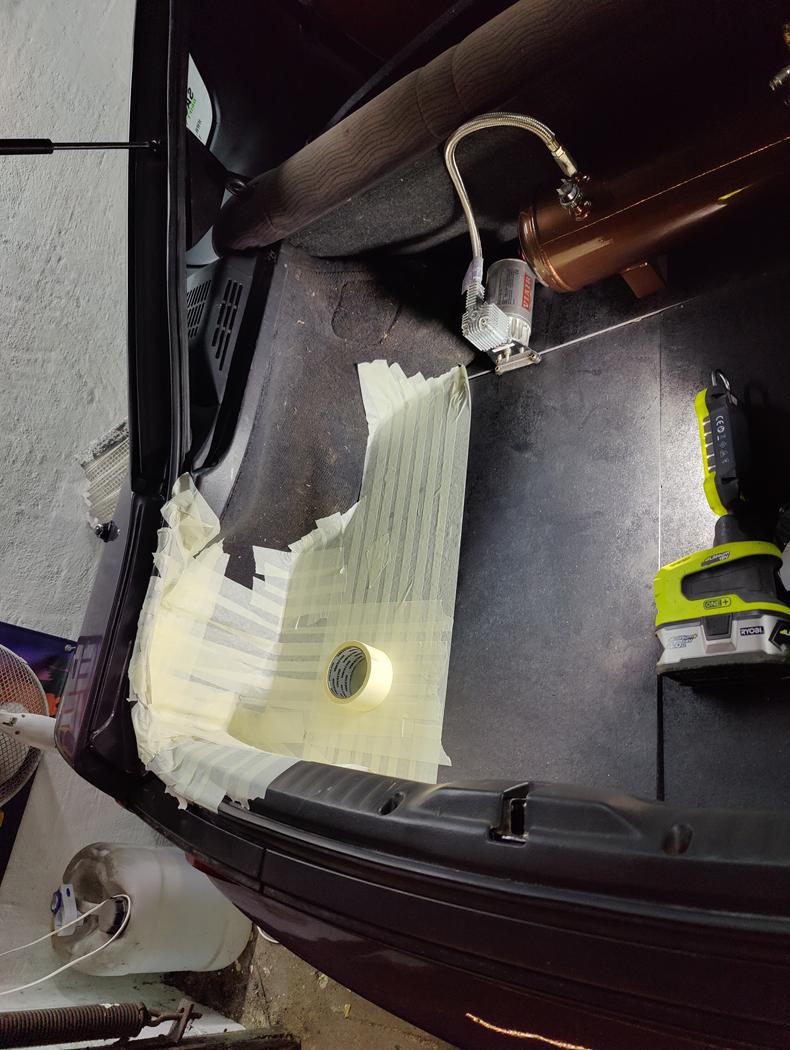 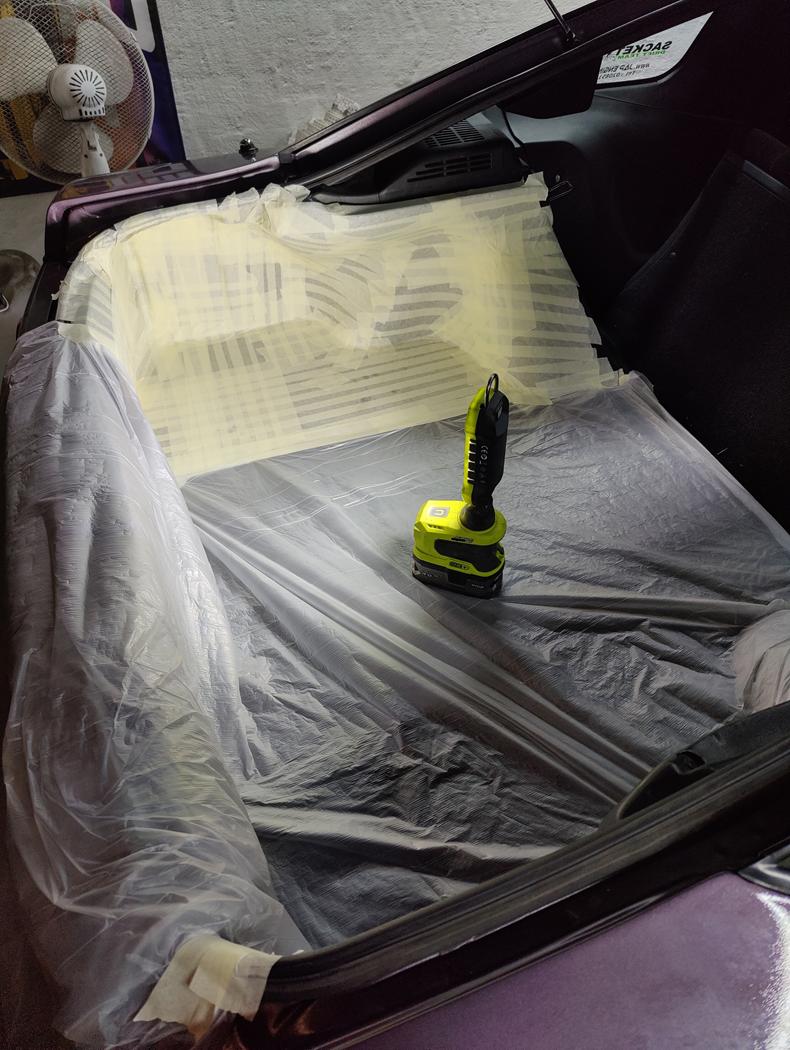 Gave it a single layer of 400g/sqm fiberglass. This was not the greatest idea as it was hard to get all the fibers soaked, and it wasnt the easiest to get around corners. But in the end i did get it to work 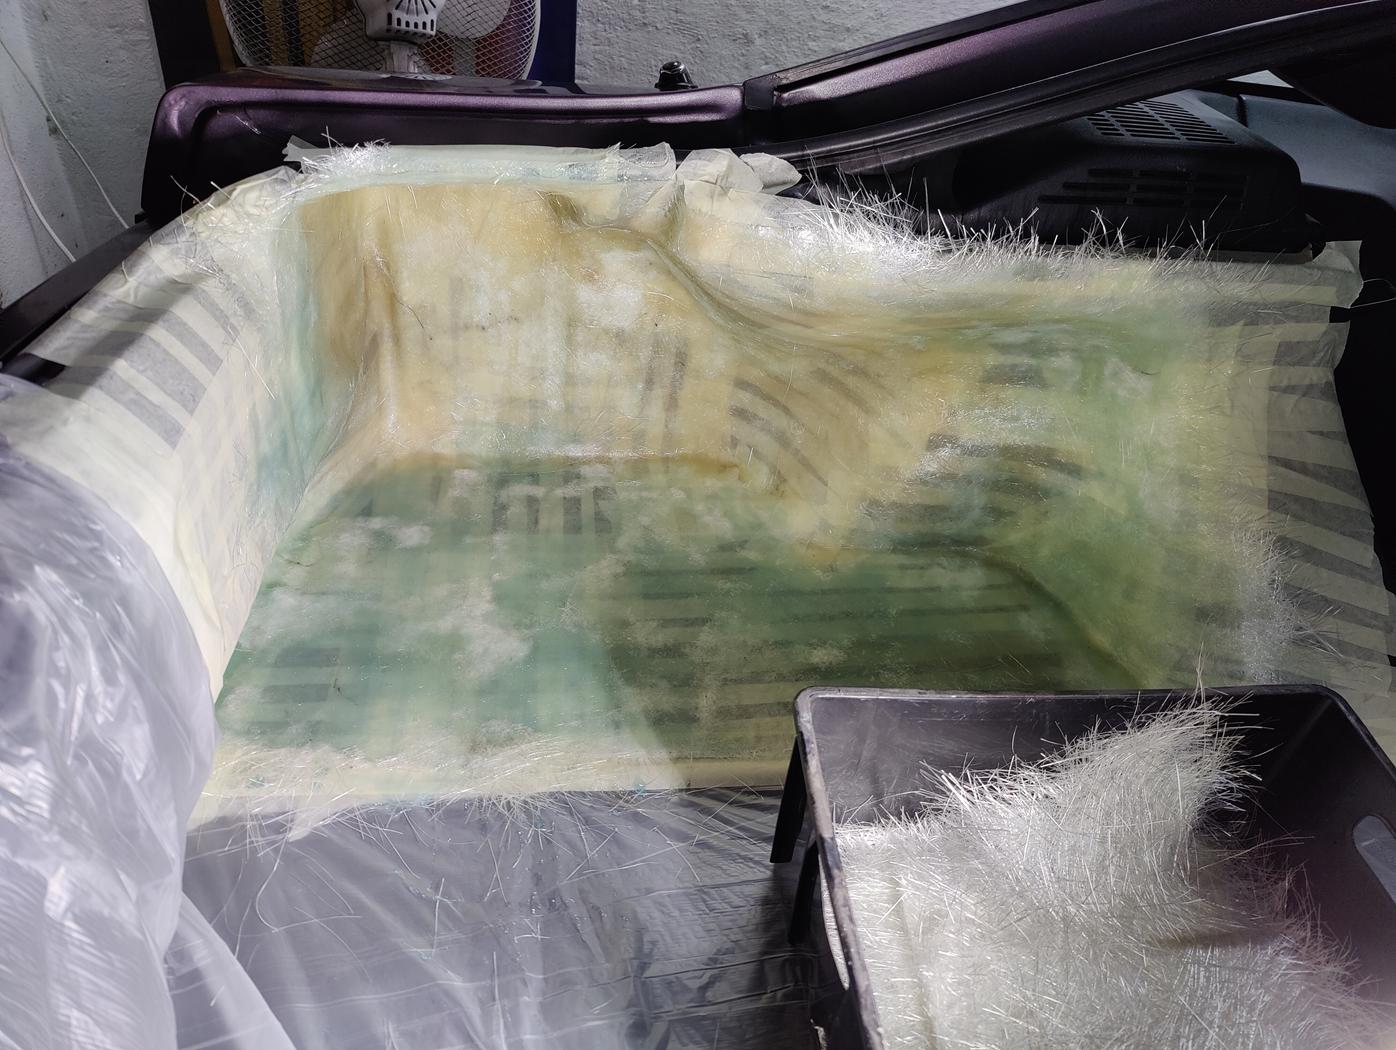 Took the boombox out and as you can see, there was multiple holes. So i gave it a few more layers og fiberglass. 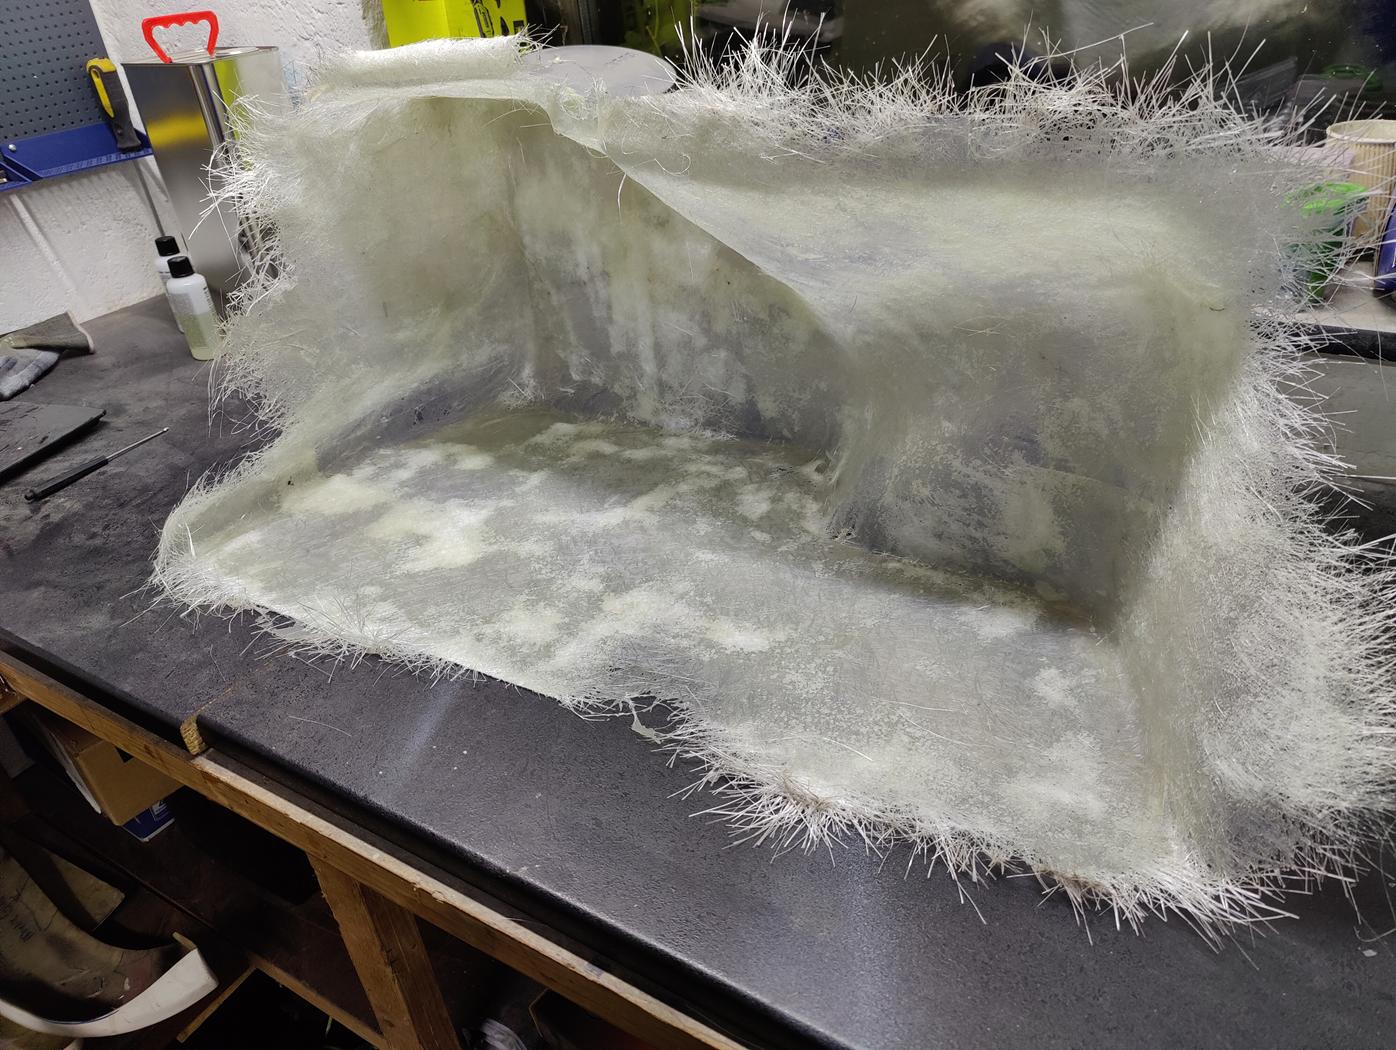 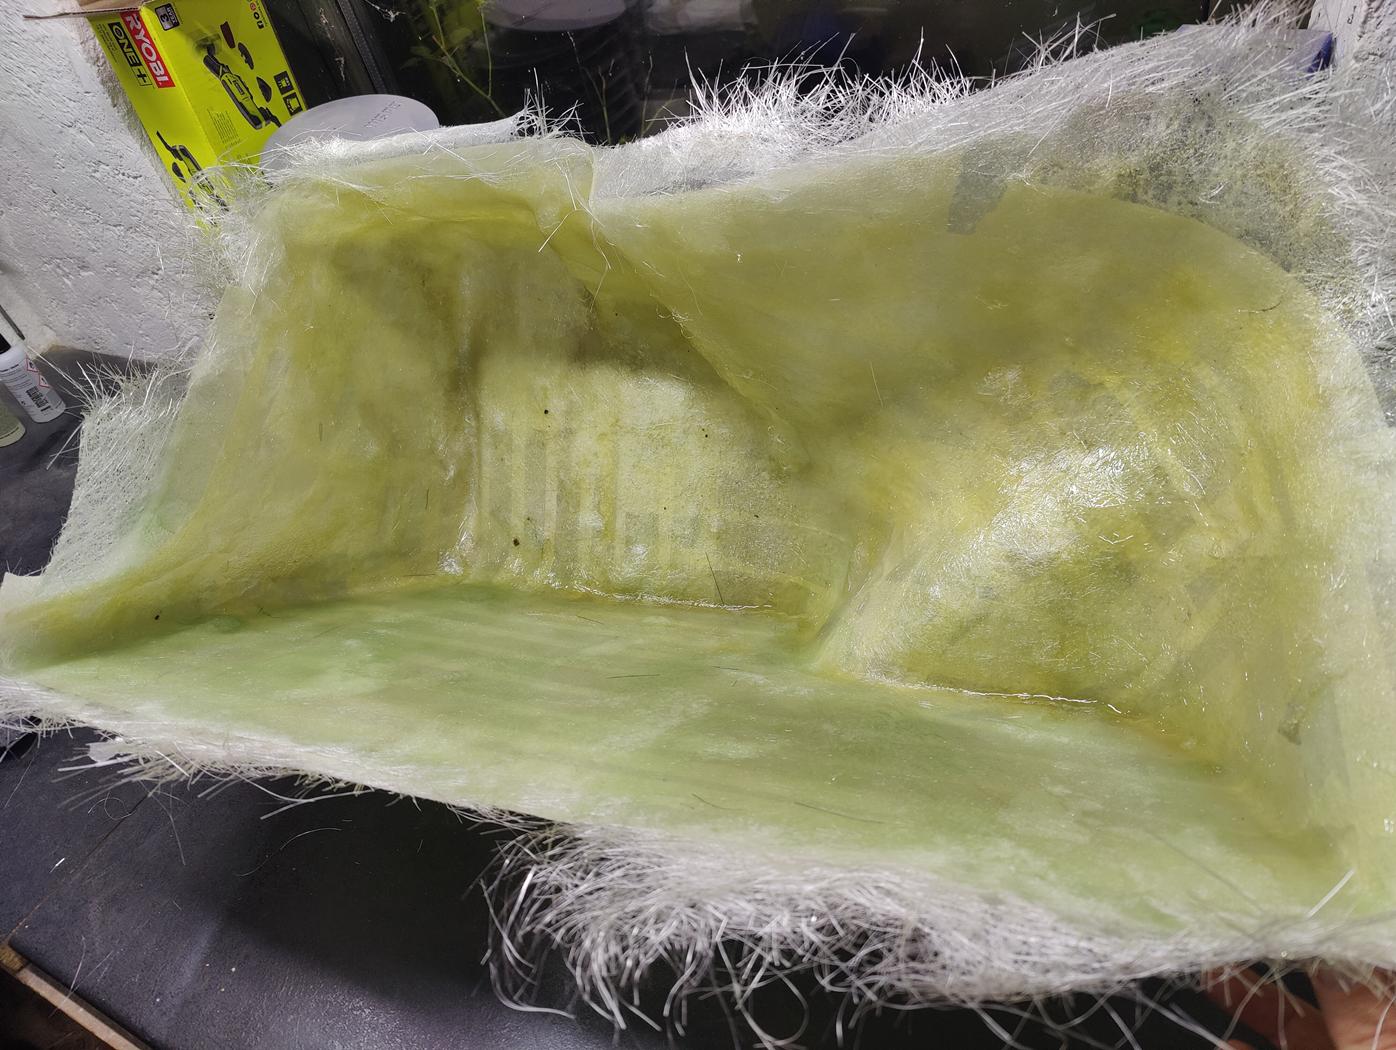 Gav it a layer of resin on the back to smooth it out 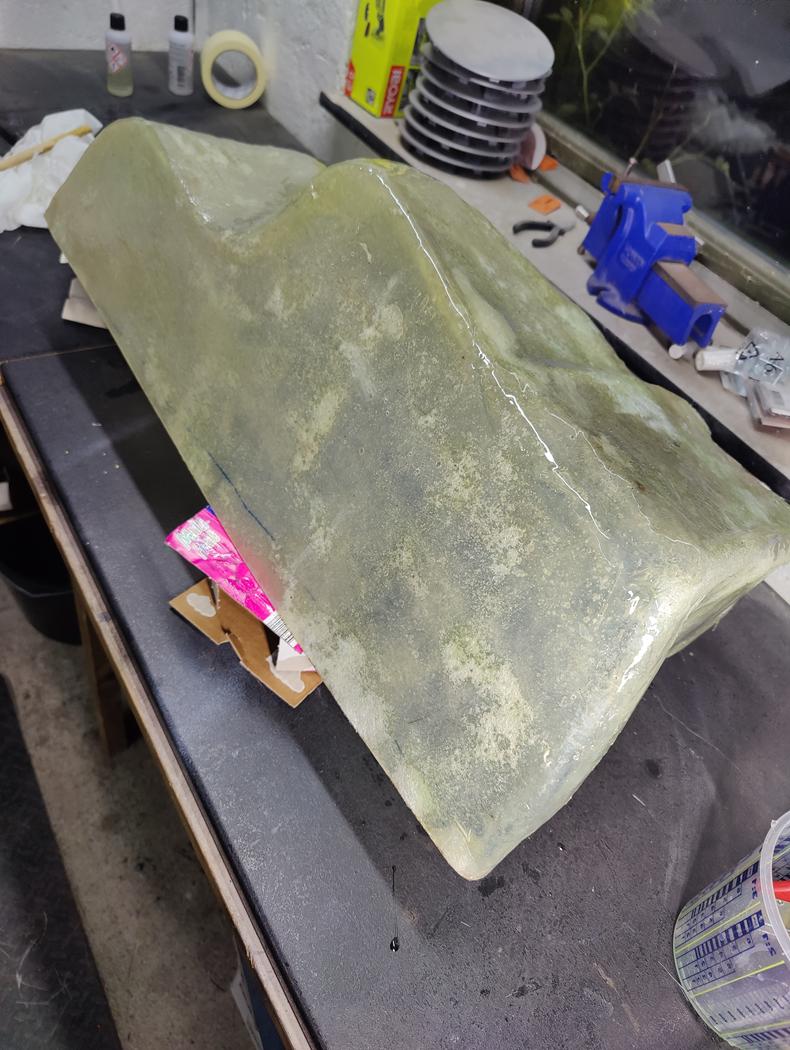 I created the speaker bracket out of 2 layers of 19mm MDF and sanded the edge 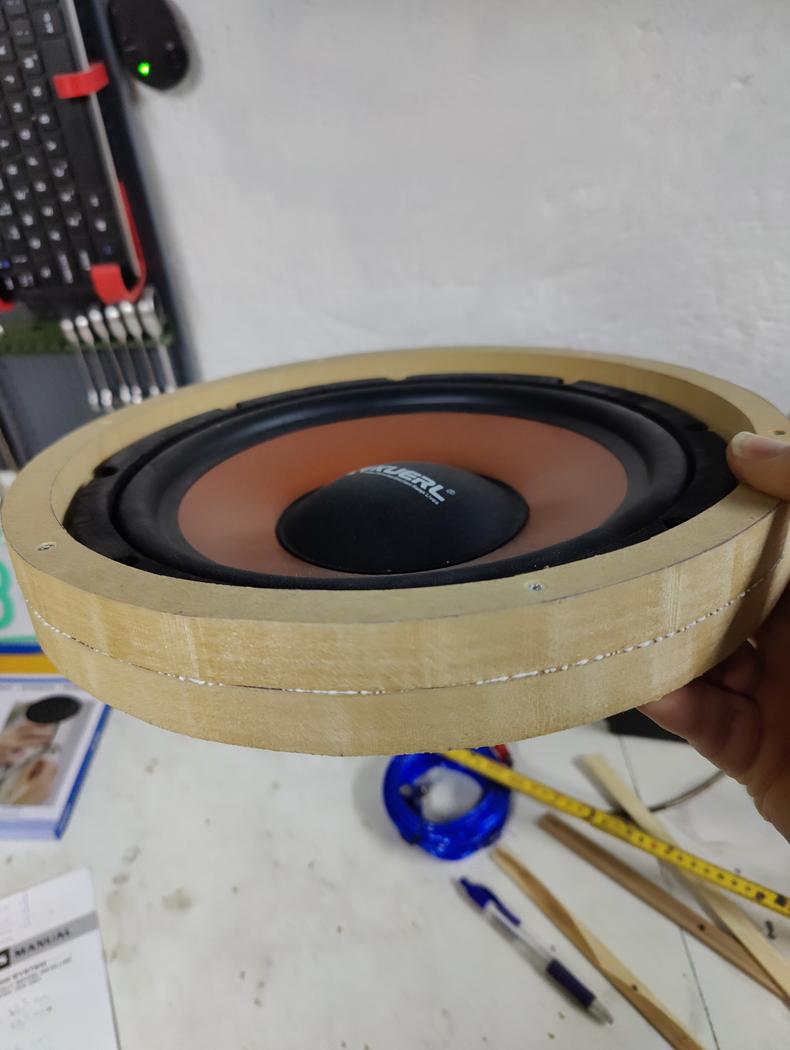 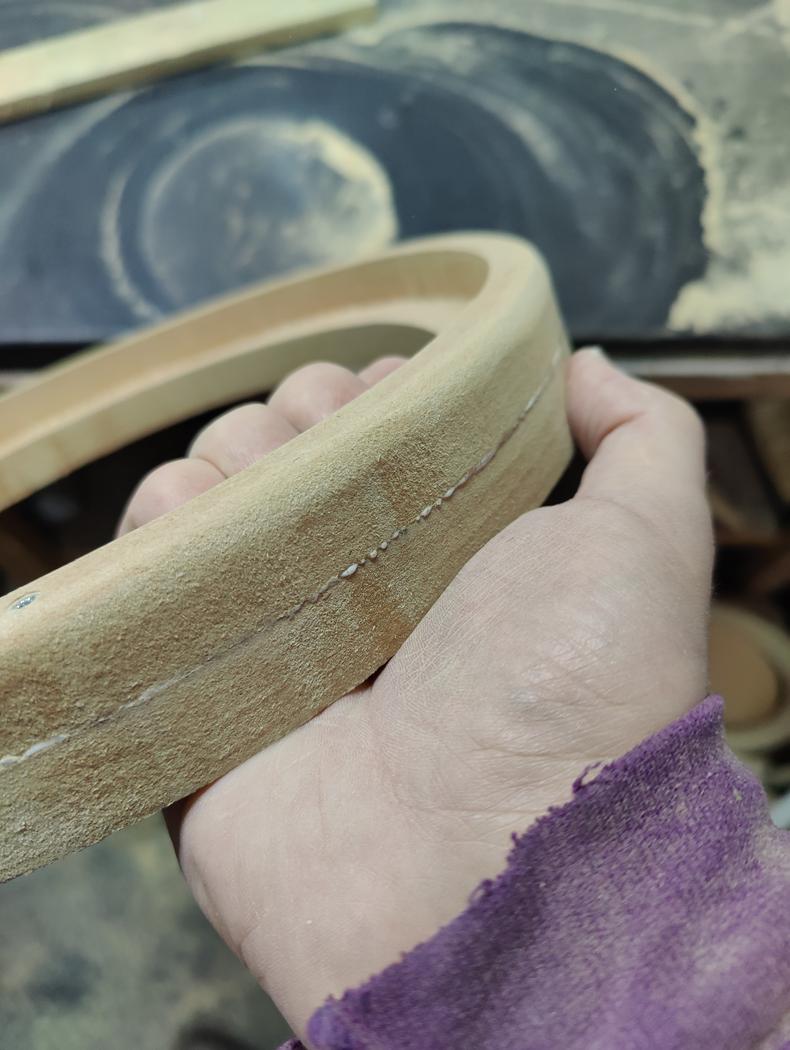 Glued the bracked in place with a lot of support and pulled some polyester fabric over. This was glued in place with some superglue  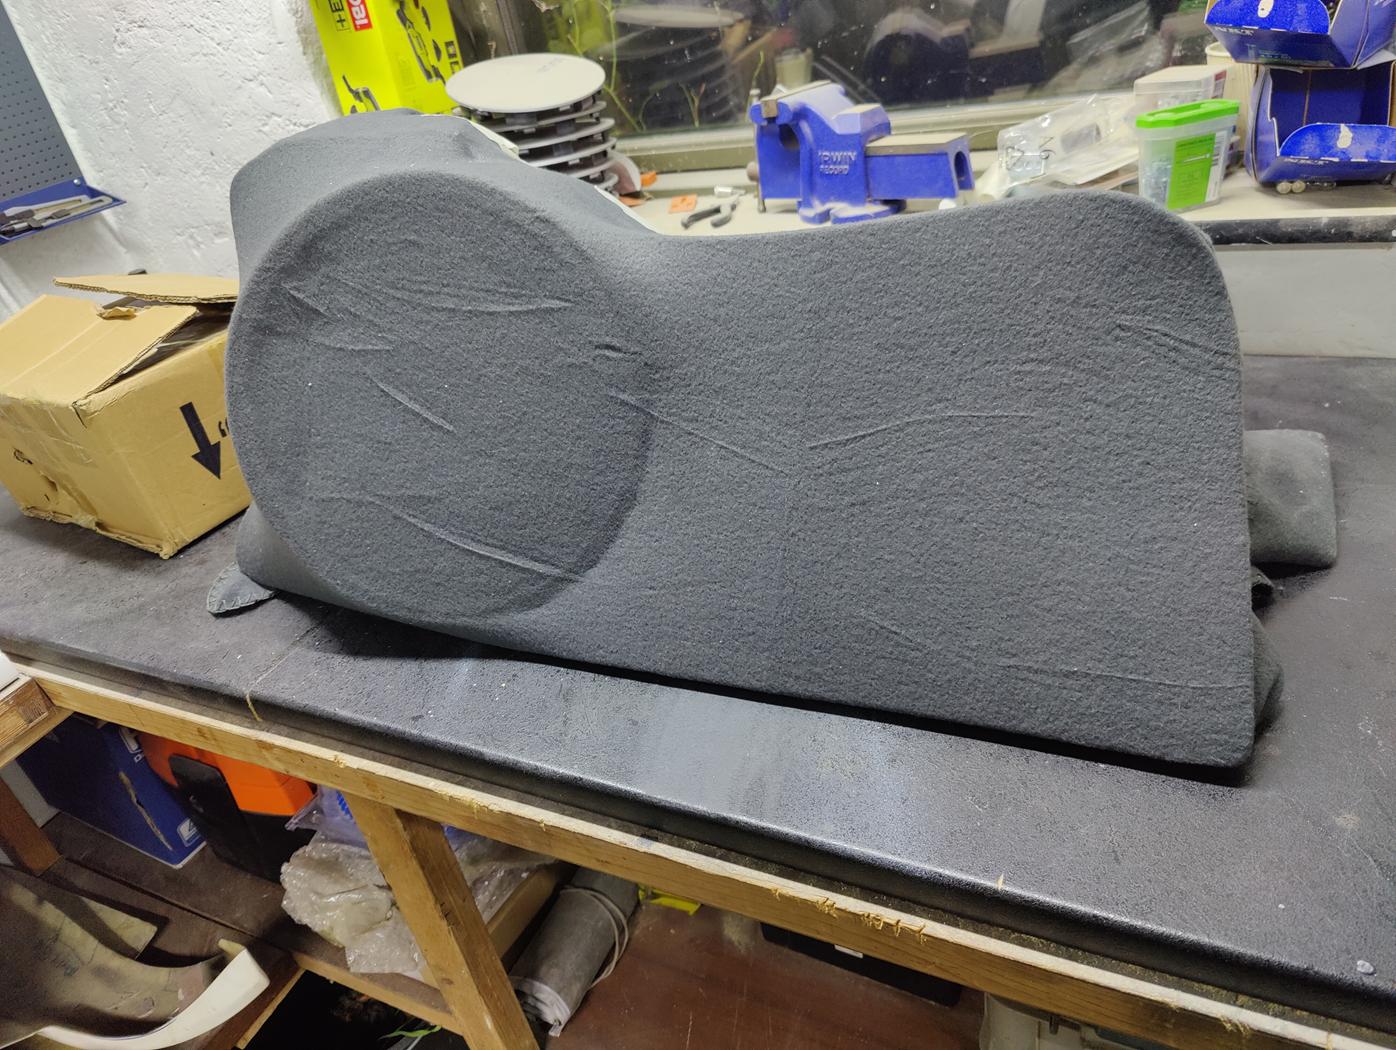 Added a layer of fiberglass on top of the polyester to make it nice and strong  I just had to testfit it after the layer of fiberglass was dry 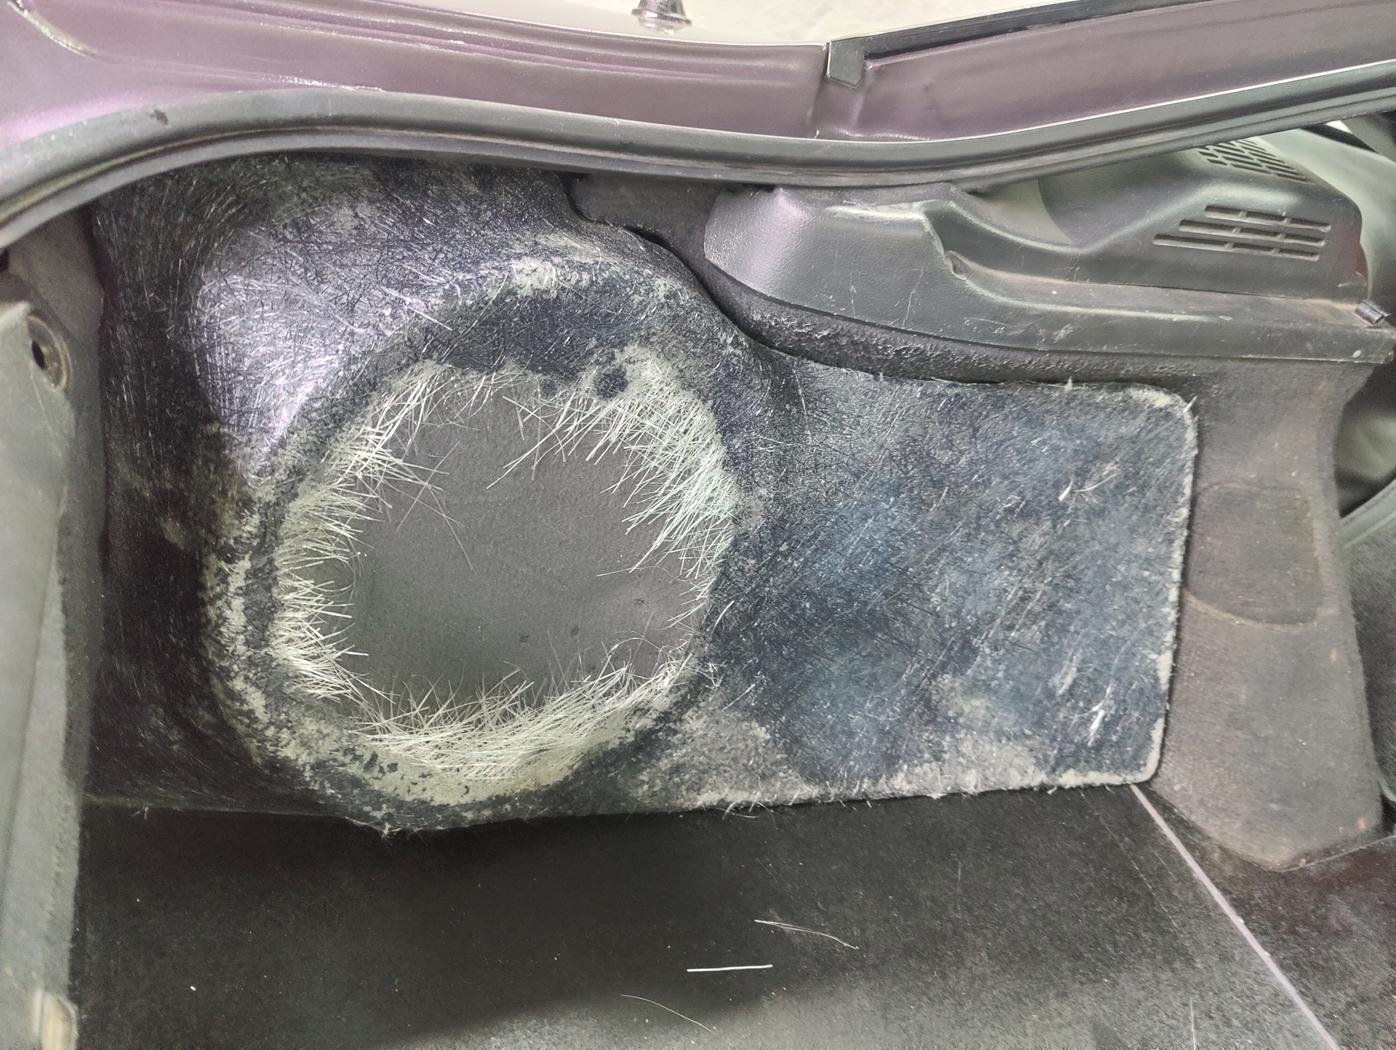 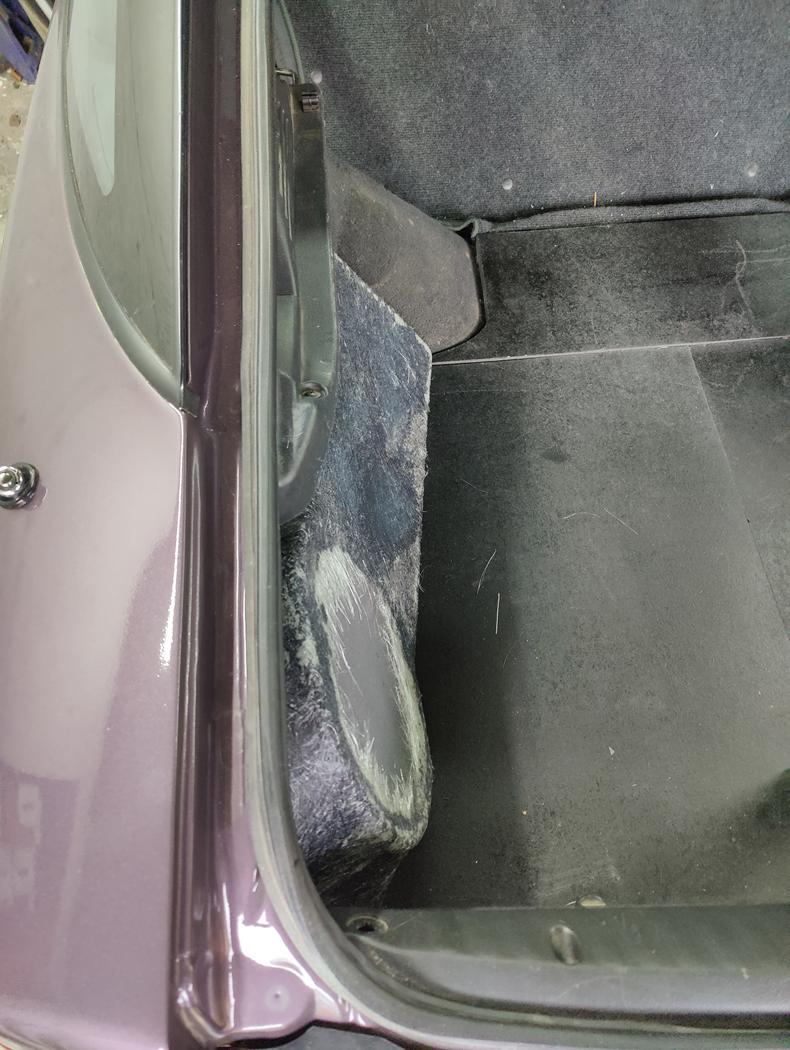 Added another layer of fiberglass to the front and gave it an extra layer of resin to smooth out the front. 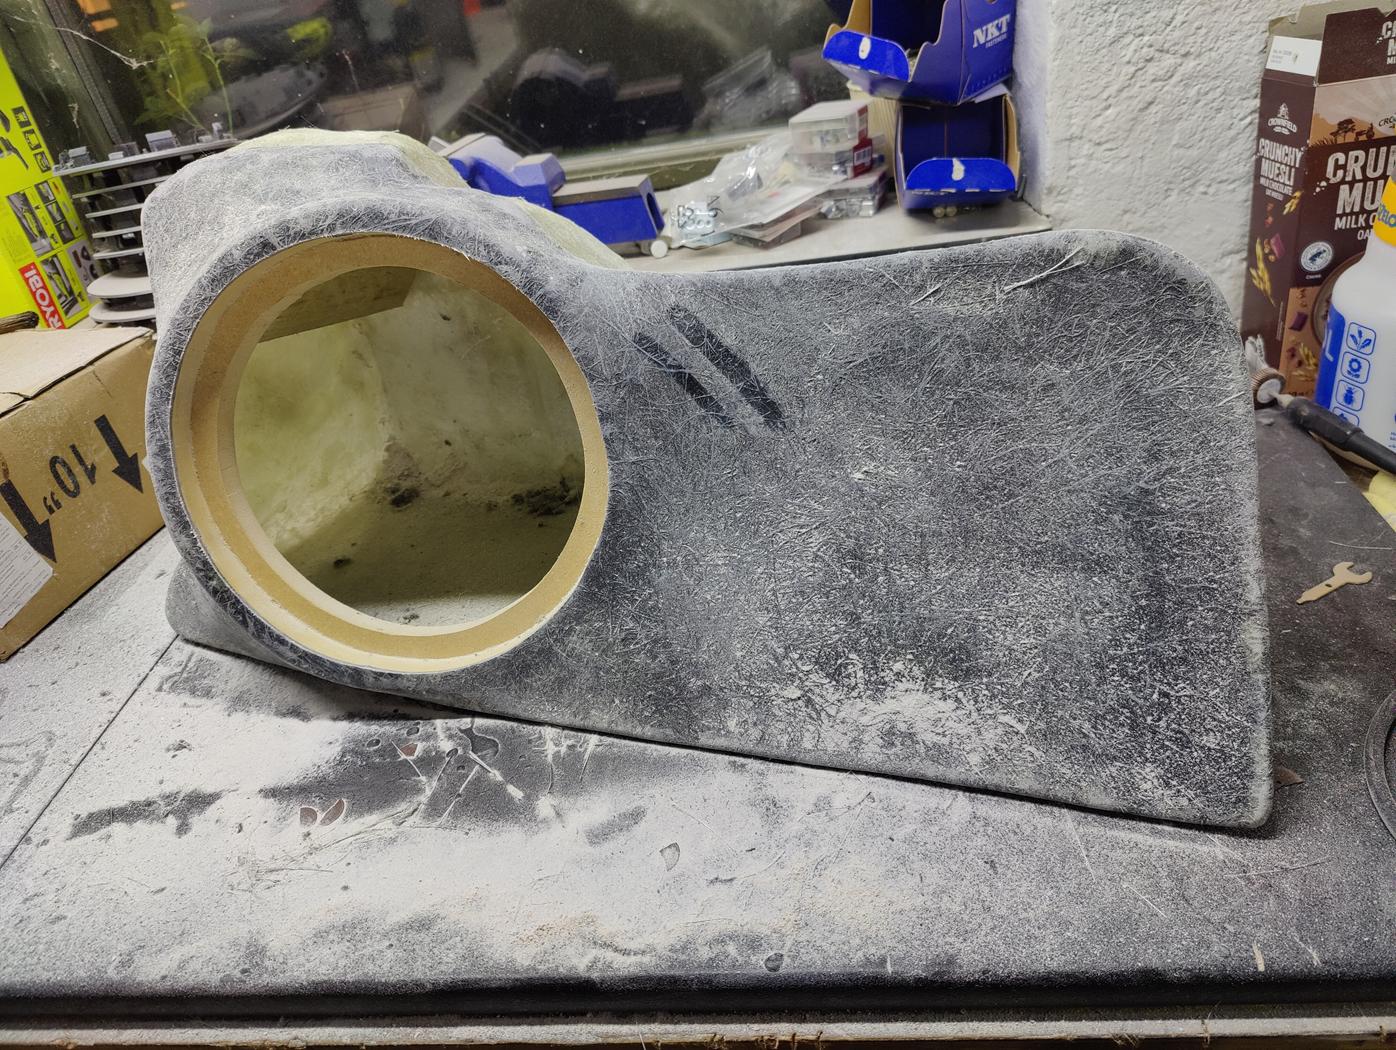 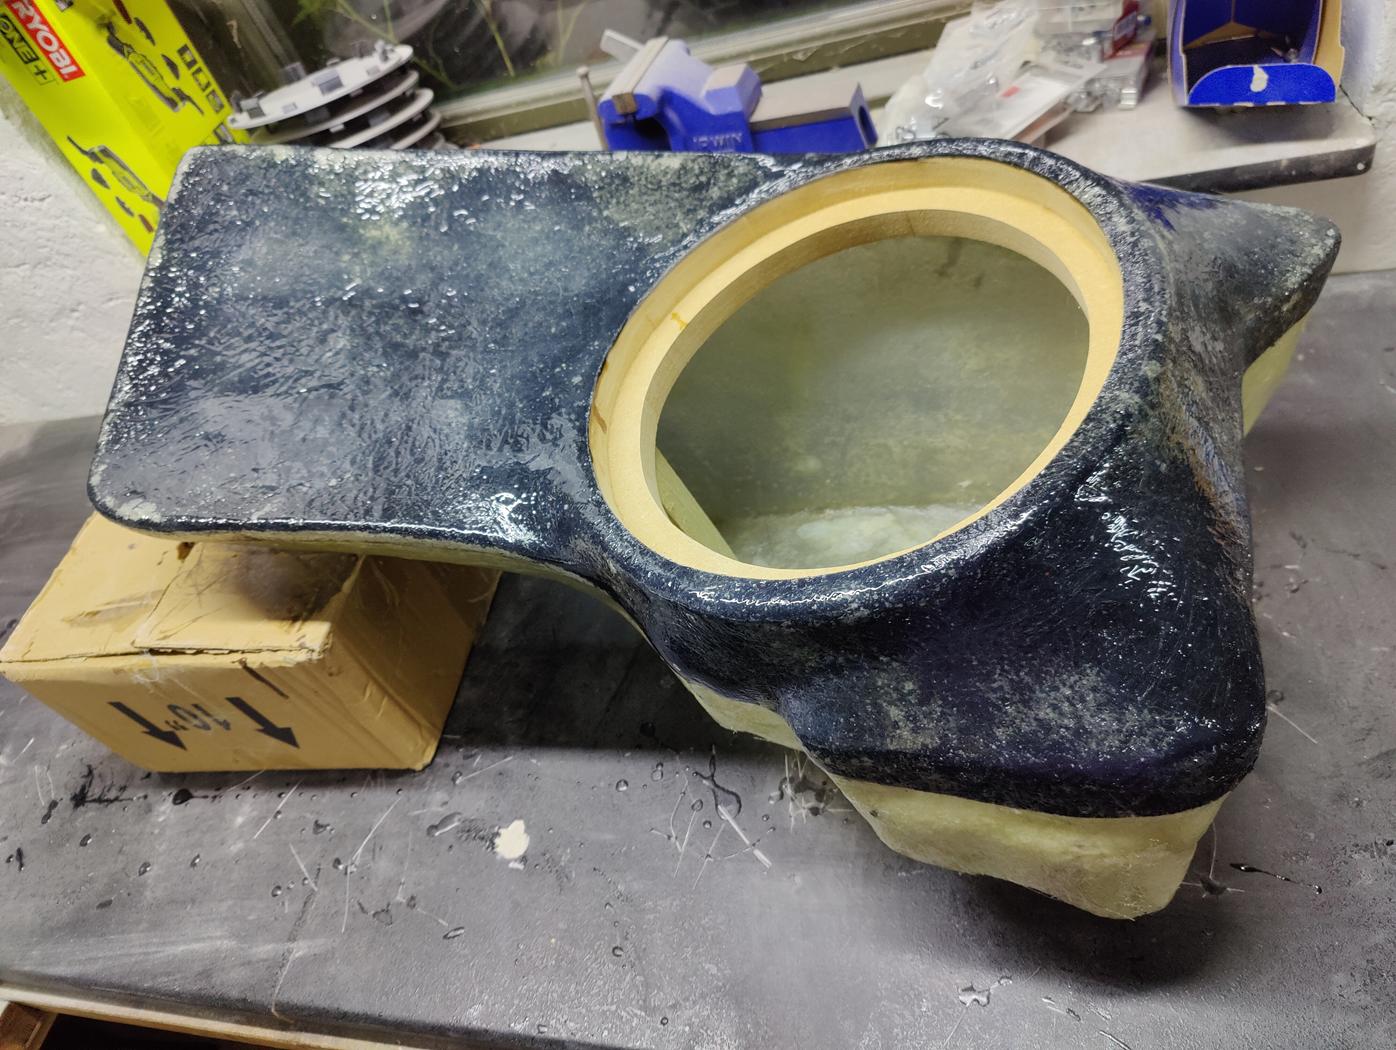 And yet another testfit to also find a solution to the amplifier 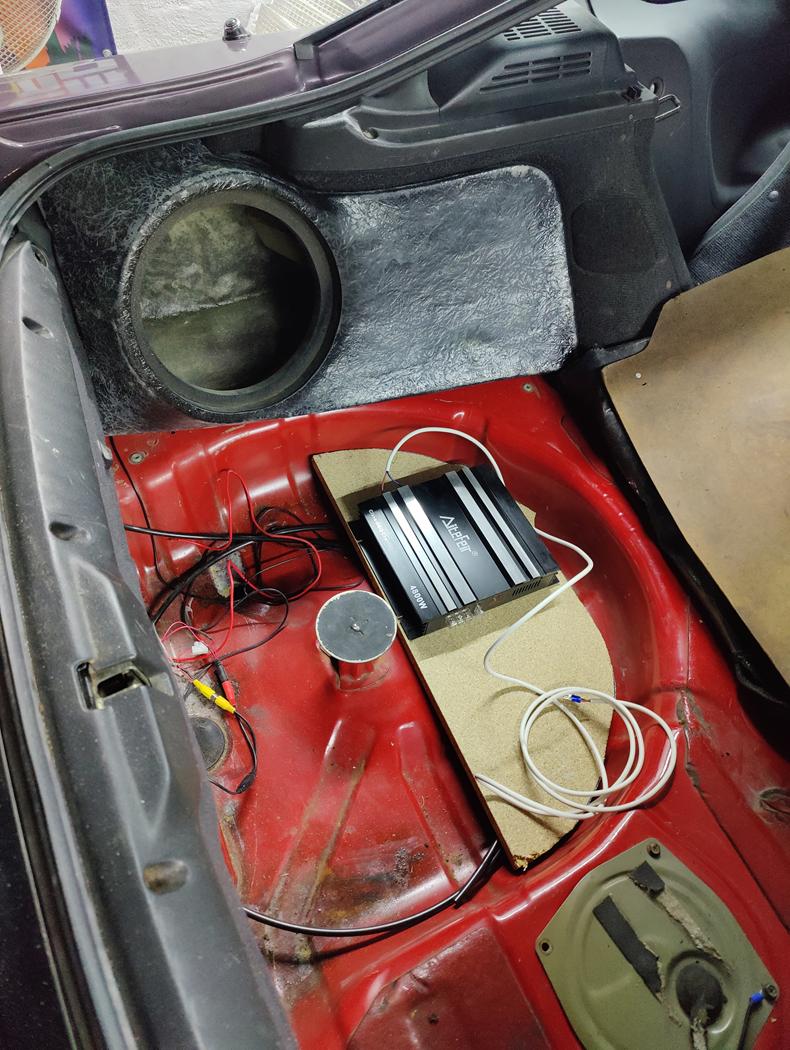 After a few evenings work, this is the result: 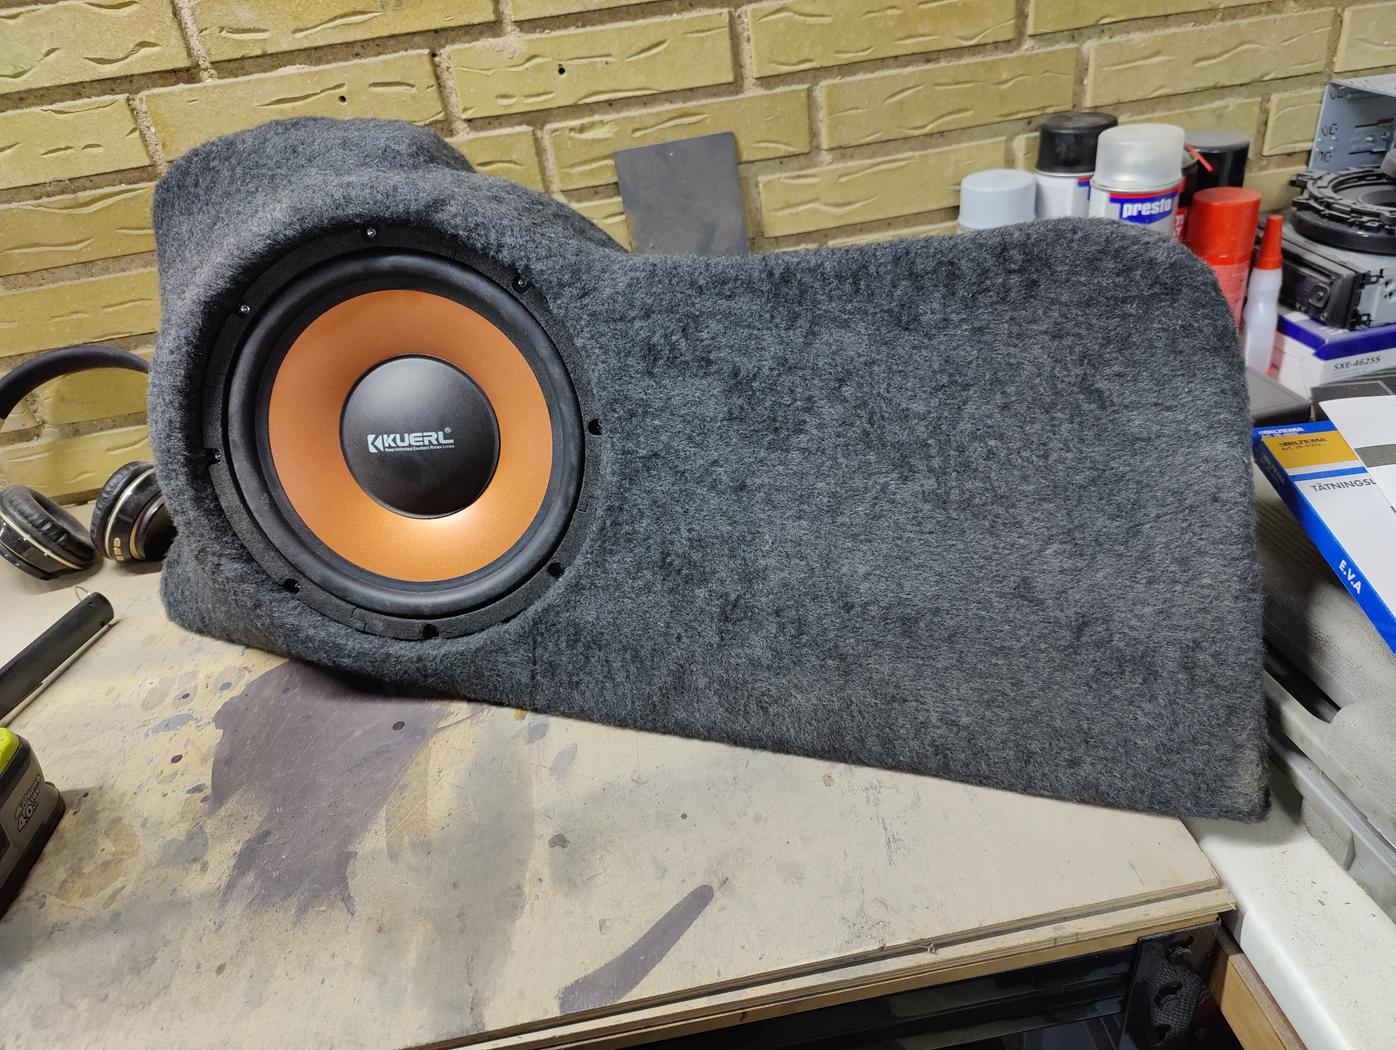 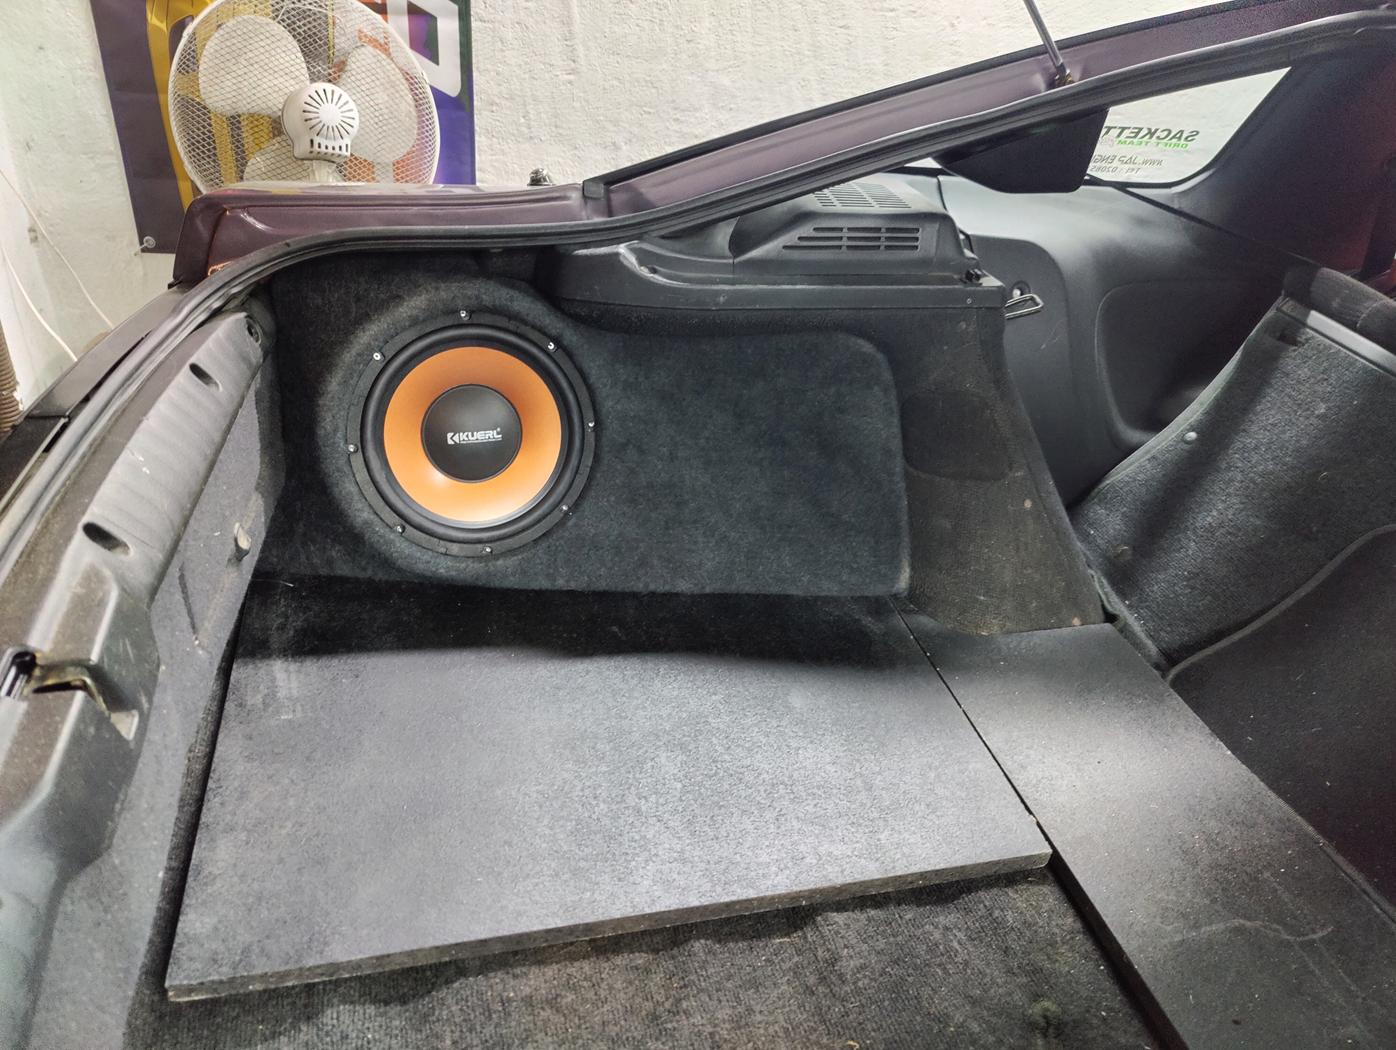 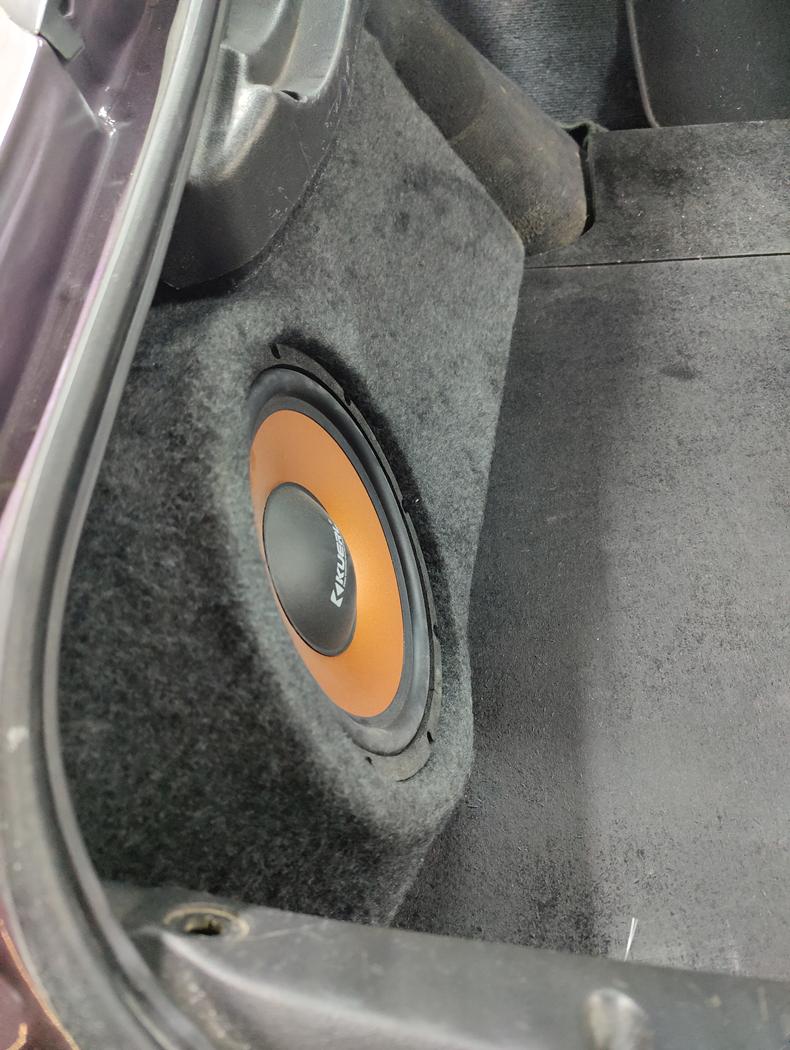 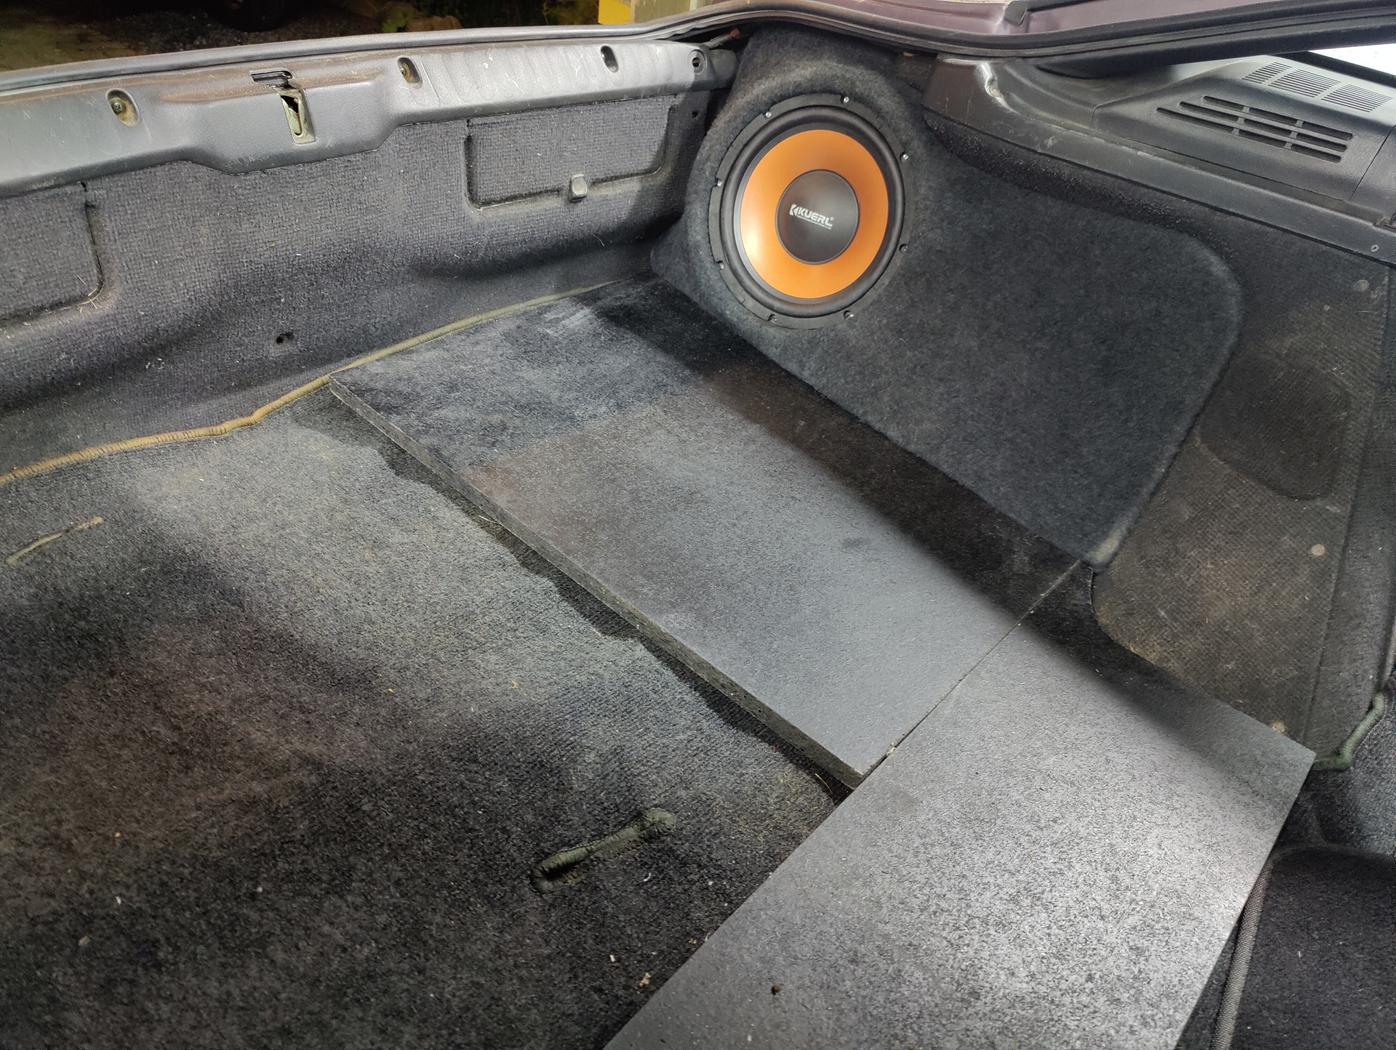 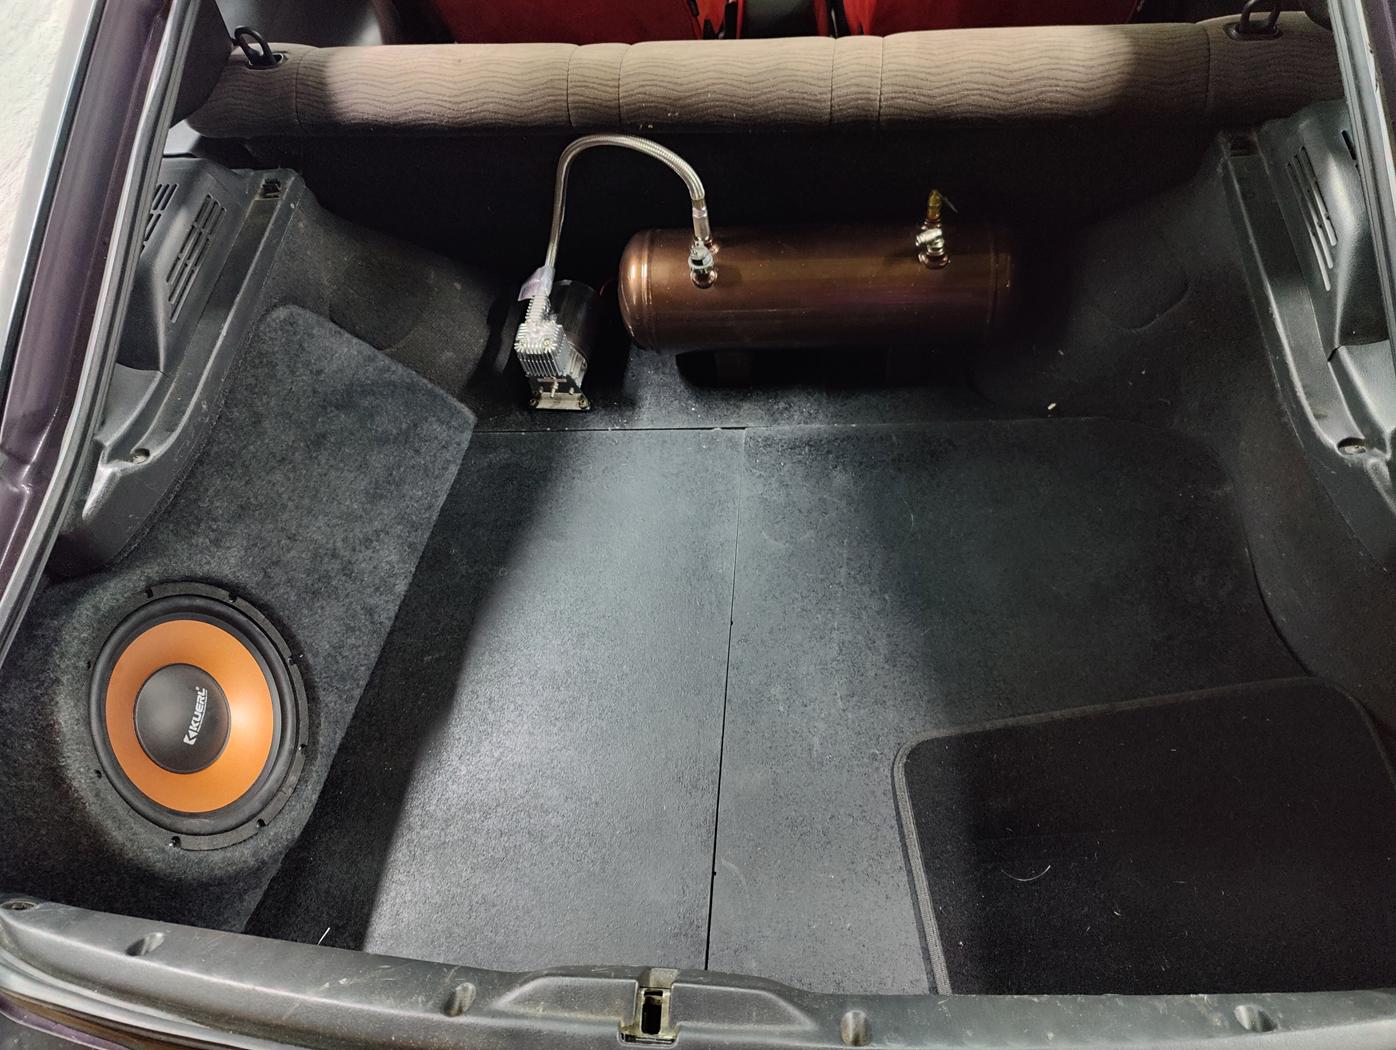 Next task is to install the new amp i accidentally bought very cheap, and pull all the wires for power and sound. The idea is to pull a 50mm2 cable for 12V+ so i can move the battery to the trunk at some point in the future. And from this cable, ill pull power for the compressor, the amp and the fuel pump. I dont update as often as i wanted here. So you can find the whole project on instagram.com/gogo_gojira
__________________
Whats worse than one broken S13?
2 broken S13s... |
|

|

|
|
01-08-2025, 11:37 AM
|
#64 |
|
Leaky Injector
|
Winter time is wrenching time!
Since ive touched almost everything in the car, i wanted to make it nice and fix the mistakes i've done. First up, connecting the air-cup system. Did some pretty ugly wiring in the well. It gets the job done and its going to be hidden. So i dont care to much... yet. 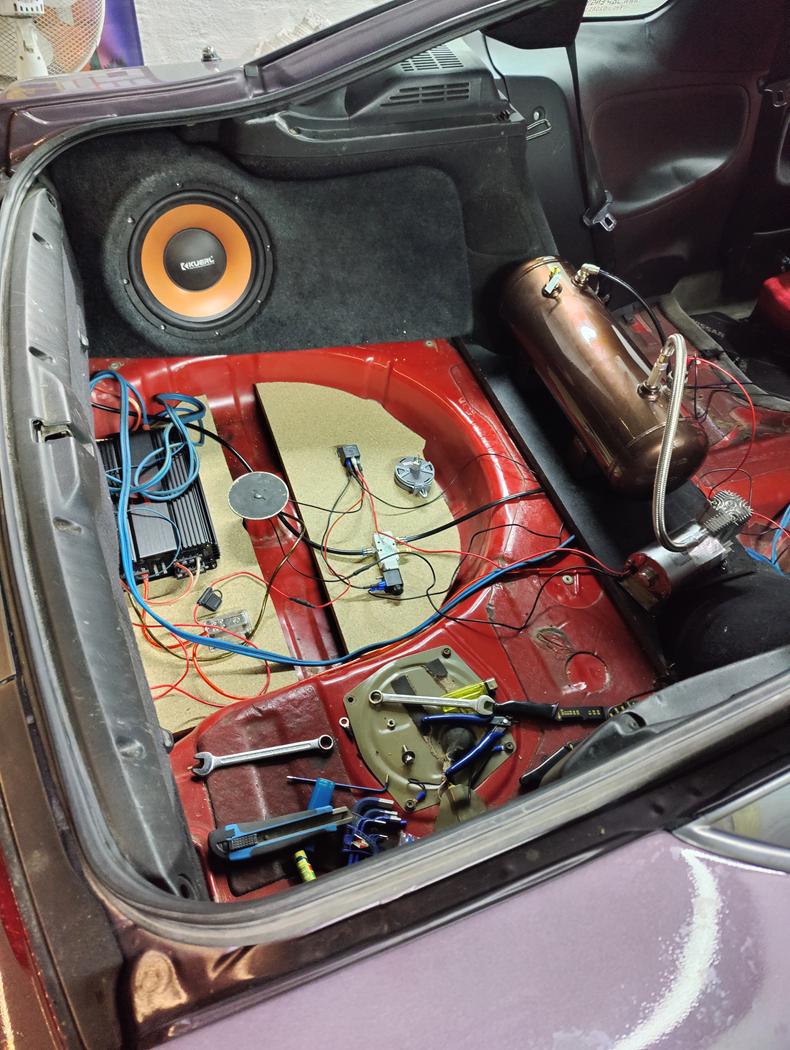 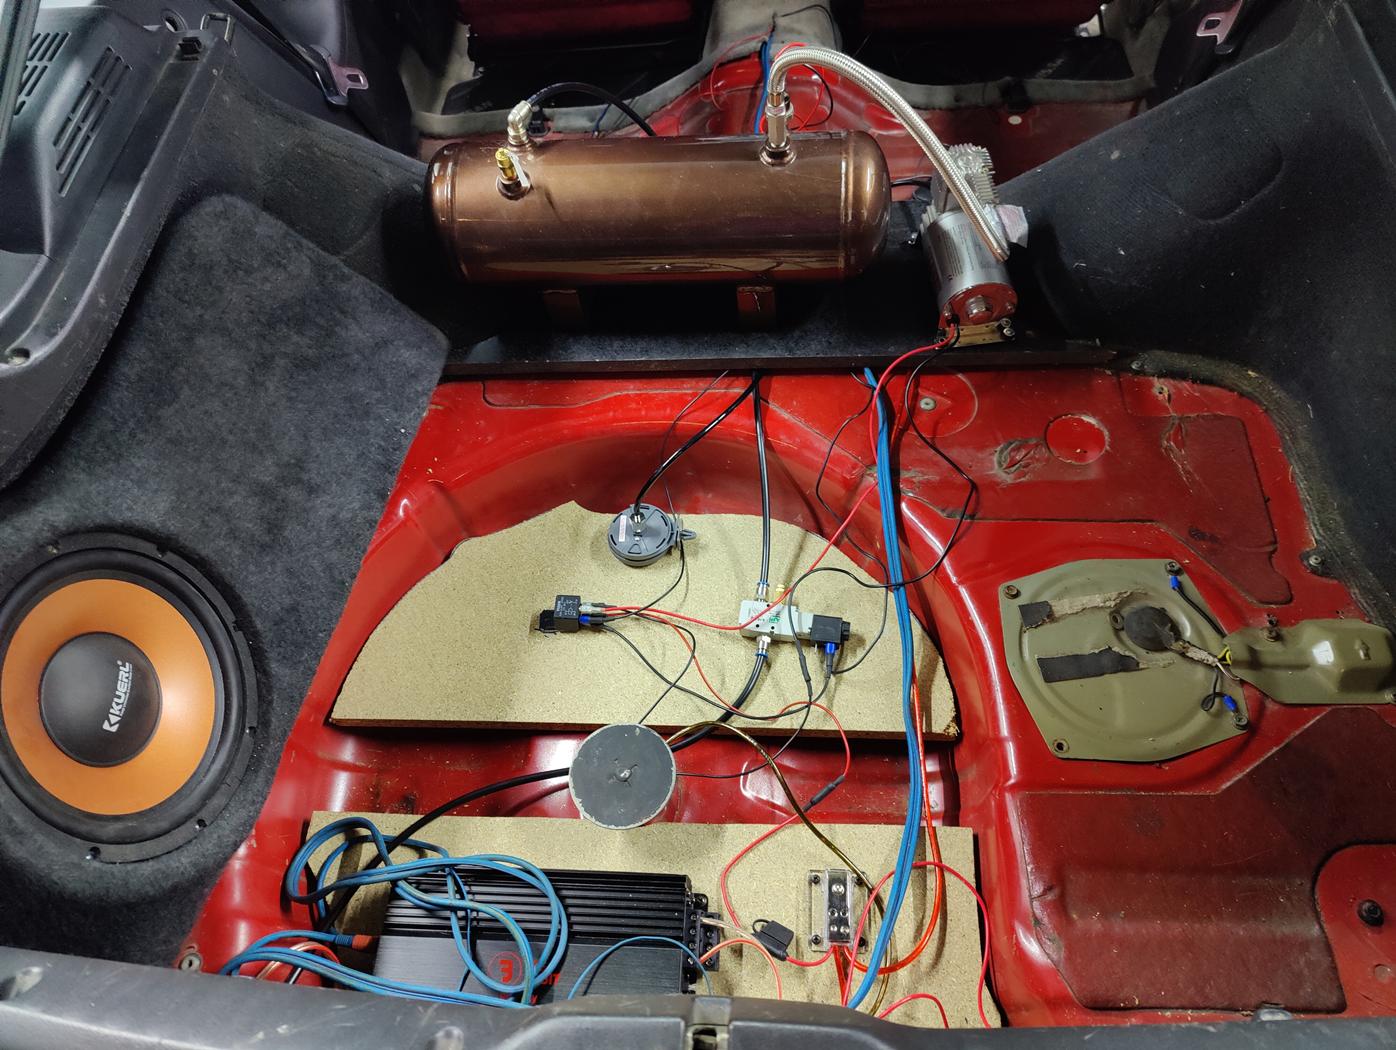   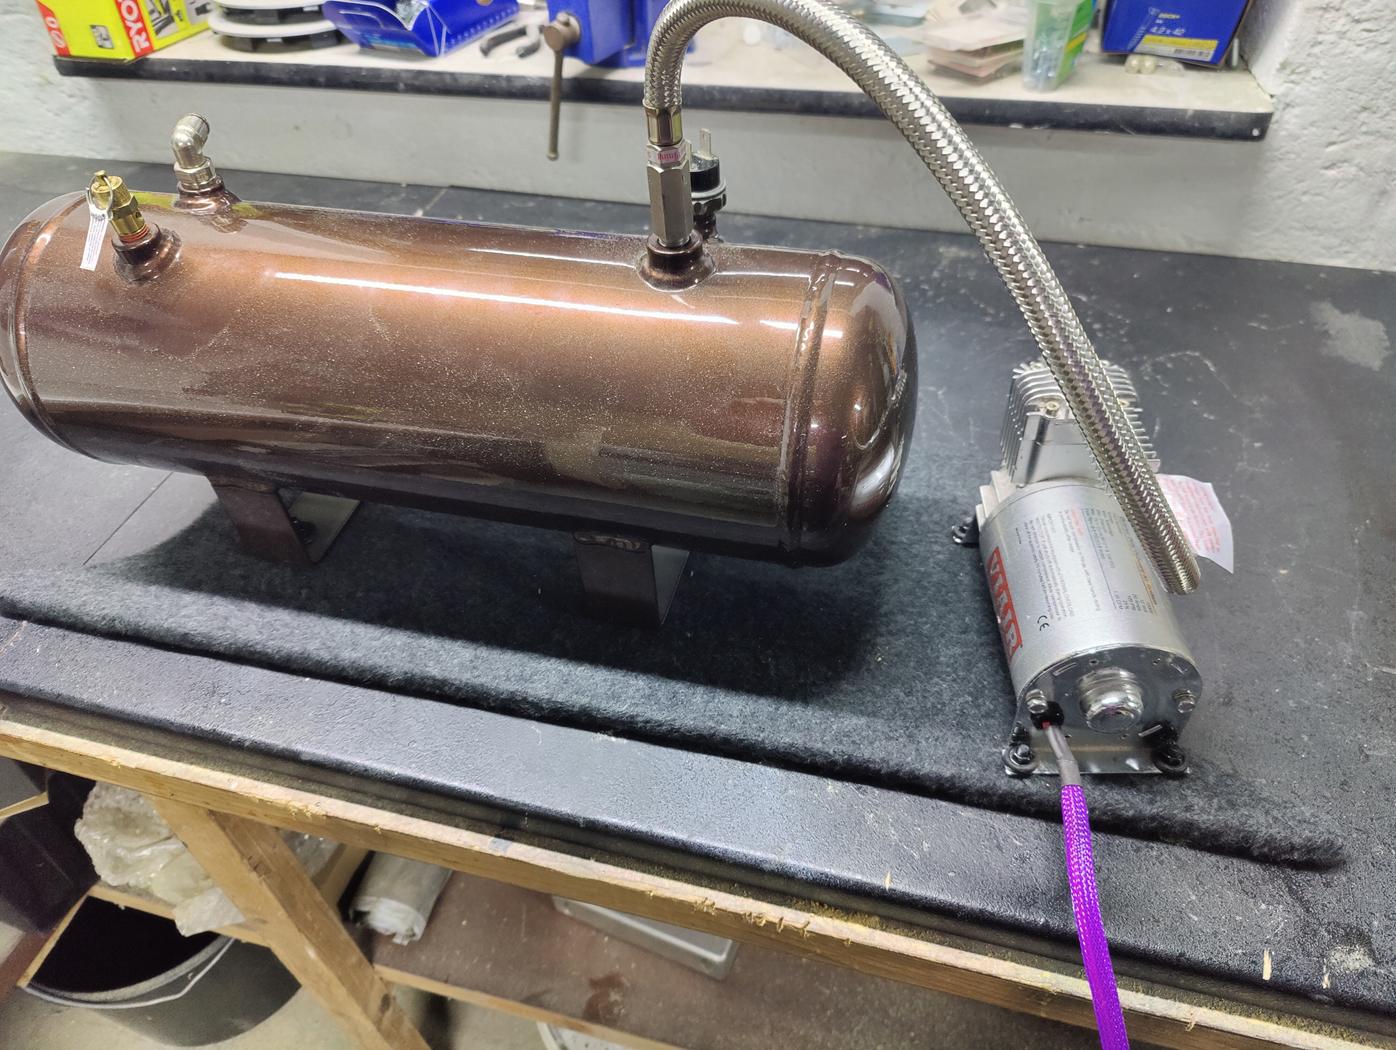 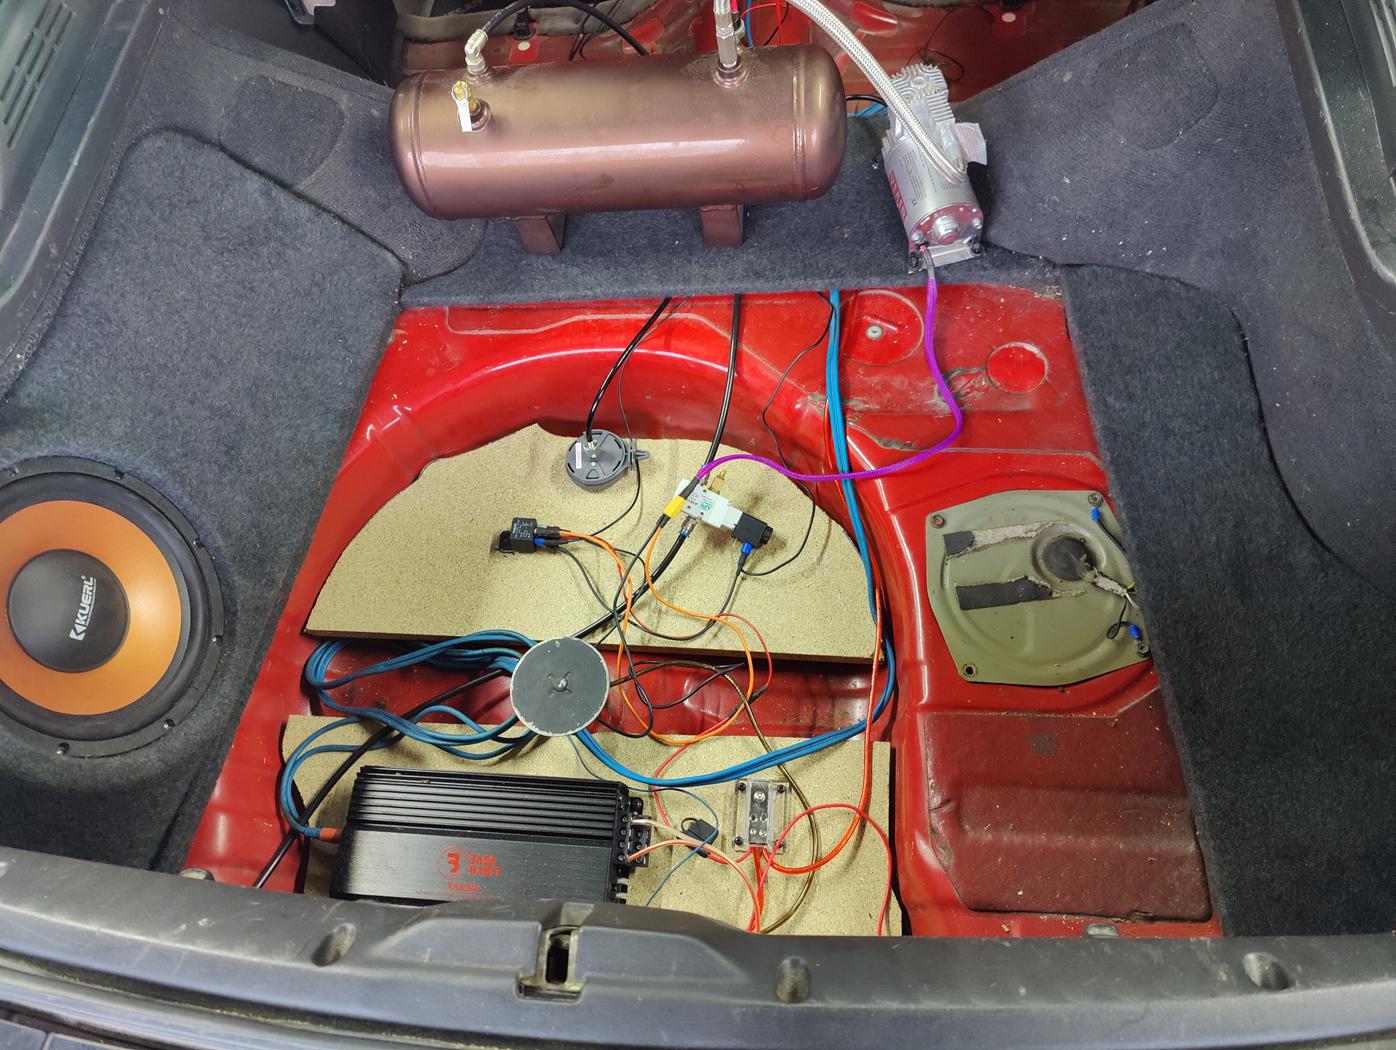 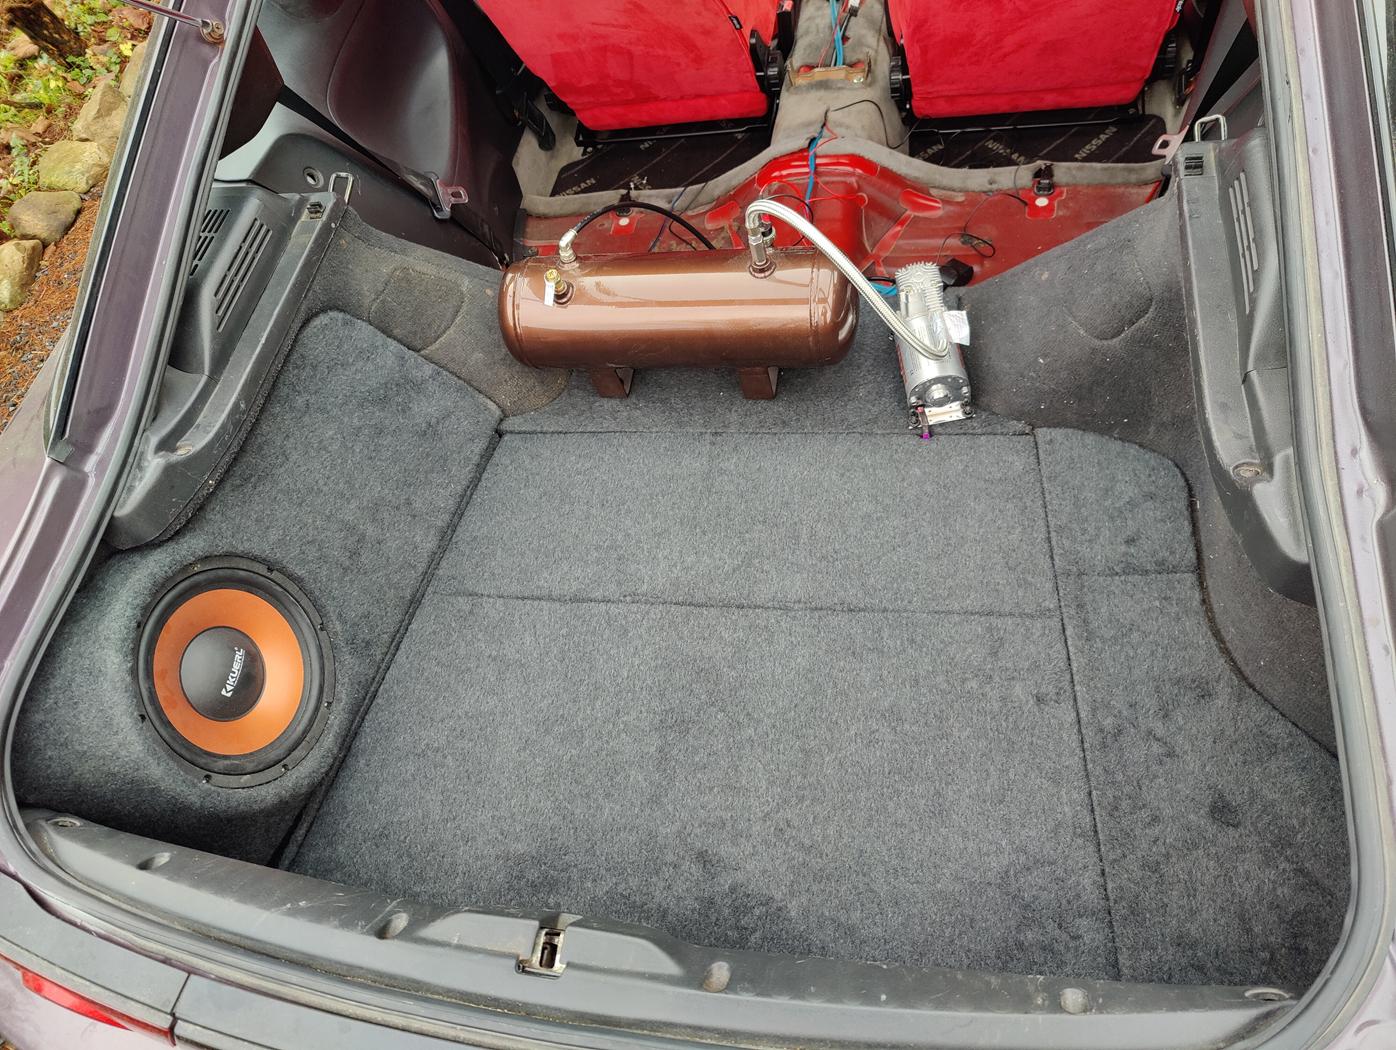 Also. the light in the cluster stopped working and only flashed randomly. It was the cheap ass LED bulbs i got that died. No big deal. Ordered some new ones and installed them. I also painted the needles red for that extra touch. 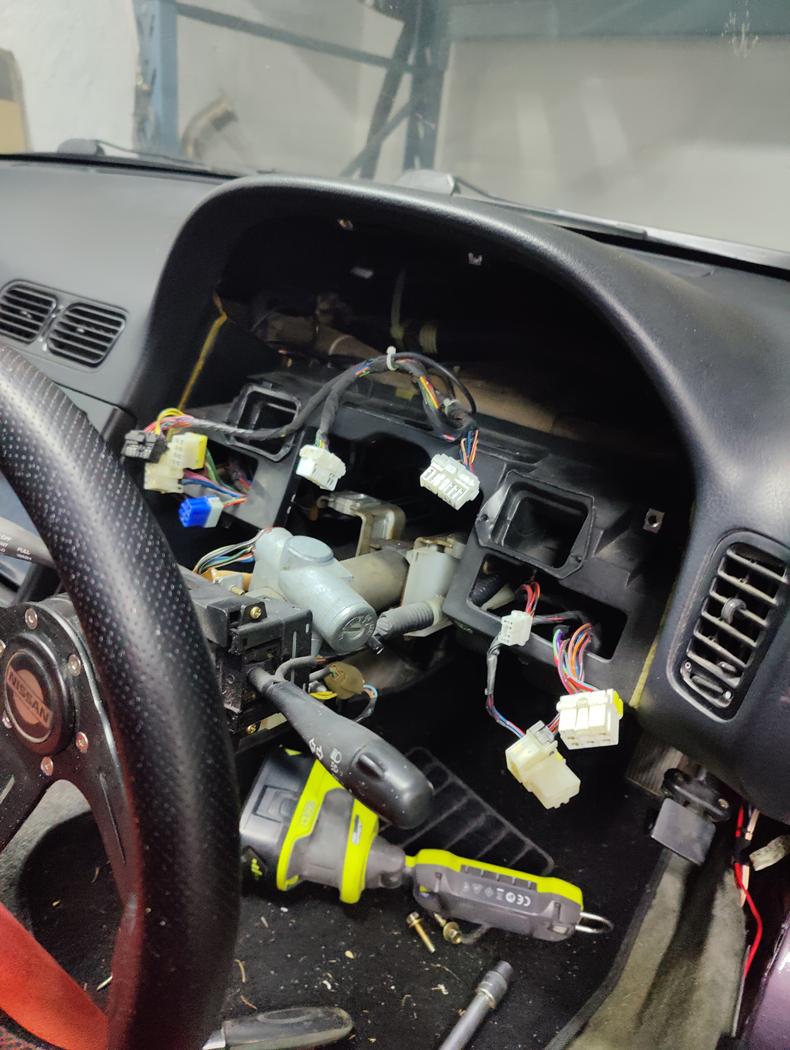 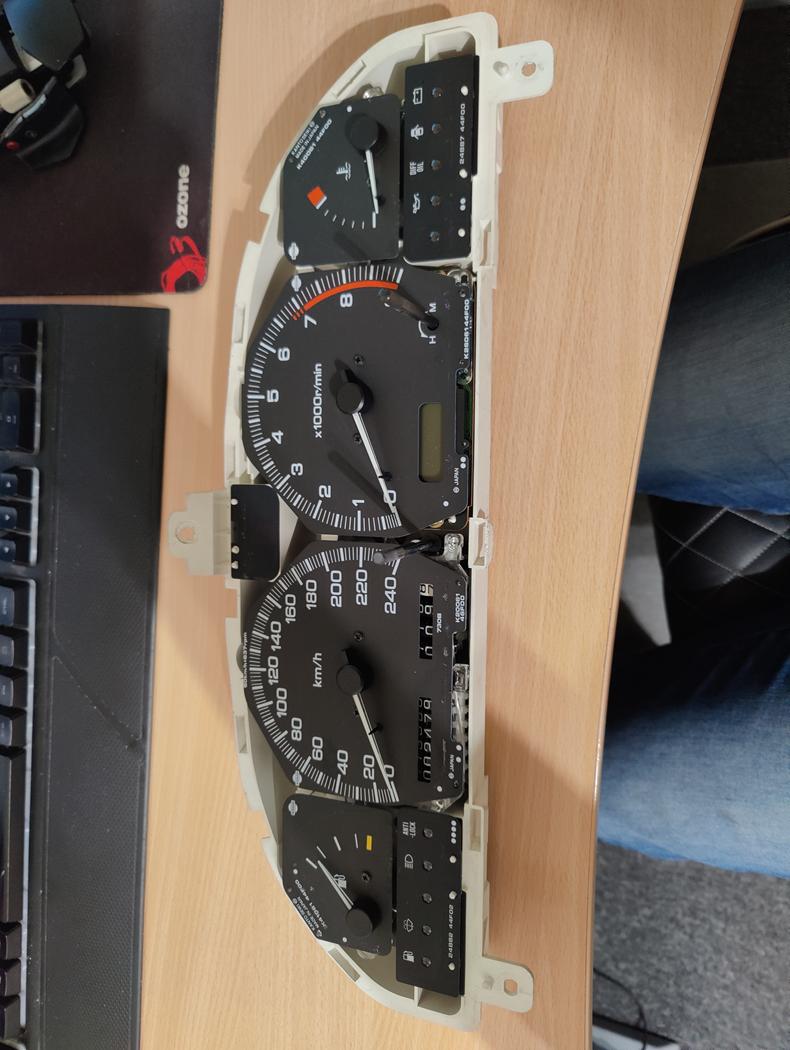  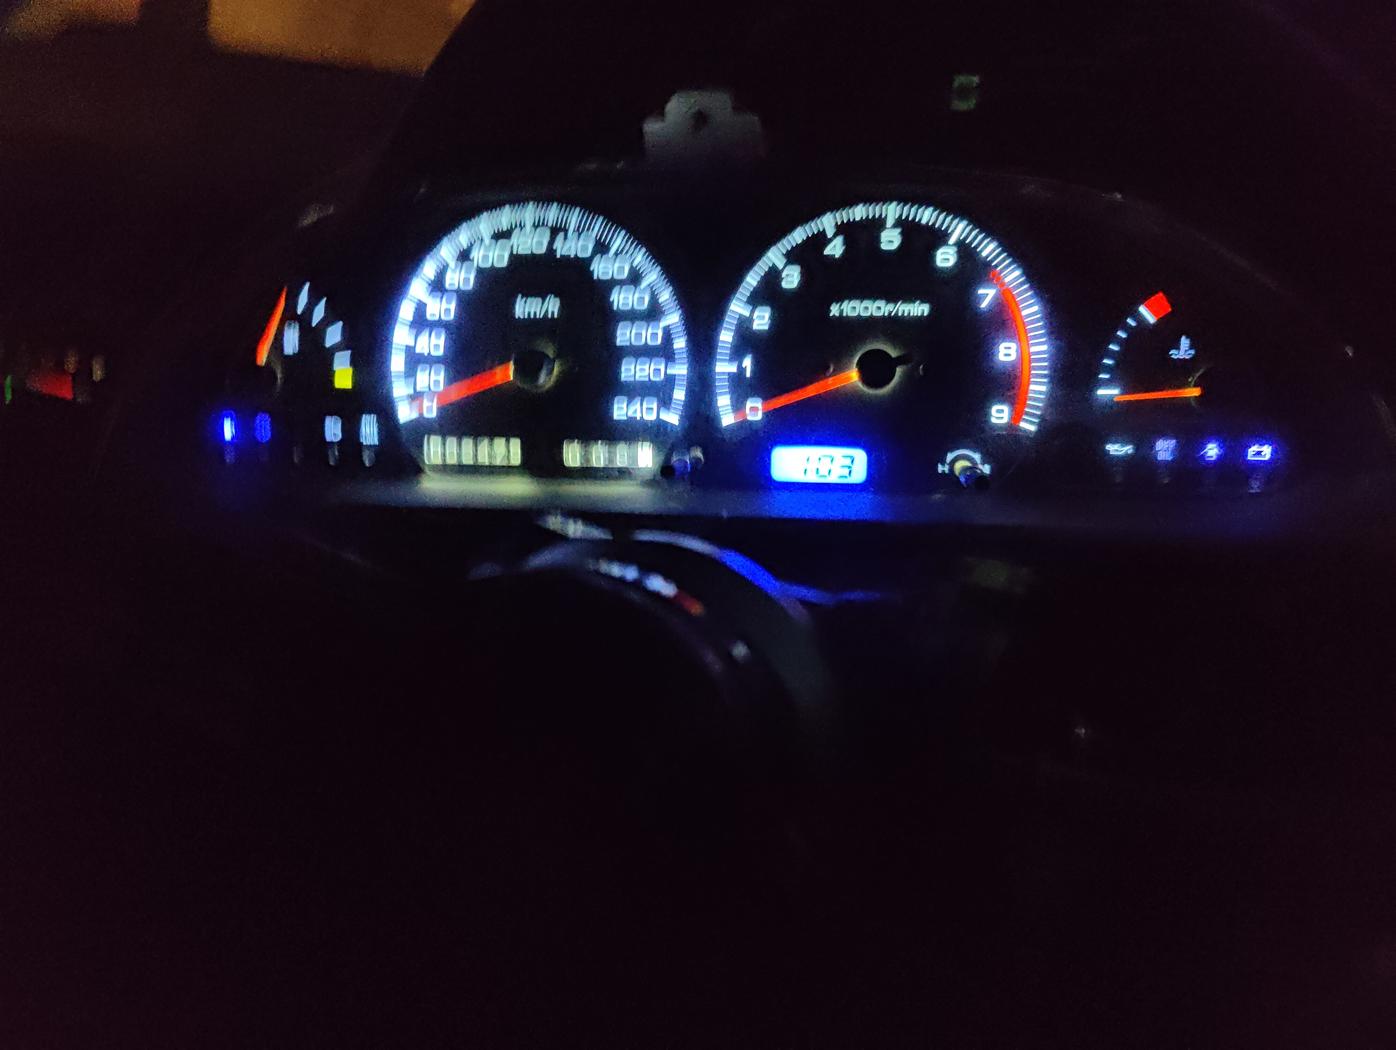  As another sideproject, i started to make a cover for the coils on the engine. Just wanted something different. 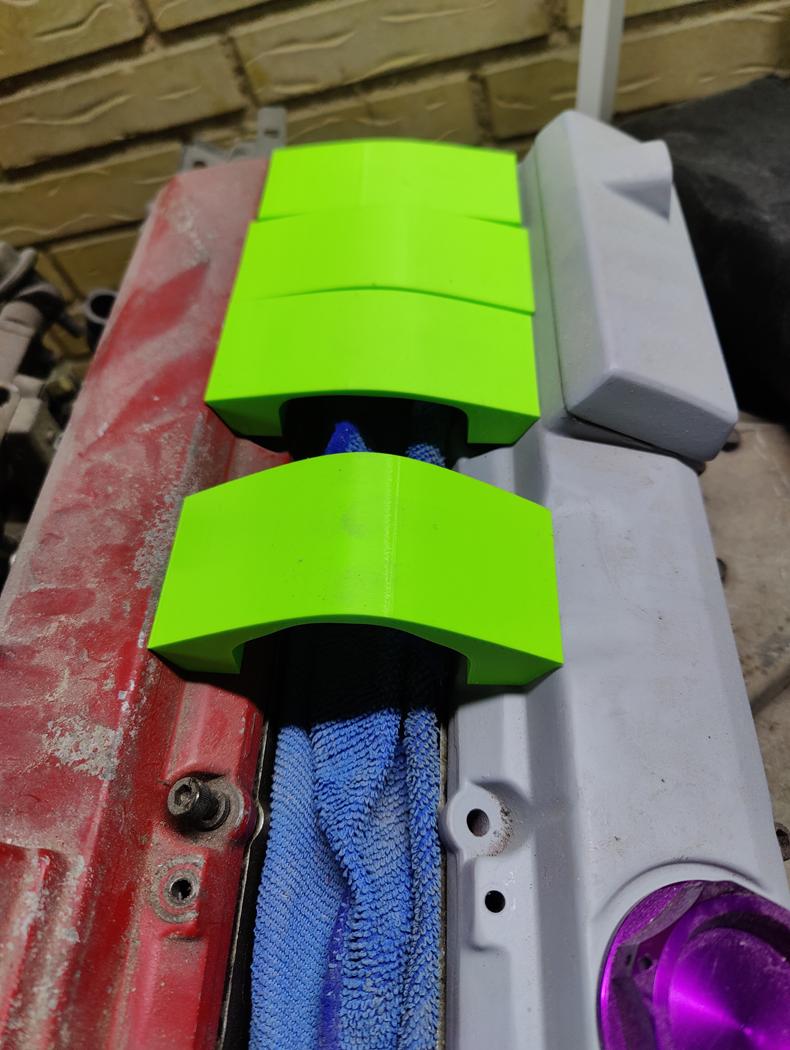 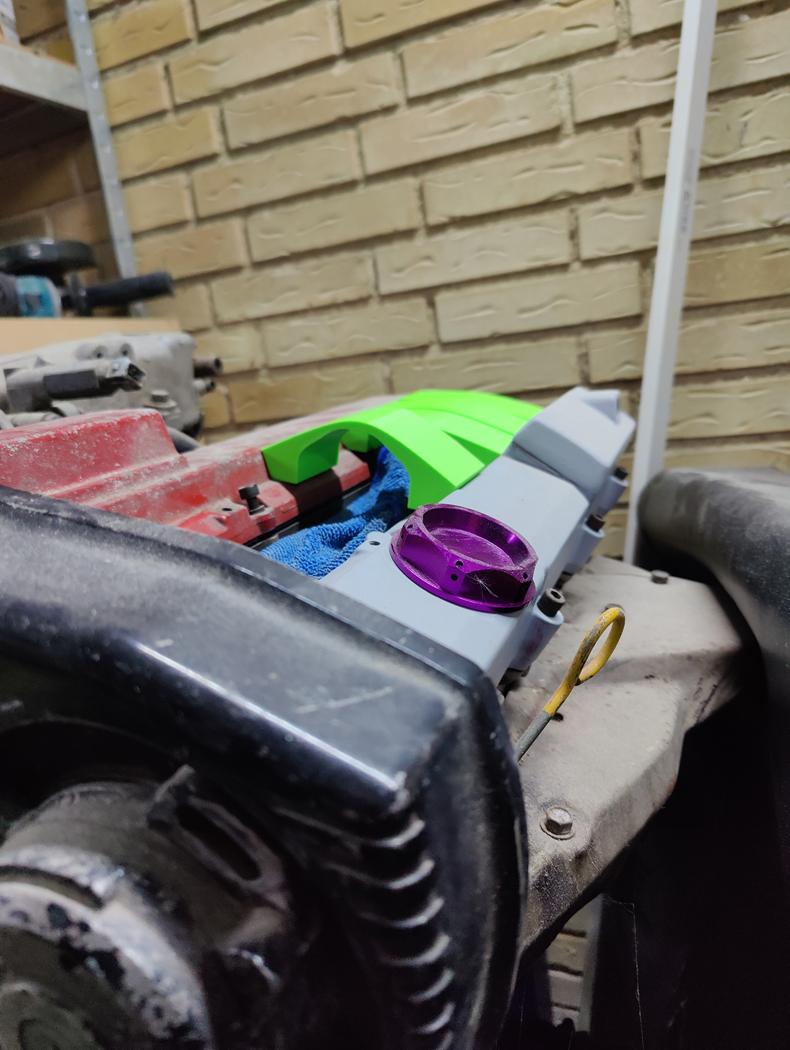 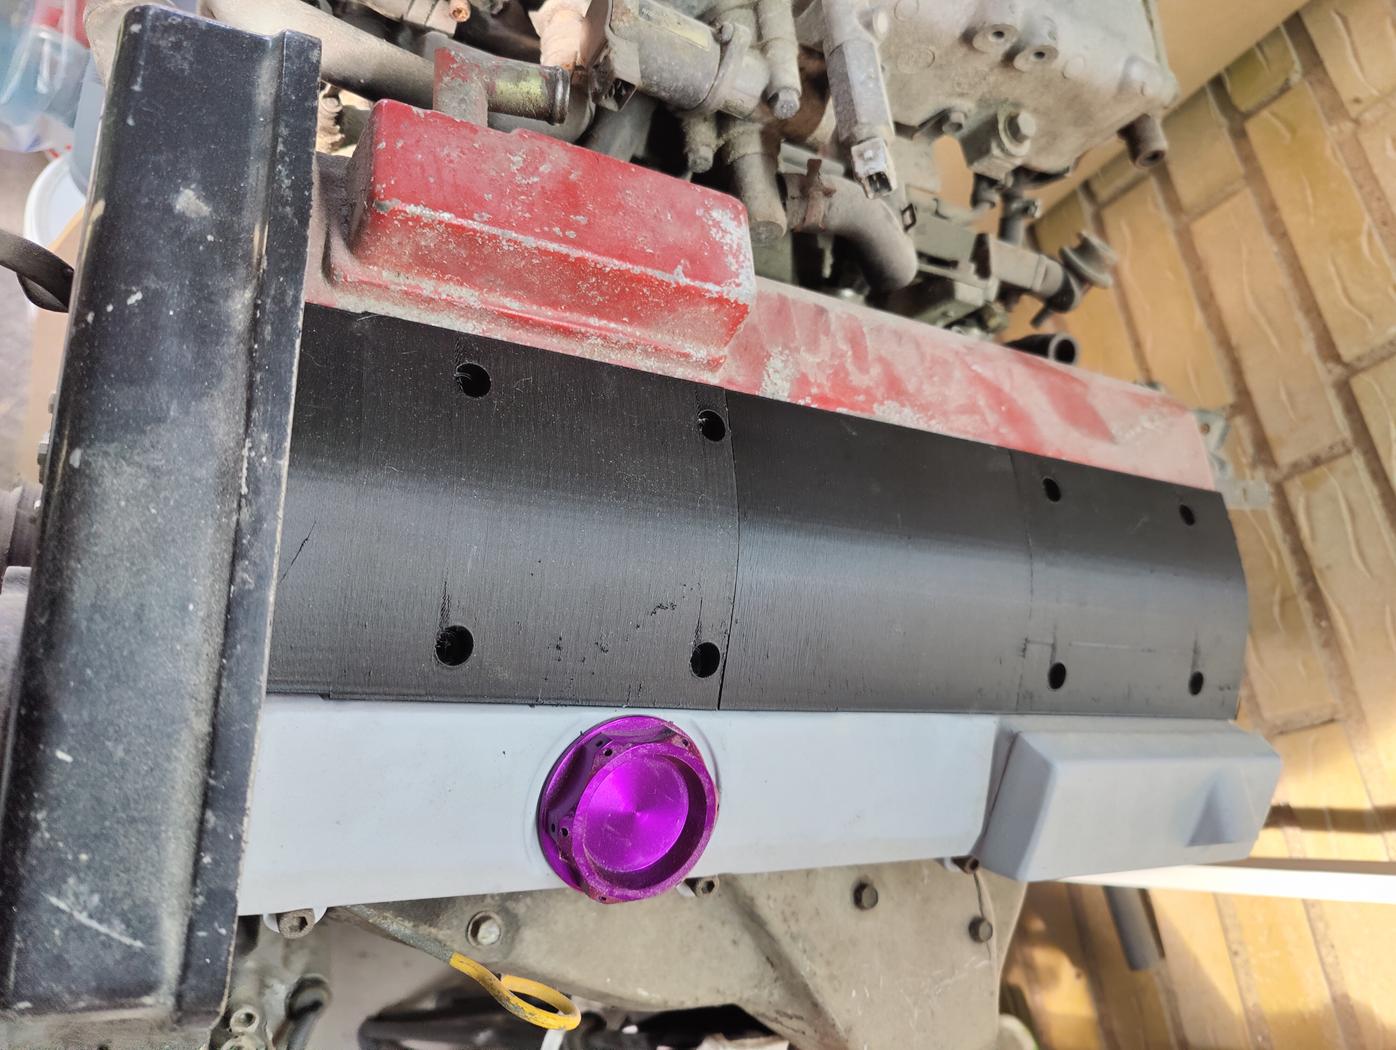
__________________
Whats worse than one broken S13?
2 broken S13s... |
|
|
|
|
04-10-2025, 03:16 AM
|
#65 |
|
Leaky Injector
|
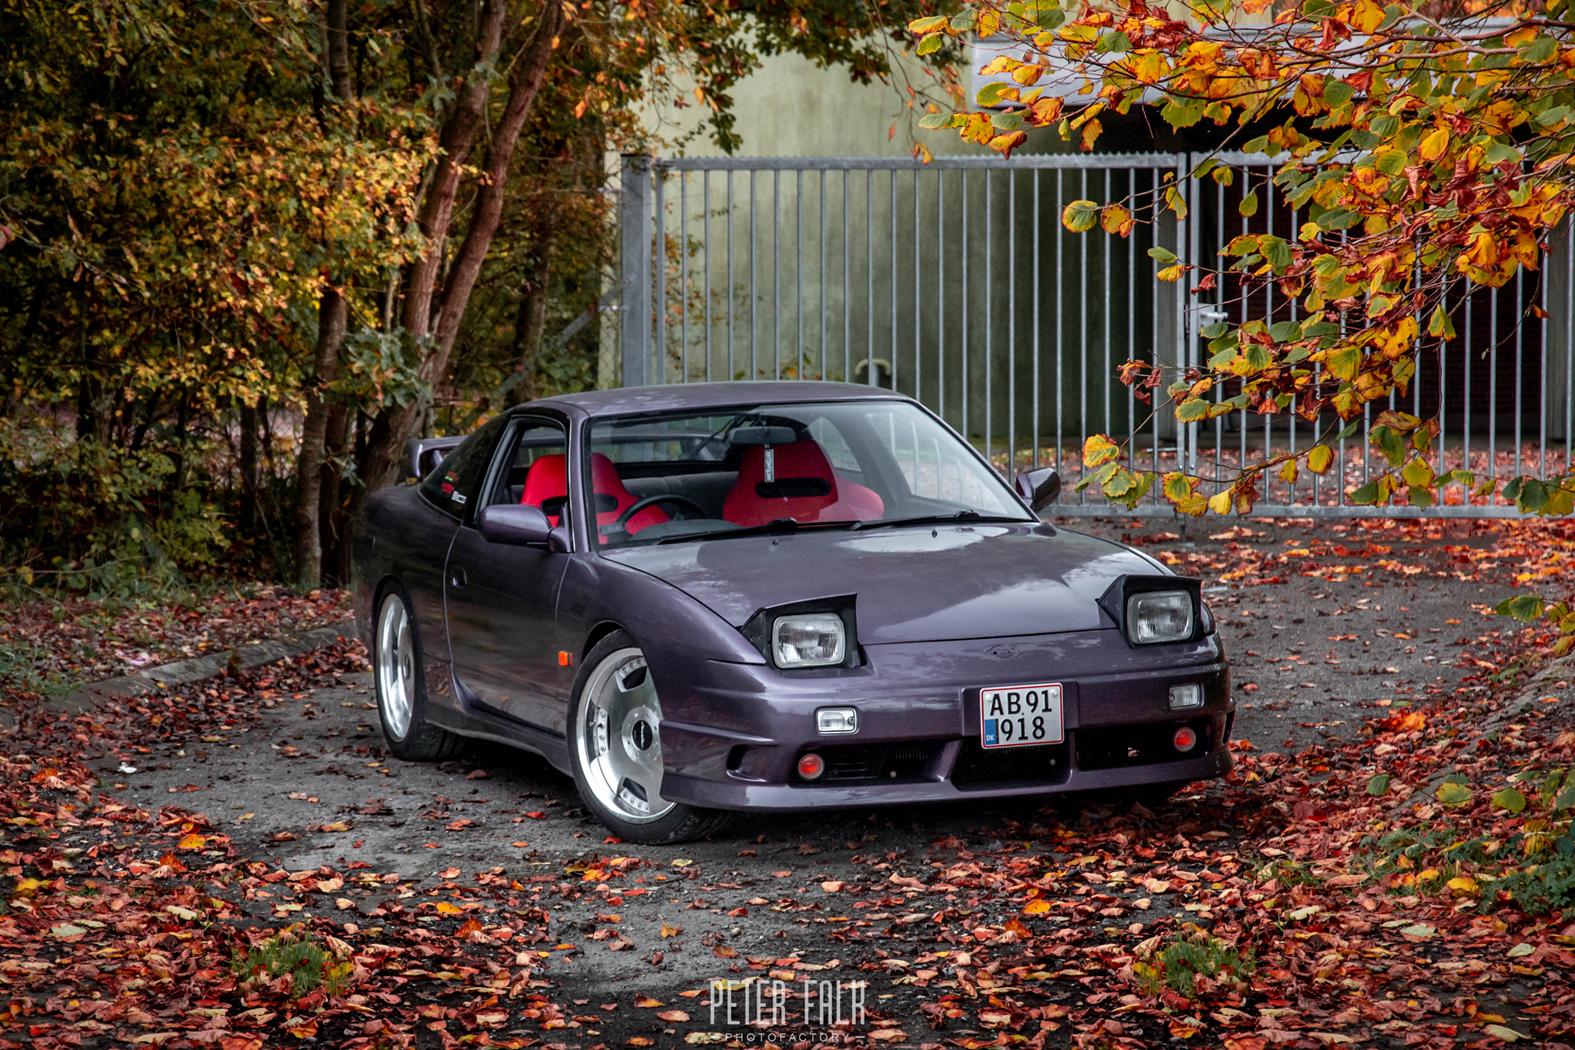
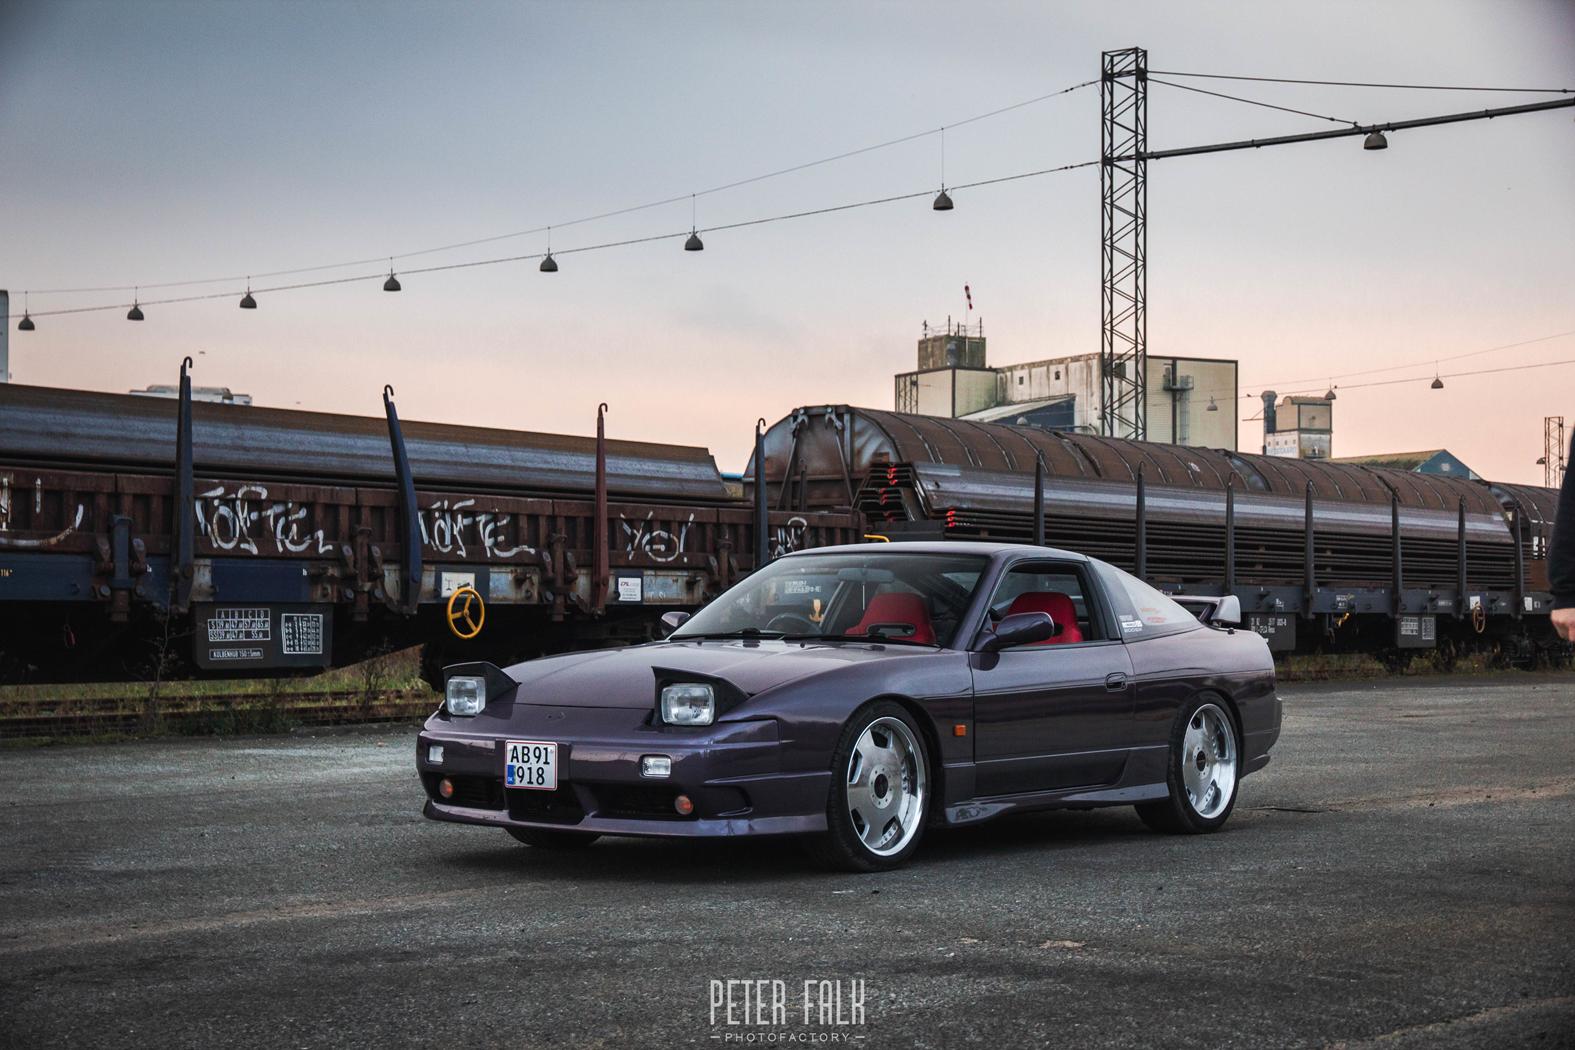
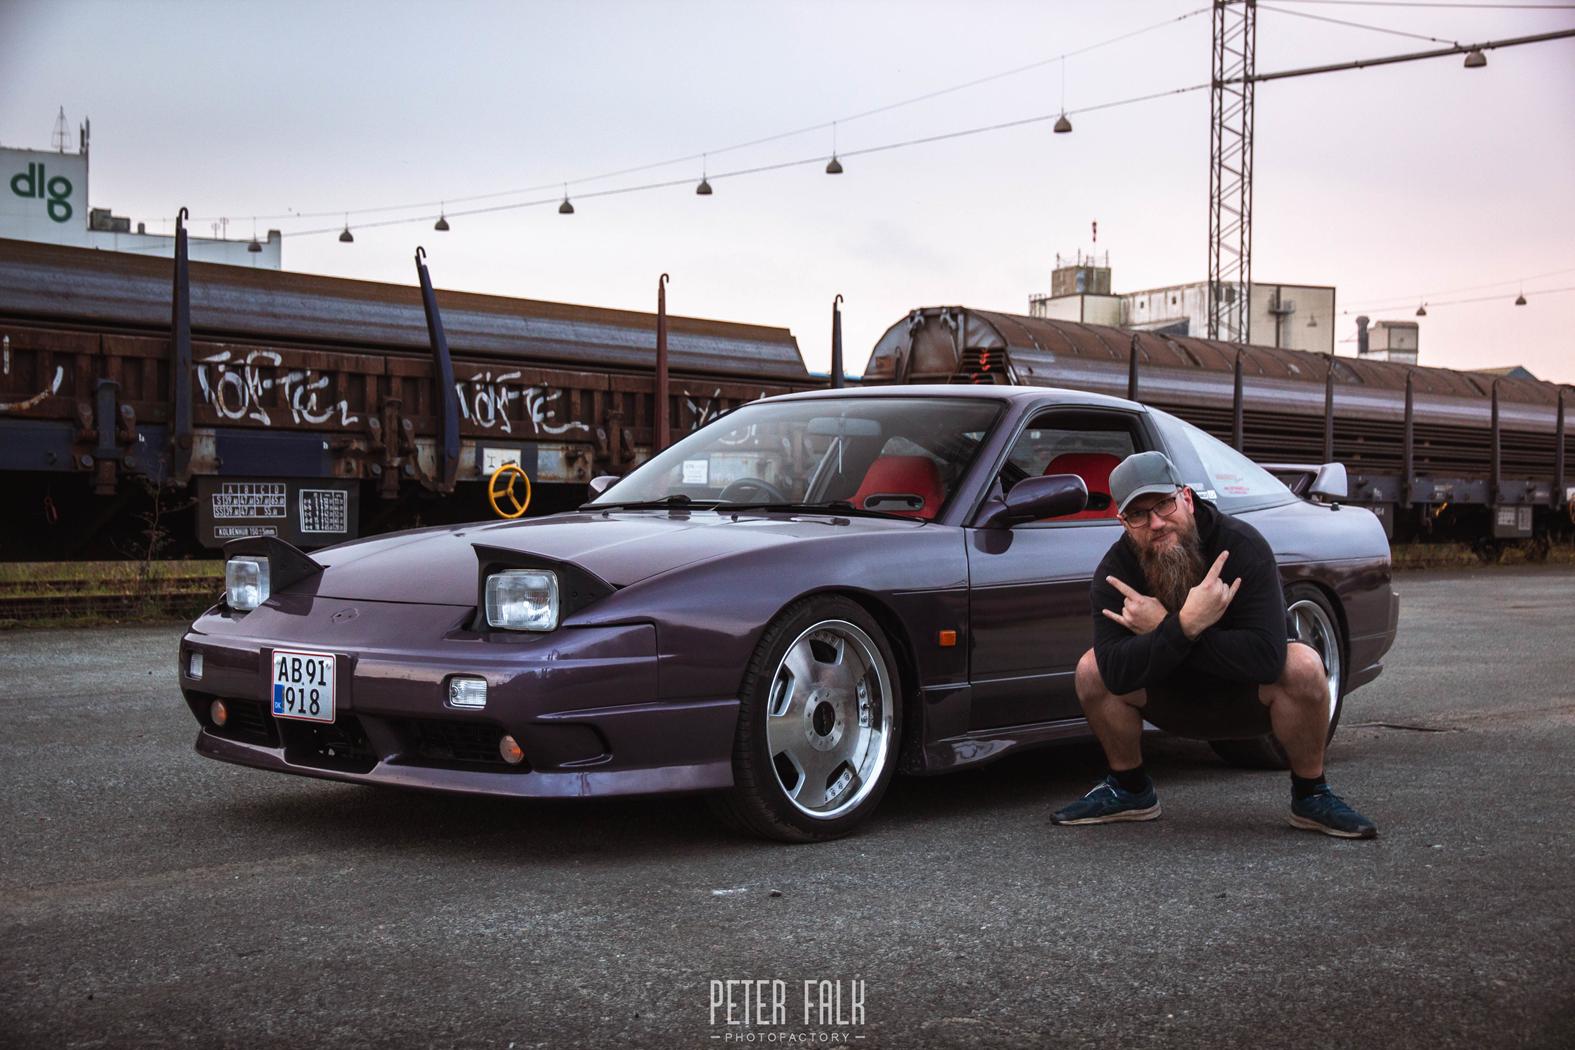
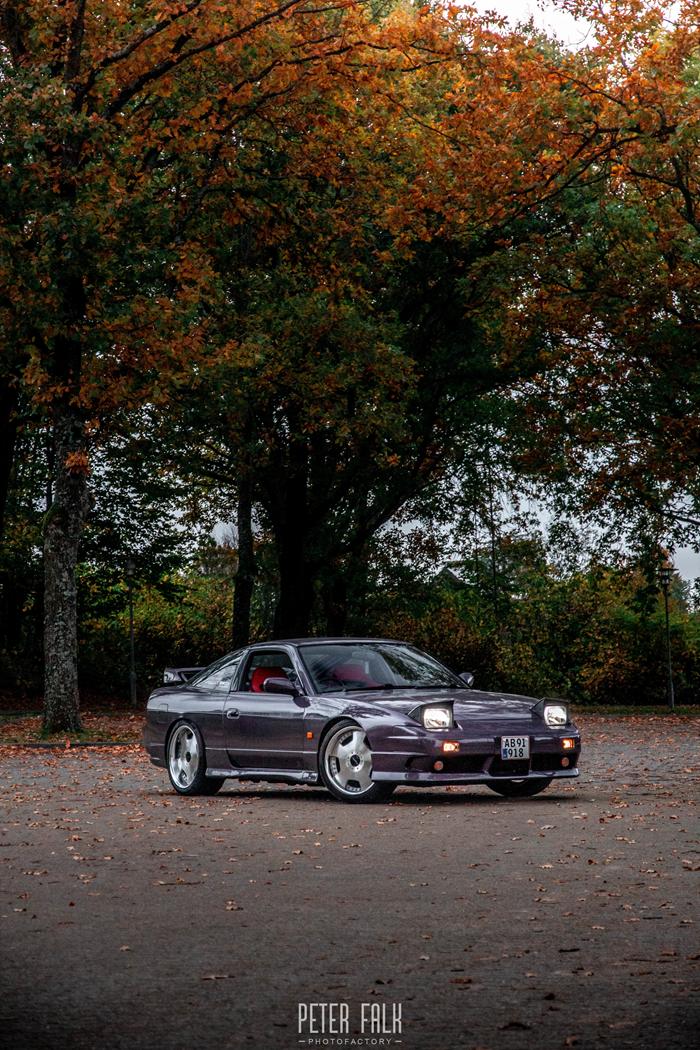
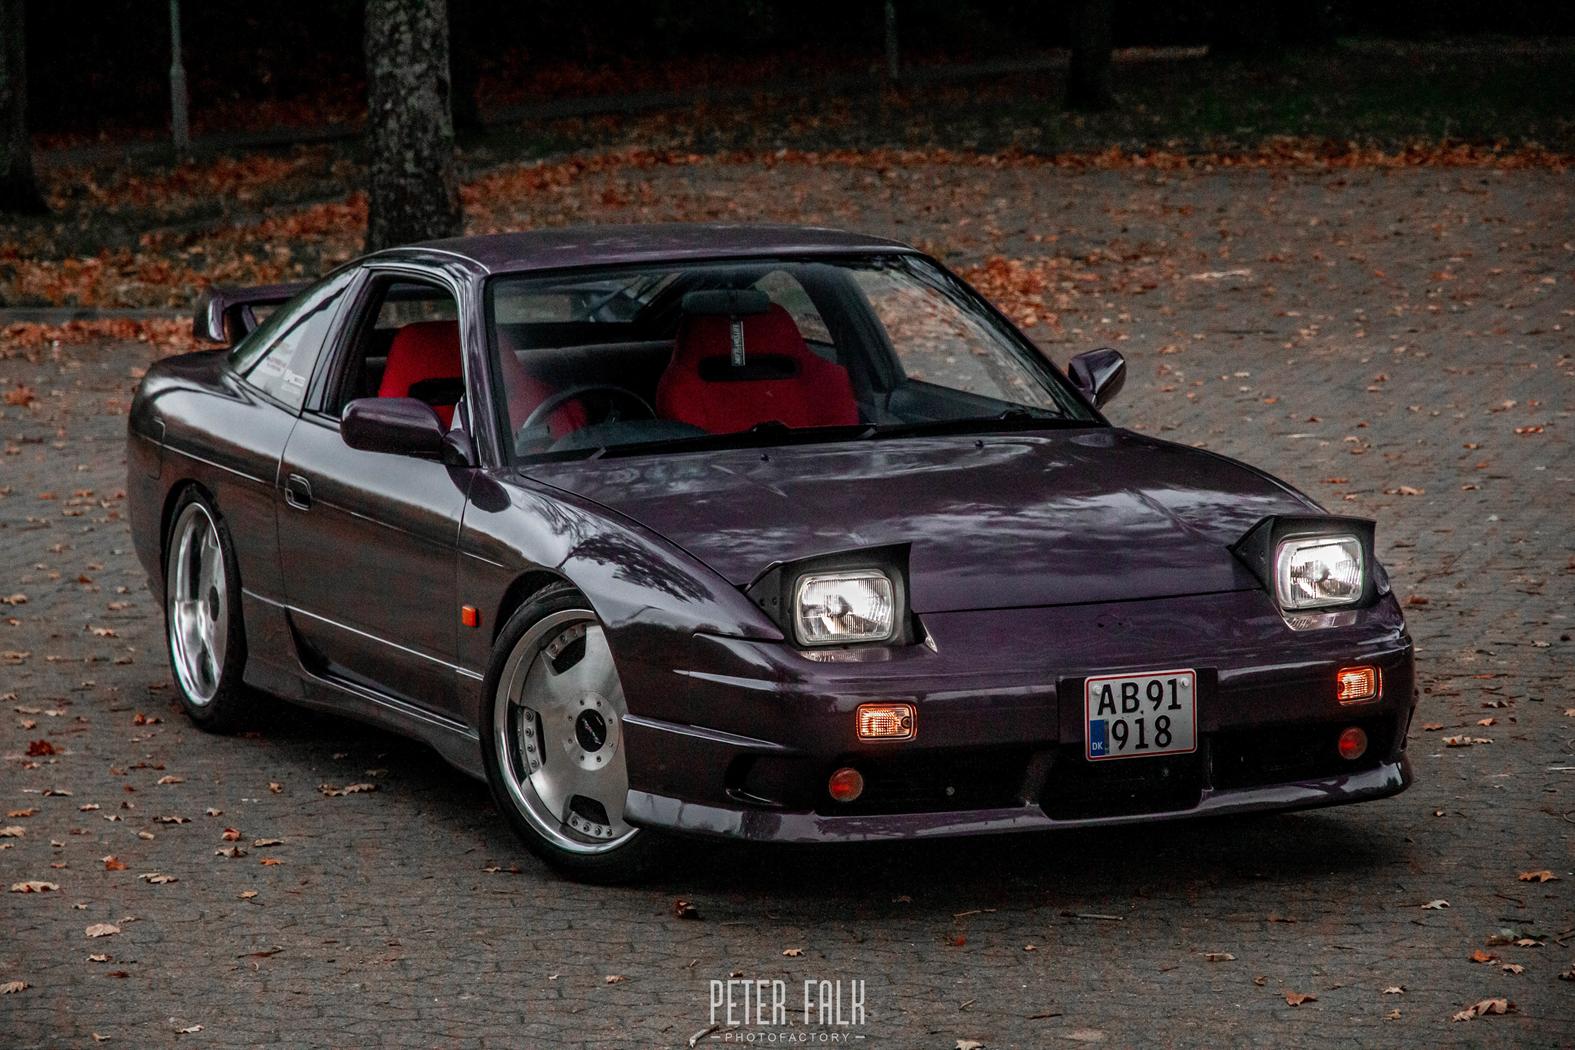
Im very good at forgetting to upload pictures here. But better late than never.
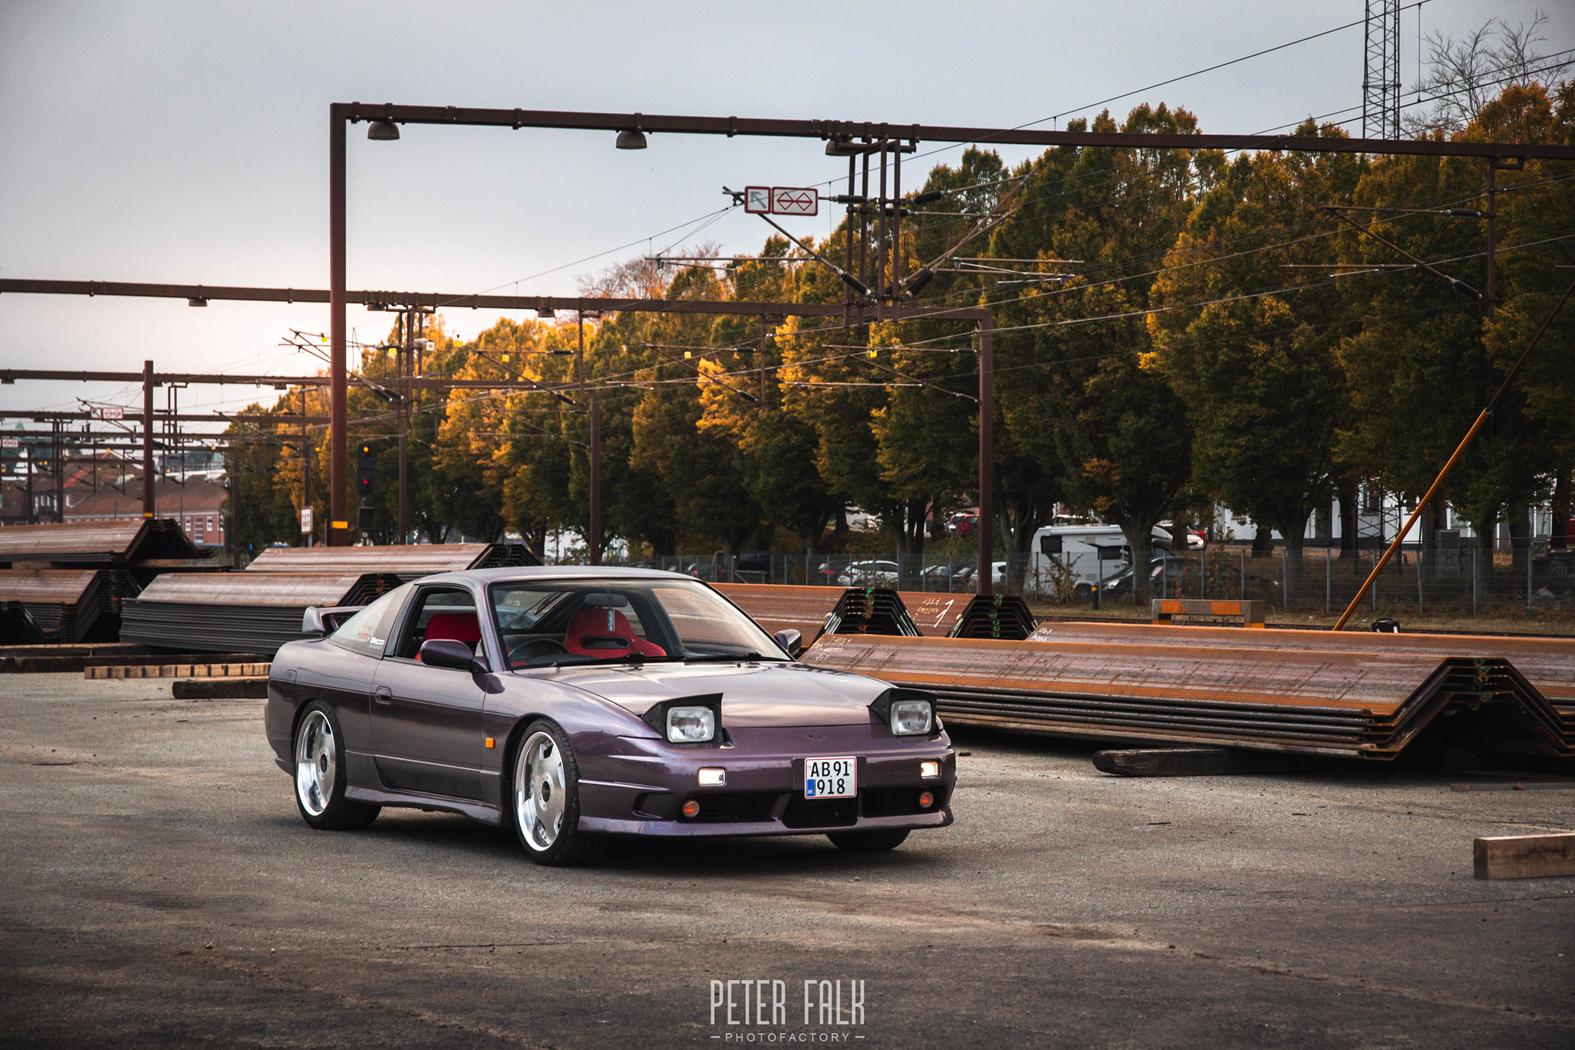
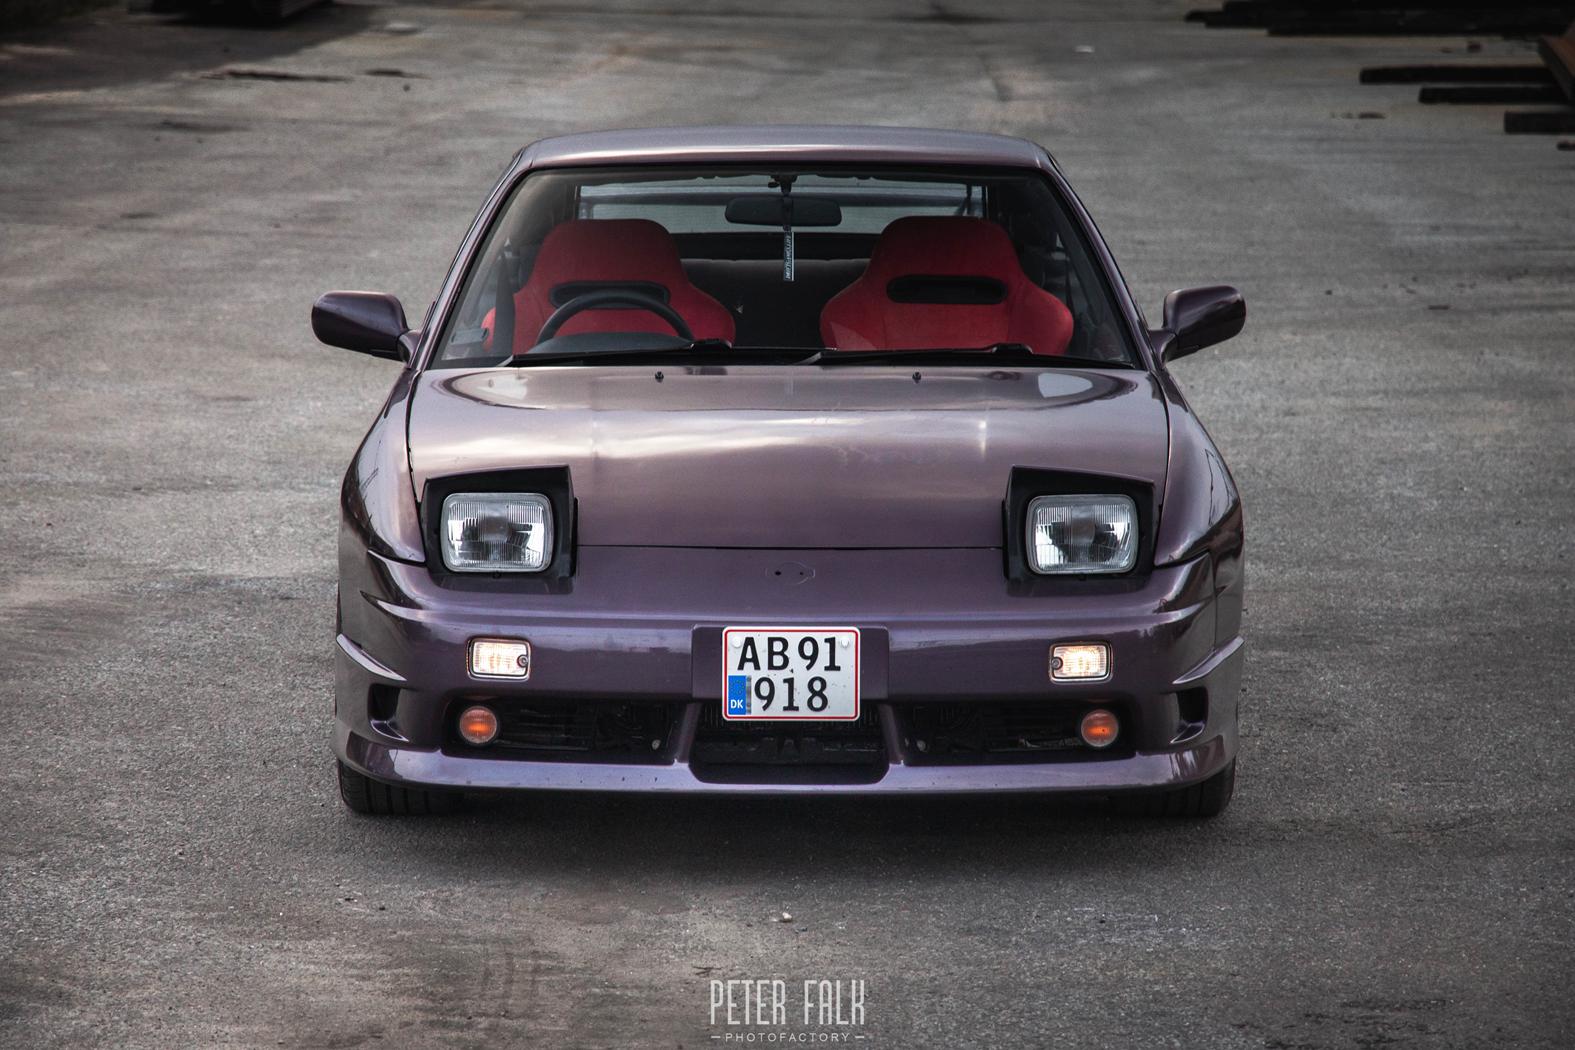
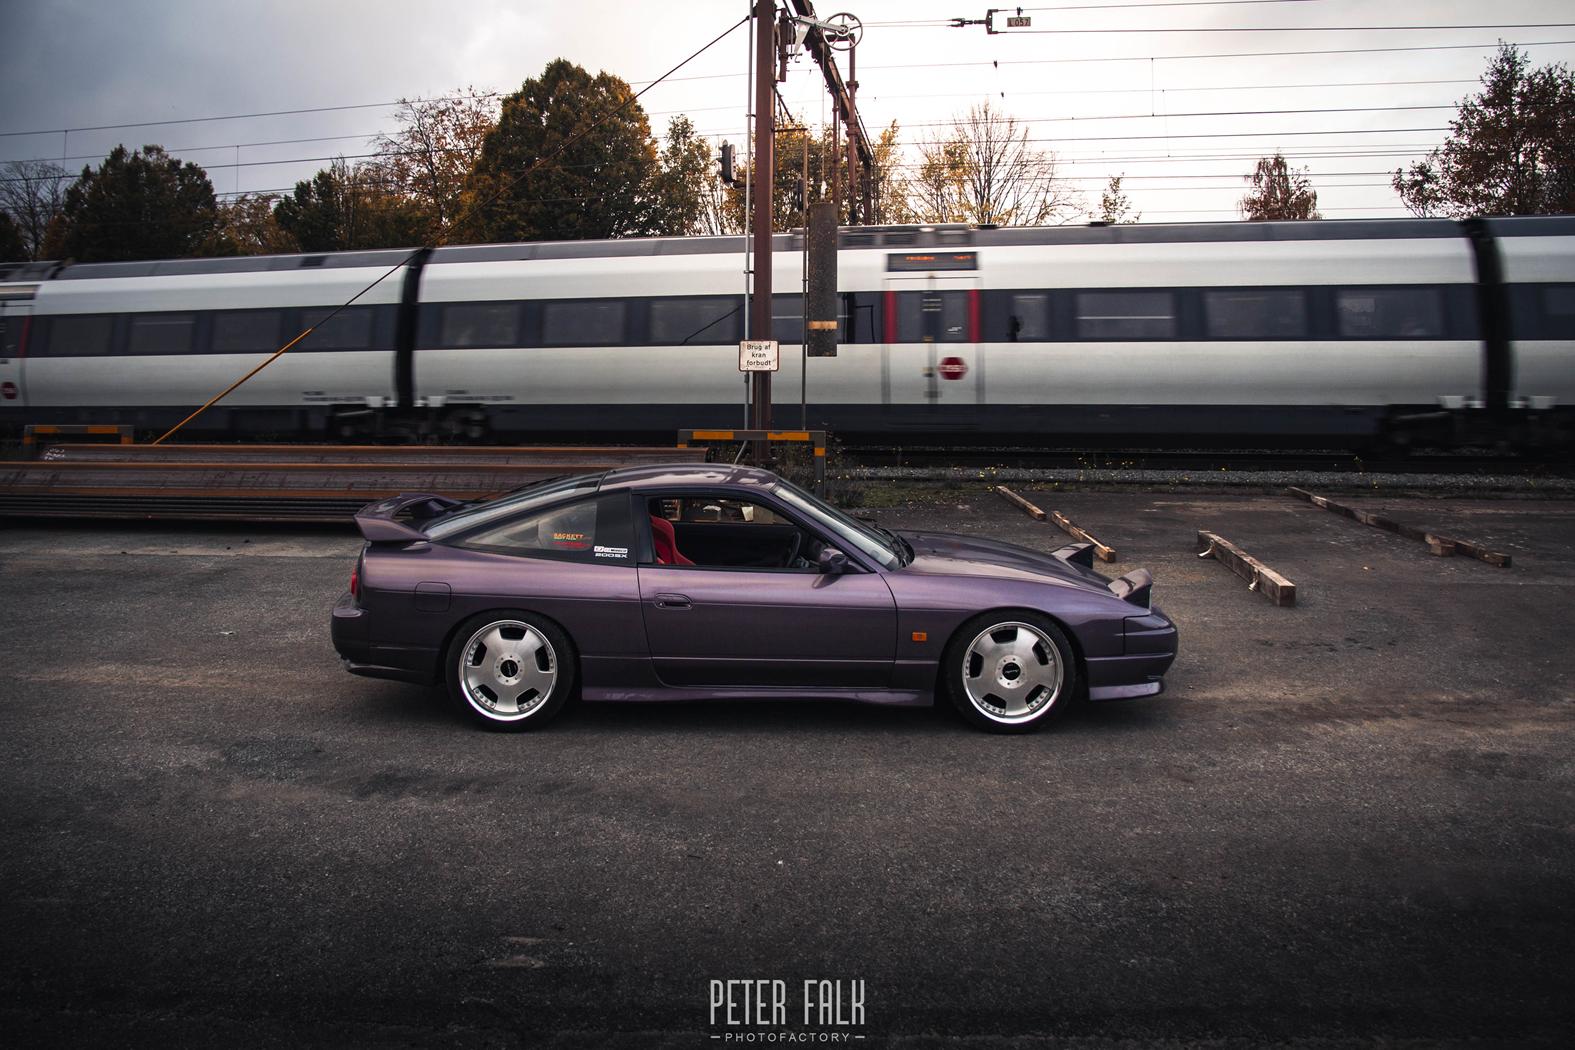
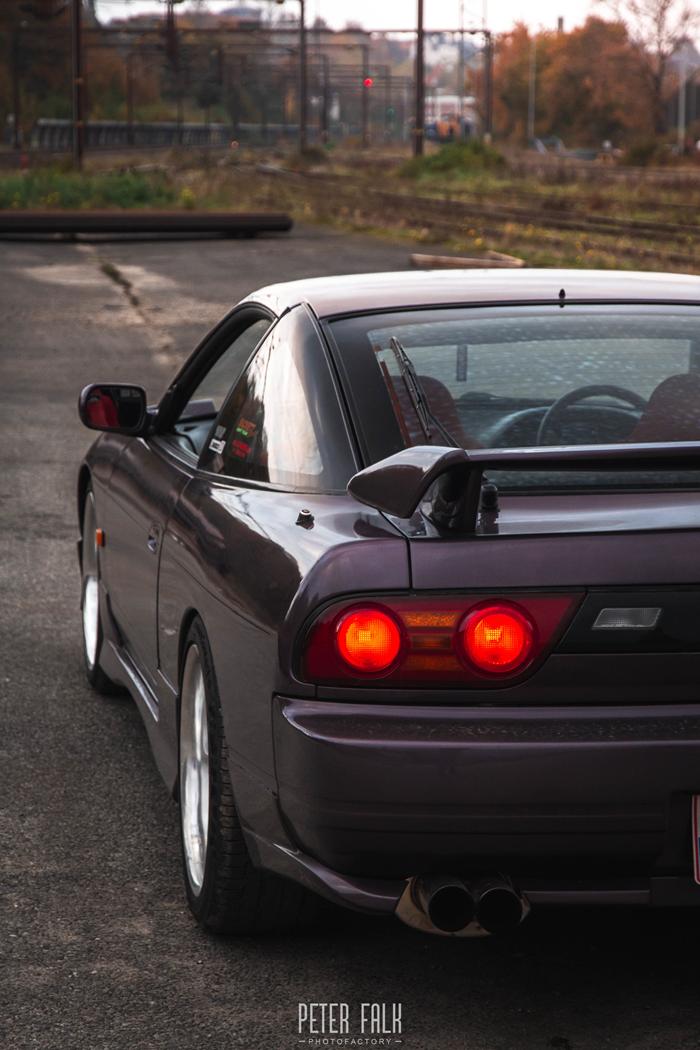
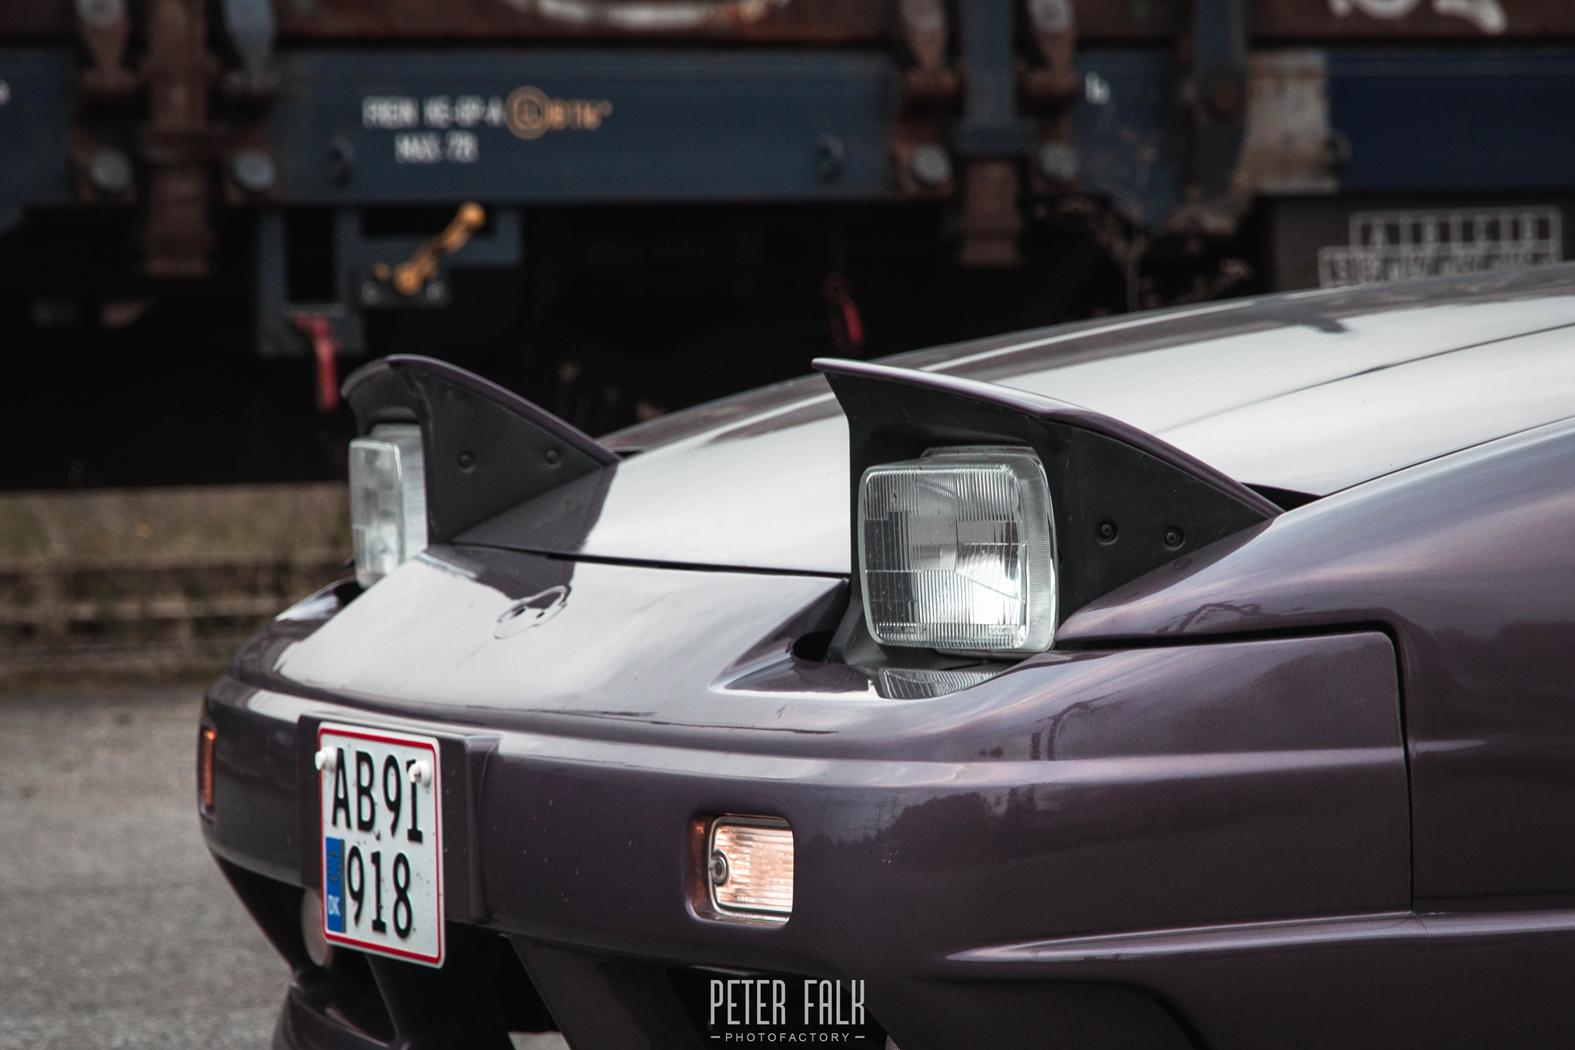
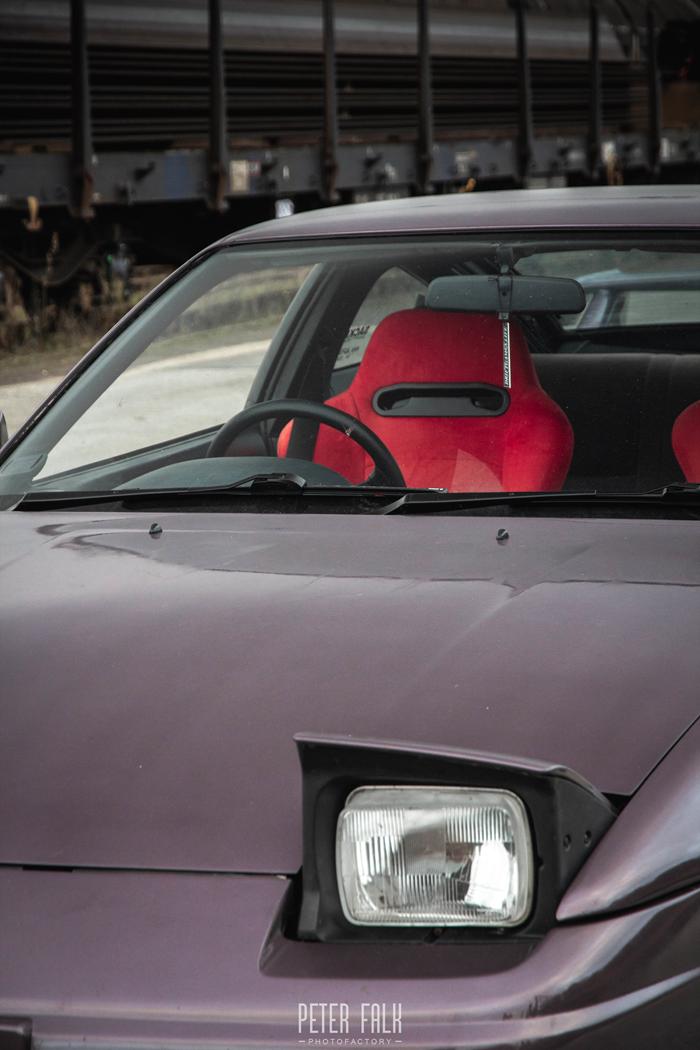
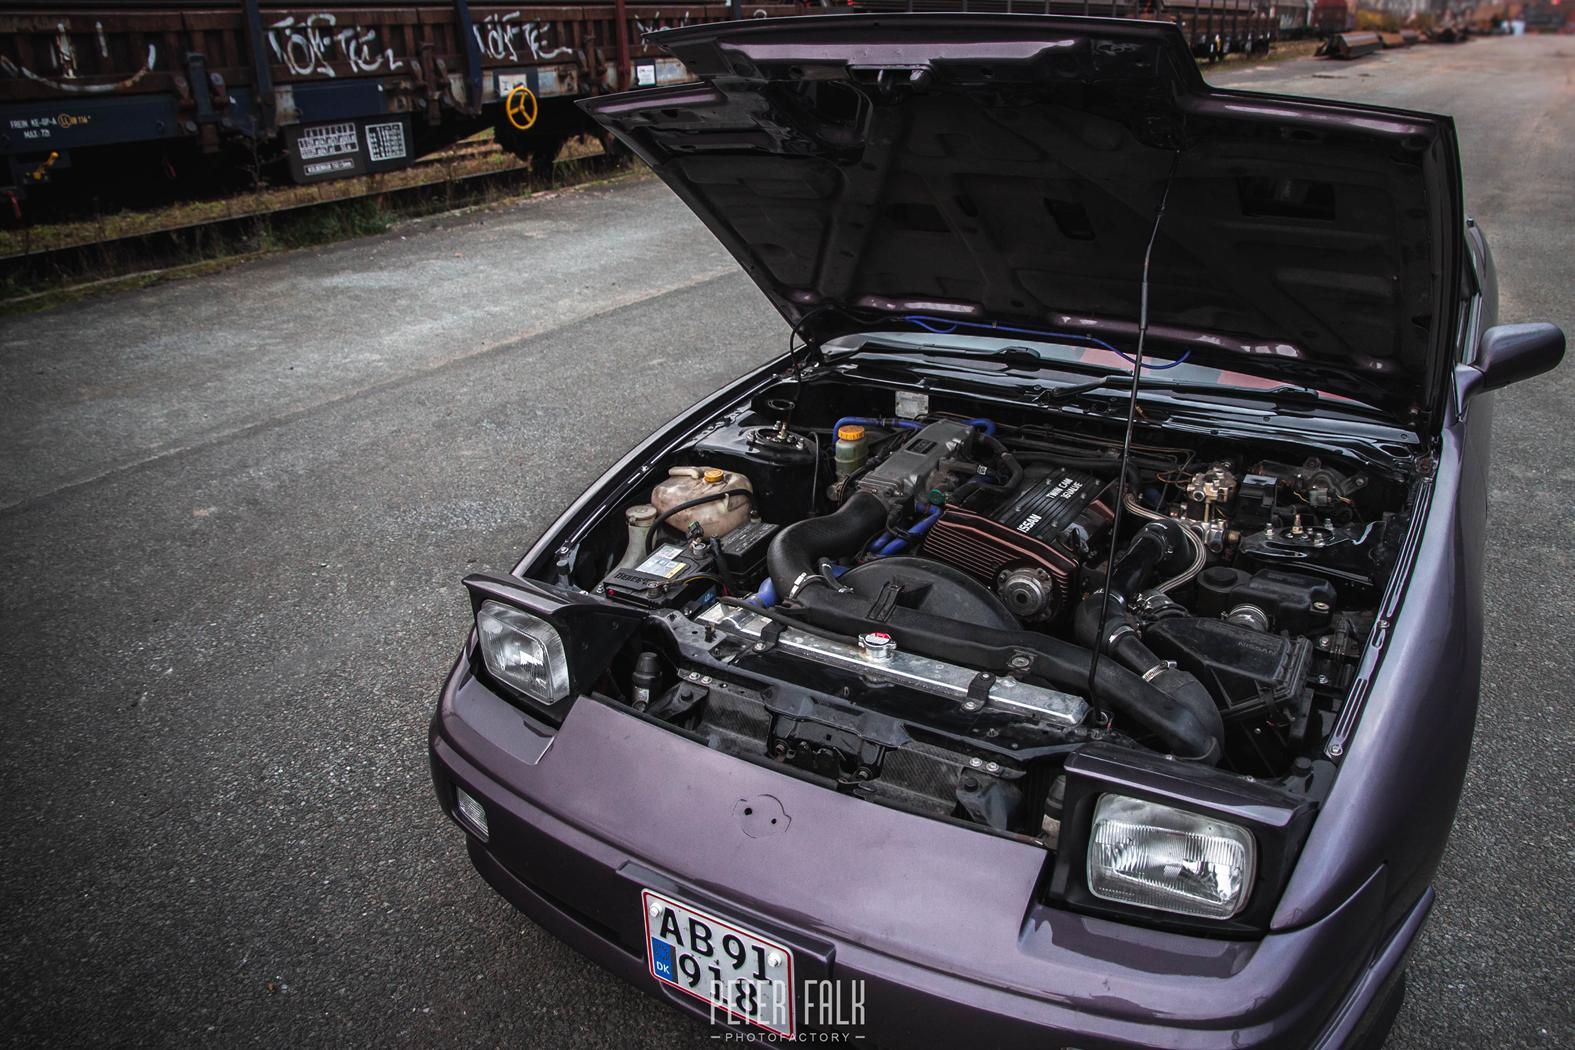
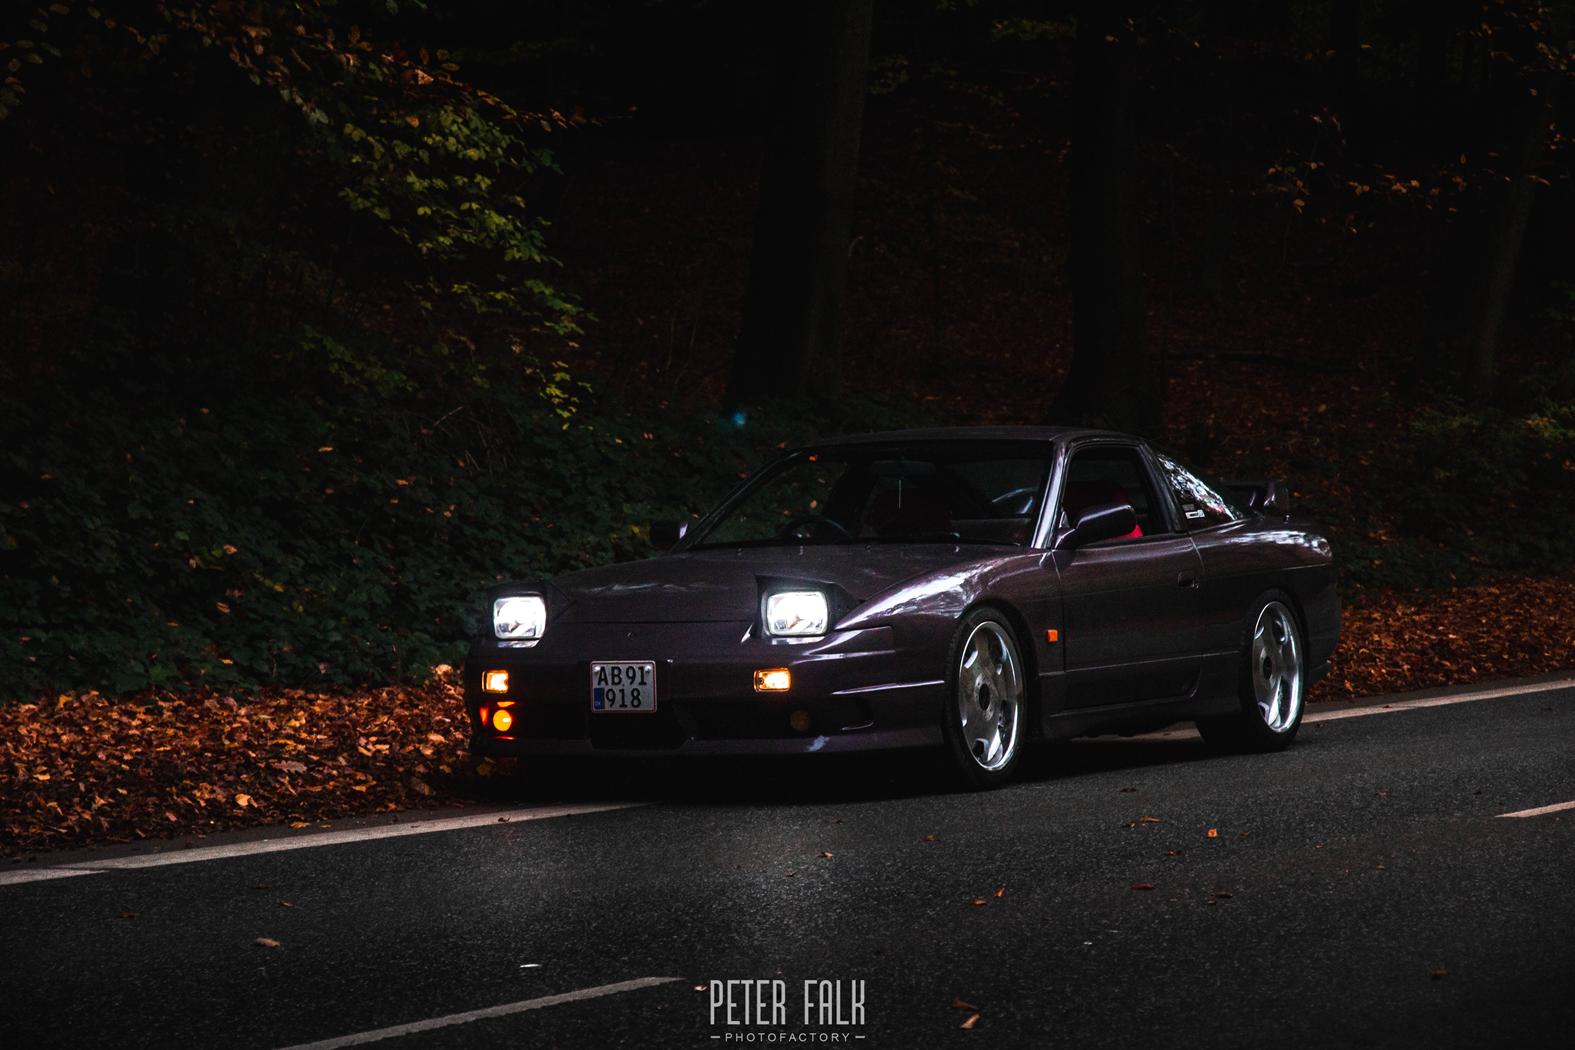
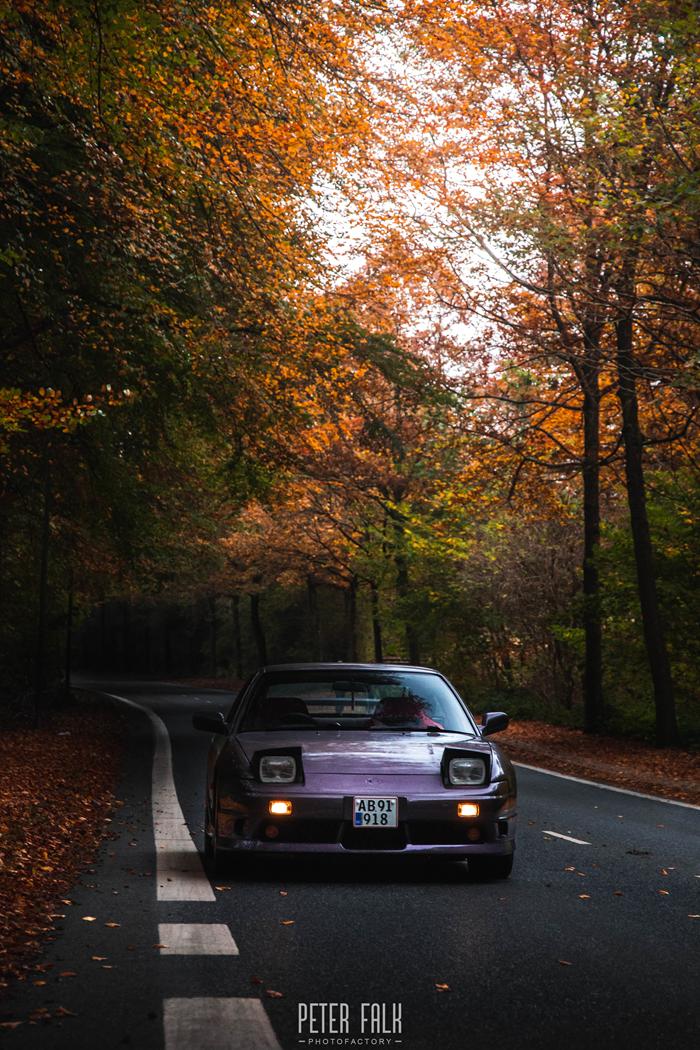
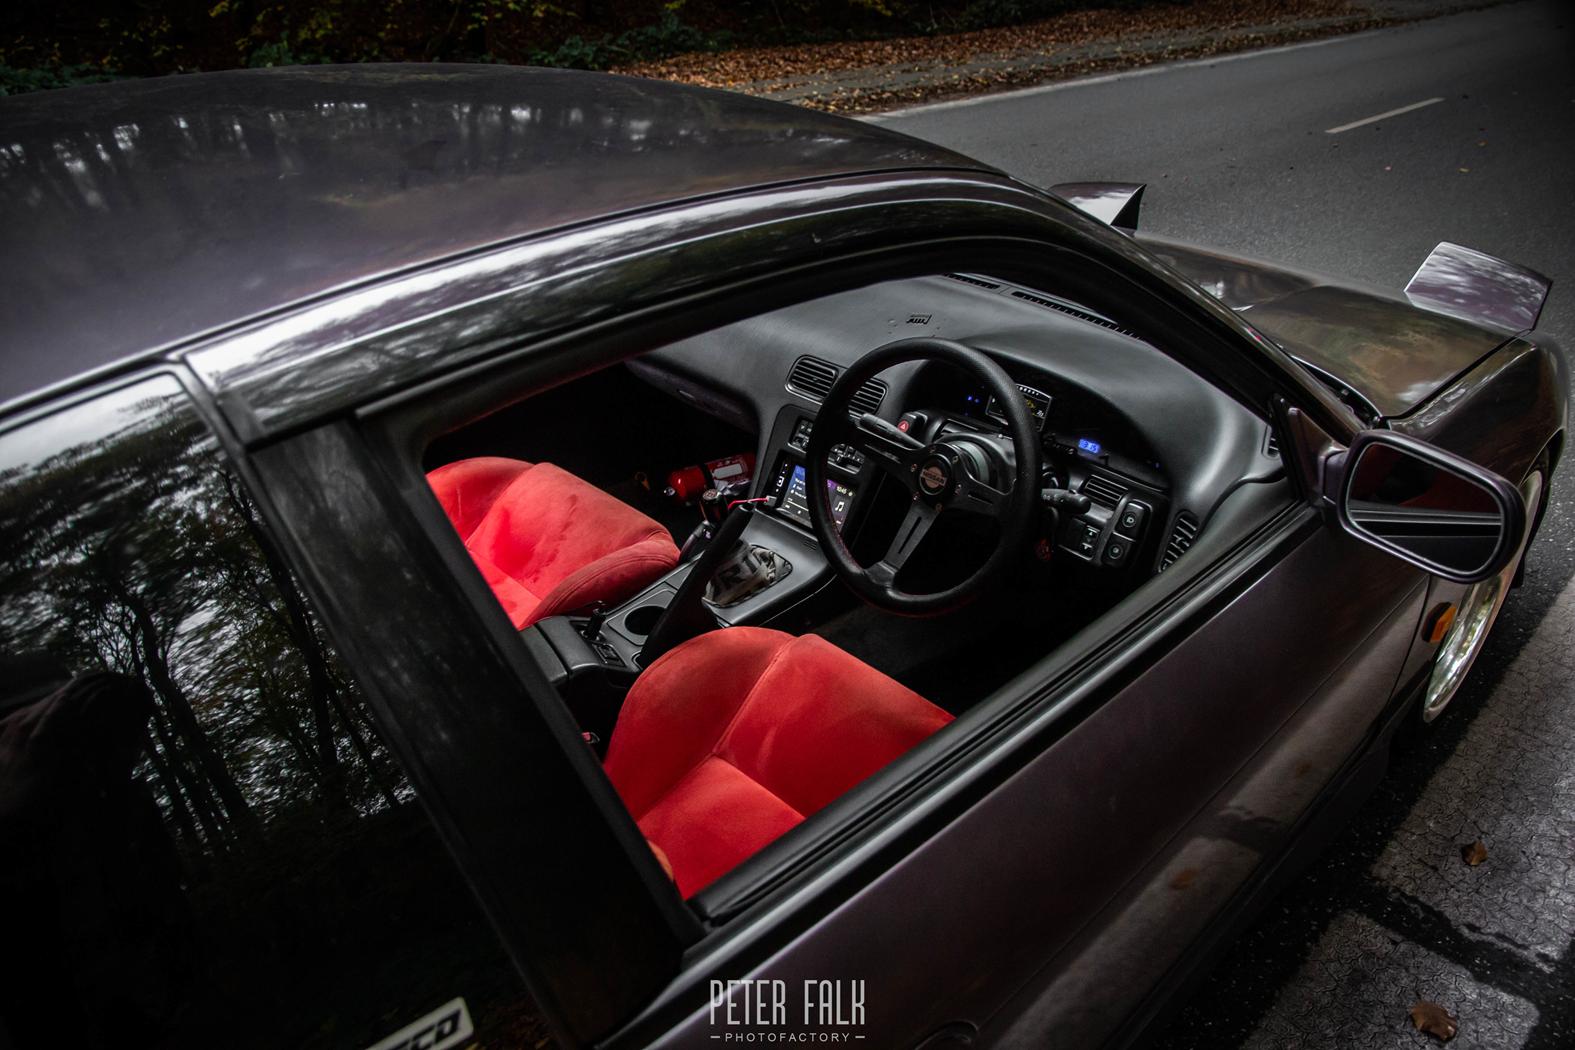
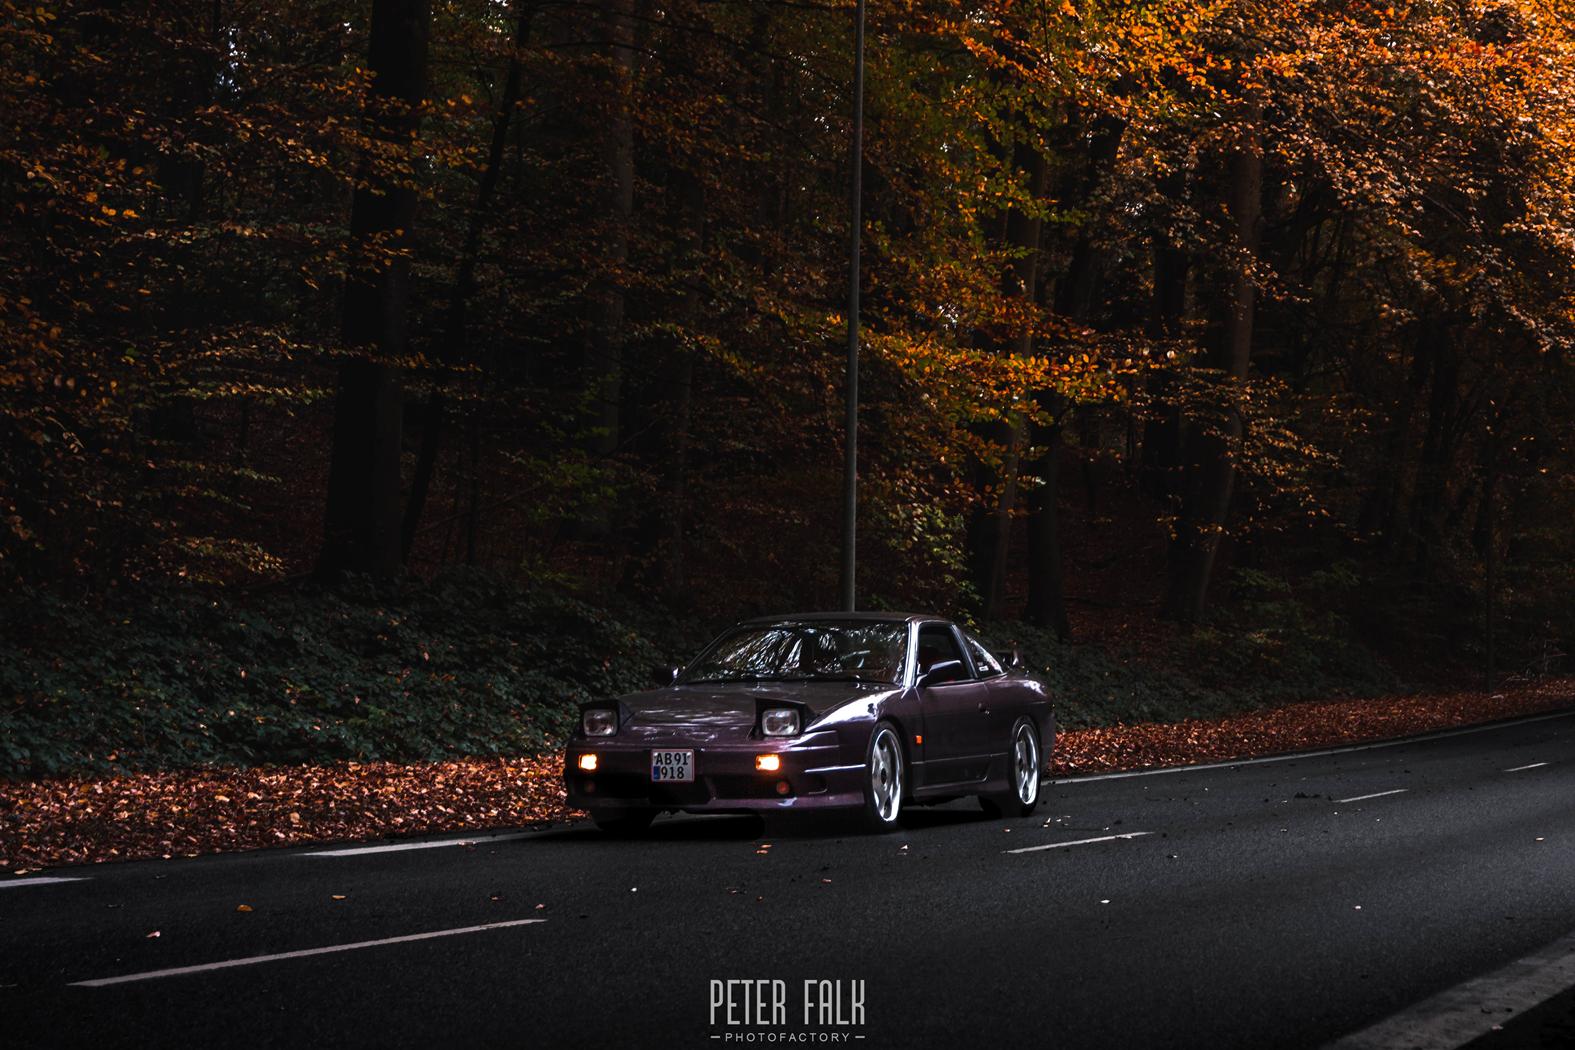
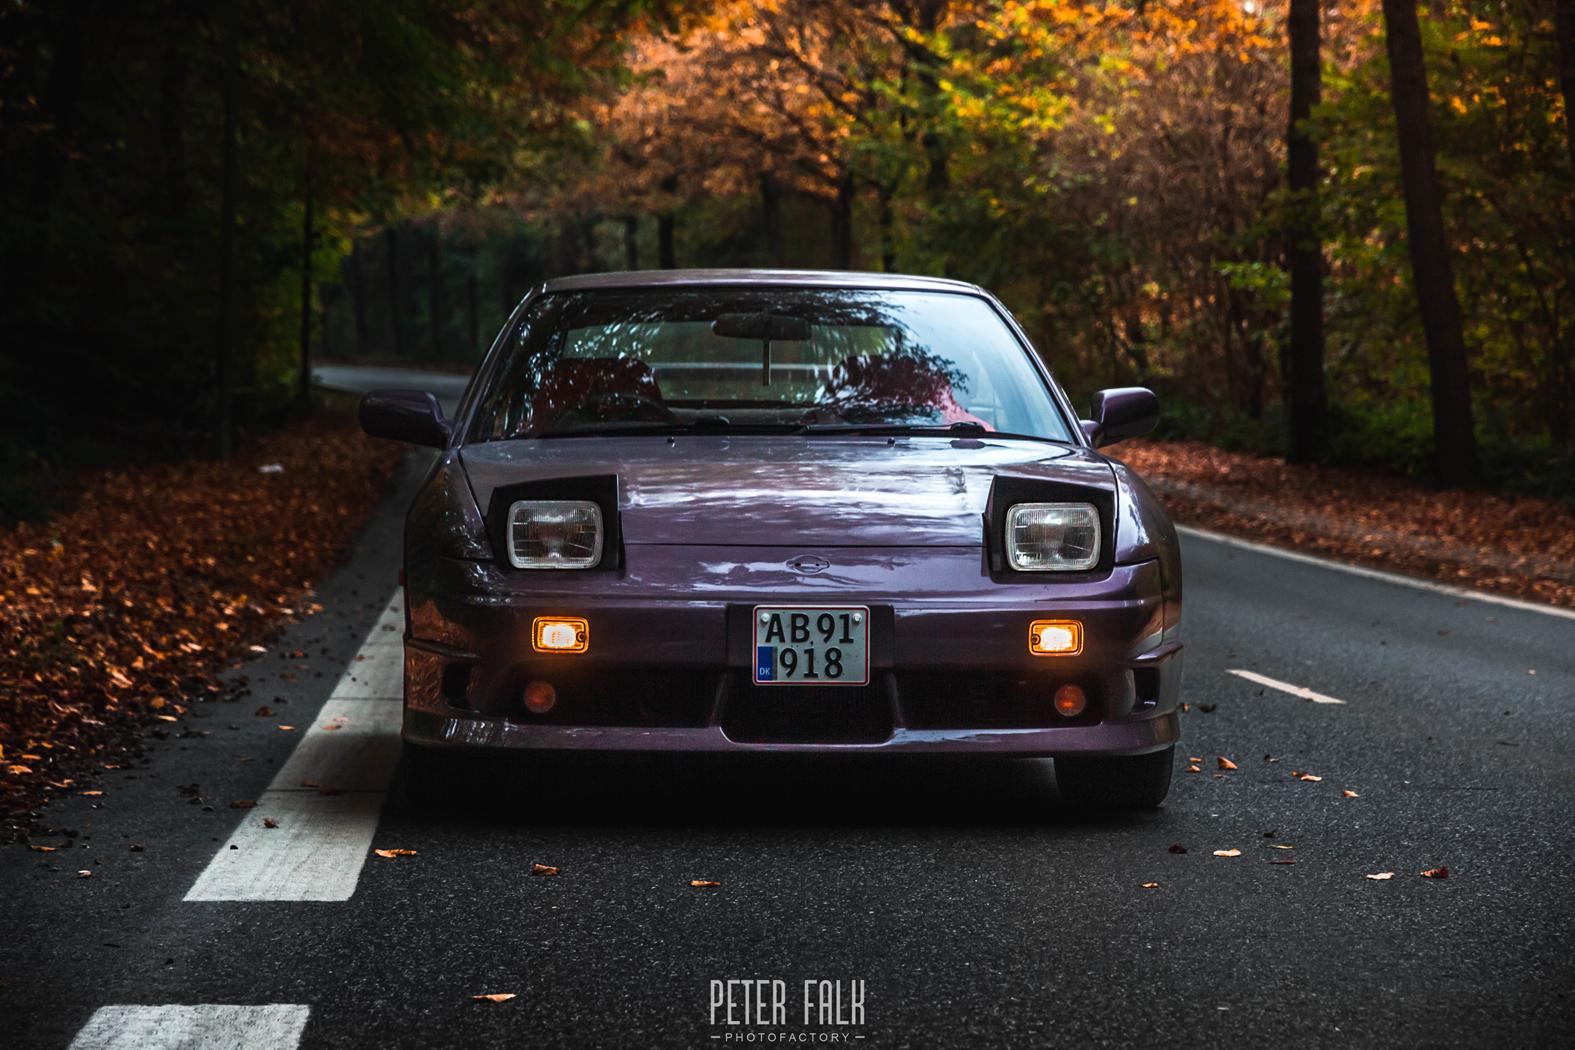
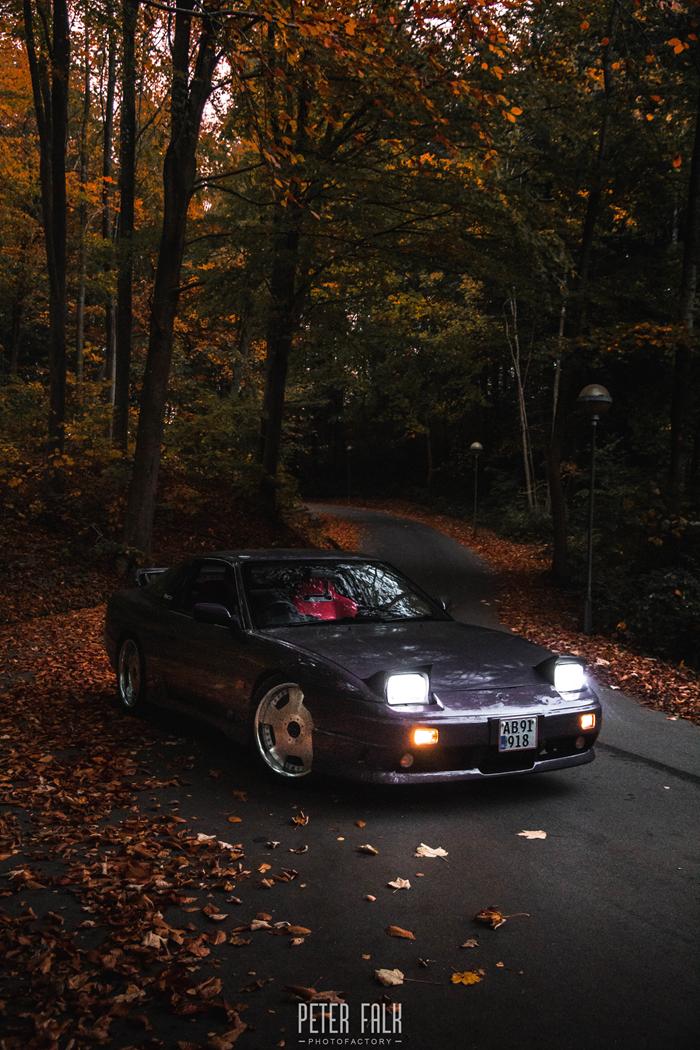
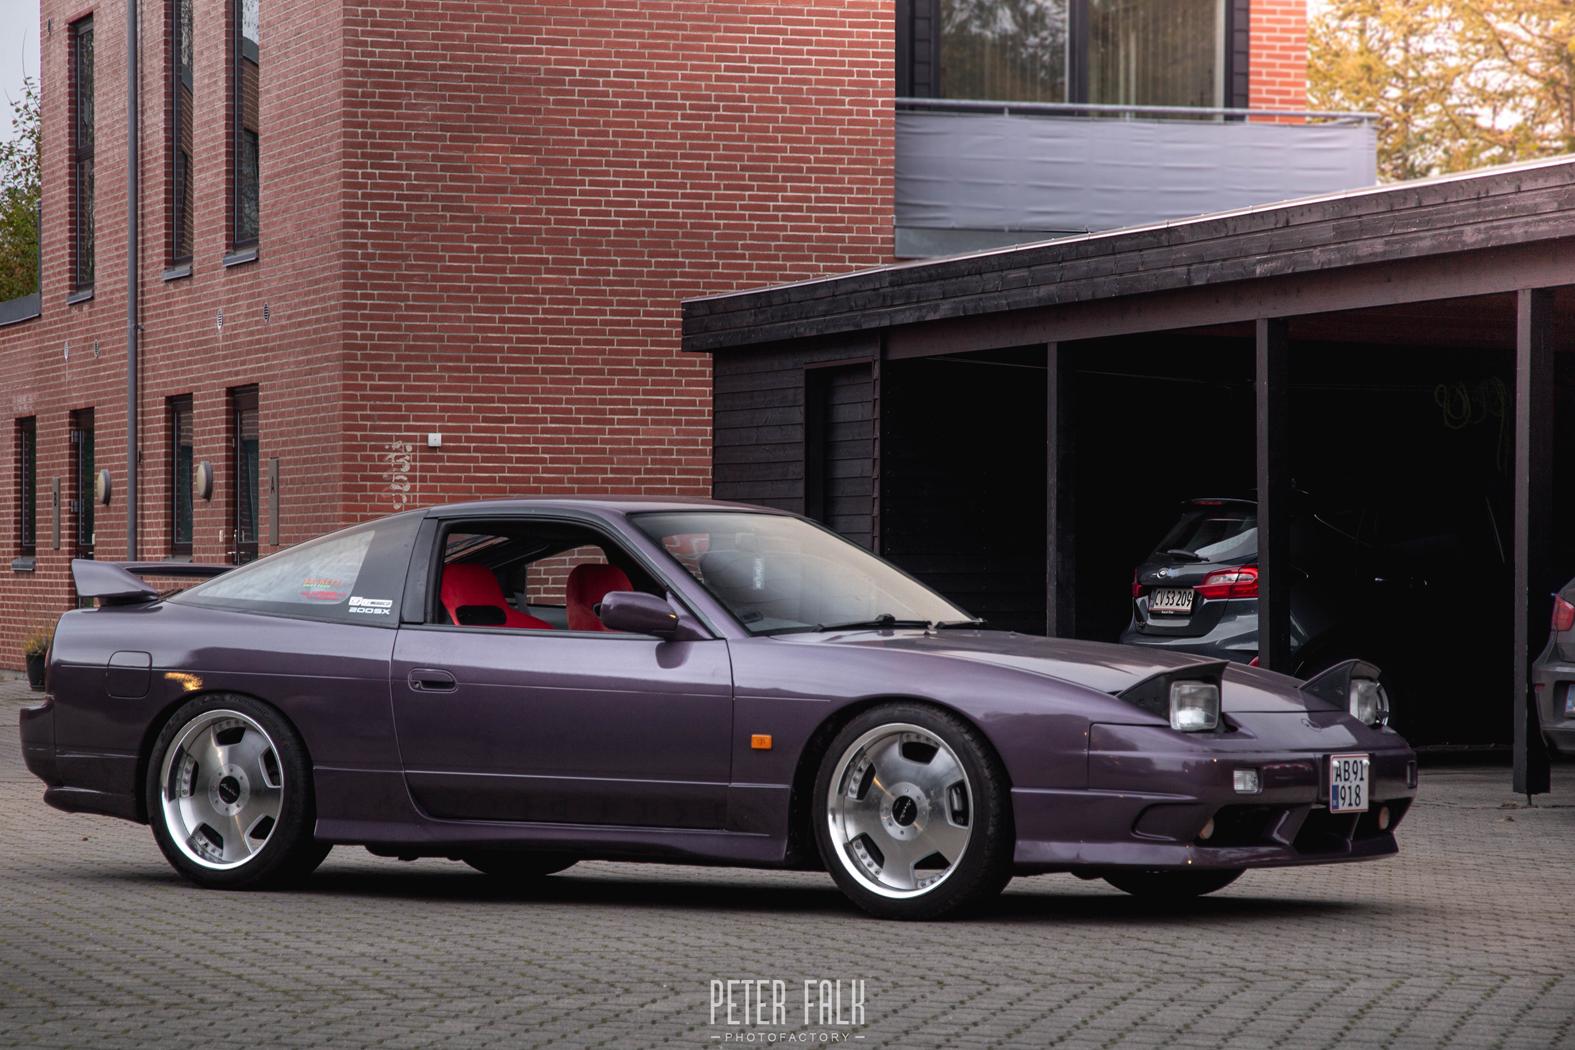
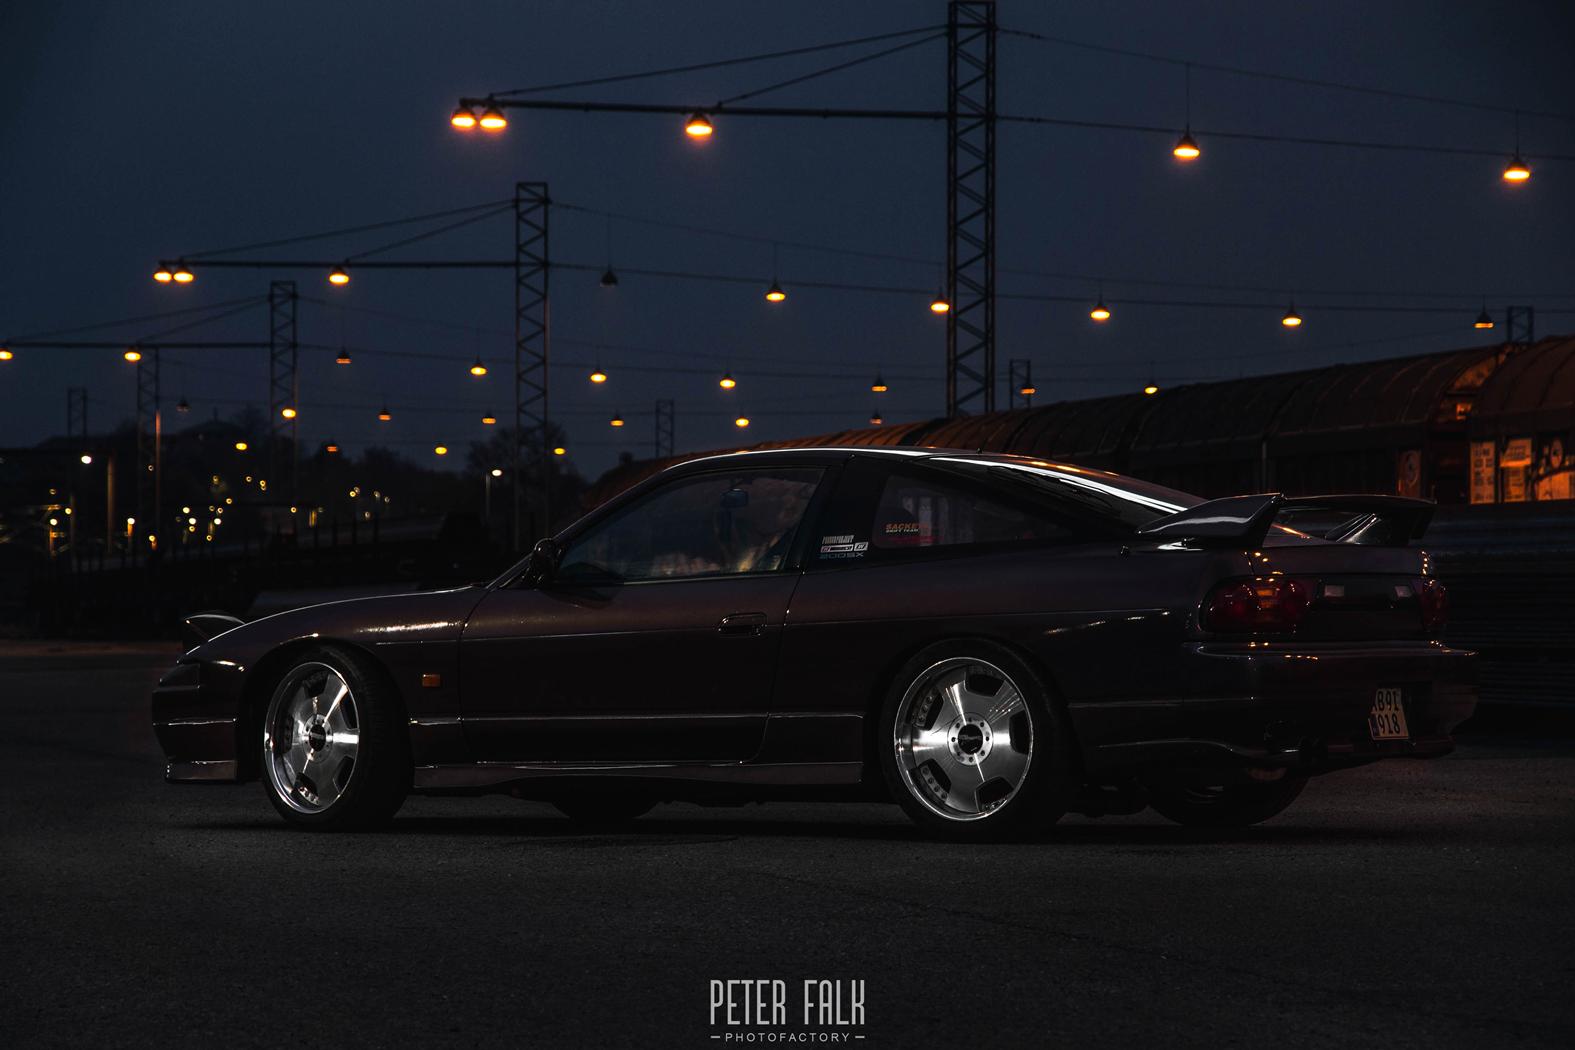
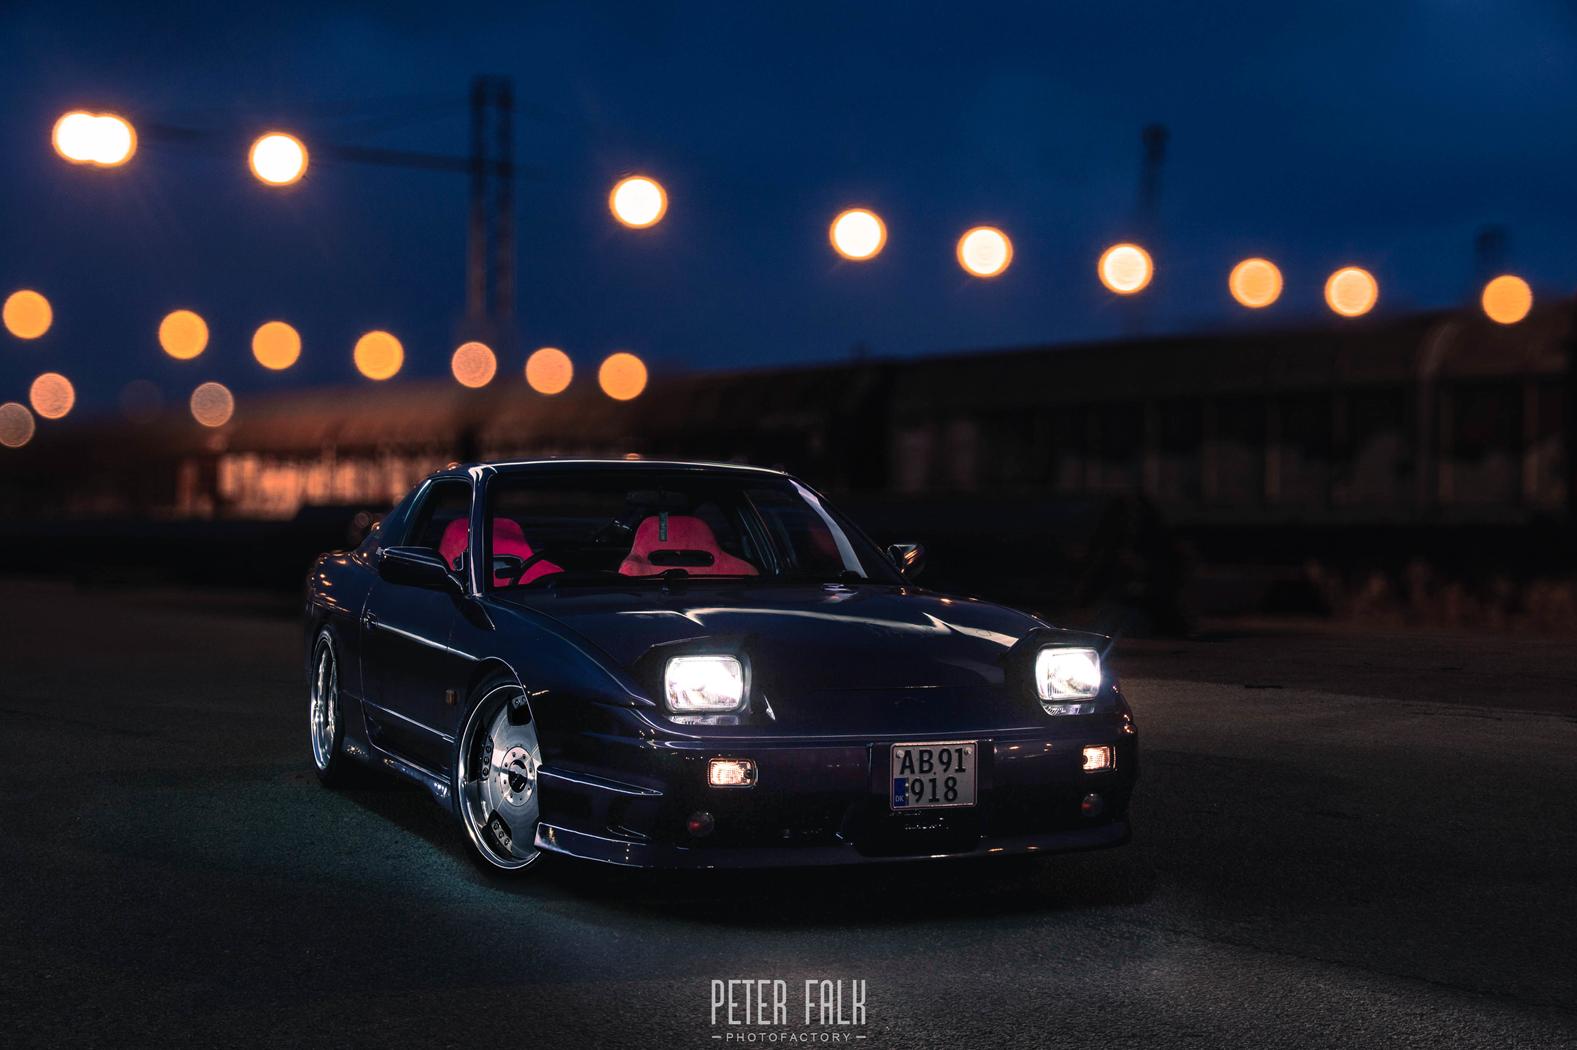
Lets continue with the coil-cover. got it sanded down and gave it some paint. As it was to basic, i added some carbon-scrap i had laying around to give it a forged carbon look. And ofc. i added some glitter to it also.  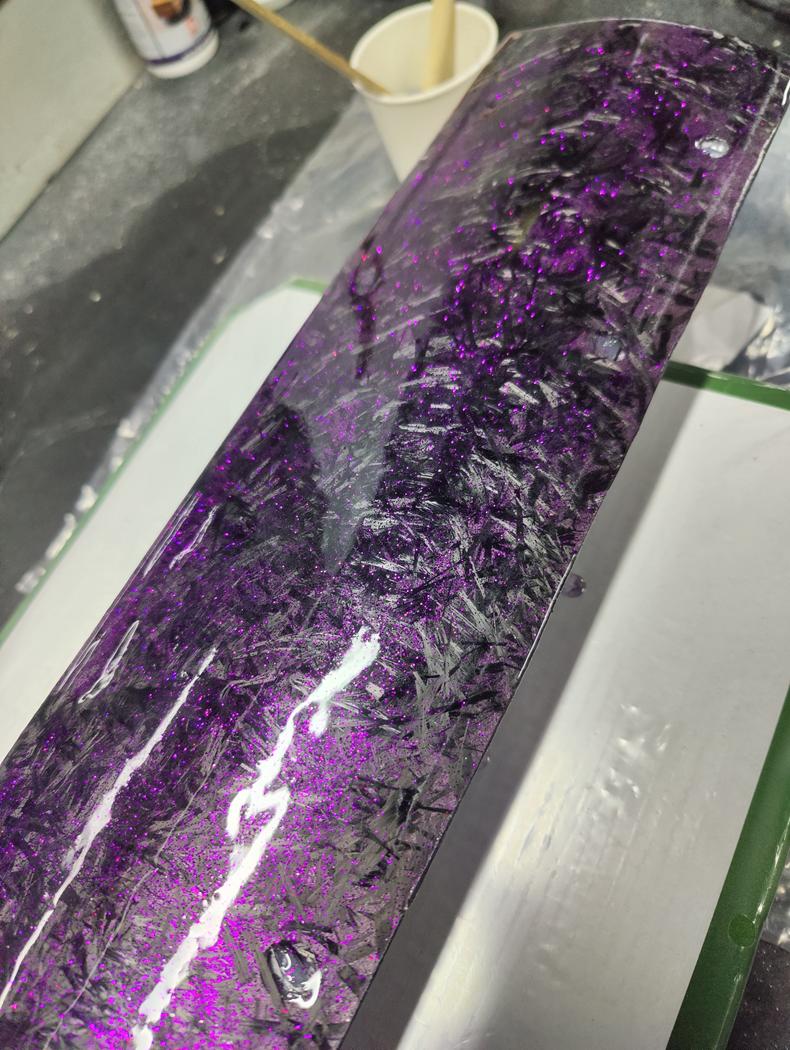 And as always. I did some useless purchases 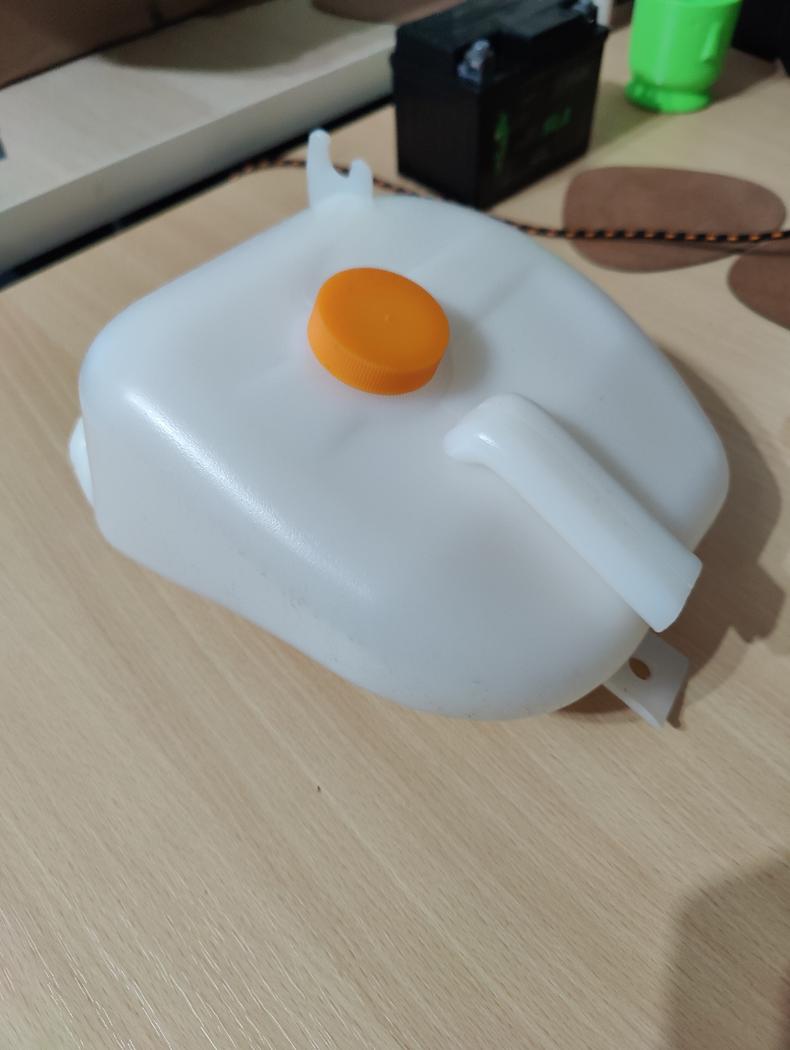 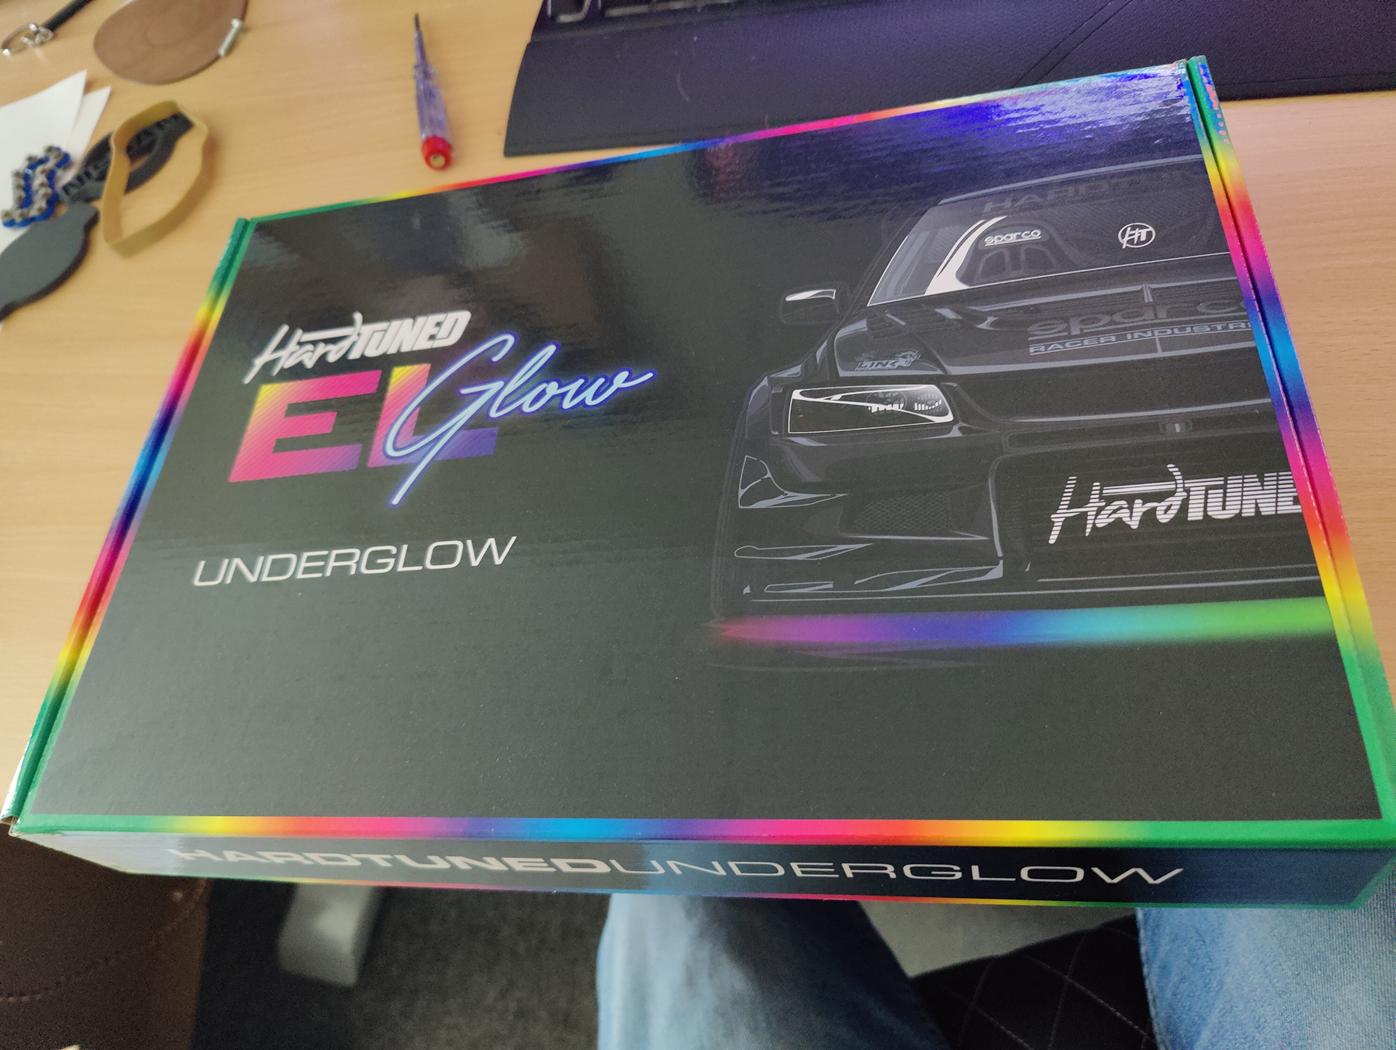 The coolant container was installed right away as the old one were cracked. the LED will be installed when it gets warmer. In one of my evening drives, the alternator died. Luckily i have some spares. So 2 hours and it was changed. But still a not so fun job. 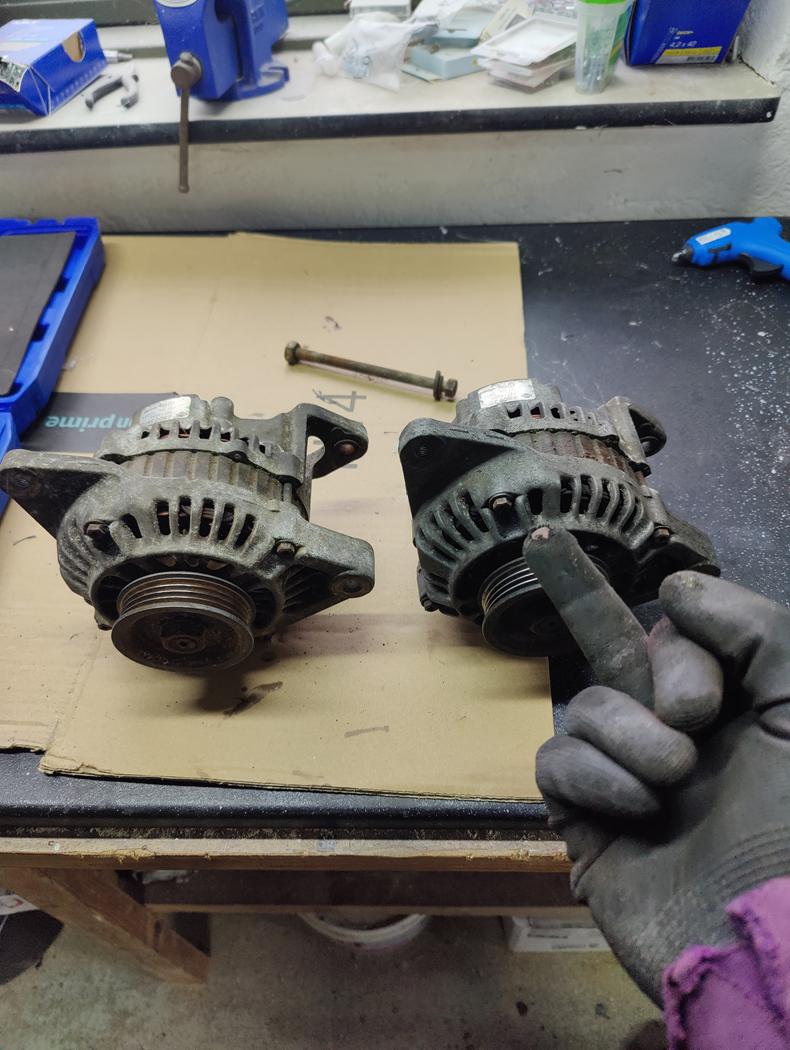 As another thing i finally installed the oil sandwich plate so i can get oil preasure and oil temp. At the same time i did an oil and filter change.  Another quick and easy job to do, is do the 1990s JDM sleepyeye mod. It requires 4 wires and 2 switches. Did some 3D printing and got the switches in place. (also please notice the boost gauge  ) )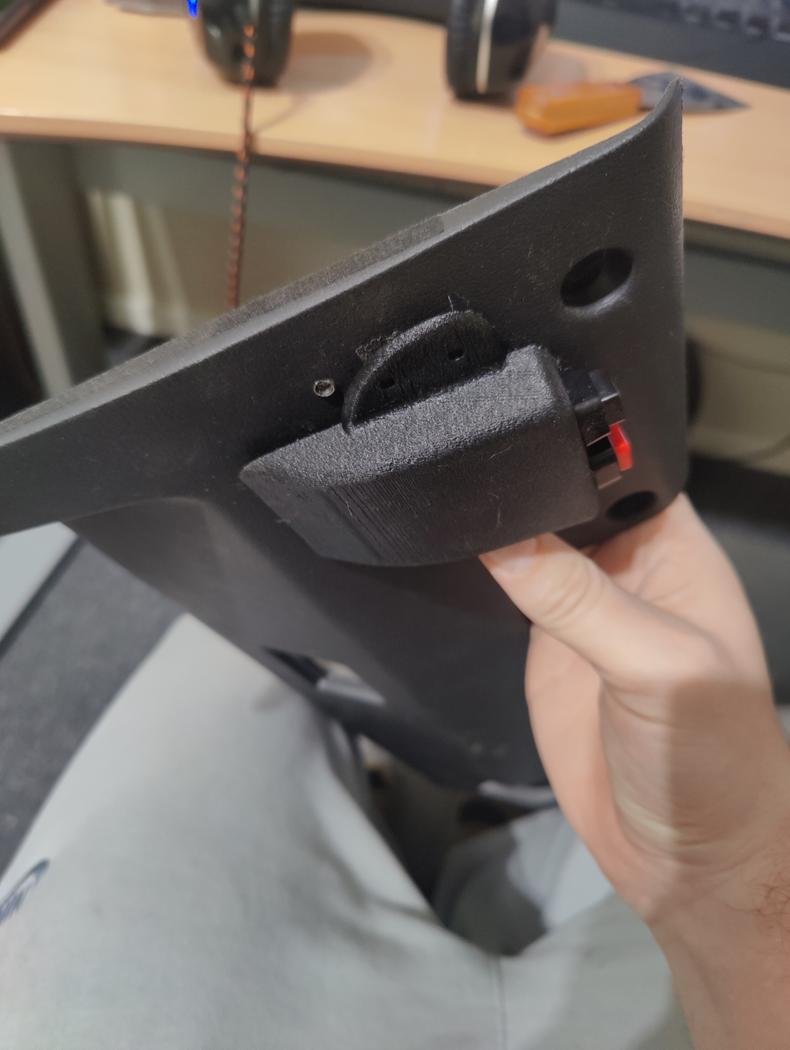 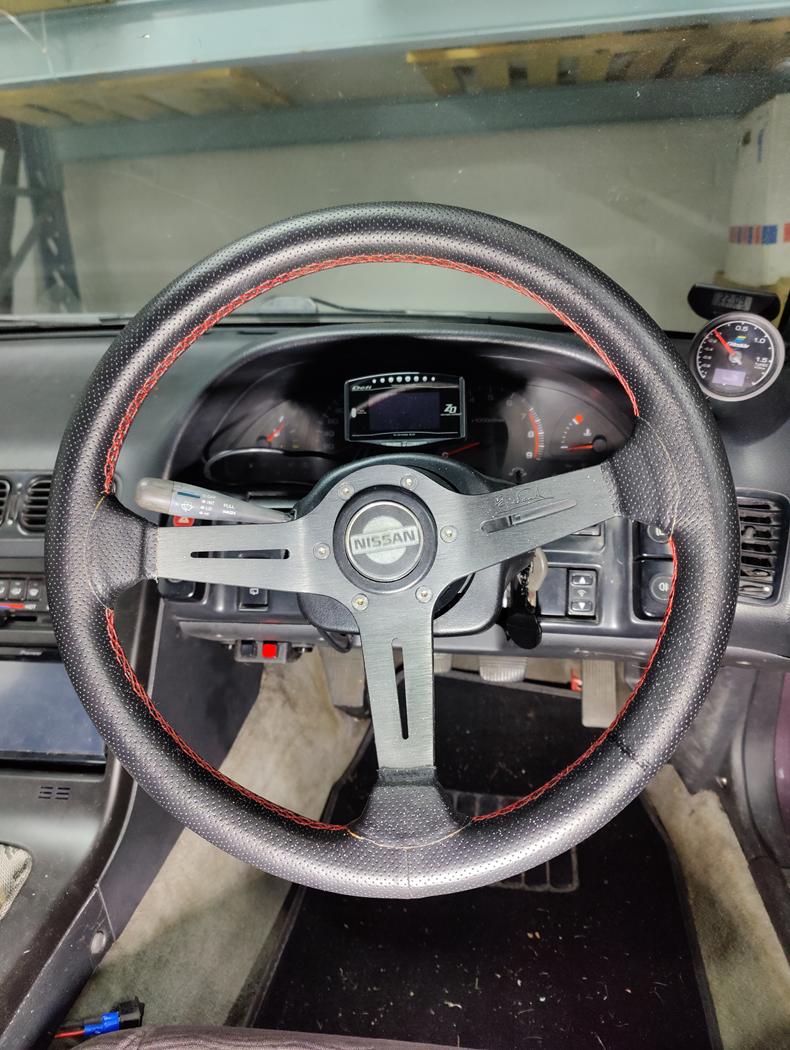 As the previous owner installed some 5point harness, he drilled through the fuel lines. As i knew this i just had to fix it. So took the rear subframe out and replaced both lines wiht 8mm copper 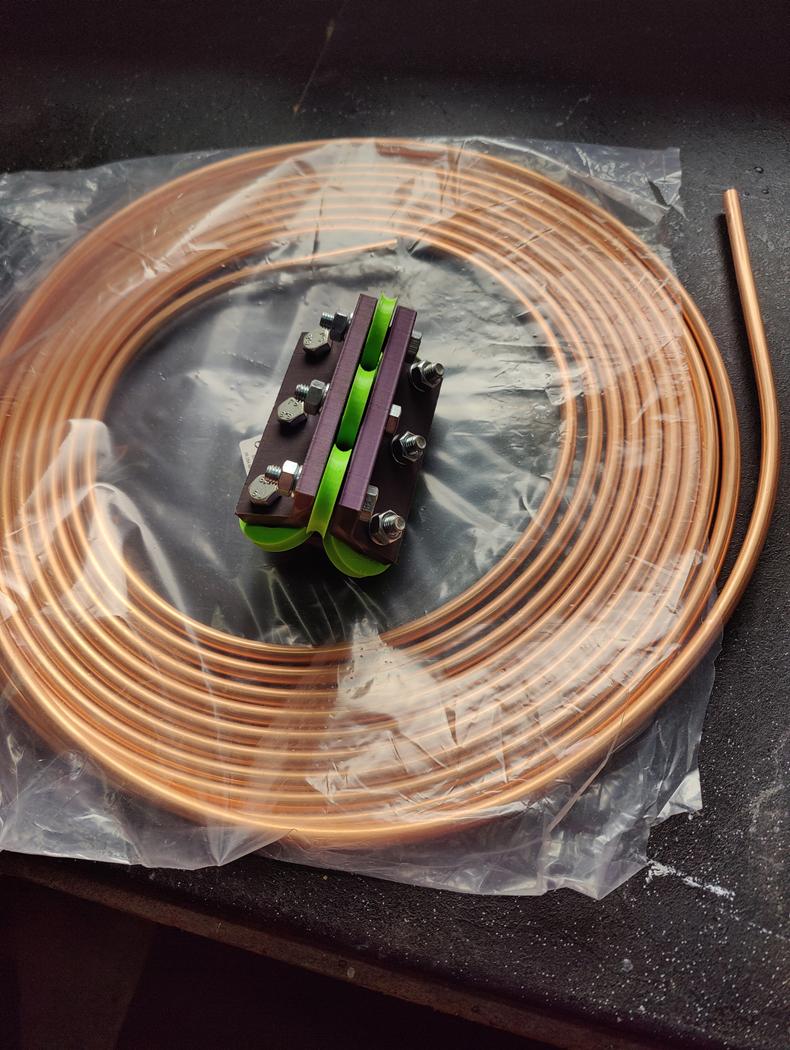 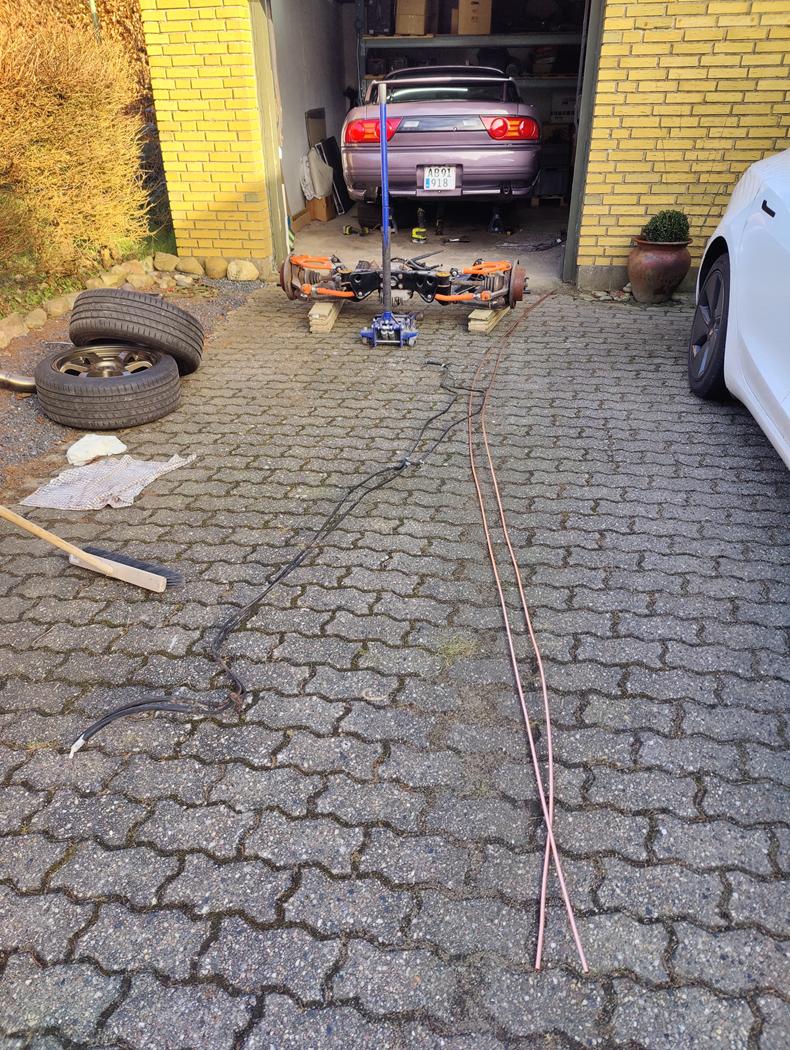 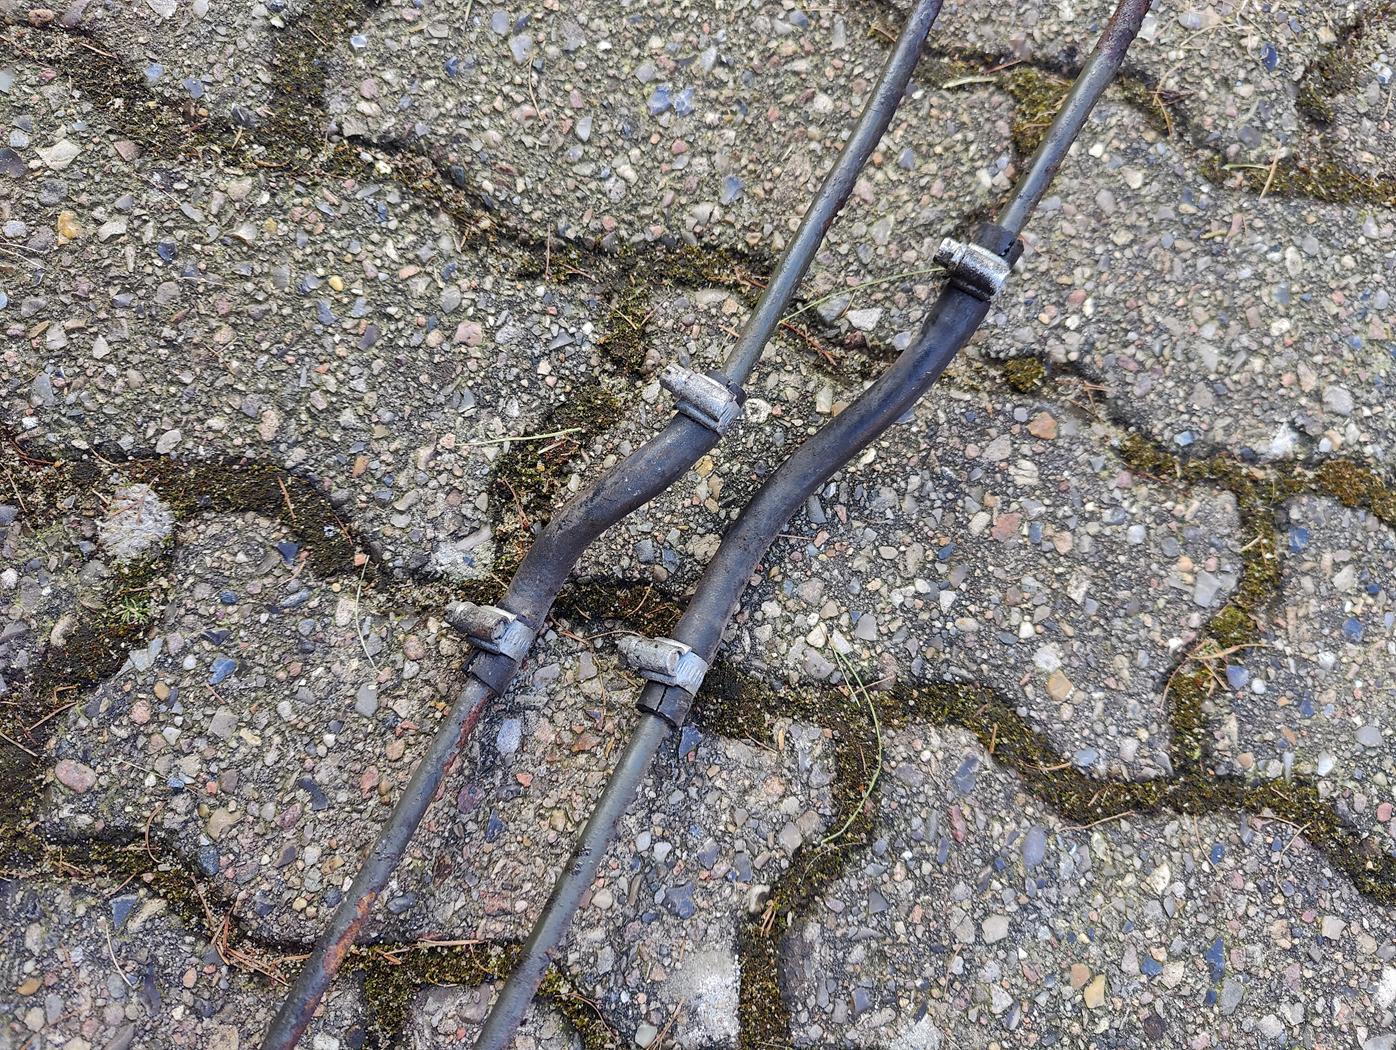 And back on the road to test it! 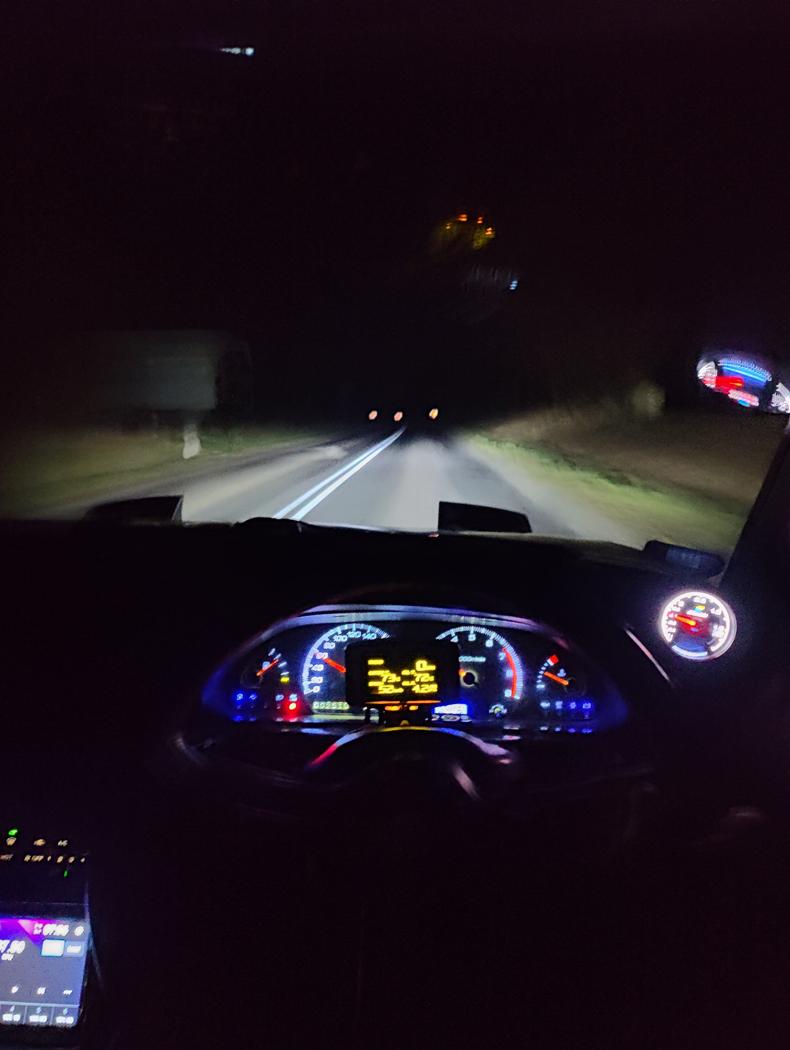 Yet another small thing the car was missing. The logo in the front bumper. I have a chrome one, but it just doesnt fit the car. So i recreated one in Fusion360 and printed it. Looks pretty good. But i can be better. So im working on getting it "just right" 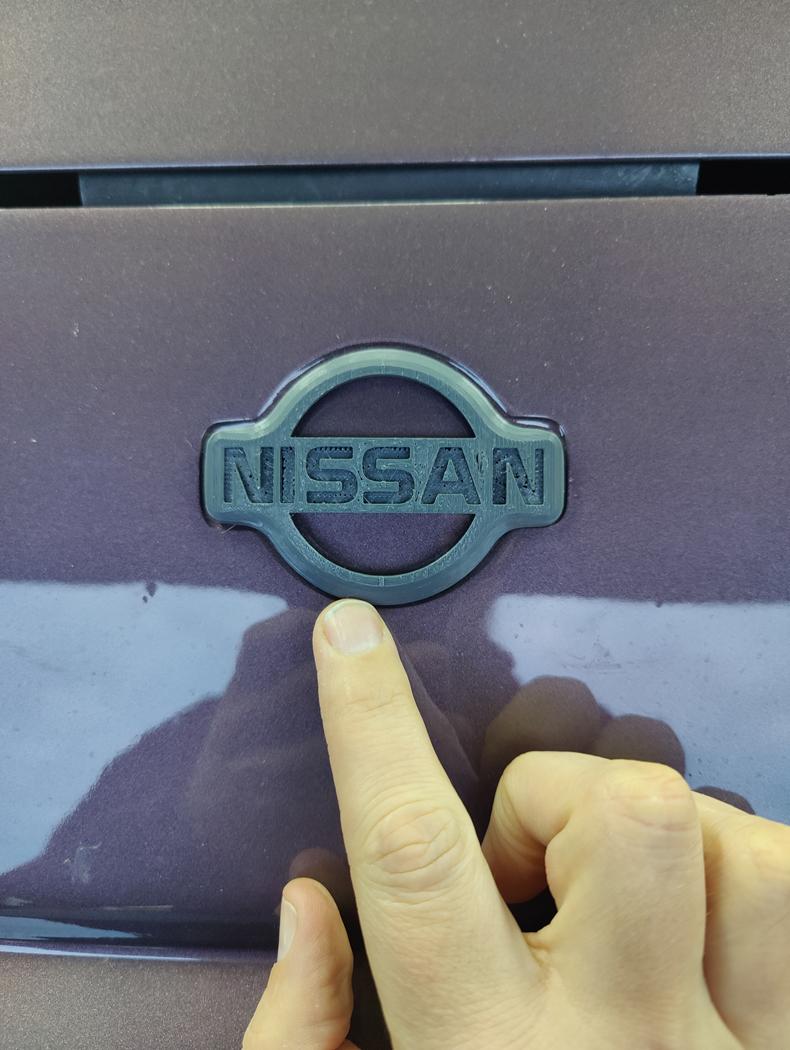 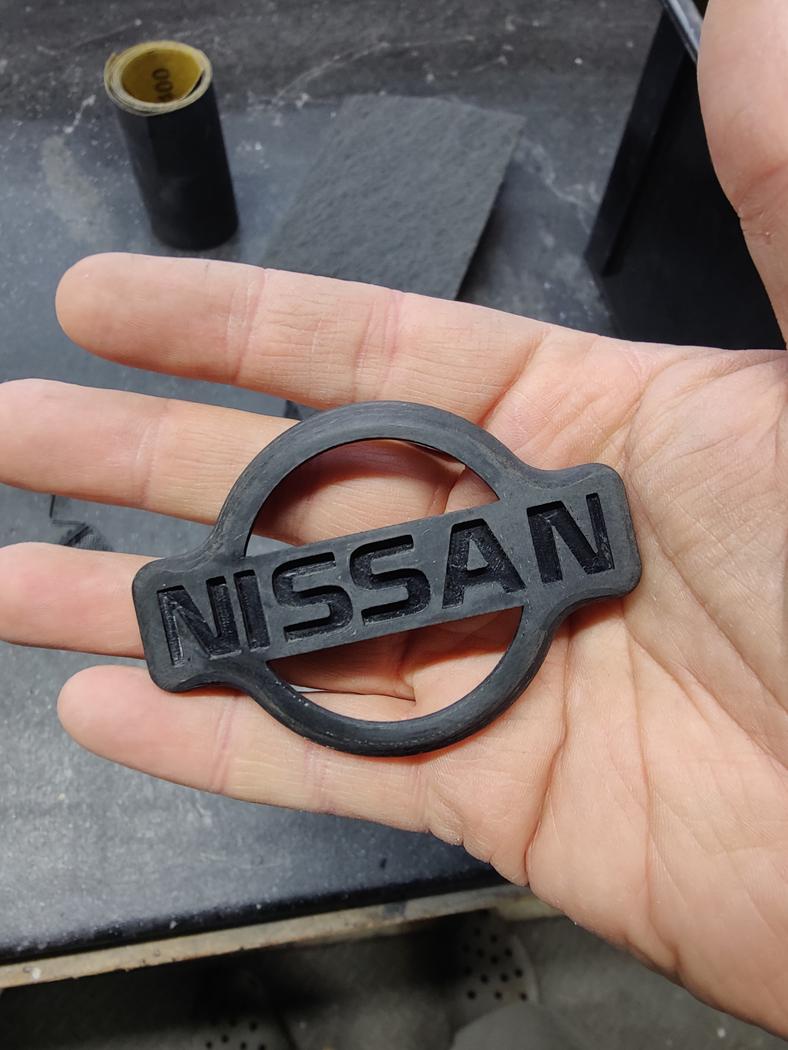 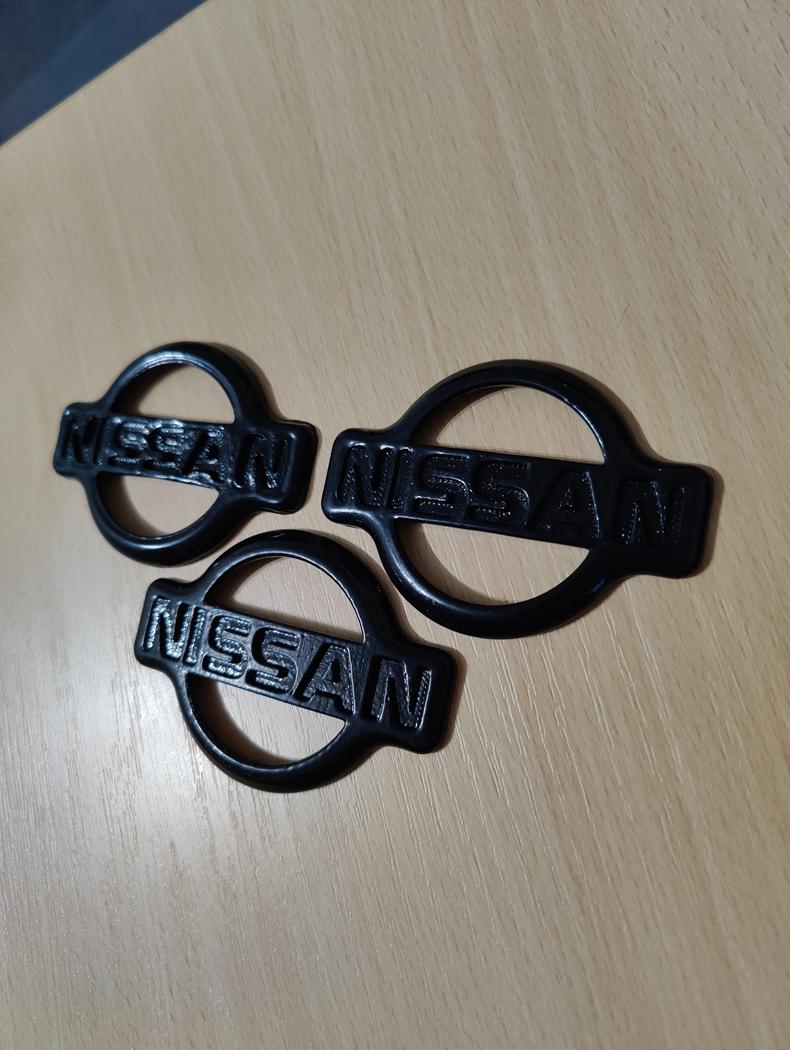 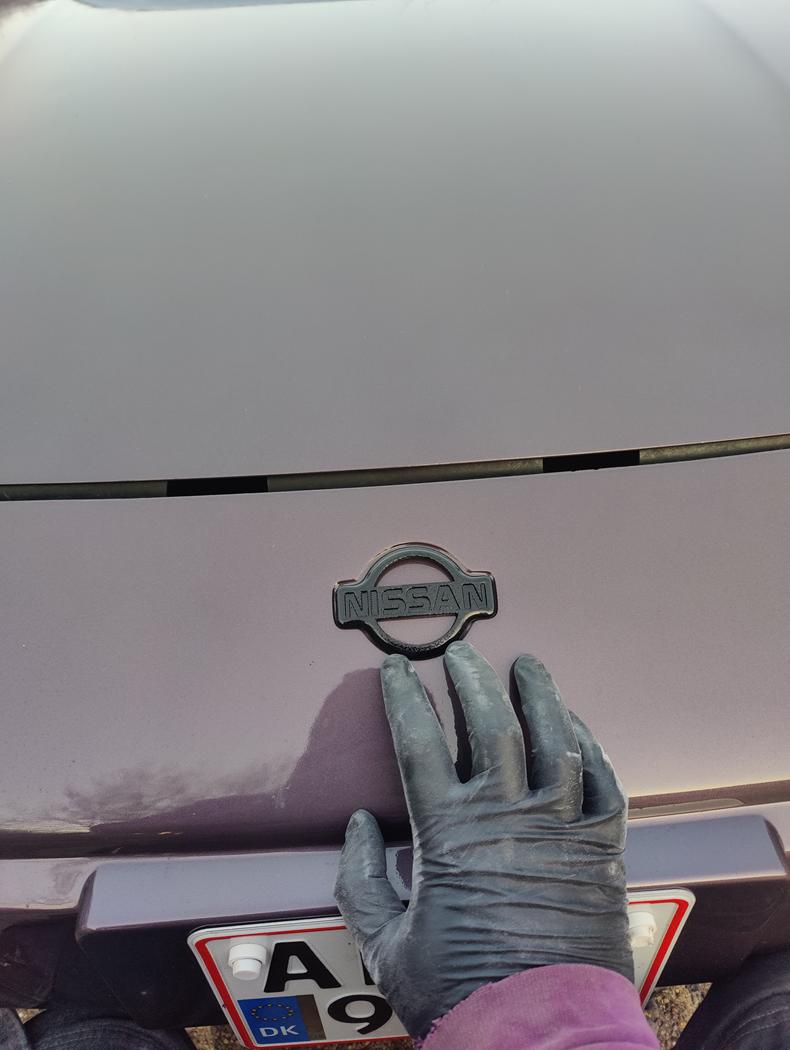 I also needed to paint the front lip as i totally forgot it when painting the rest of the car. I ordered a rattlecan with same color as the car and some 2k clear coat But first i had to do a bit of fibreglass work to make it look desent 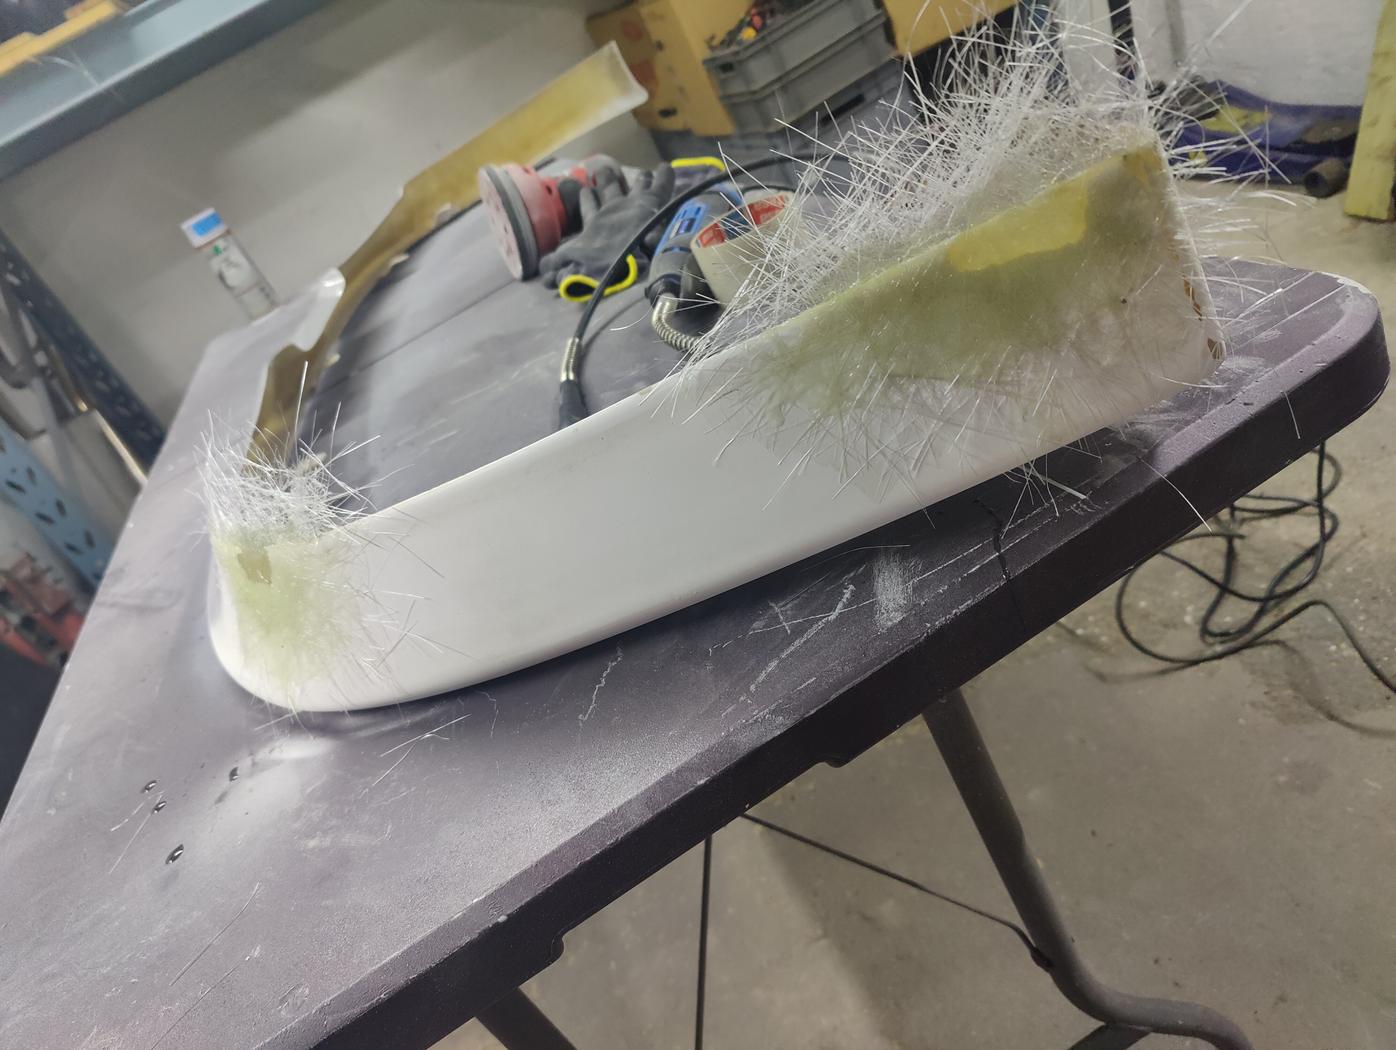 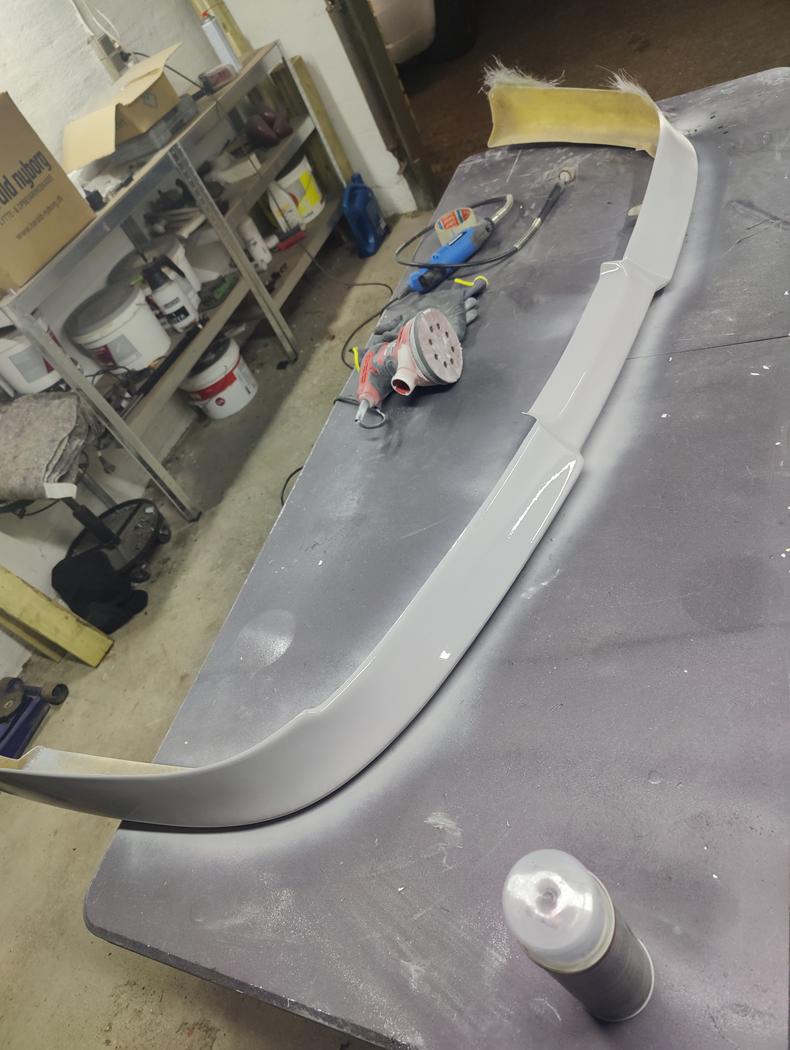 Pictures of the final result will come at a later point. As the car is lowered, i couldnt run the OEM fender liner. So i had to get creative. Did some CAD work and created a plate to install behind the front wheels. This reduces the amount of rocks being thrown in there. 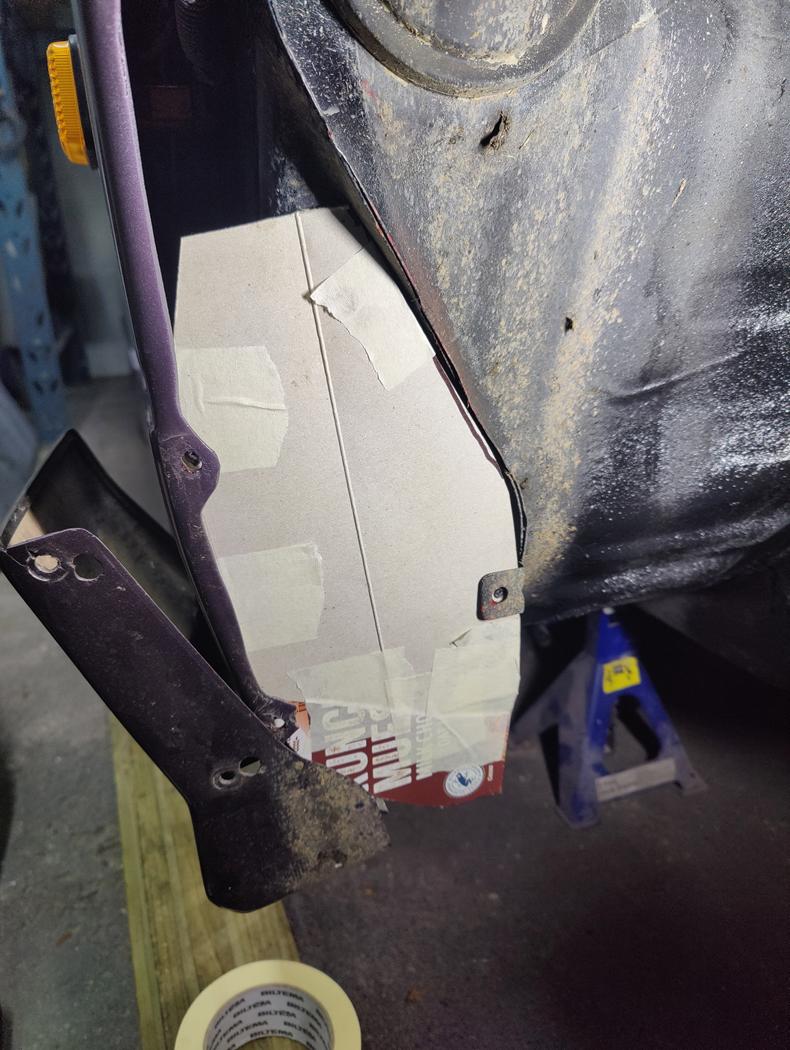 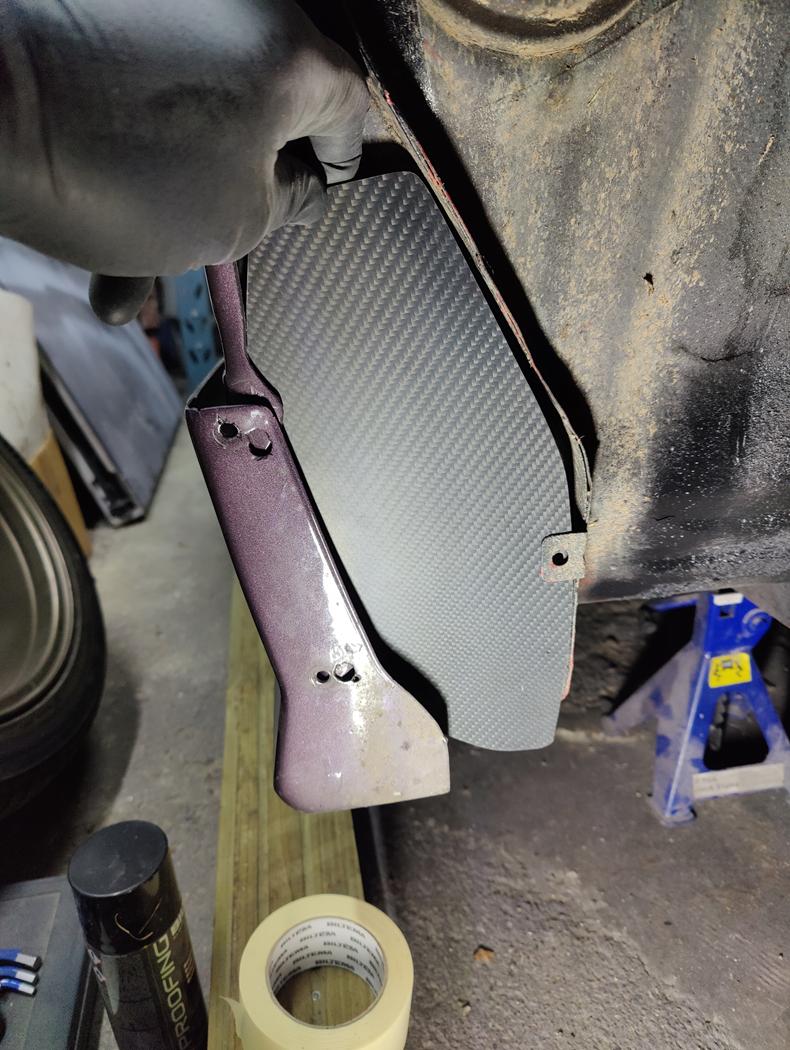 Had to enjoy it with a RedBull 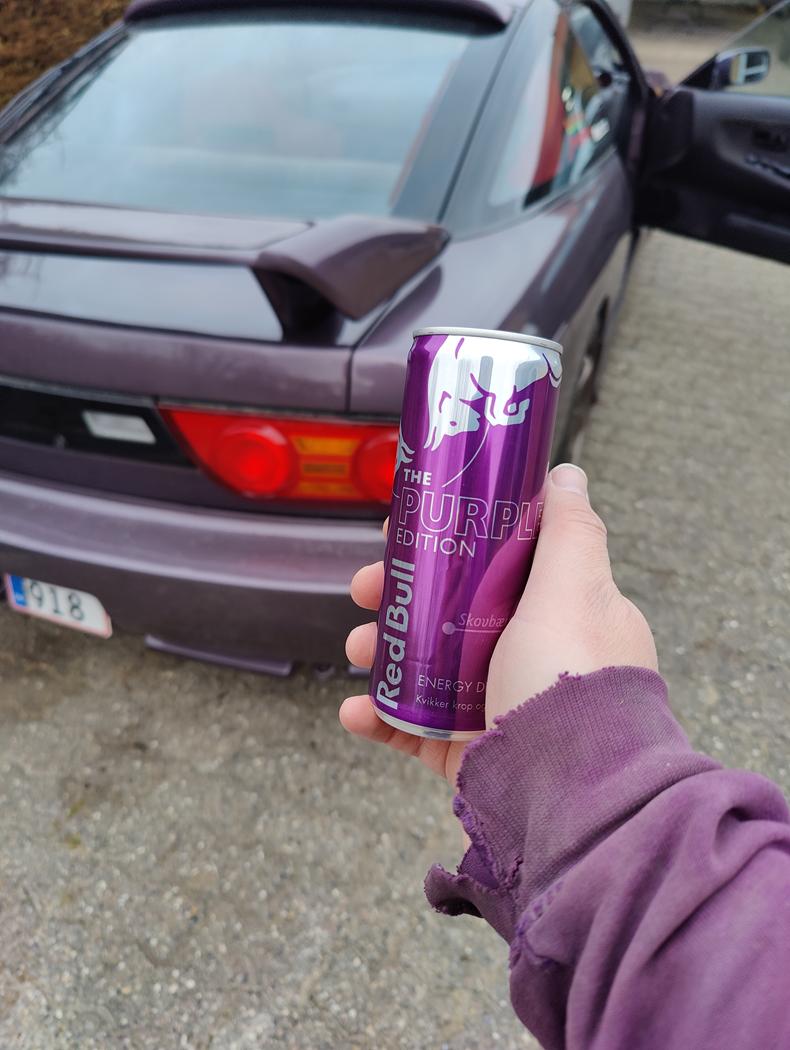 My seat rail wasnt great as the seat wasnt centered. The issue was the seatbelt bracket. So after some heat and some basic tools, it was bent into place so i could center the seat. Great success! 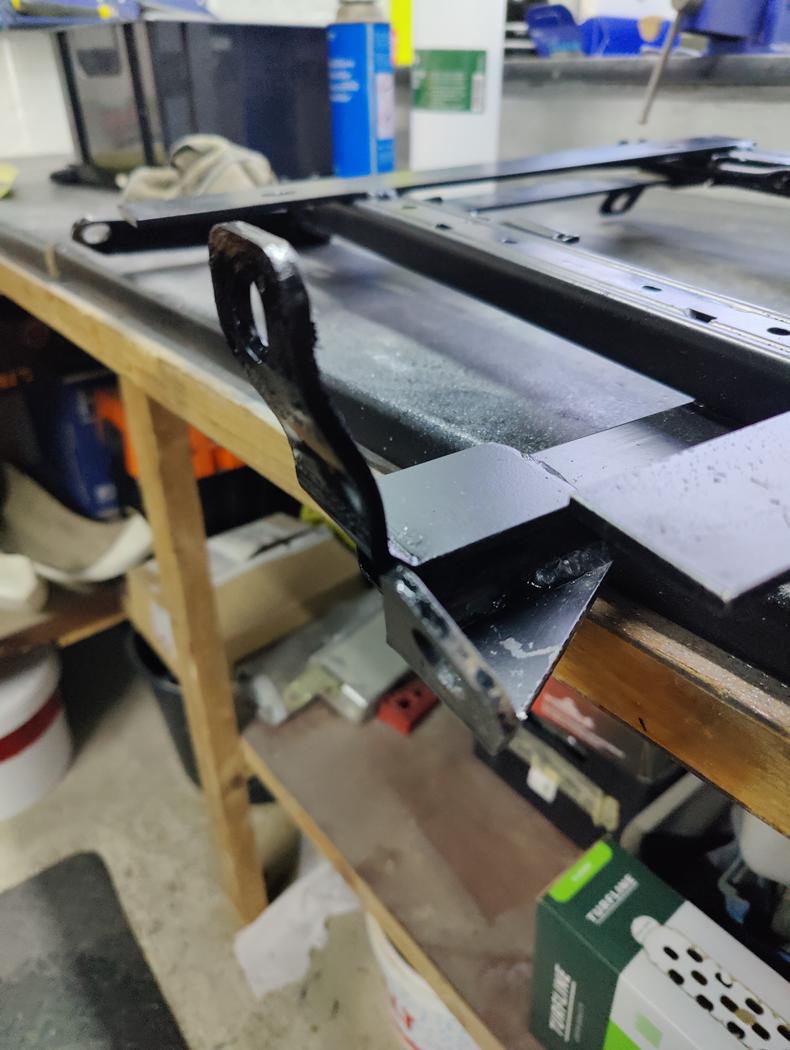 As a last thing for now. I also did some research and purchased some roof bars. Gotta have something different for this car Some parts are 3D printed as i couldnt find the parts anywhere.  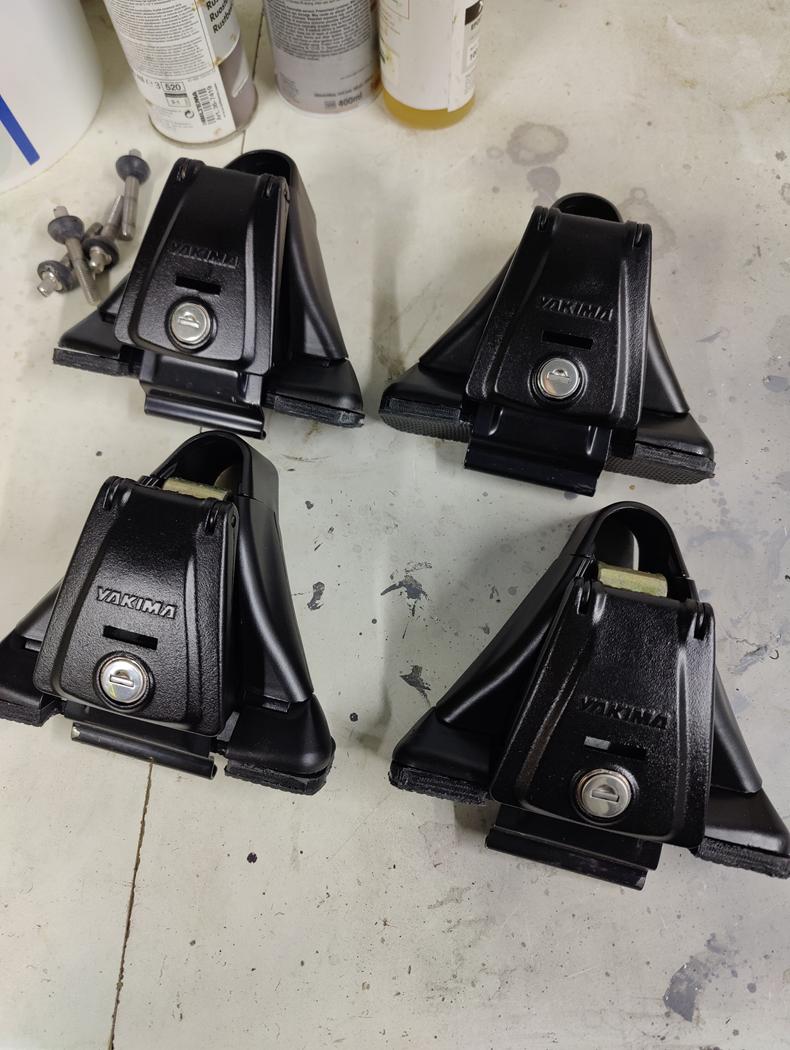 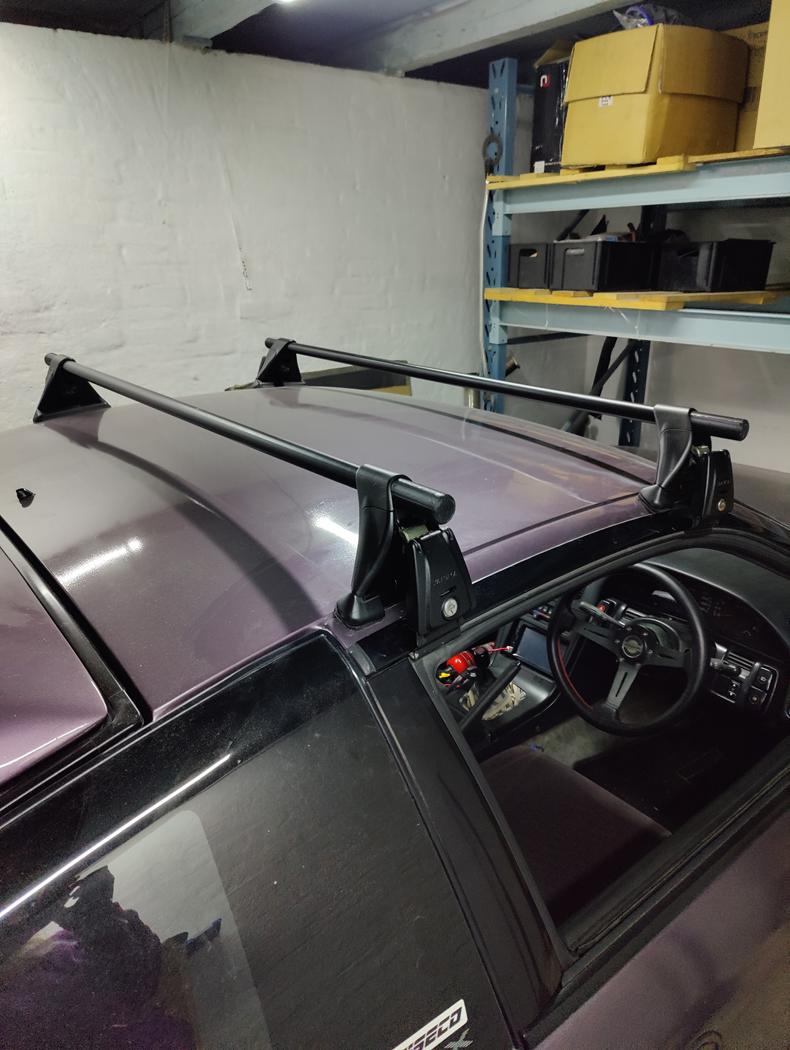 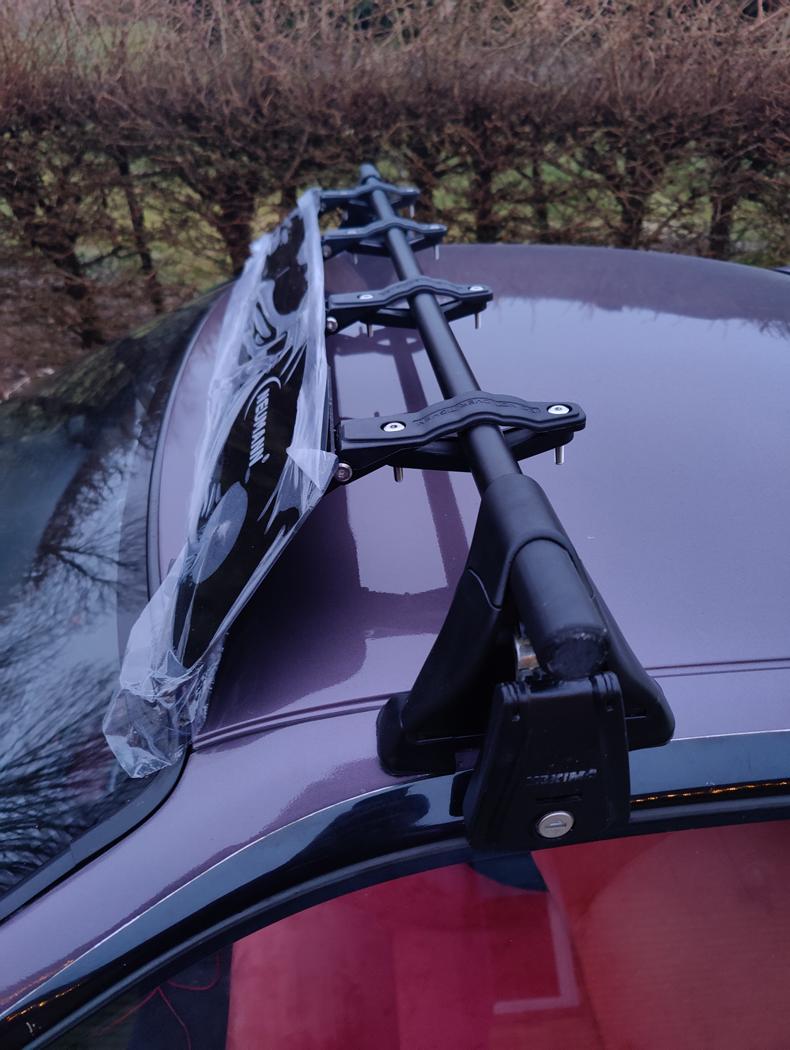 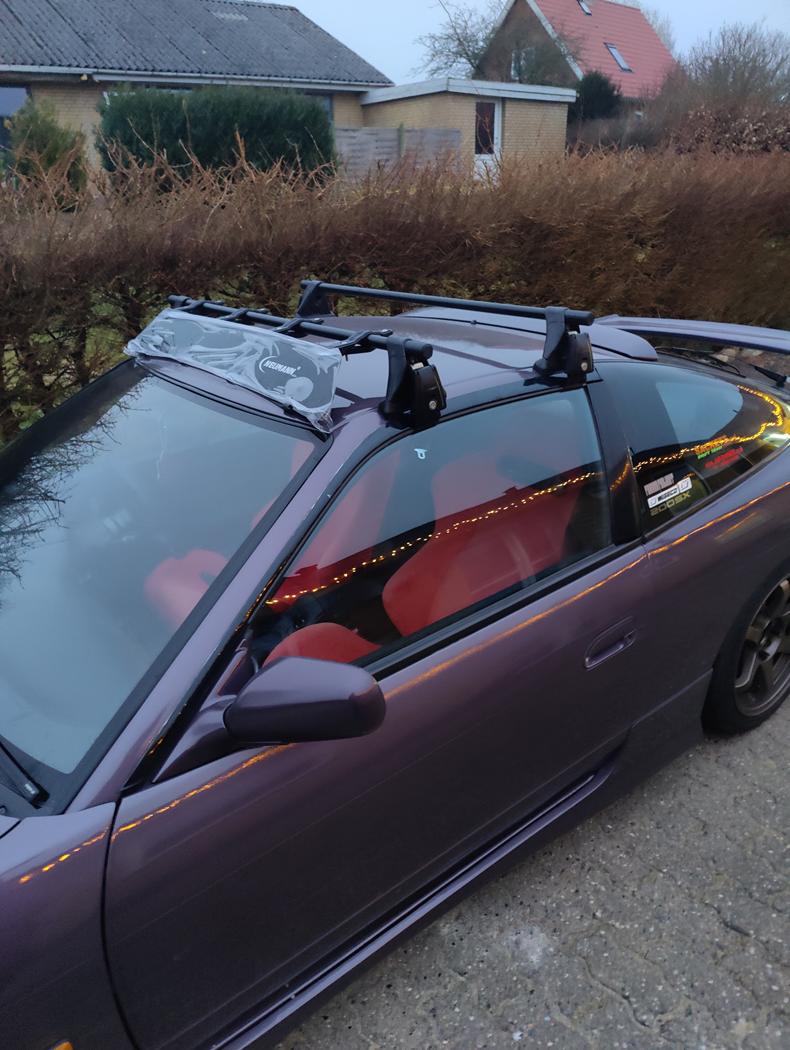
__________________
Whats worse than one broken S13?
2 broken S13s... |
|
|
|
|
| Bookmarks |
|
|


 Linear Mode

