|
|||||||
| Tech Talk Technical Discussion About The Nissan 240SX and Nissan Z Cars |
 |
|
|
Thread Tools | Display Modes |
 03-01-2006, 01:34 AM
|
#1 |
|
Zilvia Junkie
 
Join Date: Jan 2006
Location: Seattle/Olympia, WA
Age: 39
Posts: 510
Trader Rating: (3)
  Feedback Score: 3 reviews
 |
S13 Shakitto plate install
This thread is half deticated to showing off and half a writeup on how to install these plates and review.
I was bored about a week ago and had some money in paypal that I hadnt bothered to transfer to my bank account... so i bought these off of ebay. 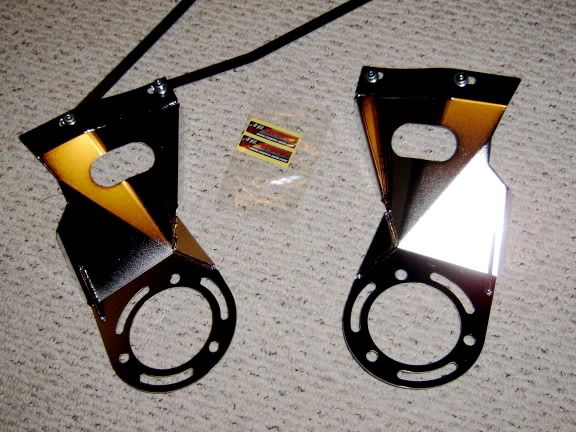 They came with everthing to install them but no instructions, so after a minute or two of looking at where they were supposed to bolt up I figured it out. Like I mentioned earlier this is kind of a lame writeup because anyone who has any mechanical knowledge should be able to figure out how to install these in well under an hour. You will need the following to install nagisa shakitto(strength) plates: 14mm wrench or socket phillips screwdriver Alan wrench set needle nose pliers(maybe) Cordless drill with a 19/64ths(or close to it) drill bit Anyways, start off by taking your hood off, as you will be working up against the firewall area and need it gone to do anything. Probably will need a helping hand when taking it off, unless you've got a 6.5' armspan and are buff like me.  Hood off 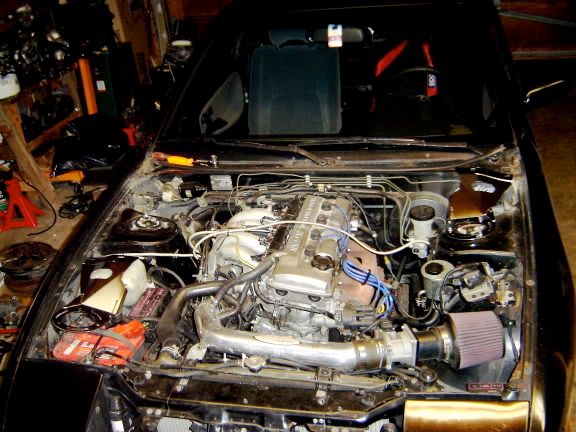 Next youll want to take your strut bolts off and remove your strut tower bar if you have one. Heres a pic of the plate just sitting on the strut studs so you will be able to see how the plate lines up and where you will need to drill. 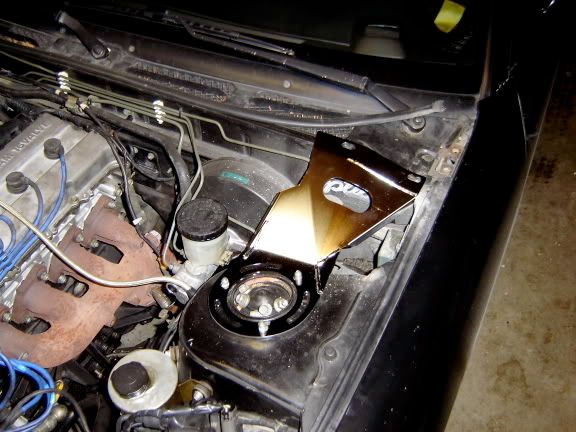 Here you see the holes that you will use as pilot holes for drilling out to acomodate the bolts that were provided. 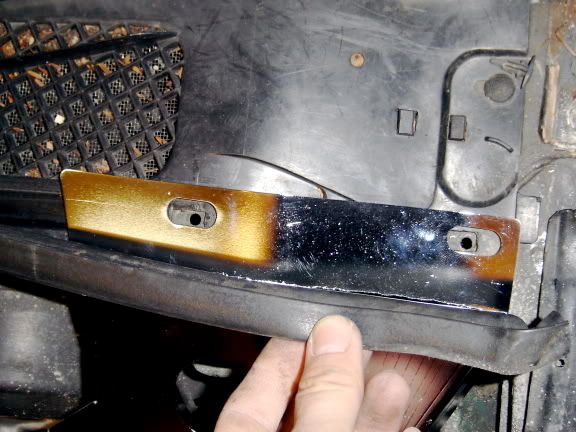 The holes are from these... 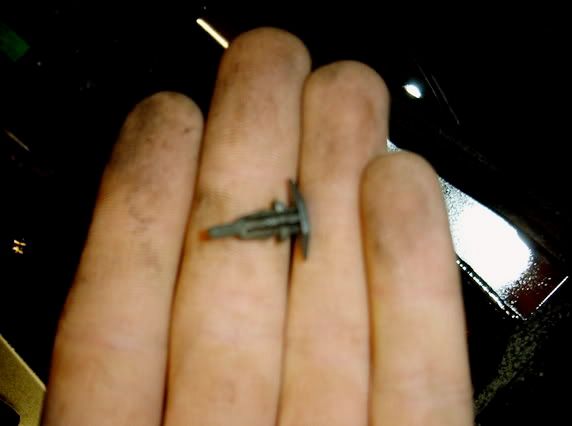 ...and help to keep the piece of foam liner attached to the top of the firewall under the rear edge of the hood. Anyways, next, you will need to take off the foam strip and the hard plastic pieces that have the mesh grill/guards on them where the car takes in all of its air. There are two pieces, one on each side of the car. They each are held in by a a plastic tab on the outside sides and a philips head screw near the middle of the windshield. You'll see what I mean when you do it. 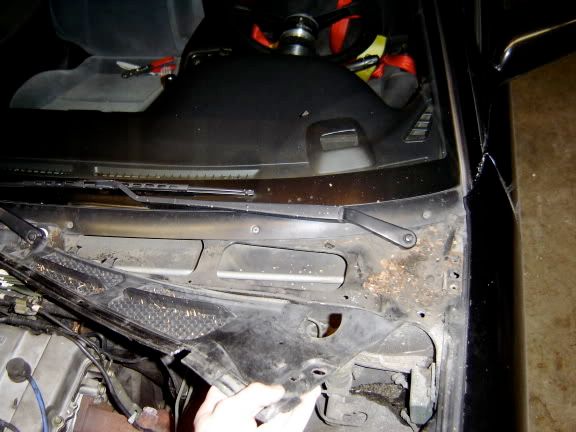 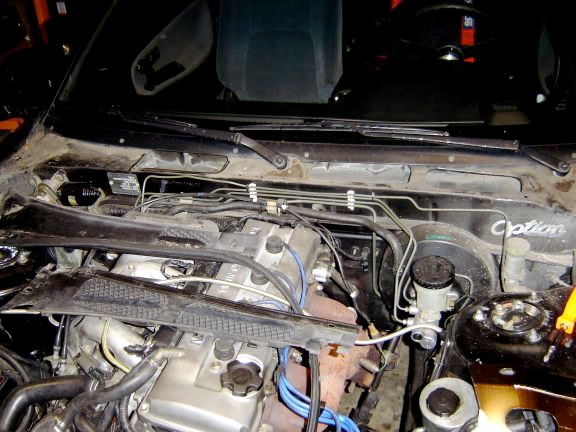 So now that the plastic pieces are removed you can drill. -I have seen pictures of these installed over the plastic pieces but I'd rather have metal on metal for better structural integrity rather than tightening the plates down on top of some 15 year old hard plastic that may or might not be brittle.- Now to the drilling. I used a 19/64ths drill bit to punch through at the proper locations for the plates to bolt up. This bit was almost exactly the diameter of the bolts that came with the plates, so I had to reem the holes out a bit. It helpts to mark out the location that the plates fall on, because the existing holes wont all match up perfectly once enlarged. (Once you get the plates bolted to the strut towers you may need to make the holes a little larger so the nuts have proper clearance and thread on properly.) 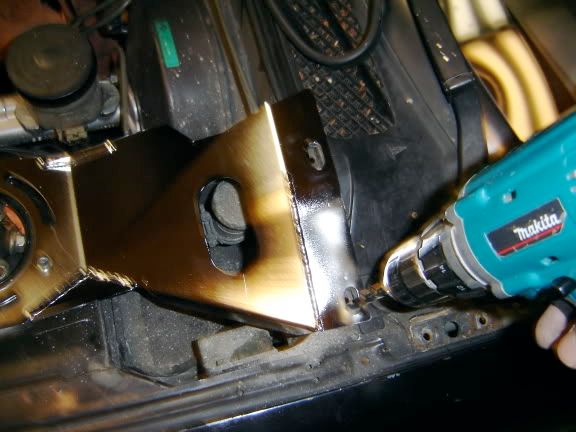 Now put the plate on the strut tower and make sure it matches up with the holes you just enlarged with the drill. On the drivers side put the bolts down through the holes and read your hand through the vent and thread them on and tighten them properly with an alan wrench. I forget what size(5 sounds right..maybe..) On the passenger side its a tad bit more difficult, but not hard by any means. Since the vent on that side of car is so far from the bolt holes nagisa included some snazzy "nut extenders"(at least thats what i like to call them). They are the long thin pieces of metal that you see attached to the plate on the left in the picture at the very top of the thread. 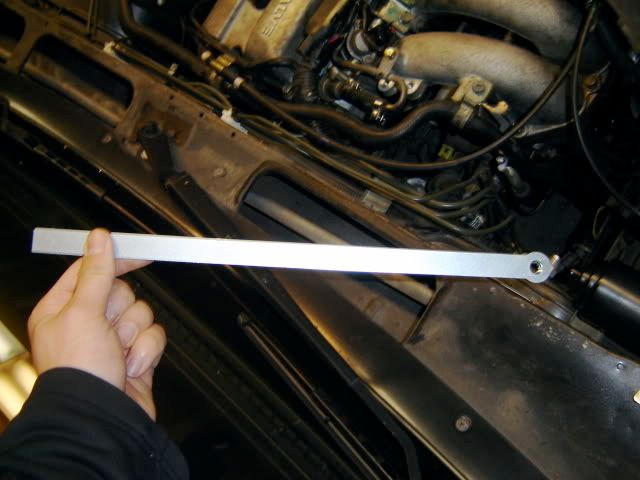 Using these long nuts reach through the vent and find the holes and thread the bolts on and tighten them down securely. 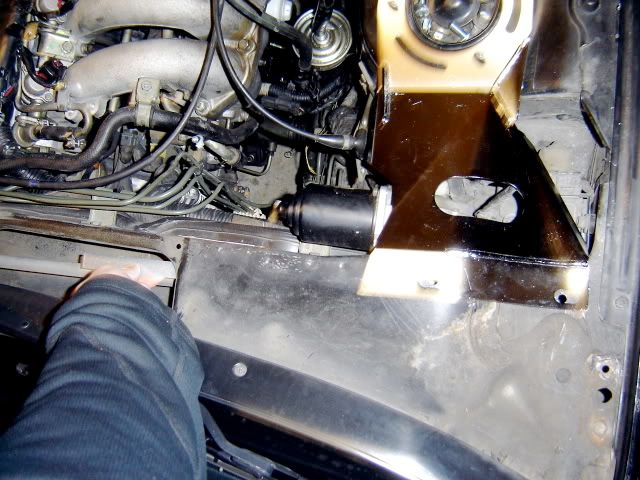 Thats pretty much it. Put the plastic vent guard peices back on along with the foam strip(if you want). The black peice on the drivers side doesnt fit snugly over the plate, but with a little trimming of the plastic you can make it fit well enough. I punched a couple holes and ziptied it down so that it was snug. Put your strut tower bar and/or strut stud nuts back on and youre ready to go. Here are a few pics of them installed. 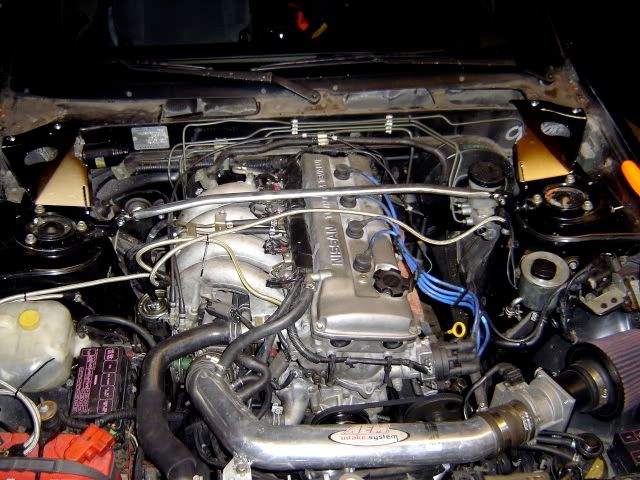 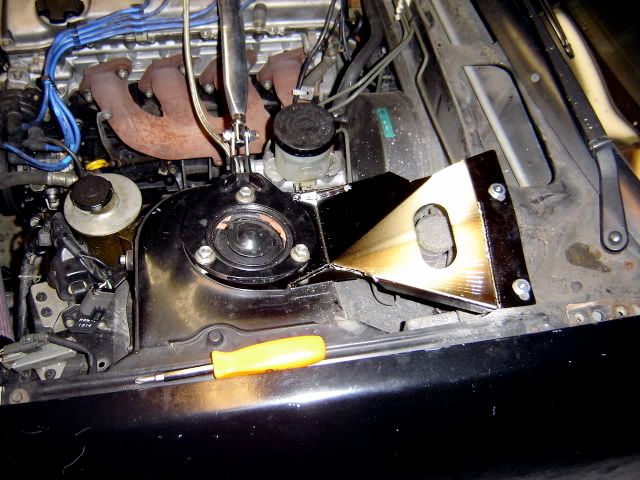 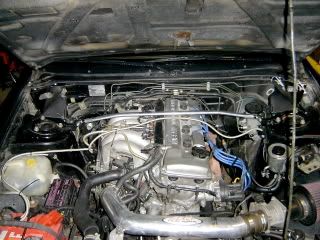 In total work time, this didnt take me more than 20-25 minutes. If you go reaaalllyy slow it might take an hour, but it shouldnt. As for my impressions driving the car with the plates on, I liked it a lot. The front end was a bit more stiff and braking was neutral, but more solid and maybe made for stopping a bit quicker. None the less, a very enjoyable solid feeling for all driving, even on the freeway. I felt like I had better control of cornering and was more connected to the road. On high speed sweeping turns heel toe downshifting felt much more solid and controlled, as did the few tight corners I took on the intial drive after installing the plates. I didn't get a chance to push the car very hard as i have stupid 80,000 mile all weather floppy sidewall tires on my car, but I will have my 5 lug on the car by the end of the week with Hankook ventus RS2s in 225/45-16.  I will post a better review once I get all that shizz on the car and an alignment. My verdict; if youre considering a cusco strut tower bar or these, get these. $180 from drift factory or raretrick. |

|

|
| Sponsored Links |
|
03-01-2006, 01:51 AM
|
#2 |
|
Zilvia Addict
 
|
ummm...good write up i guess...but what the hell is the point of those things??? they dont look thick enough to provide any type of structural support..i may be wrong but iv'e never heard of them or anyone using them.
and for 180$ it kinda looks like a 20$ home depot saturday project would yield same results.
__________________
 1992 240sx 5 spd. - Sold / 02 Maxima Se |
|
|
|
|
03-01-2006, 02:40 AM
|
#3 |
|
Zilvia Junkie
Join Date: Jan 2006
Location: Seattle/Olympia, WA
Age: 39
Posts: 510
Trader Rating: (3)
Feedback Score: 3 reviews
|
I'm pretty happy with them. I've spent more money on other things less funtional.
I suppose that you could make your own with the right preperations, but you'd have to be pretty good at bending multiple odd angles and be able to weld. Also, before install they did have some play and would flex some(less than I expected), but upon install they became solid and driving yeilded very pleasant results. |
|
|
|
|
03-01-2006, 08:54 AM
|
#4 |
|
Post Whore!
 
Join Date: Apr 2004
Location: Virginia, USA
Posts: 5,764
Trader Rating: (5)
Feedback Score: 5 reviews
|
Thank you very much. That was a very detailed writeup with a lot of helpful pix. Good job. I wish all writeups were like this, but instead they're like "unbolt hood, drill, bolt in brace, done"
I would also like to add that if you have coilovers, you may need a 14mm deep well socket. Get a 6-point socket and a good torque wrench. Torque the strut bolts to about 30 ft-lbs when reinstalling the nuts. They may not look like they'll witstand a lot of compression force without bending, but for shear forces they should be okay. Last edited by g6civcx; 03-01-2006 at 09:41 AM.. |
|
|
|
|
03-01-2006, 09:13 AM
|
#5 | |
|
Nissanaholic!
 Join Date: Jul 2002
Location: in a dark room mastering the art of typing with one hand
Posts: 2,164
Trader Rating: (3)
Feedback Score: 3 reviews
|
Quote:
__________________
I never knew you could do that with an eggplant |
|
|
|
|
|
03-01-2006, 12:31 PM
|
#7 | |
|
Post Whore!
Join Date: Apr 2004
Location: Virginia, USA
Posts: 5,764
Trader Rating: (5)
Feedback Score: 5 reviews
|
Quote:
|
|
|
|
|
|
03-01-2006, 12:49 PM
|
#8 | |
|
Zilvia Junkie
Join Date: Jan 2006
Location: Seattle/Olympia, WA
Age: 39
Posts: 510
Trader Rating: (3)
Feedback Score: 3 reviews
|
Quote:
Thanks for including the torque specs on the strut nuts, I figured people would know them if theyve done any worthwhile work on their car. I must take off my strut bar to work on something at least a dozen times a month, so thats just second nature to me... Also, shakitto braces vs fender braces are focused mainly on reducing shock tower movement during braking. Fender braces help turn in a lot more, but I think that they would compliment one another nicely. Fender braces do seem like something that you could make on your own easily, though. |
|
|
|
|
|
| Bookmarks |
|
|


 Linear Mode

