|
|||||||
| Tech Talk Technical Discussion About The Nissan 240SX and Nissan Z Cars |
 |
|
|
Thread Tools | Display Modes |
 03-01-2009, 07:23 PM
|
#1 |
|
Nissanaholic!
 
Join Date: Apr 2008
Location: SoCal 818/562/714
Posts: 2,193
Trader Rating: (64)
 Feedback Score: 64 reviews
 |
Silvia Triple Projector wiring help
I just converted my stock pop up front to the triples in my coupe and I need help wiring up the low/high beams, fog light, and corners. I searched but it didnt come up. I'm pretty sure there should be a post on here. If you find it please send it my way and I would close this thread.
I also need help with wiring my bricks, same problem with the corners and low beam. Any photos or step by step would be great. Thanks
__________________
Check my for sale thread for S13 parts |

|

|
| Sponsored Links |
|
03-01-2009, 07:51 PM
|
#3 |
|
Nissanaholic!
Join Date: Apr 2008
Location: SoCal 818/562/714
Posts: 2,193
Trader Rating: (64)
Feedback Score: 64 reviews
|
^^
good article, but i dont want always want the light to be on with the low beams... thanks for posting it can i splice the corner lights to the bumper markers?
__________________
Check my for sale thread for S13 parts |
|
|
|
|
03-01-2009, 08:03 PM
|
#5 |
|
Nissanaholic!
Join Date: Apr 2008
Location: SoCal 818/562/714
Posts: 2,193
Trader Rating: (64)
Feedback Score: 64 reviews
|
yeah im just gonna do that...
im not really familiar with electrical and i wanted as much knowledge as i can before i start. thanks for your help. i believe the the plug goes right in for the headlights, ill be playing around with the fog lights
__________________
Check my for sale thread for S13 parts |
|
|
|
|
03-01-2009, 08:03 PM
|
#6 |
|
Zilvia Addict
 
|
You can wire the pop-up button to the fogs
Thats just the brown and black wire Not too sure about the high beams For the corners use the side marker wiring for the inside of the corner Then the green and black wiring for the amber (outer) part of the corner from the turn signals And thats about it |
|
|
|
|
03-07-2009, 09:53 AM
|
#10 | |
|
Zilvia Junkie
 |
Quote:
__________________
neg repping is cool!! 
|
|
|
|
|
|
03-08-2009, 08:32 AM
|
#13 | ||
|
Post Whore!
 
Join Date: Apr 2004
Location: Virginia, USA
Posts: 5,764
Trader Rating: (5)
 Feedback Score: 5 reviews
|
Quote:
Your old front end has side markers for parking, low/hi in the popup, and parking/signal combo in the bumper. Your new front end has white corner light for parking, low/high/fog in the tri-projector, and parking/signal combo in the bumper. There is also an amber portion in the corner light as well. There is no one way to wire up the front end. The following is the way I recommend. It's not necessarily right or the only way. Bumper lights are plug and play. Use everything up to the bulb in the new lens. You may even be able to reuse your existing bumper lens if you have pignose. Hi/lo take the rectangular 3-prong plug from the body harness and plugs directly to the 3-prong plug on the projector. Plug and play. For sidemarker parking, use everything up to the bulb from your existing side marker. Plug and play. For the amber portion of the side marker, you'll need a thin 3-prong 194 bulb holder if your front end didn't come with one. You can wire the bulb up to the turn signal wire from the bumper light. The FSM tells you that it's green/yellow for the right side and green/black on the left. Connect the other side of the bulb to ground. For fog, Silvias come with H3C, which is hard to find in the US. If you need easy replacement, you can change to H3. H3/H3C use spade terminals. Take the bulb to your auto parts store and you'll see the female terminals that fit. If you use H3 and have the stock Silvia harness, it's plug and play to the bulb. If you convert to H3C, you'll need to run one spade to the bulb and another one for the bulb holder. H3 grounds through the housing of the bulb whereas H3C grounds to a second spade terminal next to the power terminal. Whichever way you wire up your fog, you need to supply current and ground. There are many ways. I like to reuse the existing retractor switch to control the fog independently of the low/hi. Connect one side of the fog to the brown wire that used to go to the headlight motor, and the other side of the fog to ground. See below.   Quote:
|
||
|
|
|
|
03-08-2009, 08:37 AM
|
#14 |
|
Post Whore!
Join Date: Apr 2004
Location: Virginia, USA
Posts: 5,764
Trader Rating: (5)
Feedback Score: 5 reviews
|
Also, if you followed my diagram above everything will work fine, but you will notice some clicking when you turn on the headlights.
The clicking is fromt retract relays 1 and 2. With popups, the headlight motors drown out the relays so you can't hear them. If you want extra credit, you can go ahead and remove relays 1 and 2 as well, but for each relay, you have to connect the two thick wires going to the relay together. These relays control the ground for your headlight so the bulbs don't come on with the headlights pointed down. Keep track of what you're doing in case you want to go back to popup. |
|
|
|
|
03-09-2009, 09:42 PM
|
#15 |
|
Zilvia Addict
|
Here's a quick how to I made for the corners....
To make the amber part stay on and the inside of the corner to blink First you cut the wires from the sidemarker 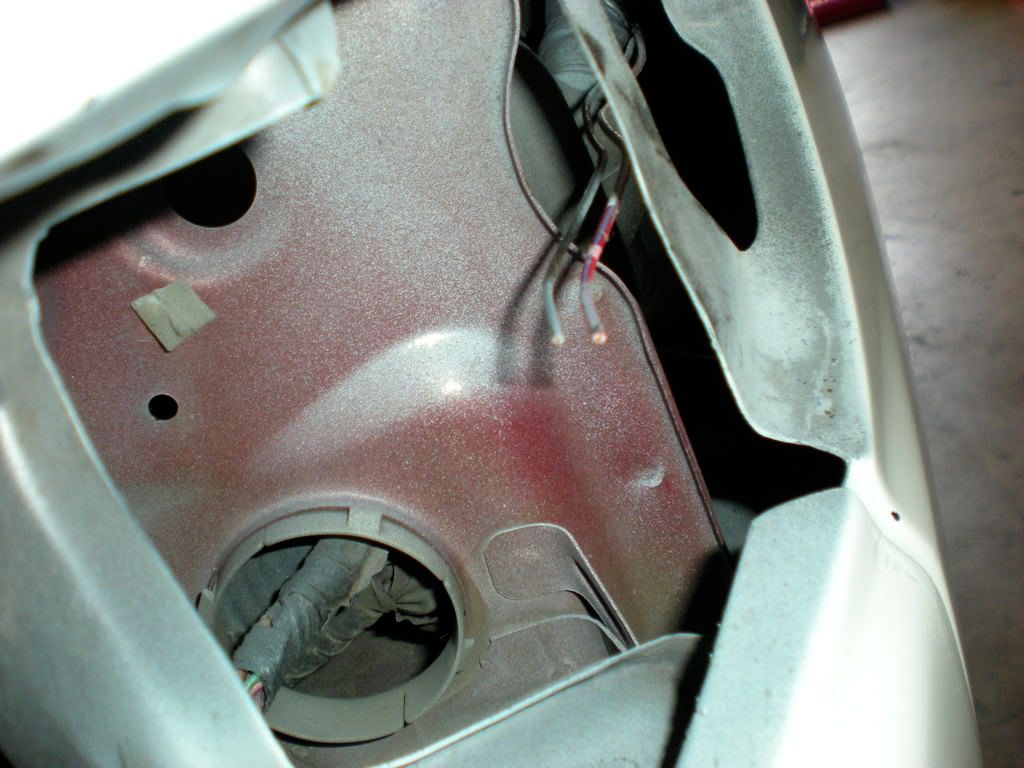 Then you pinch this shit on there and thats for the outter light 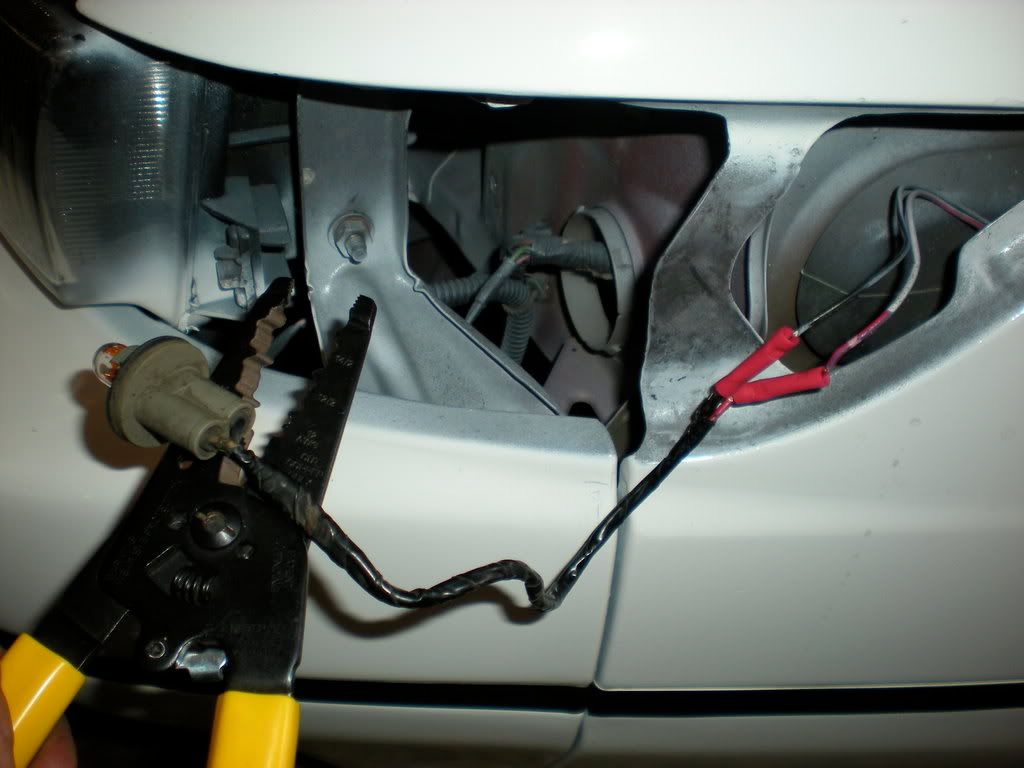 Then you find the wiring for the bumper lights 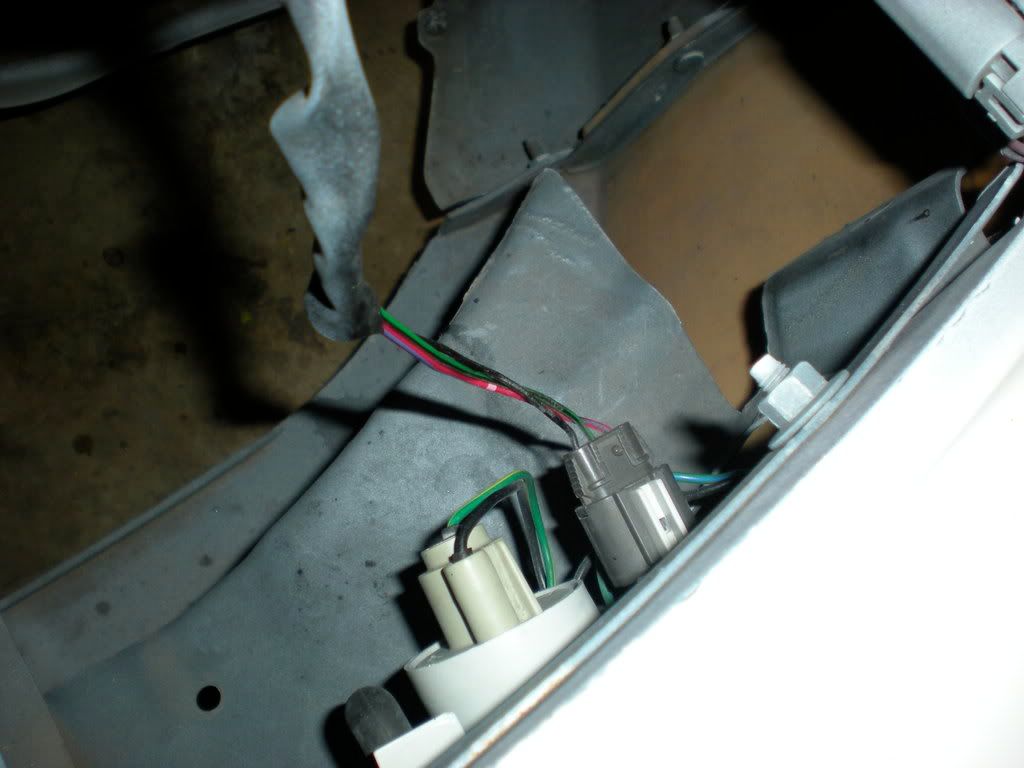 Then you cut this shit 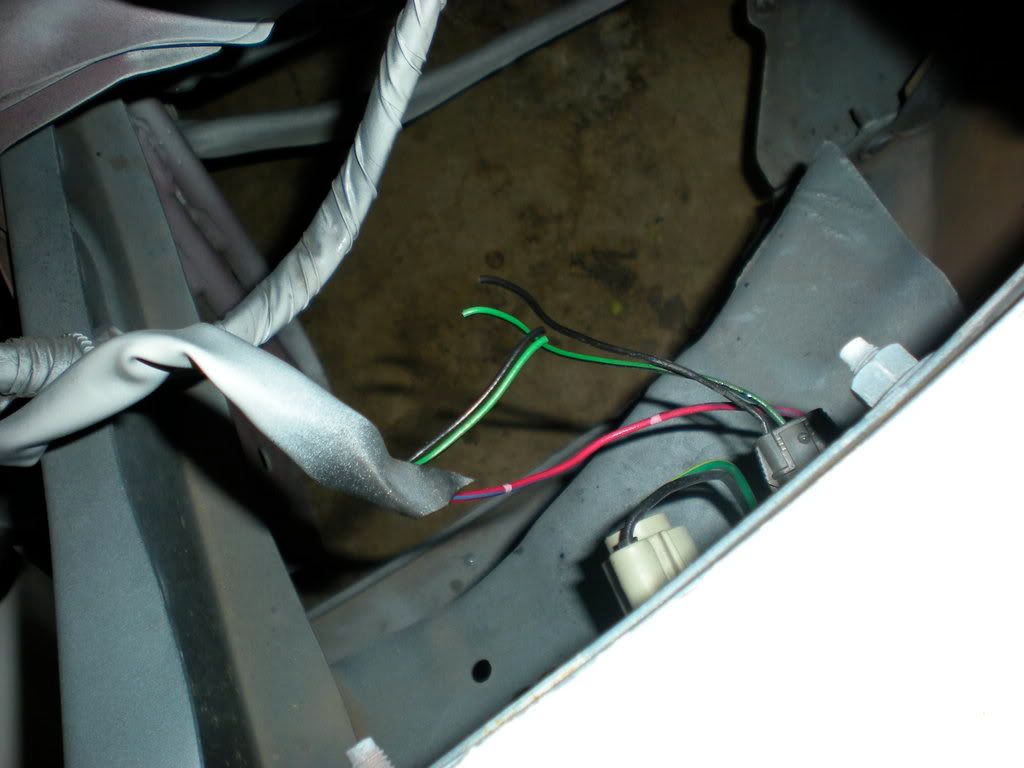 Then you add a wire into the green and one into the black wiring and pinch that shit 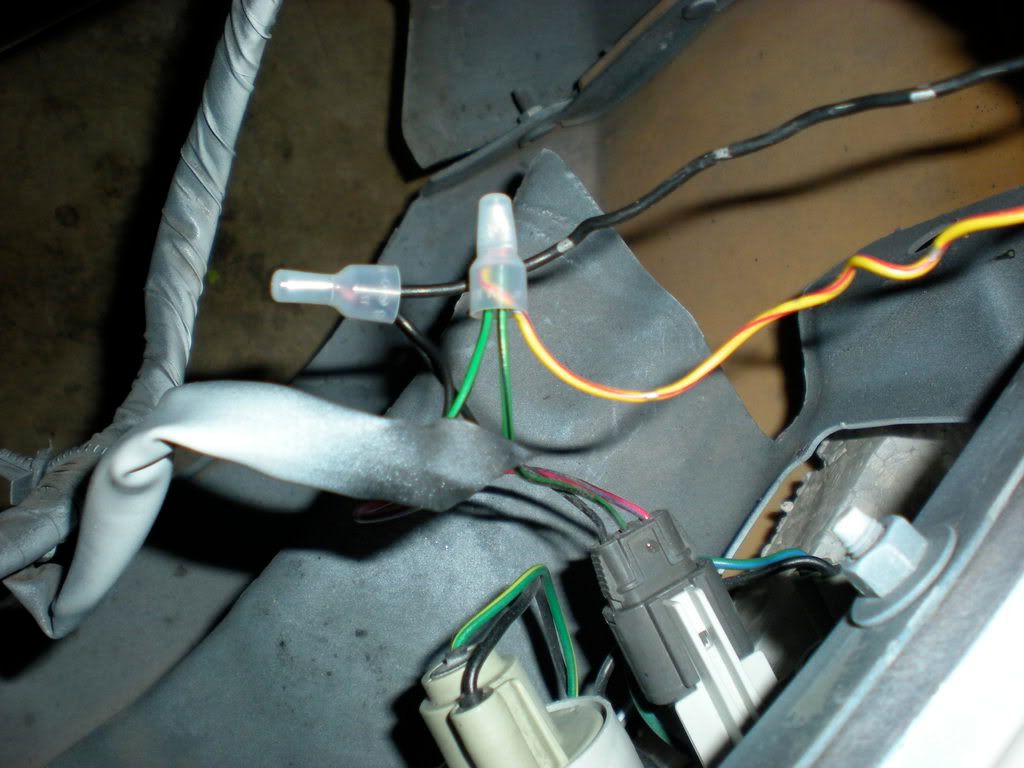 Then you pinch this shit on there and connect it to the wiring for the inner bulb 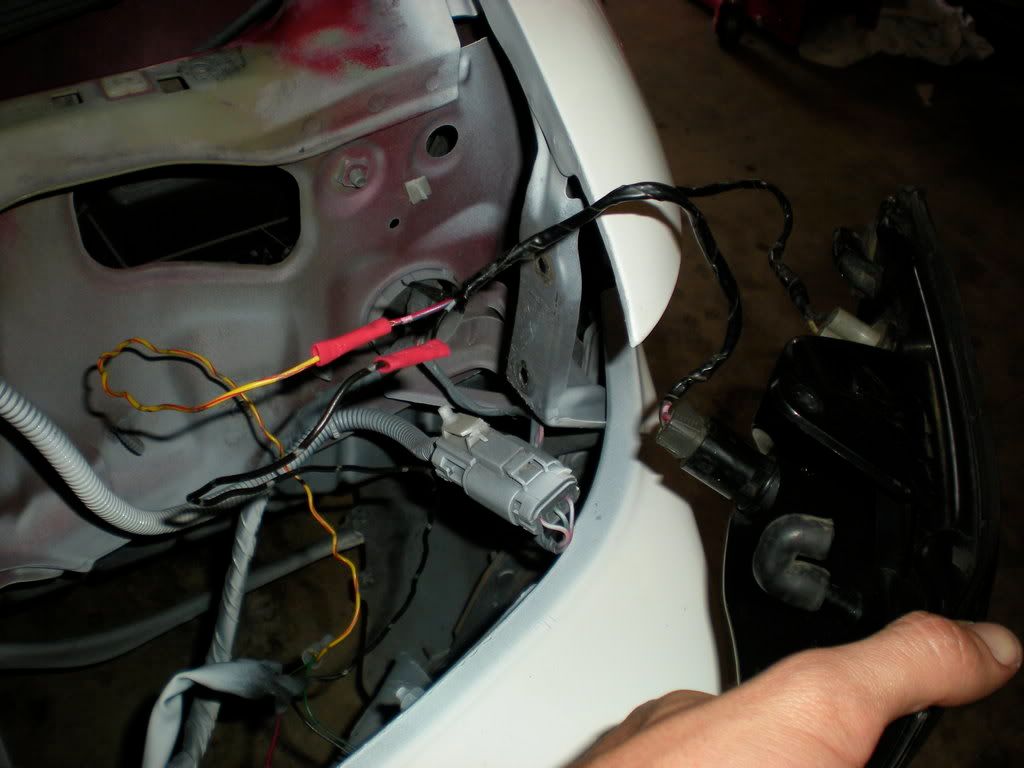 Then I covered all that shit with electrical tape 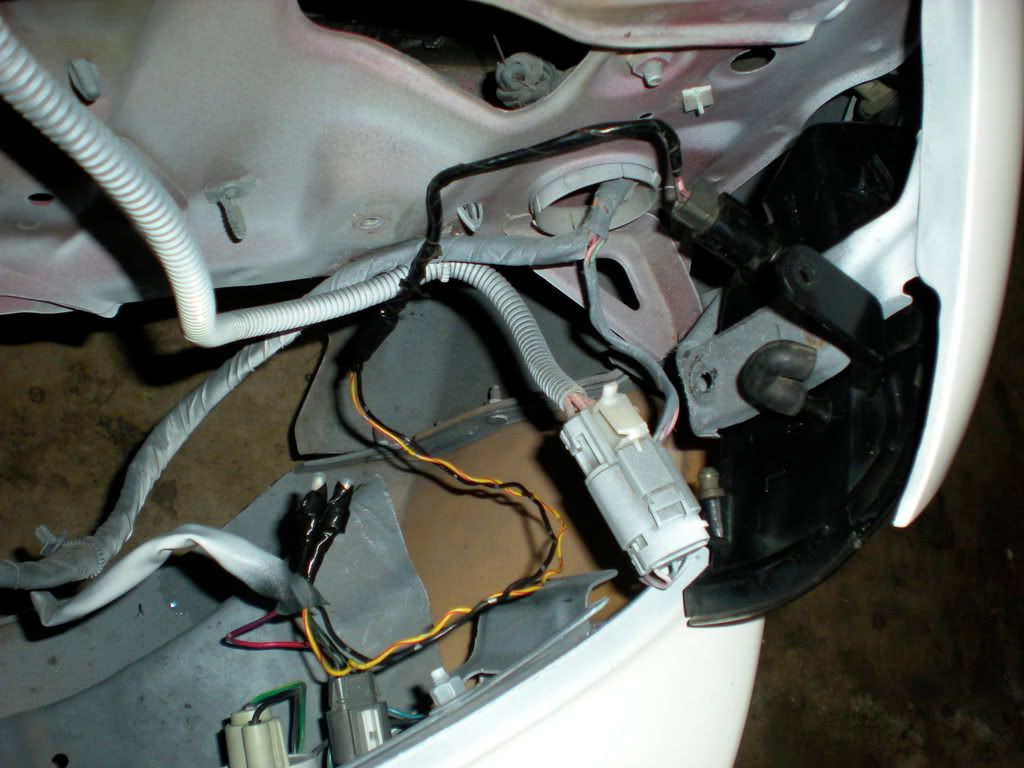 Oh, and here is how to hook up your pop up switch to the fogs or inner lights for halogens, pretty much attach the black and brown wire from your pop up headlight harness to the bulb, I used some female sockets from lowes, also if you do this you should pull the relay for the popup headlight motor its gray 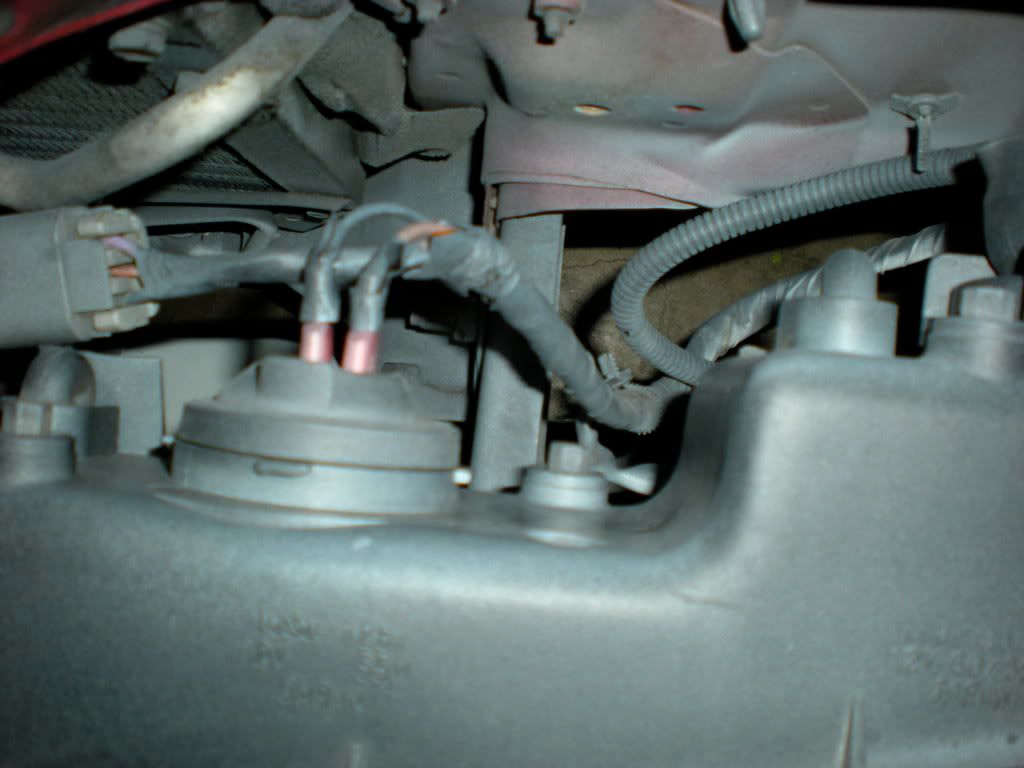 And that about sums it up *Cliffnotes* ~Use sidemarker wiring for amber part of corner ~Tap into green and black wiring from blinkers for inner corner ~Pinch that shit ~Tape shit Done |
|
|
|
|
03-10-2009, 07:05 PM
|
#18 |
|
Post Whore!

Join Date: Dec 2002
Location: Atlanta
Age: 51
Posts: 13,812
Trader Rating: (12)
Feedback Score: 12 reviews
|
Please clean that wiring up, it looks like shit.
__________________
FORMERLY R240NA Learn what's really going on and protect your assets now before they're gone forever: www.paypalsucks.com |
|
|
|
|
03-19-2009, 12:02 AM
|
#20 |
|
Zilvia Junkie
|
I have a quick question. A friend and I were wiring up the triple projectors and everything went smoothly. However, my friend was testing the lights and making sure they work and was sort of going at it at a fast pace. Left/Right/Low/High/Fog/etc. really fast. Now when you put the Left or right turn signal on, they all flash. Sort of like having your hazards on (yes, even the rear).
ideas/comments/solutions?
__________________
neg repping is cool!!
|
|
|
|
|
03-21-2009, 11:04 PM
|
#21 |
|
Nissanaholic!
Join Date: Apr 2008
Location: SoCal 818/562/714
Posts: 2,193
Trader Rating: (64)
Feedback Score: 64 reviews
|
seems a bit easier now that i have seen it done...
thanks cris, for the pics and step by step... im going to add a bit of my info into it... im gonna try to get pig tails and splice into the silvia lights for the clean look and in case i ever want to go back to stock, i can just plug and play with minimal modification to the stock body harness. ill update with some pics when i get a chance to do it on my cars
__________________
Check my for sale thread for S13 parts |
|
|
|
|
| Bookmarks |
|
|


 Linear Mode

