|
|||||||
| Chat General Discussion About The Nissan 240SX and Nissan Z Cars |
|
|
Thread Tools | Display Modes |
 09-05-2011, 10:47 AM
|
#1 |
|
Zilvia FREAK!
 |
Fiberglass Dashes; Designs and Creations
So, I've been working (Slowly) on a fiberglass dash for my s13. I've seen a few others but overall there isn't a TON of information about doing this.
This thread is for people to share ideas, experiences, and methods when it comes to creating a fiberglass dash. I'll start us off with my dash i'm hoping to finish up soon. Step one: (Hate on my taillights being black...) Tear that nasty vinyl shit (and probably some cracked up foam too) off your dash leaving you with the base foam. I wish i used some spray foam to level out the cracks before i layed glass 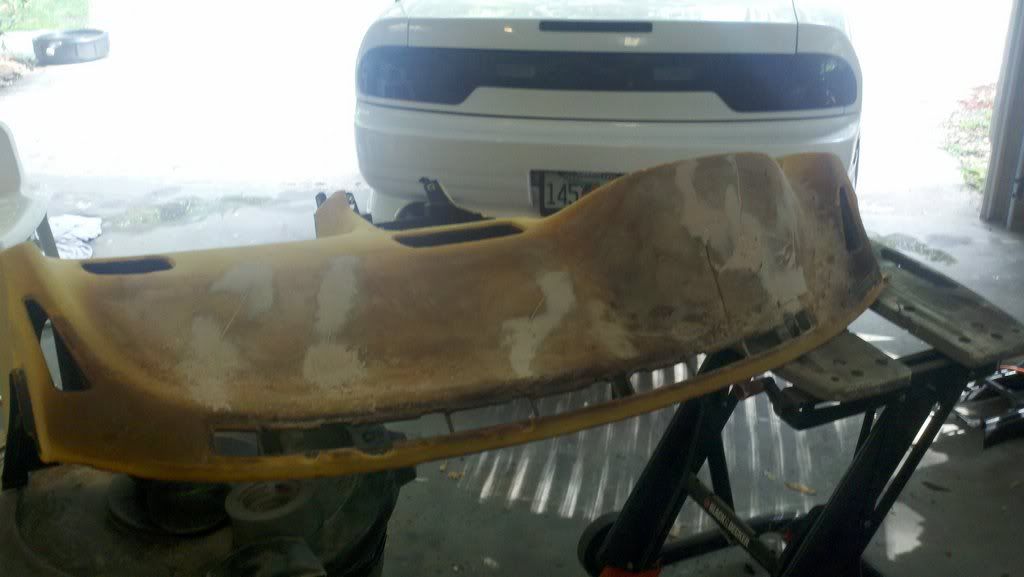 Next you wanna come up with your gauge placement. This is easiest to use some PVC pipe from homedepot/lowes as they fit gauges perfectly. I cut the pod how i wanted and pvc glued them together. If you're putting gauges where i did you want to cut the rear at a slant as there will be a dash bar behind the area. I wanted my gauges in the center and didn't want to drastic of an angle, because the interior of the s chassis is geared straight back, not angled towards the driver like a supra. But i still wanted a little angle towards the driver so i came up with this Dremel out the area where you want the gauges to go. 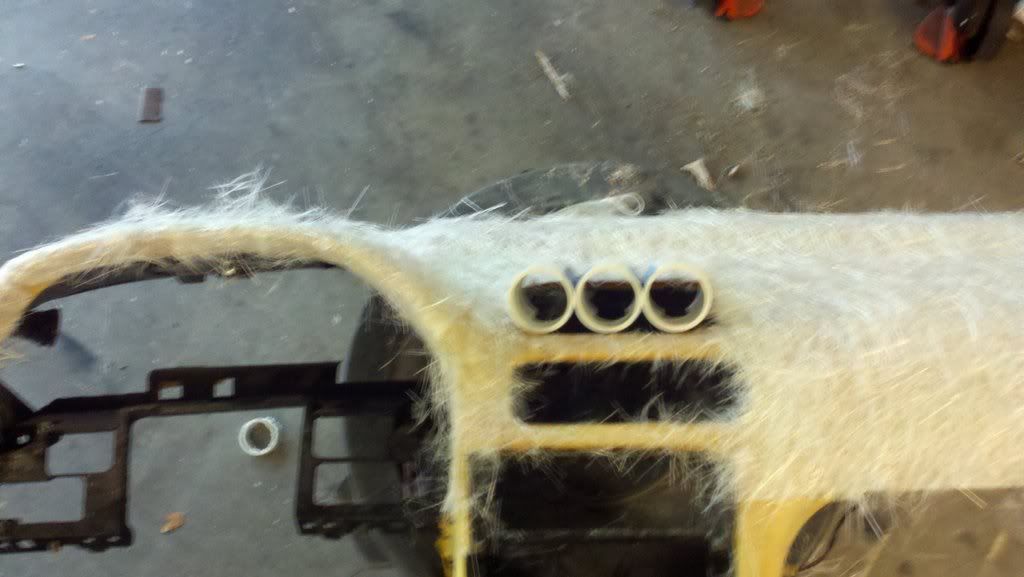 After placing the gauges i used spray adhesive to lay down the chop mat which seems a little easier to work with around corners and such. I used a paint roller to roll the resin out onto the dash. I wished the batch i made didn't set as fast as it would have resulted in a cleaner application. But after the first part of resin 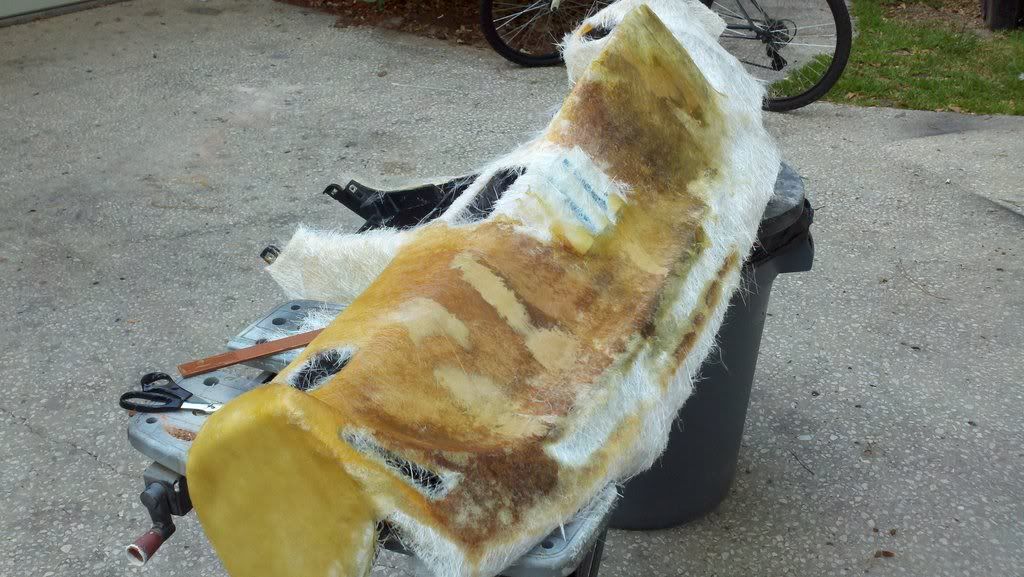 More resin and a lot of sanding/trimming. A dremel with a cutting wheel works wonders when cutting out vents/radio bezel. 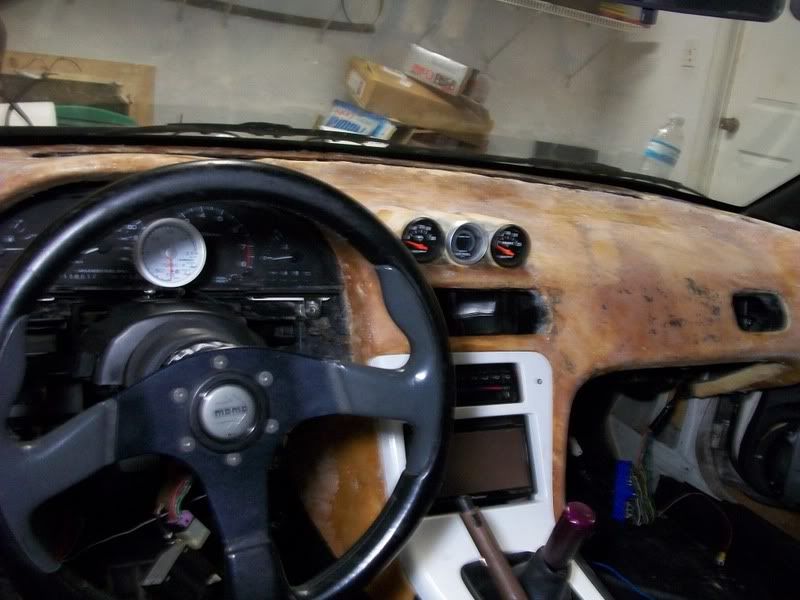 Mocked up in car, and the placement is good, points slightly to the driver and is nicely visible. Will post an update when i get it sanded and finished up. Planning to use SEM textured coating, black of course. I'd like to keep this a shit free thread. Lets keep it constructive so we can see some more ideas and better techniques UPDATE: 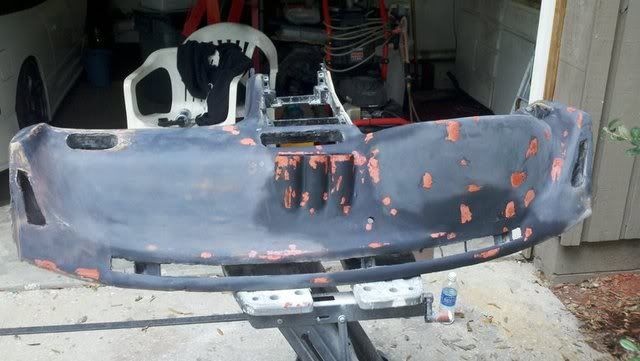 Almost ready to flock.  UPDATE: 10/20 Primer 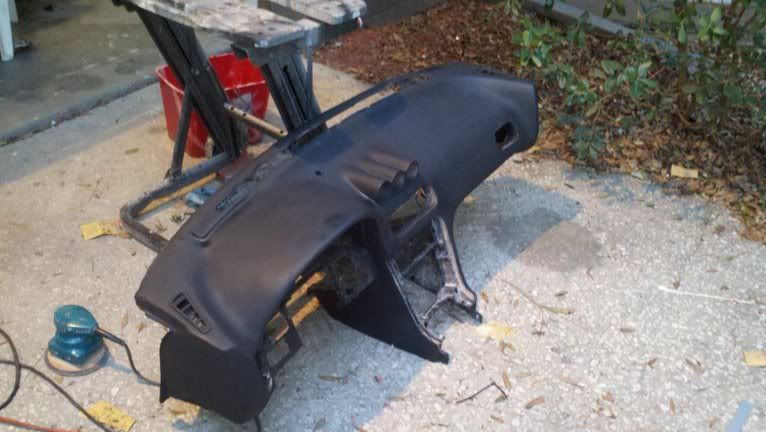 Sanding and flocking soon  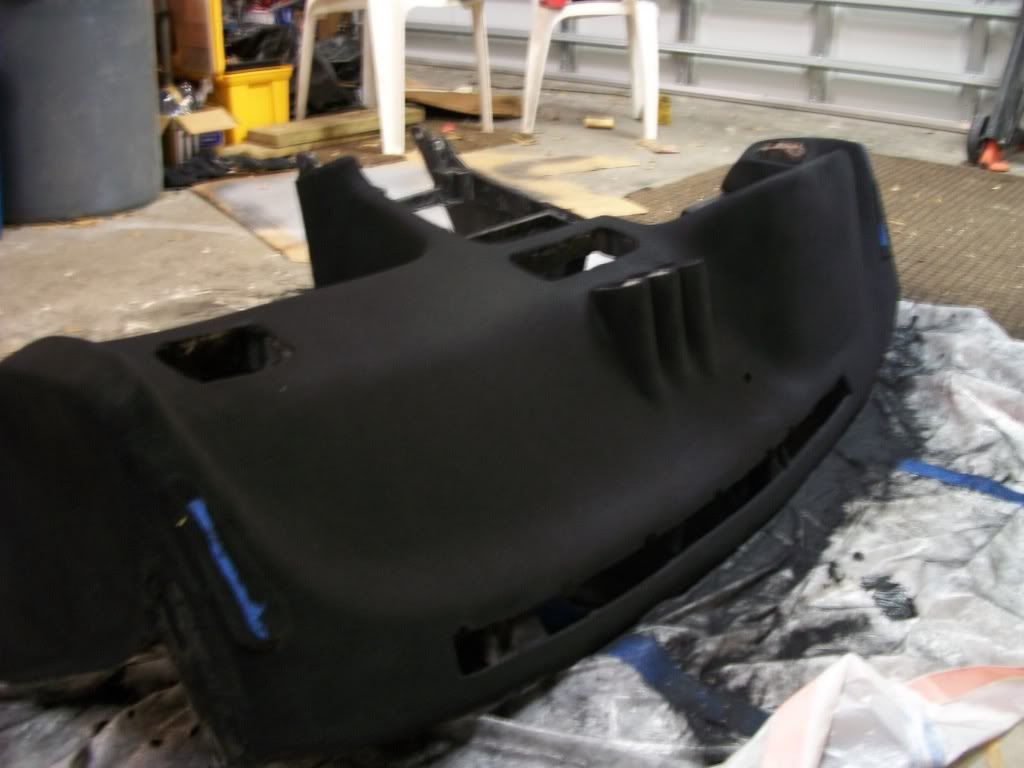 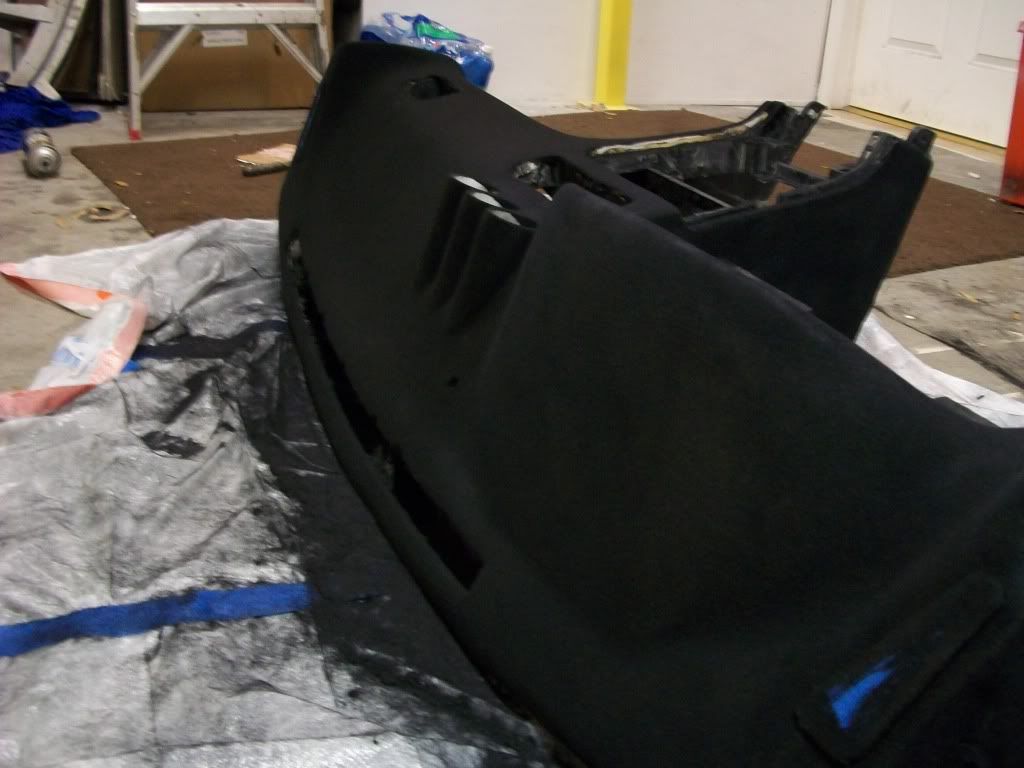 Last edited by waxball88; 02-29-2012 at 04:52 PM.. |

|

|
| Sponsored Links |
| Bookmarks |
|
|


 Threaded Mode