|
|||||||
| Tech Talk Technical Discussion About The Nissan 240SX and Nissan Z Cars |
 |
|
|
Thread Tools | Display Modes |
|
|
 11-13-2013, 12:23 PM
|
#1 |
|
Join Date: Mar 2008
Location: Montreal
Age: 34
Posts: 37
Trader Rating: (0)
 Feedback Score: 0 reviews
|
HOW TO: fix curb rash + BONUS
Hey guys, I decided to give back to the internet community by sharing some of my knowledge in a set of short tutorials. Hope you will enjoy. The first installment is how to fix your RPF1s and a bonus!!!
Ok so here's the 2 wheels needing attention. Curb rash all around on one and 2/3 on the other. 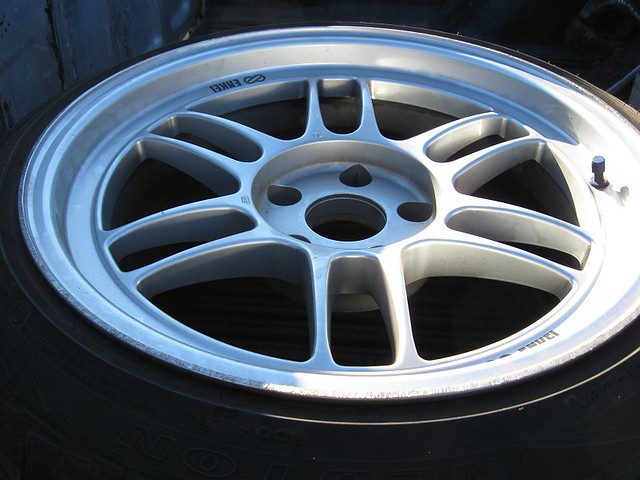 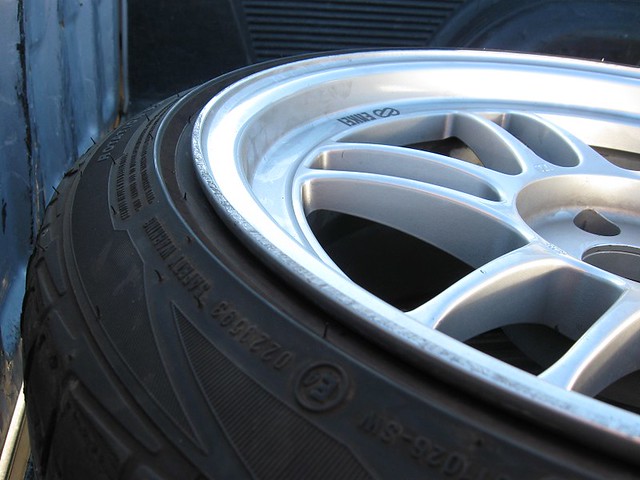 What you need to do is first off, get the tires off! Then you will get a metal file and start filing away the scratches on the lip of each wheel. Make sure to only take away as much metal as needed to smooth out the lip without taking too much. For the inside of the lip you will use small pieces of sand paper 220 grit and smooth away any damaged metal. Photo of the aftermath. 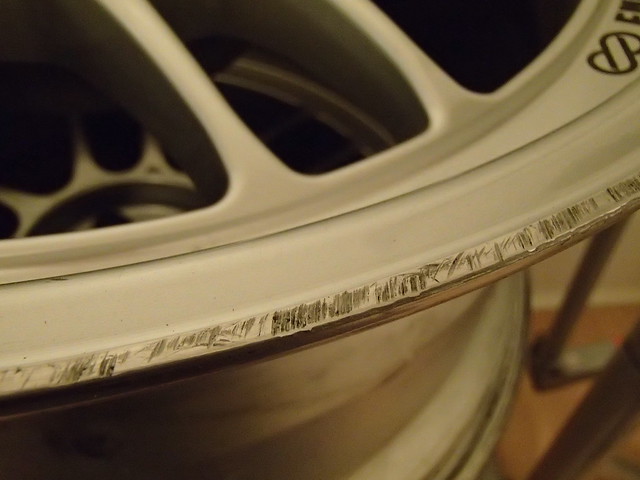 Next you need to apply 3m paint tape all around the inside of the lip and the outside. This will avoid you putting JB Weld where there shouldn't be any. Next up, you mix your JB Weld (i used the original one, black and red bottles) and apply it all around the lip in a good even coat. You can apply it with a piece of aluminum and make sure it's as smooth as possible to avoid having to sand too much. 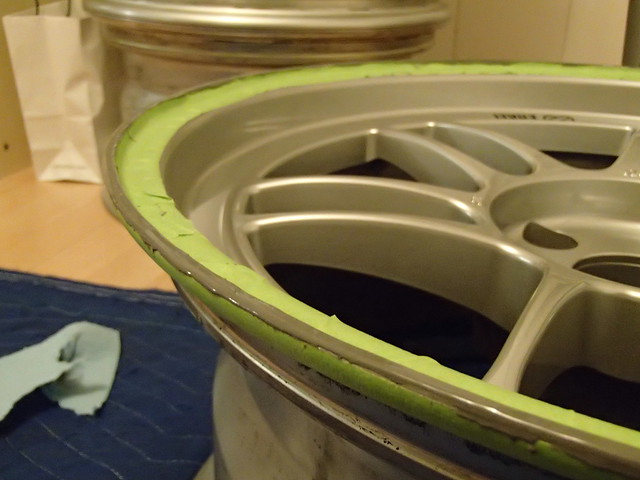 As soon as you're done, remove the tape SLOWLY! Don't wanna have to sand it out of there. Next you let it cure for 24 hours to be safe! After it's completely dry, you can start sanding it with a block (wood, or Norton rubber block) and 220 grit paper. YOU NEED THE BLOCK! otherwise it'll come out wavy! Next up you take smaller pieces of 220 and using your hands alone, go sand the inside of the lip slowly, making sure to get a smooth finish. Do the same for the outside. Take your time! 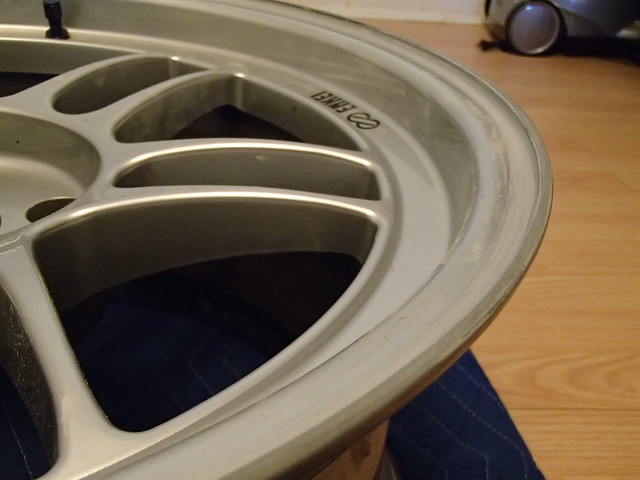 Next up is the clean up! Use either rubbing alcohol or some wax and grease remover. Make a small scraper to remove the Enkei logos. I made mine from one of those hard plastic product boxes. Just cut it out, and pass one end over a piece of sand paper to make it very thin. 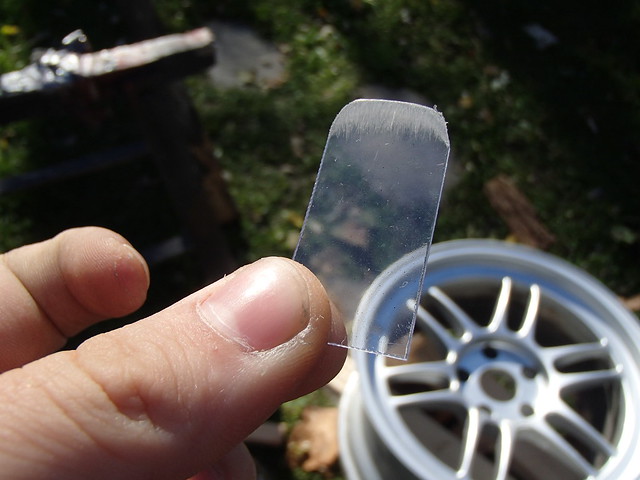 After you remove the logos, you are ready to roughen up the clear coat on the rest of the wheel, at least where you're gonna paint. Use 800 grit sand paper or one of those light grey scotch pads. Degrease again! Next up is the bonus section you all wanted to find out about! The mysterious color used on the Enkei RPF1. Well i'd like to share that i found Honda's Quartz Silver NH94M to be a VERY VERY VERY close match to the original. I can't tell the difference honestly. Paint them with this color, maybe 3-4 coats to be sure. Throw some clear coat over to bring back the shine and you're done! You can use as many coats of clear as you want. 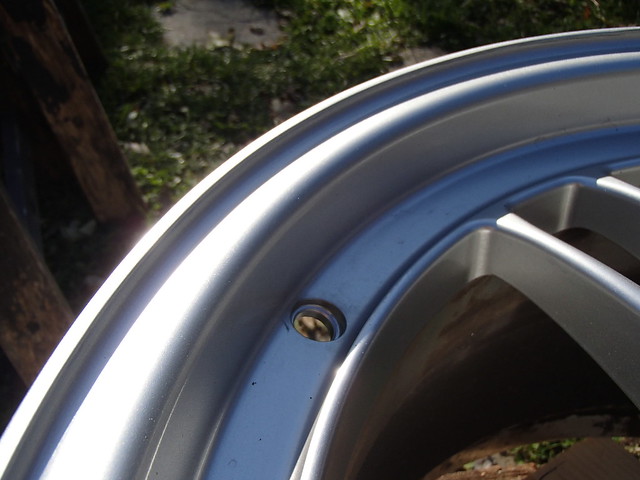 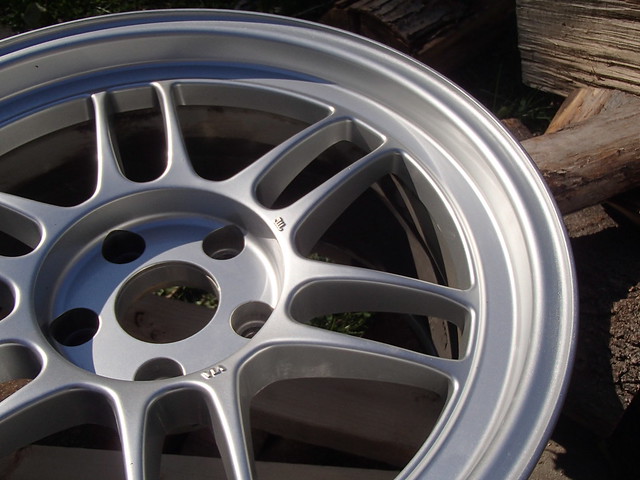 AND YOU'RE DONE! Now you can get some new Enkei logos from ebay or just leave as is, so the haters think they're fake and don't bother stealing your wheels  *note the last photo is only 1 coat of clear. You should use a spray gun and urethane clear coat if you want better results. It was already too cold up here in Canada for me to spray urethane so i just used aerosol. Will put down a proper clear in spring. Ciao  Last edited by suspectu1; 11-13-2013 at 02:30 PM.. Reason: grammar and stuff |

|

|
| Sponsored Links |
|
11-13-2013, 01:20 PM
|
#3 | |
|
Zilvia Addict
 
|
Quote:

__________________
CA18 is the only way to go! 
|
|
|
|
|
|
11-13-2013, 01:22 PM
|
#4 |
|
Post Whore!
 Join Date: Apr 2004
Location: Houston, TX
Posts: 2,701
Trader Rating: (16)
 Feedback Score: 16 reviews
|
As long as the curbing isn't that bad it shouldn't affect the balance much at all. 1/8 oz (size of small balance weight) of aluminum is a fair sized chunk.
Keep in mind JB Weld is over half the density of aluminum, so by adding it back in you've got just a very small change relative to what it was even curbed. (i.e. curbing removes material, JB weld adds in about 60-70% of the weight of missing aluminum). Good write up. I've seen professional wheel refinishers use bondo to fill in the wheel, but I always wondered how robust that is given it has very little mechanical strength once cured. I figured the slightest nick and the bondo has a good chance of coming out. JB Weld seems better to use.
__________________
S13 Hatch - Goes around tracks quickly DEFSPORT |
|
|
|
|
11-13-2013, 01:26 PM
|
#5 |
|
Leaky Injector

Join Date: Dec 2011
Location: Maryland
Age: 34
Posts: 97
Trader Rating: (1)
Feedback Score: 1 reviews
|
Great write up! This is good to know in case a good deal on some rashed rims pops up.
__________________
Daily: '99 Pontiac Trans Am. Projects: '96 S14, '87 Merkur XR4Ti |
|
|
|
|
11-13-2013, 02:39 PM
|
#6 | |
|
Join Date: Mar 2008
Location: Montreal
Age: 34
Posts: 37
Trader Rating: (0)
Feedback Score: 0 reviews
|
Quote:
|
|
|
|
|
|
11-13-2013, 02:36 PM
|
#7 |
|
Join Date: Mar 2008
Location: Montreal
Age: 34
Posts: 37
Trader Rating: (0)
Feedback Score: 0 reviews
|
glad you guys like it! i won't know about balancing till spring but i'll let you guys know. shouldn't be too bad, like previously mentioned by Def, the JB Weld is nice and dense.
plus you basically sand off most of the stuff. what sticks is in the deeper scratches. |
|
|
|
|
| Bookmarks |
|
|


 Hybrid Mode
