
 |
|
|||||||
| Home | Rules & Guidelines | Register | Member Rides | FAQ | Members List | Social Groups | Calendar | Mark Forums Read |
| Chat General Discussion About The Nissan 240SX and Nissan Z Cars |
 |
|
|
Thread Tools | Display Modes |
|
|
#33 | |
|
Post Whore!
 Join Date: Jul 2005
Location: South Florida
Age: 42
Posts: 4,829
Trader Rating: (17)
           Feedback Score: 17 reviews
|
Quote:
If you are aching to "work on it" I have several suggestions for you, Day #1 first thing I do is take everything out of trunk. Reach down into the sides and pull all the goop (hopefully its dry in there but... lol) out. As long as the trunk was dry before you started (non leaking trunk) you can procede to the next phase... otherwise stop right here and fix the leaking trunk (most commonly the rear lights are the culprit. Have someone wash the car with a hose while you are inside the trunk area to find the leaks) Phase 2 (still day 1): Vacuum (with a wet-vac) both sides, remove the spare, and scrub the entire trunk area with degreaser and vacuum again, rinse and repeat until it is completely clean. The old trunk material (looks like confetti) is old and useless, and usually stuck down the trunk with glue, I always sand it off or scrub it off. Use a hose to literally wash the entire trunk area and scrub is clean. There are little plastic plugs in the trunk, and in the side areas, that let the water drain out. Then vacuum it completely dry. Then, sand it lightly, and using some brake cleaner, degrease and prep every surface for paint. You will probably find some rust, especially where the 20 year old spare tire was, just sand it clean the same way in preparation for paint. Mask everything off around the white seam glues (I never paint over the seam glues because it proves the rear end was never in an accident when they are visible and intact). Paint it nicely. Do some wet sanding and once its dry lay down some soft material to protect your new paint (I like to use old floor mats) and set the spare back in there put everything back inside. 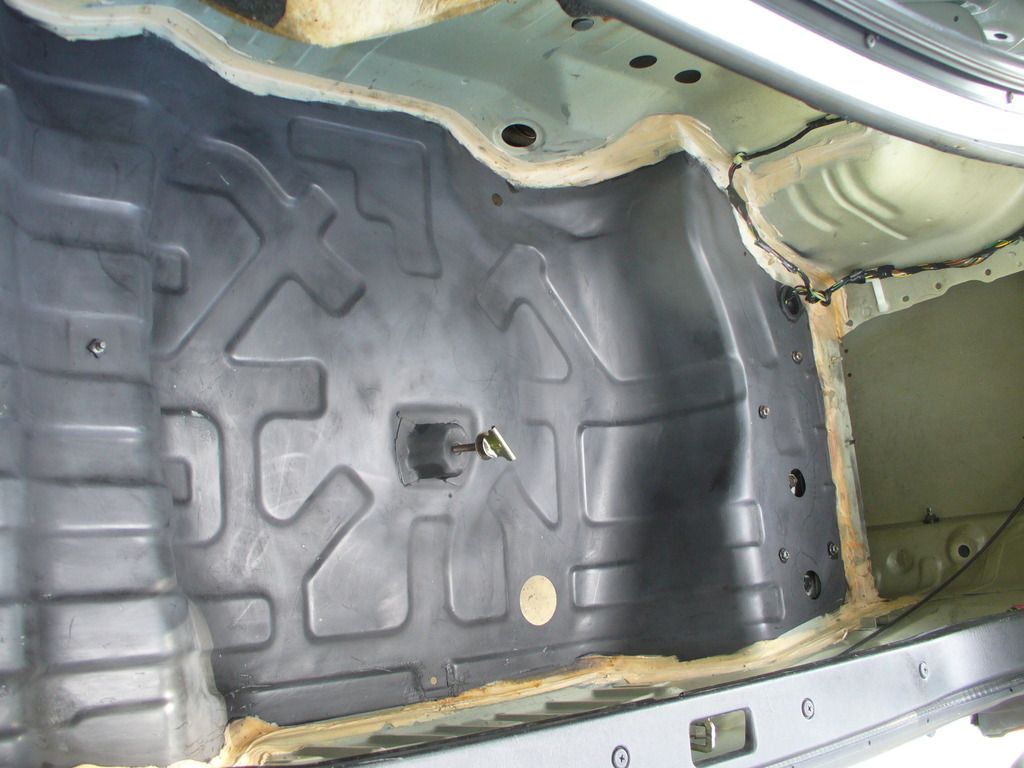 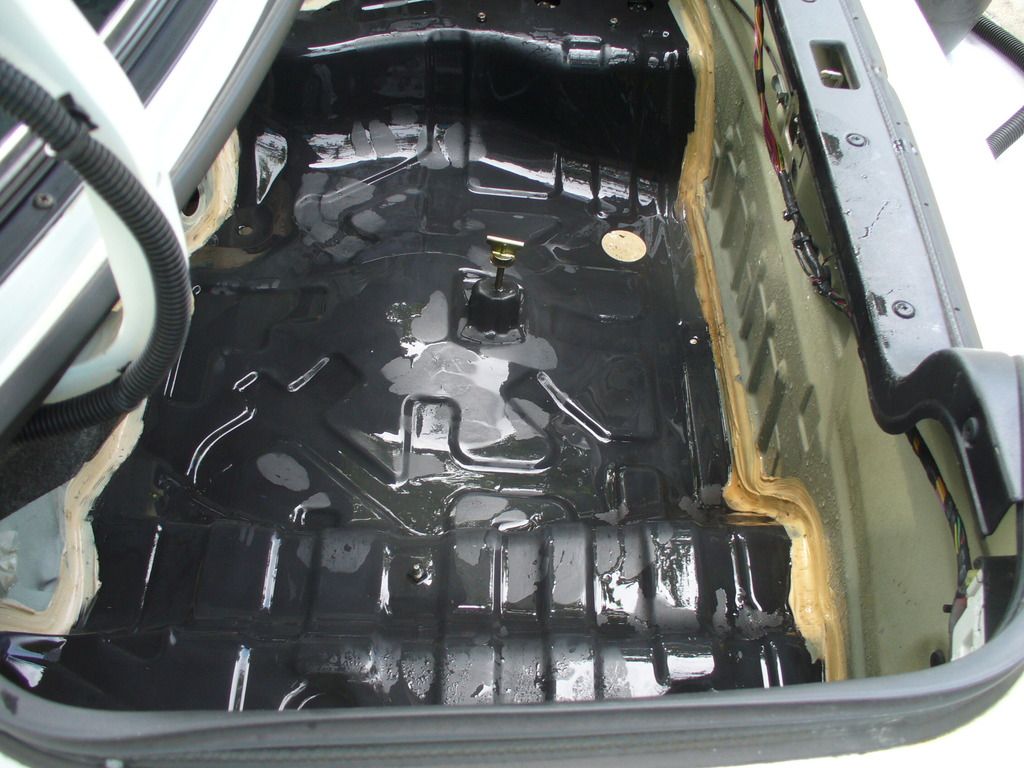 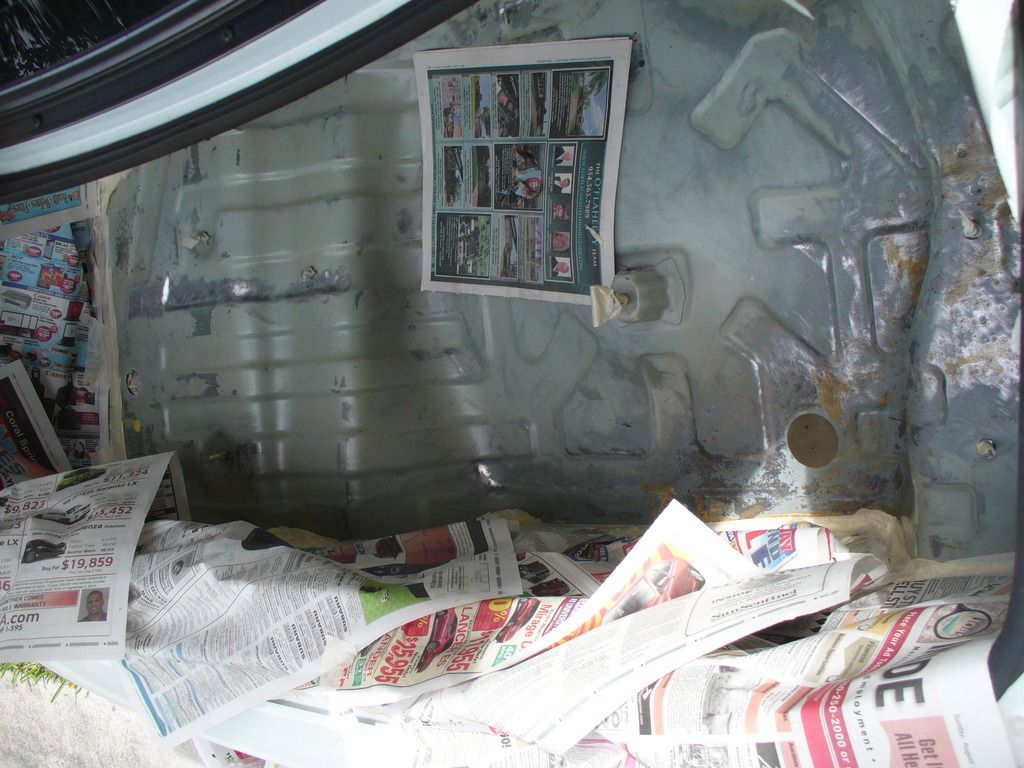 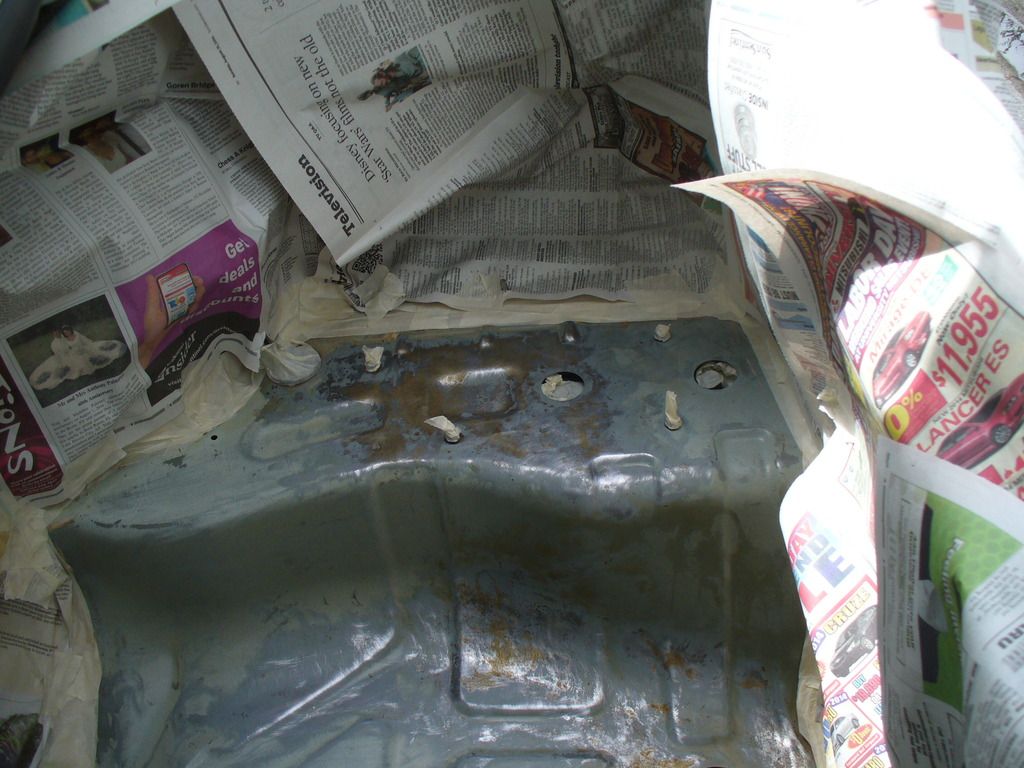 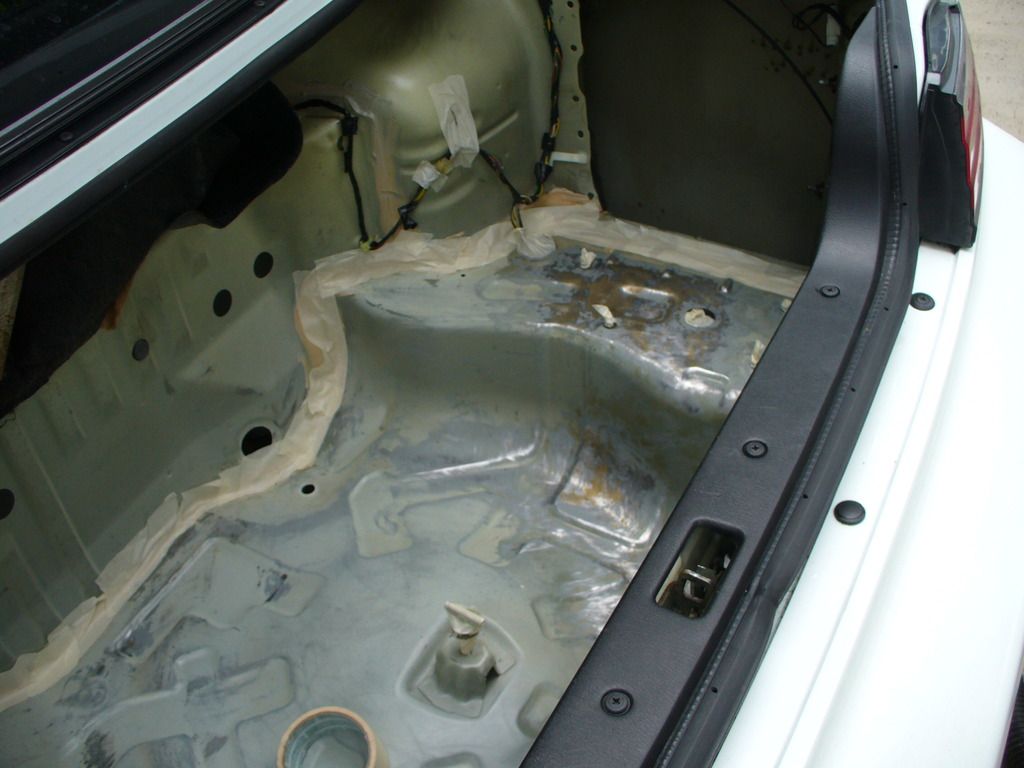 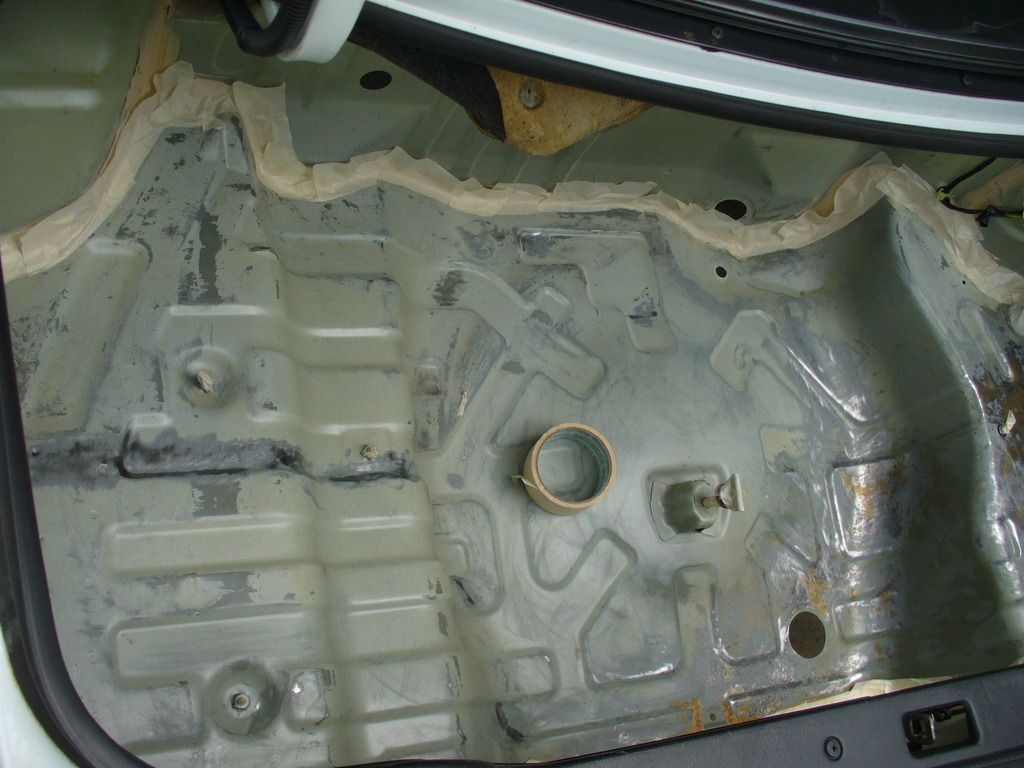   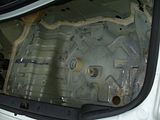 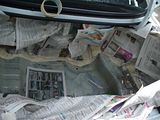 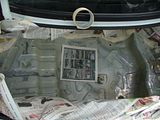 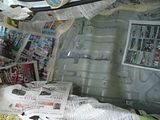 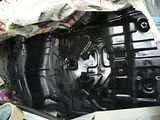 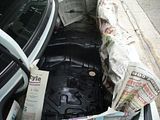 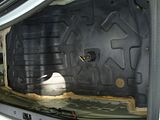 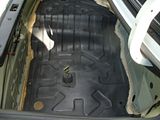 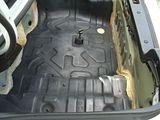 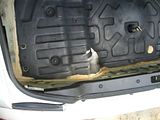 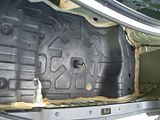 Phase 3: While you have the vacuum out. Get your simple green and carpet cleaner, remove the front seats (and rears if you are ambitious) and go to town on the carpet. Spray the carpet cleaner and scrub the dark spots (there will be plenty  ) and wet-vac the living @#)(@)# out of them. Repeat as necessary. Look for rust spots around the bolts that hold down the seats, and you can use some POR-15 or other zinc-conversion liquid to seal them off after doing your best to sand them and break up any bits of rust you find. ) and wet-vac the living @#)(@)# out of them. Repeat as necessary. Look for rust spots around the bolts that hold down the seats, and you can use some POR-15 or other zinc-conversion liquid to seal them off after doing your best to sand them and break up any bits of rust you find. 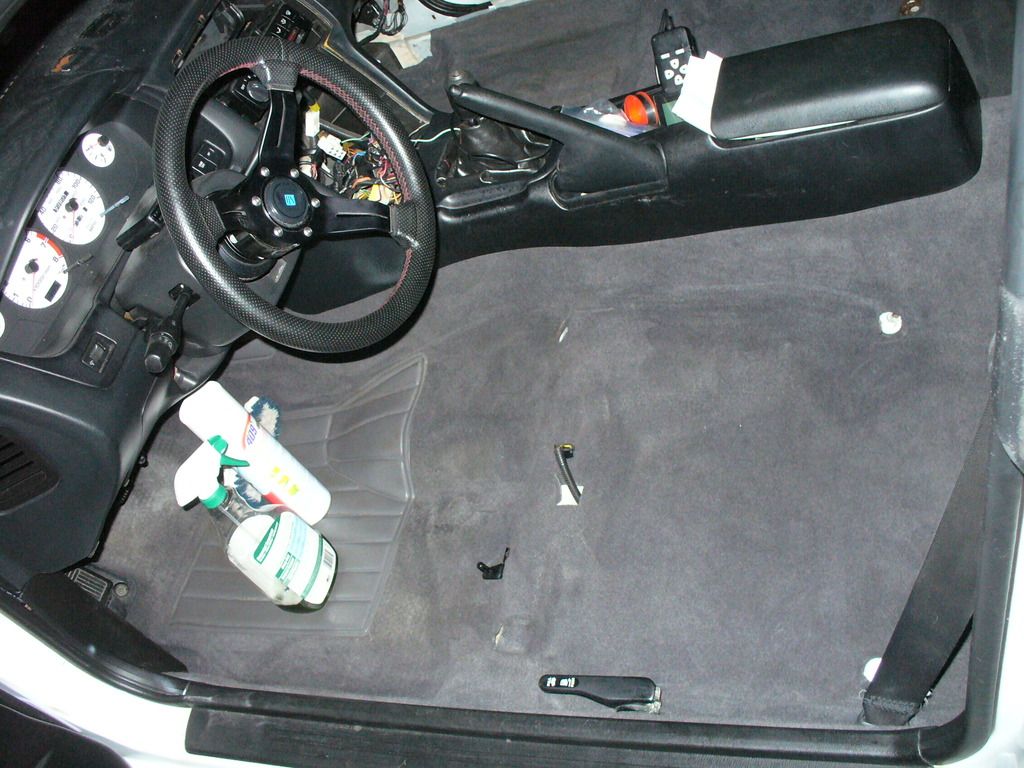 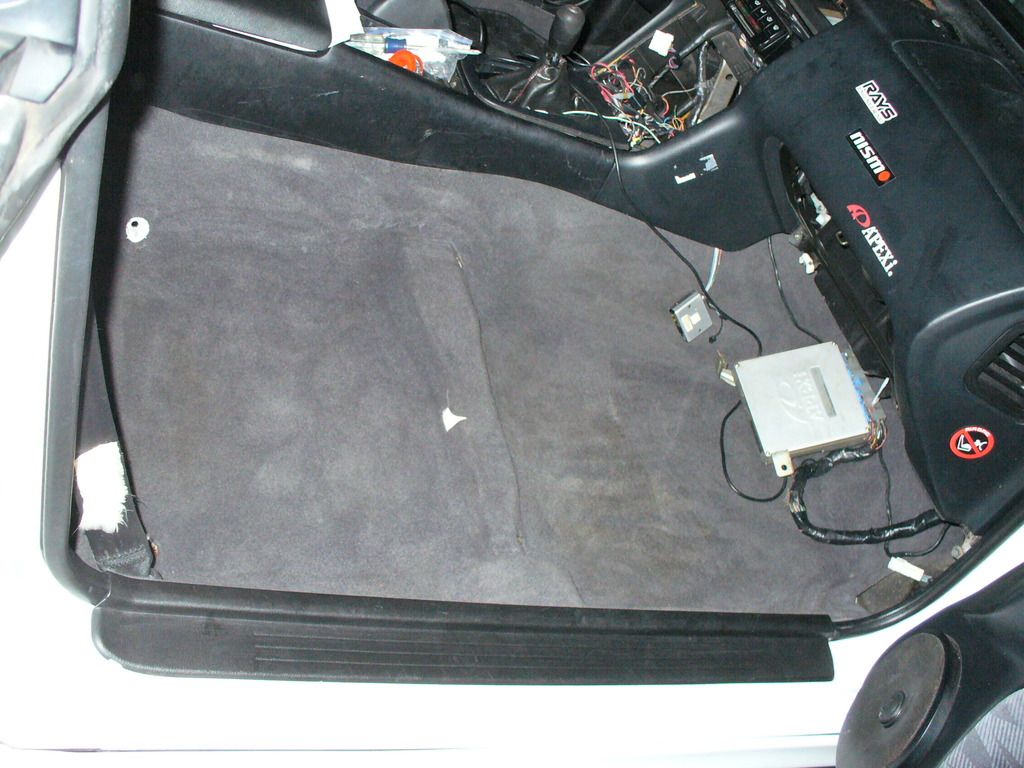 (phase 3.5) I also pulled out the radio to re-wire it, But if you see a stock radio I would just leave it alone... 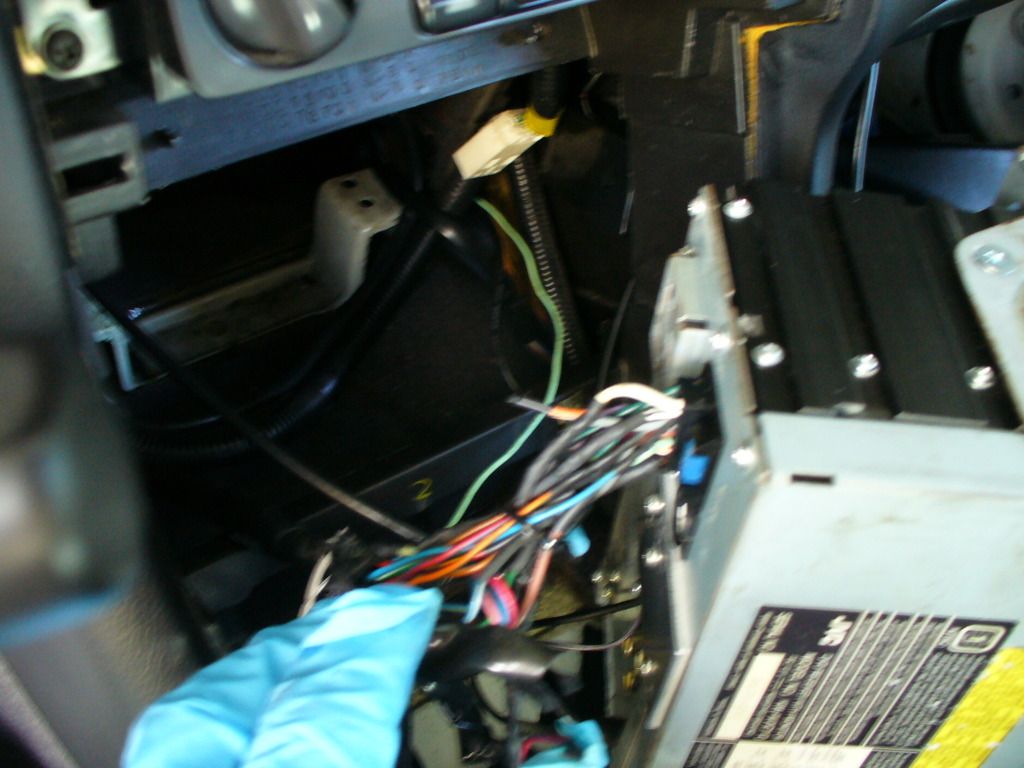 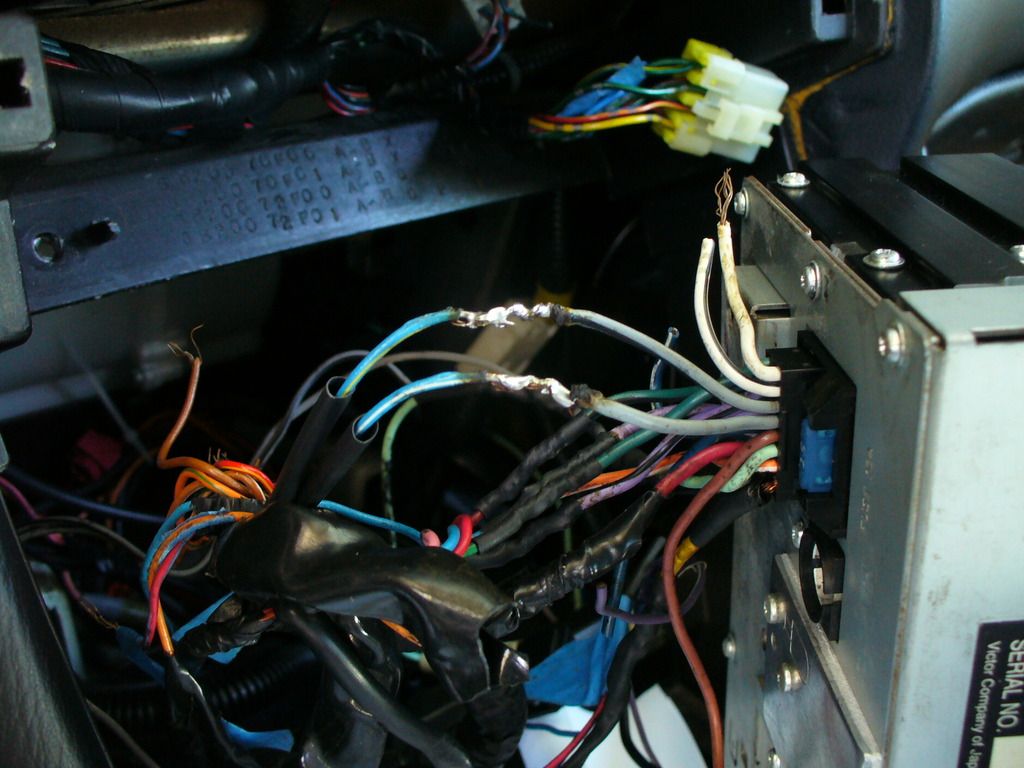 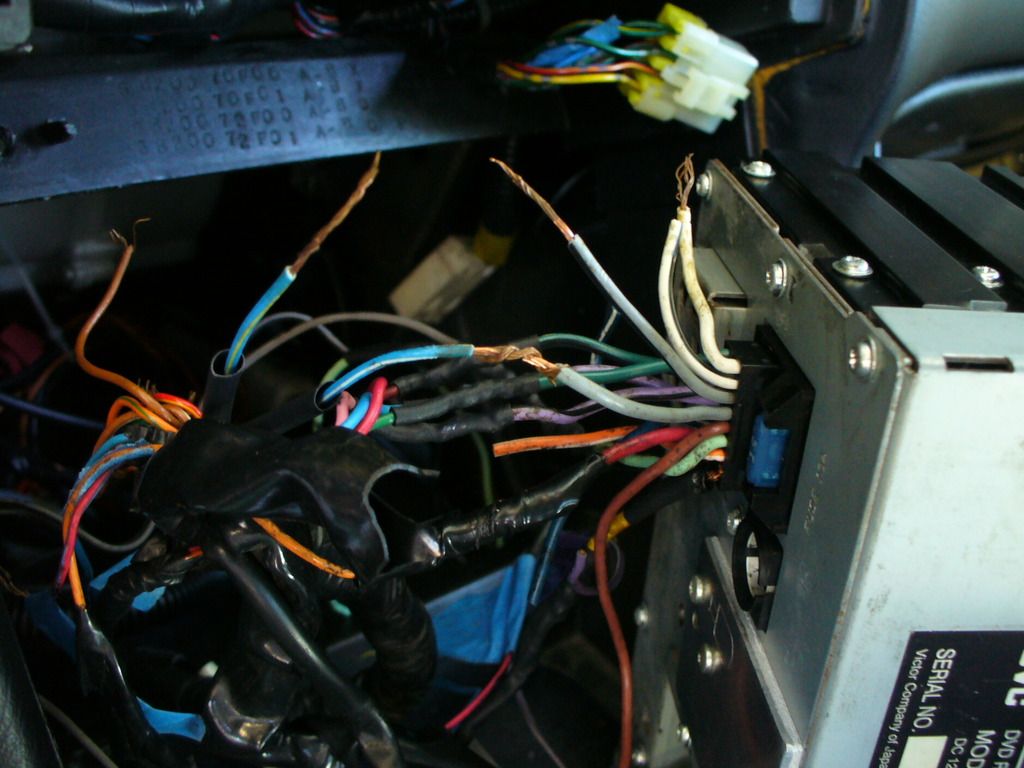 Remember that every ounce counts, the lighter the car is the better it will handle/brake/accelerate/economy. Every penny you find, every tic-tac, lego, dog chew toy hidden in the corners of trunk and stuck under the seats is un-seen extra weight you are better off without. That should keep your pretty busy for at least a day or two  gl gl |
|
|
|

|
|
|
#36 |
|
Zilvia Member
 Join Date: Jul 2015
Location: Northern Virginia
Posts: 268
Trader Rating: (0)
 Feedback Score: 0 reviews
|
Ok, I found the body kit I want to install. It is an INGS+1 Kouki body kit.ImageUploadedByTapatalk1438731305.305586.jpg
|
|
|

|
 |
| Bookmarks |
| Thread Tools | |
| Display Modes | |
|
|