|
|||||||
| Chat General Discussion About The Nissan 240SX and Nissan Z Cars |
 |
|
|
Thread Tools | Display Modes |
 01-28-2011, 07:26 AM
|
#122 |
|
Zilvia Junkie
 |
Thanks.
Fun it is but its more like an adventure since I have never done anything this in-depth before. Well, no work on the car but I thought I would let you know... First, I sold the bushings... And second, I got these bad boys in... DIF Subframe Bushings and Differential Bushings. 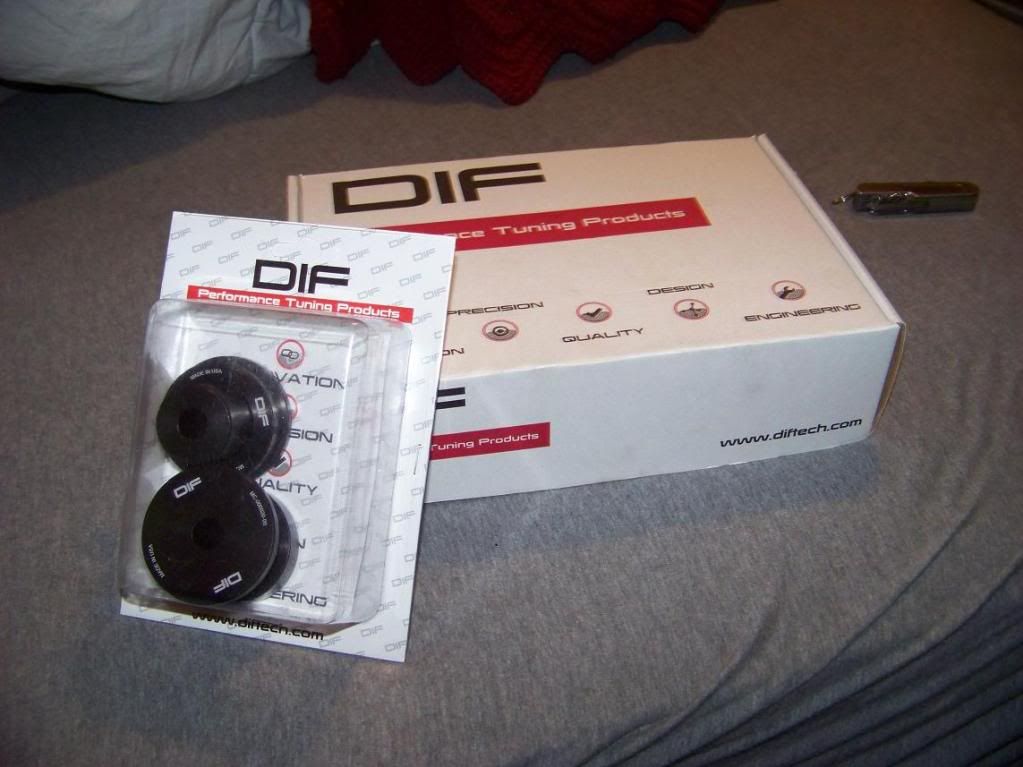 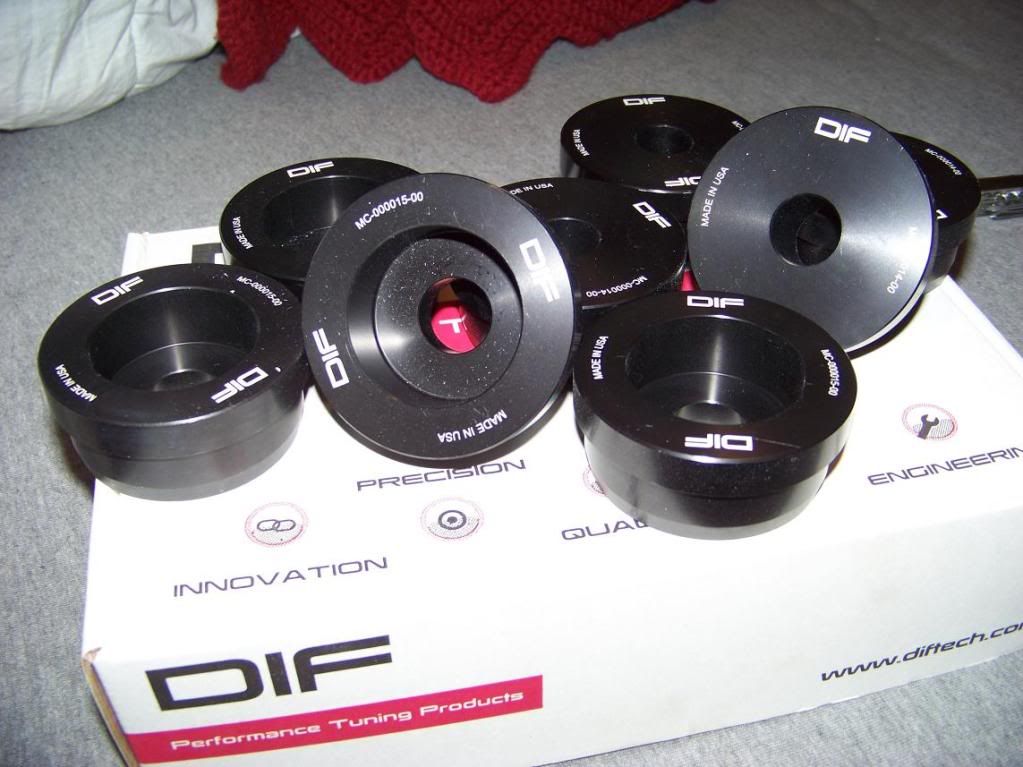 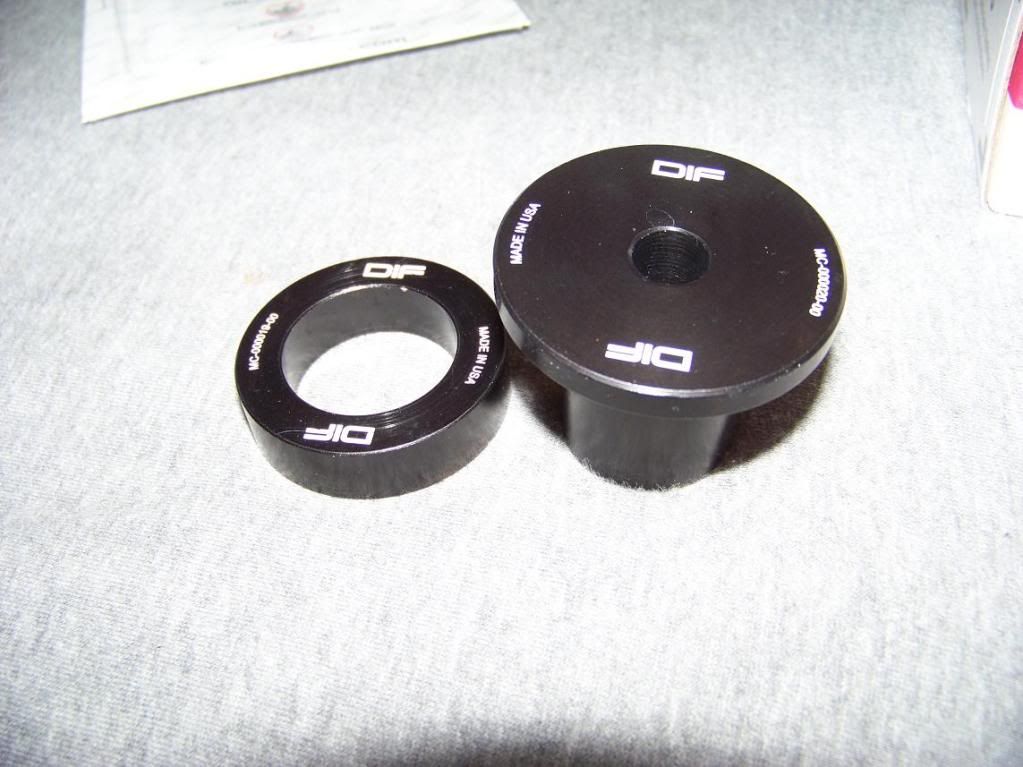 I will hopefully get the subframe cleaned, prepped and painted this weekend and then equip it with its new bushings. I have been trying to think of a way to reduce the noise from the rear end. Do you think if I used some silicone such as some Flexane 94...used here How to make your own motor mounts... I could put a 1/4" sliver in between the body and the bushings sandwiched in there to reduce noise? Any help would be appreciated. Enjoi
__________________
http://zilvia.net/f/chat/331550-slyd...pic-heavy.html |

|

|
|
02-03-2011, 10:56 AM
|
#123 |
|
Zilvia Junkie
|
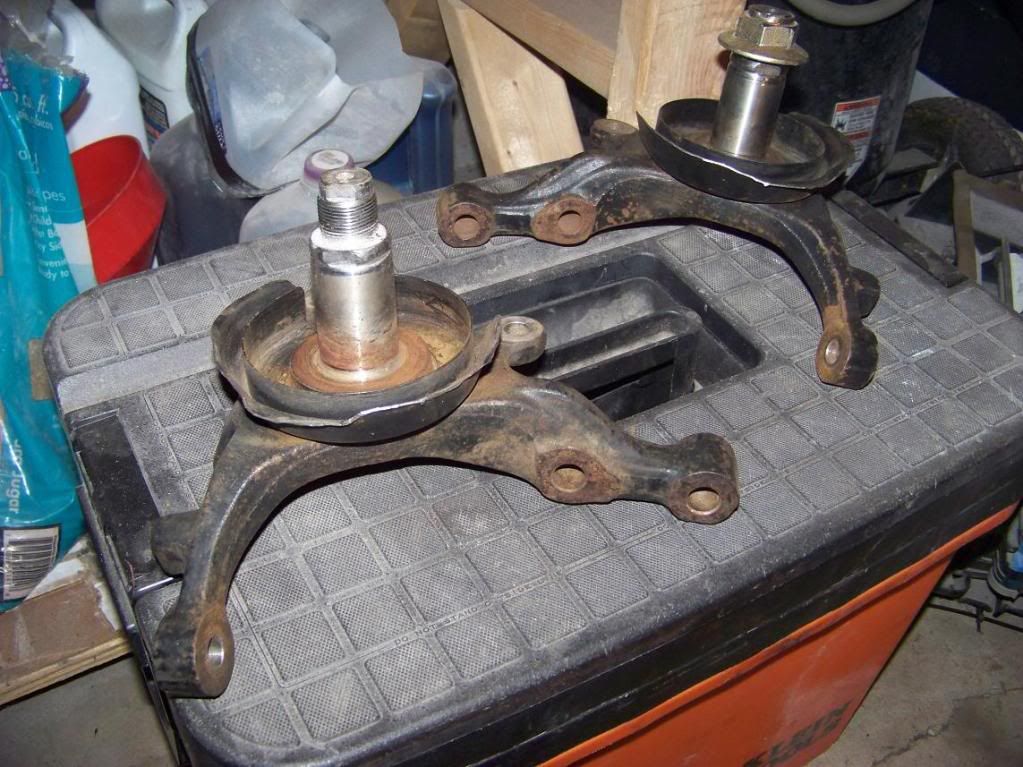
So, I cleaned up some parts to get them ready for paint. I started to clean the subframe(I think I may need to sand blast it), cleaned the front spindles up, the rear uprights and some other little things. Don't have any pics of the subframe but heres the front spindles. Still look dirty but thats as good as I could get them without sand blasting.
 After that, I finished welding up the holes I cut out in the trunk. Not the best welding but it will do. 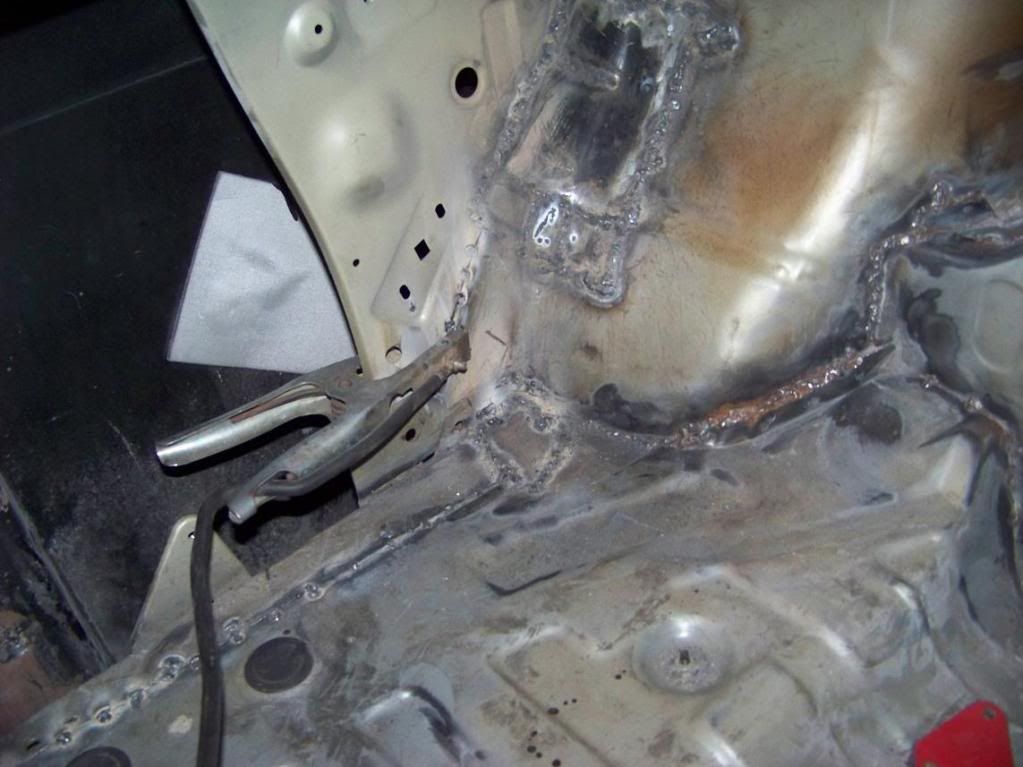 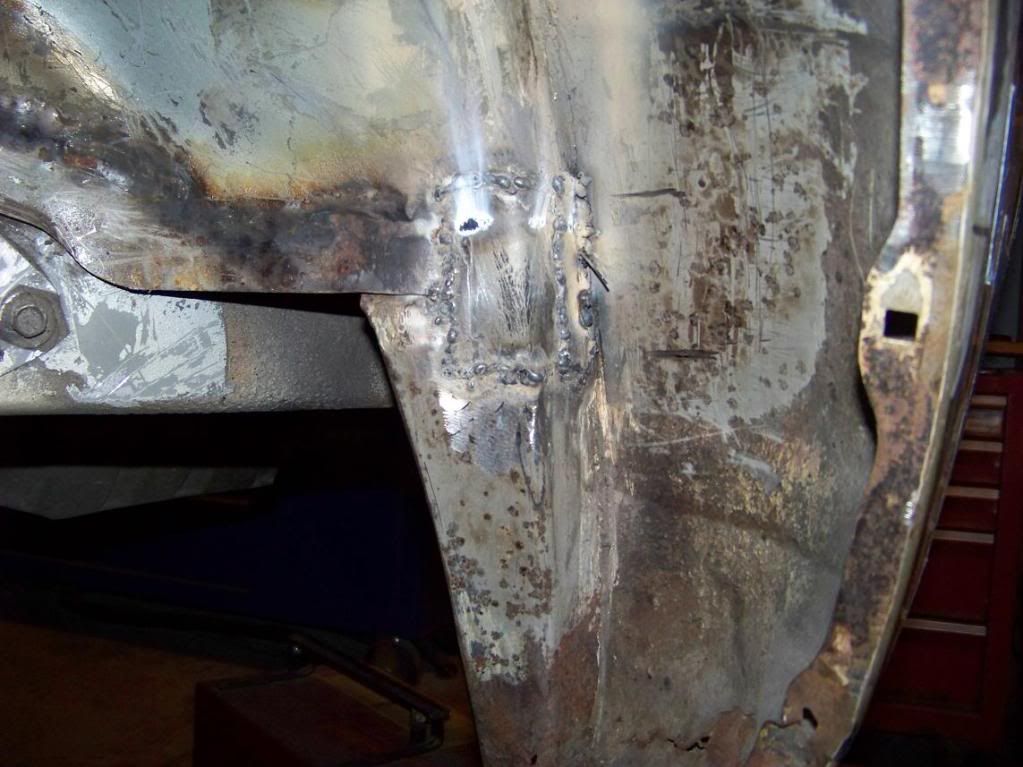 And here is the rocker panel. I still need to finish up the side towards the front and then make an extension for the rear end but got the majority of it in. 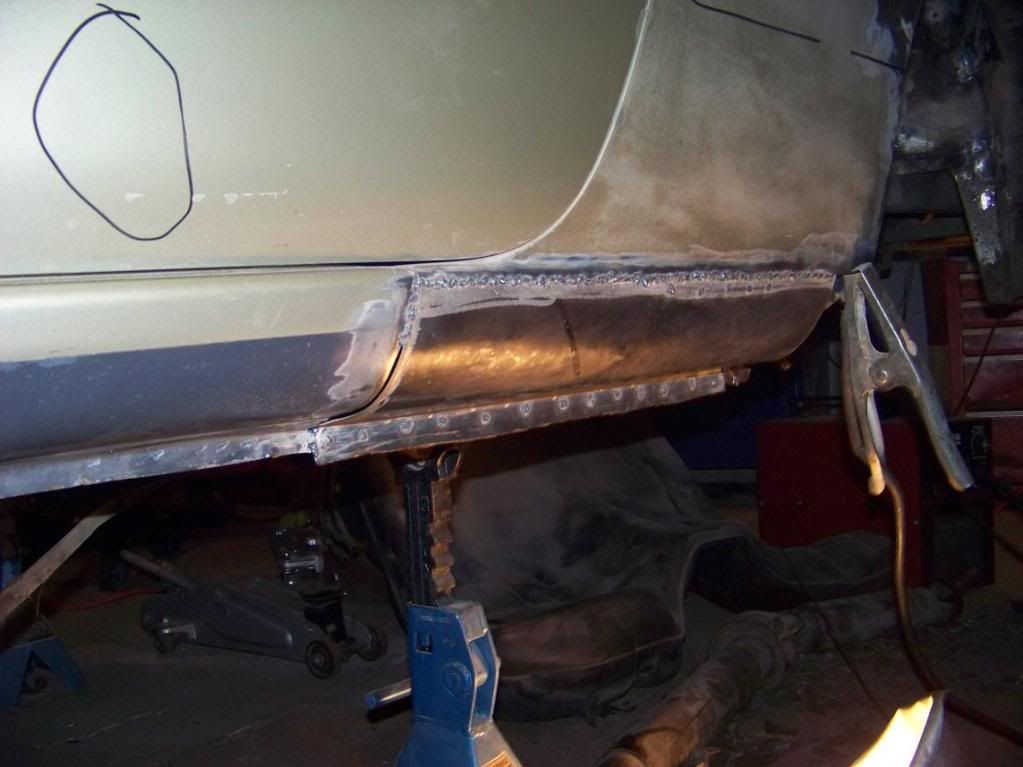 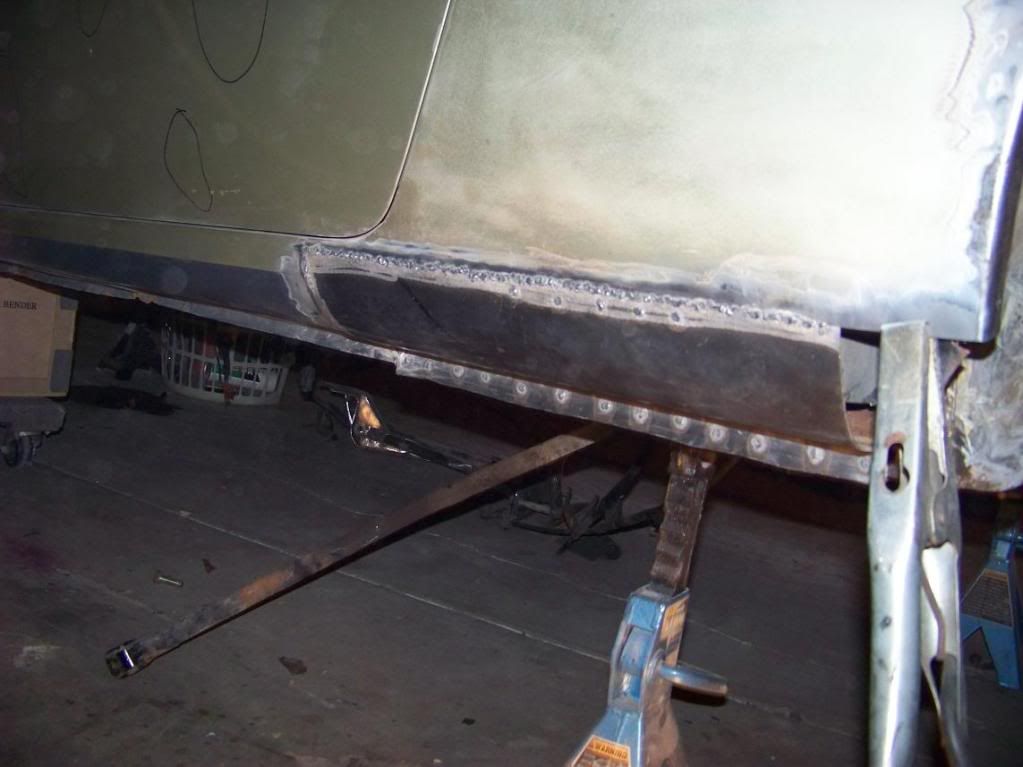 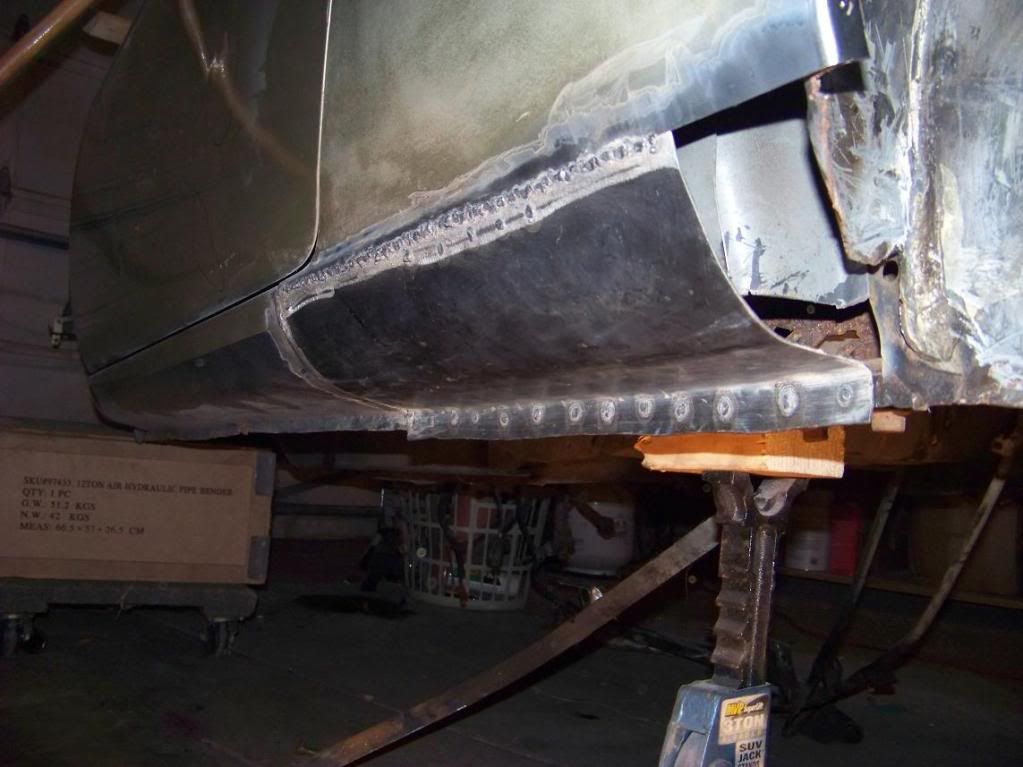 Thats it for now. I am going to try to pick up some media and plywood to make a blasting box and clean up some parts. I want to get the underbody all finished up so I can get to work on putting this thing back together before I leave. Enjoi
__________________
http://zilvia.net/f/chat/331550-slyd...pic-heavy.html Last edited by bllabong89; 02-03-2011 at 12:59 PM.. |
|
|
|
|
02-03-2011, 01:00 PM
|
#124 |
|
Zilvia Junkie
|
I forgot to add this. I am selling the following parts on a local board so if anyone needs anything, just ask...
Parts: -SR20 Head-Sold -Stock Toe Rods-$20 -Stock Tension Rods-$20 -Stock RUCAs-$20 -Stock Traction Rods-$20 -Stock Front 4 Lug hubs-$20 -Stock 4 Lug Slotted/Drilled Brake Rotors-$50 -Stock 4 and 5 Lug Brake Calipers(8 calipers total)-$50 per set -Stock 5 Lug calipers-$20 -Stock Steering Wheel w/ Airbag-$20 -Passenger side Airbag-$20 -Navan Wing w/ 3rd brake light-$75 -Stock Gauge Cluster-$20 -Bomex Rear Valances(s14 zenki)-$125 -Stock Mirrors(removed from mounting panel)-$40 -Iphone 3gs AT&T with shattered screen-$100 -Ibanez electric, No Name Acoustic and Fender Strat Electric Guitar-$75 for all -S14 Rear Seats-$40 -s14 Cage Main Hoop and door bar(1.75"x.095 DOM Steel)-$100 -Snowboard Boots and Bindings(No Name Size 10)-$25 for both -2001 Honda CBR 929rr w/ 954rr engine-$3k or possible trade -Yoshimura Exhaust -Vortex +9 Rear Sprocket -Rk Racing 530 Chain -Fresh Oil Change, Spark Plugs, Front Brake Pads and Tires(less than 500 miles on them all) -Jackets and Helmet included -Always kept in my basement over winter -Clean Title -2001 Yamaha Banshee-$2k or possible trade -350cc Twin Cylinder 2 Stroke -DG Silencers -FMF Headers -Front Sprocket -1 -K&N Filter -Boyseen Dual Stage Carbon Reeds -Moose Boost Bottle -Fresh Gear Oil Change -Never Used Sand Tires on Aluminum ITP wheels -Always Kept in my Basement Year Round -Box of Spare Parts
__________________
http://zilvia.net/f/chat/331550-slyd...pic-heavy.html Last edited by bllabong89; 02-07-2011 at 12:51 PM.. |
|
|
|
|
02-03-2011, 01:49 PM
|
#126 |
|
Zilvia Junkie
|
yea, pm me/comment with your email and I can send them to you.
__________________
http://zilvia.net/f/chat/331550-slyd...pic-heavy.html |
|
|
|
|
02-07-2011, 12:54 PM
|
#128 |
|
Zilvia Junkie
|
Thanks, it is going pretty well but its just hard finding time to get in the garage.
I am stilllllllllll waiting on my baller bolts stuff to get here. Placed the order on the 19th. I emailed them once and they said they would ship out the following friday because they were waiting for washers. That was 2 weeks ago. Emailed them again last week and no response. Shits getting annoying but what can ya do...
__________________
http://zilvia.net/f/chat/331550-slyd...pic-heavy.html |
|
|
|
|
02-07-2011, 02:11 PM
|
#129 |
|
still see rust behind there are you planing to get it out? if not it will spread all over again. looking good man! i have one rusted rocker not sure if i can just find a replacement or if i gotta make my own like you did. |
|
|
|
|
|
02-08-2011, 07:44 AM
|
#130 |
|
Zilvia Junkie
|
Yea, I will be cutting that out too. Just haven't gotten to it. I believe you can buy rocker panels from nissan but they may be a little pricey.
__________________
http://zilvia.net/f/chat/331550-slyd...pic-heavy.html |
|
|
|
|
02-10-2011, 07:41 AM
|
#131 |
|
Zilvia Junkie
|
Well...I finally got confirmation from Baller Bolts that my stuff has shipped out this morning. That is good news because I can start to assemble the subframe.
Last night, I started to sand/scuff the trunk. I then used some self etching primer from SEM to seal up the areas that I patch welded and stitch welded. I didn't have my SD Card so no pictures yet but I will make sure to get some tonight. Oh, I also sold the SR Head so let me know if anyone is interested in anything else...
__________________
http://zilvia.net/f/chat/331550-slyd...pic-heavy.html |
|
|
|
|
03-24-2011, 07:48 AM
|
#132 |
|
Zilvia Junkie
|
Well it has been a while since I last posted up but i have a bit of an update now. I have been getting ready to leave for basic and hangin with the family so havent dedicated much time to the car but I did do some things.
I will try to get some pics up since I just picked up another sd card(keep losing them). I dont have pics of some of the stuff that has been done like spraying the new underbody and applying the new sound deadening material to the cab... I still need to put the sound deadening material in the trunk tho. I did manage to get my bolts from ballerbolts.com and started work on my subframe. I painted all of my factory suspension stuff with my POR-15 to start... 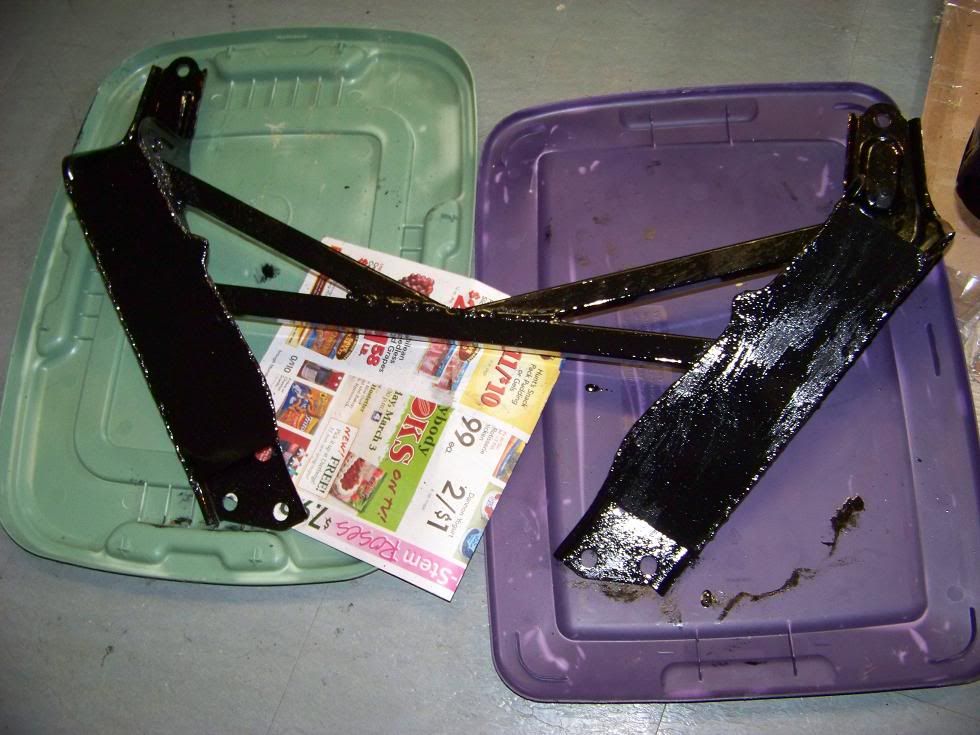 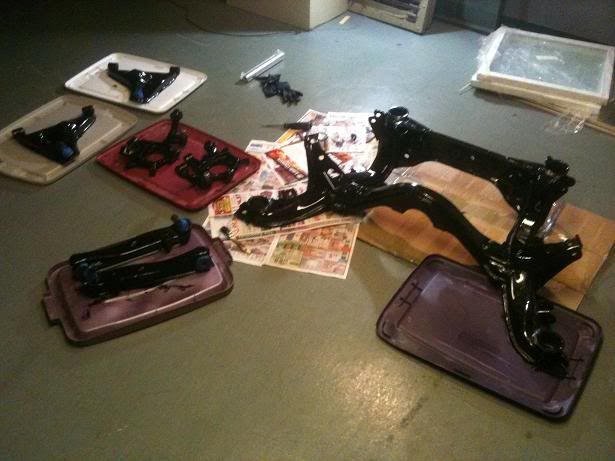 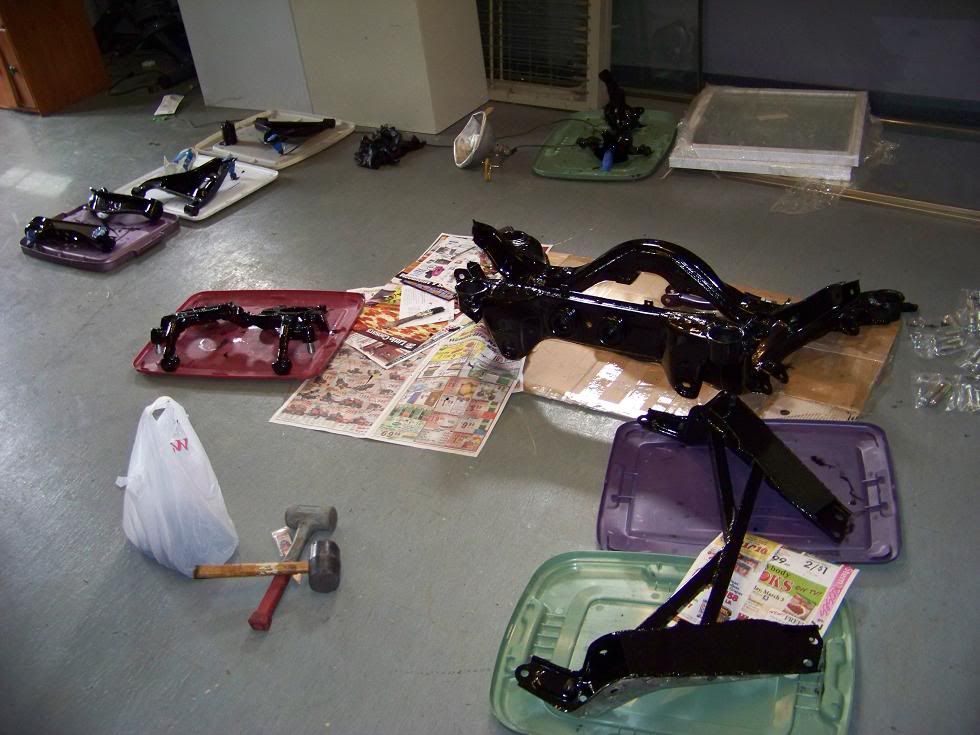  and the bolt kit... 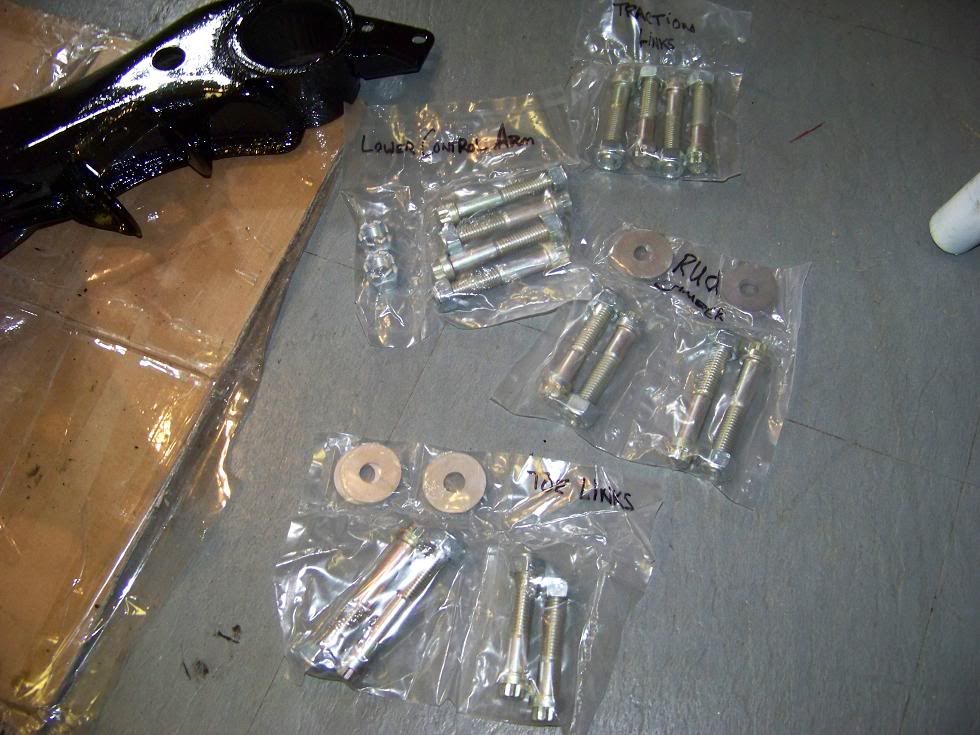 After the paint was dried, I began to equip my Yamato garage parts... 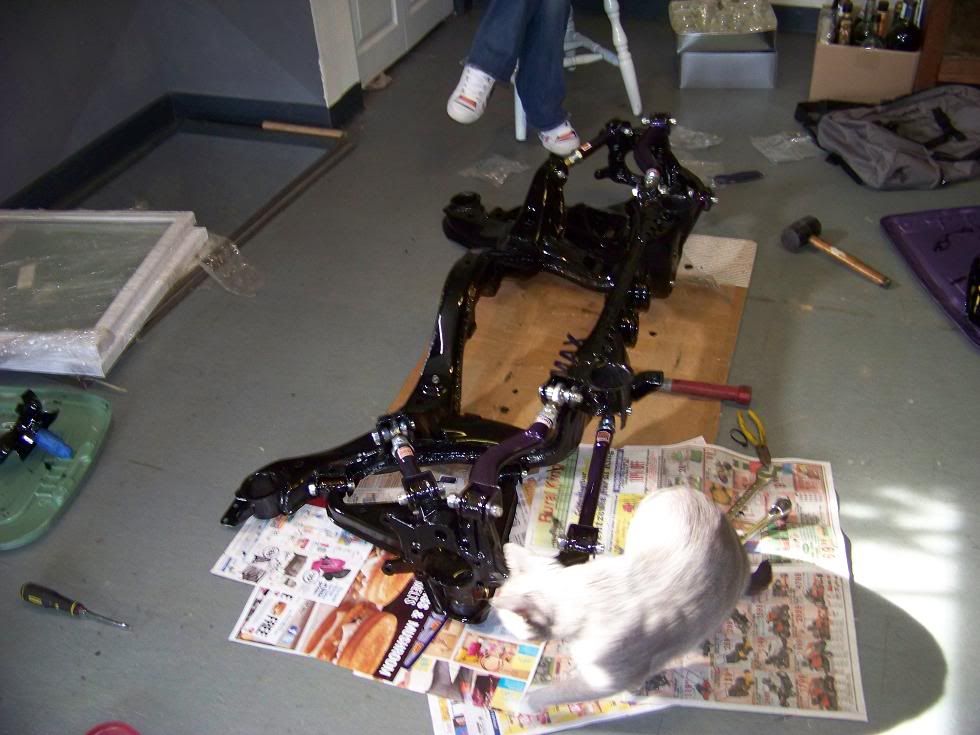 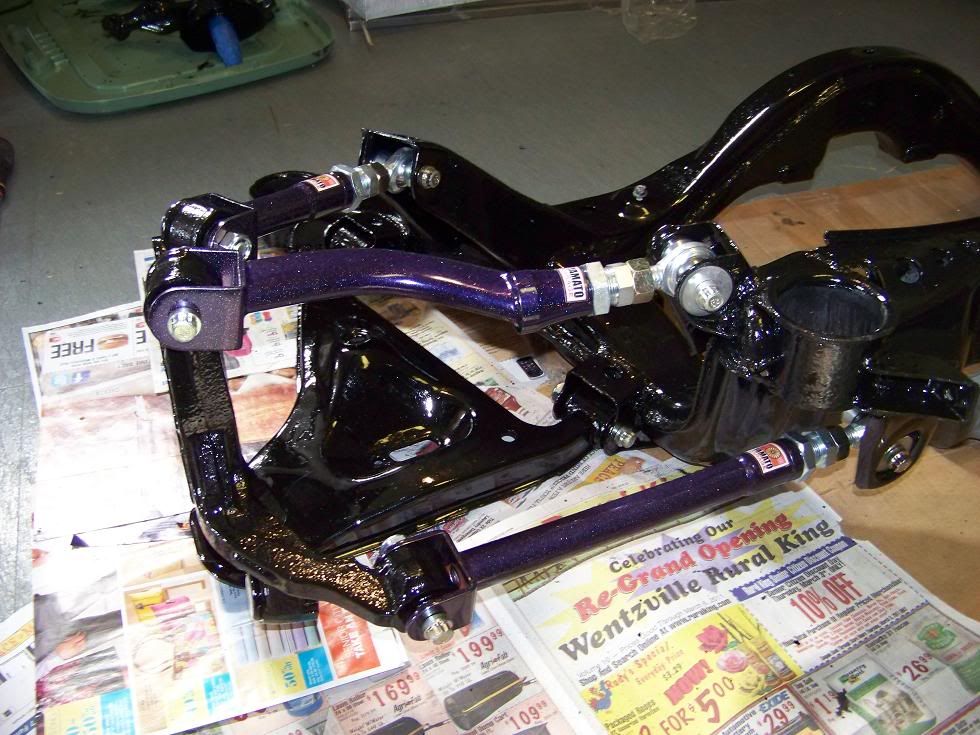 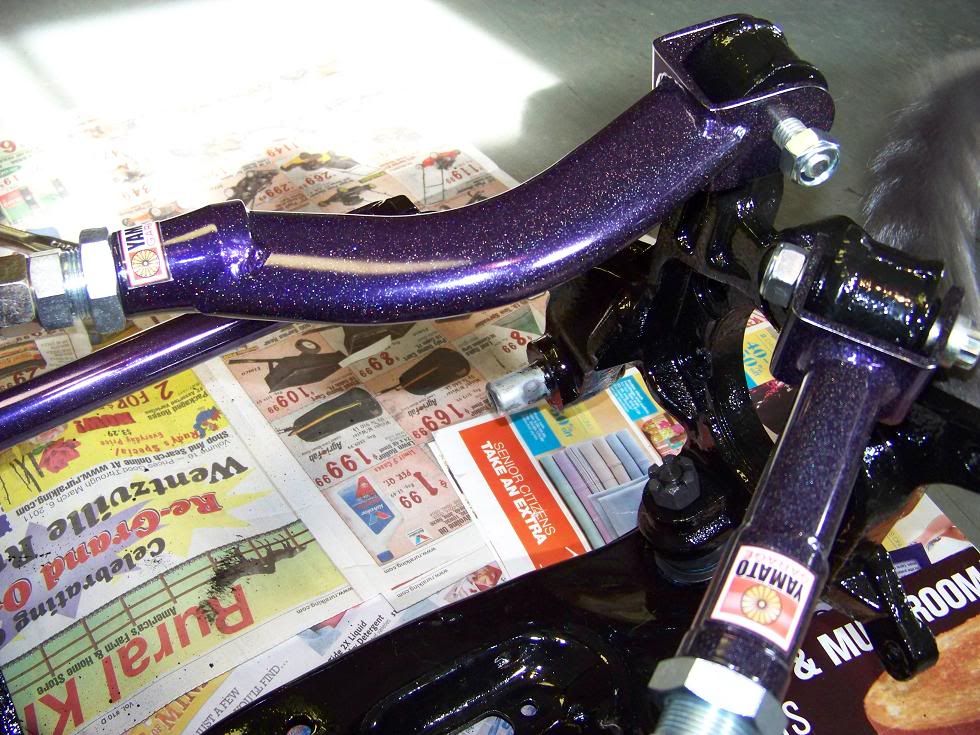 I am also fitting my DIF Subframe bushings in there as soon as I can get that inner ring s*** out... After that, I began some body work. I picked up some darker Metalic silver paint to spray on there. I also spoke with the painter at the body shop I used to work at and he told me he would spray it for me if I give him a 30 pack.lol...deal. So I sprayed the underside of my over fenders with undercoating to strengthen them a bit. I also began filling some dents and so on with bondo. I filled and smoothed out the hack job that was done previously on the drivers quarter panel. I also filled some little dings on the drivers door. Luckily the passenger side isn't nearly as bad. 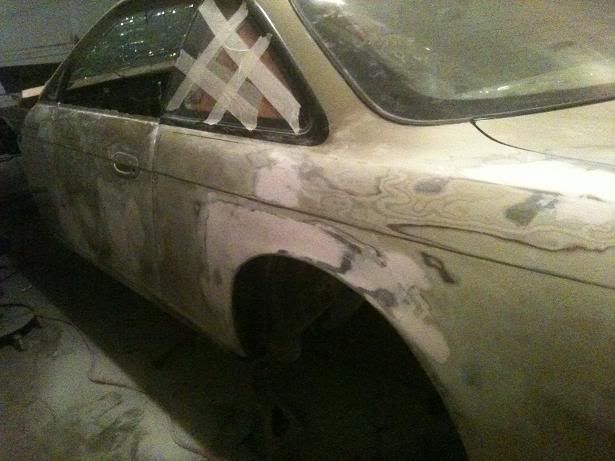 Then I moved to the trunk and top of the quarter panels to fill the holes from the wing and antenna. 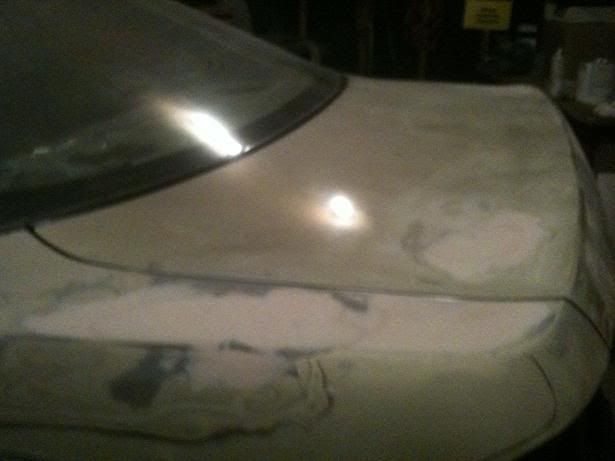 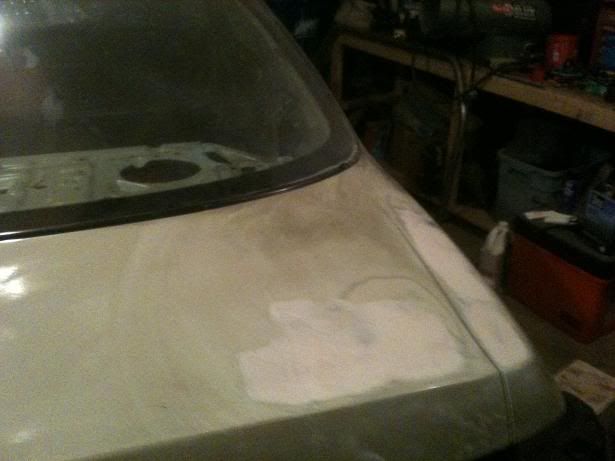 Hopefully I will get it put back together pretty soon here or atleast rolling before I leave. Enjoi!
__________________
http://zilvia.net/f/chat/331550-slyd...pic-heavy.html |
|
|
|
|
03-25-2011, 01:22 AM
|
#133 | |
|
Zilvia Member
 |
puttin in some sick ass work nice work keep it up

__________________
Quote:
|
|
|
|
|
|
03-28-2011, 11:54 AM
|
#134 |
|
Zilvia Junkie
|
Yea, thanks man. I will be putting the new fuel pump in soon. I have to fix some holes on the driver side rear wheel well and finish the driver side rocker panel and then its paint time.
I will be putting the car back together soon...hopefully.
__________________
http://zilvia.net/f/chat/331550-slyd...pic-heavy.html |
|
|
|
|
03-31-2011, 08:20 AM
|
#135 |
|
Zilvia Junkie
|
Well, I got some work done on the subframe yesterday...after driving around for a few hours looking for bolts.
I began with bolting the rear hubs up but I will start with the bushings first. I finally got the cups removed from the subframe and I will explain with pictures... I made two cuts into the cups but couldn't make it all the way thru the entire inner cup. The bushing mounts have a cup that sits inside of the ring where you fit your bushings and you must remove these for solid bushings. I am using DIF Bushings on my subframe and my diff. As you can see in this picture, the line where the cup meets the ring is labeled with the red arrow. One side of the cup is folded inside the ring...  And the other side is folded outwards as a stopping point for the cup to be pushed in. You can see the lip in this picture.  As you can see in the pictures above, they have already been cut to releave some pressure. I am not sure if this is needed but I did it and it seemed to work alright. MAKE SURE YOU DO NOT CUT THRU BOTH RINGS if you do this. I then used an air hammer to bang the s*** out of the inner ring. 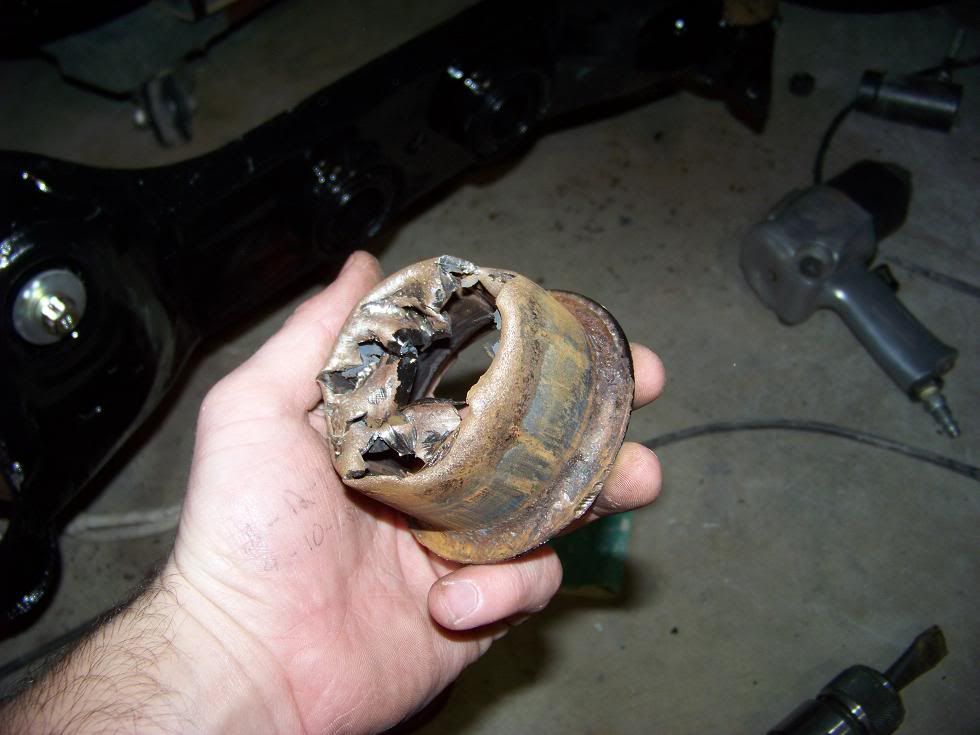 And here are a couple rings and one that shows the lower lip... 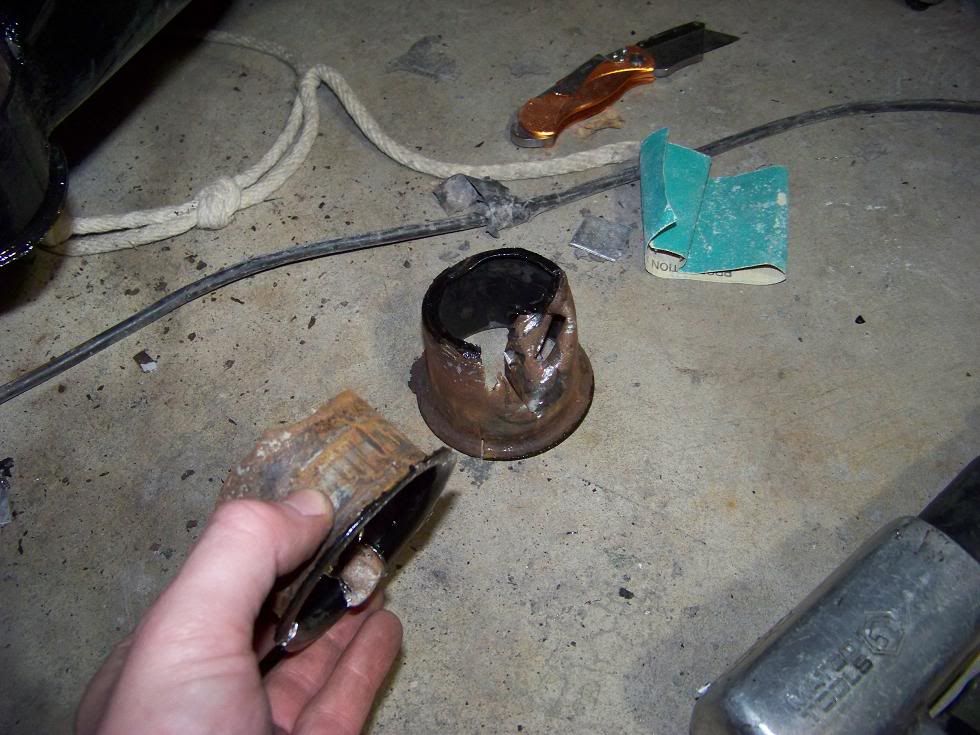 I then began with my new bushings. I have had them in the freezer for about 2-3 weeks so I'm pretty sure that helped. Freezing things, such as metal in our case, usually shrinks things. The bushings probally had shrunk enough to make them go in easier for the cost of nothing. Once I got the bushings ready to go in(2 pieces per bushing), I layed the bushing into the hole and then whacked the s*** out of it with a mallet. They slid in pretty easily and I didn't have to do the bolt and nut routine to suck them in to eachother. Just repeat this step 7 more times and they are in. 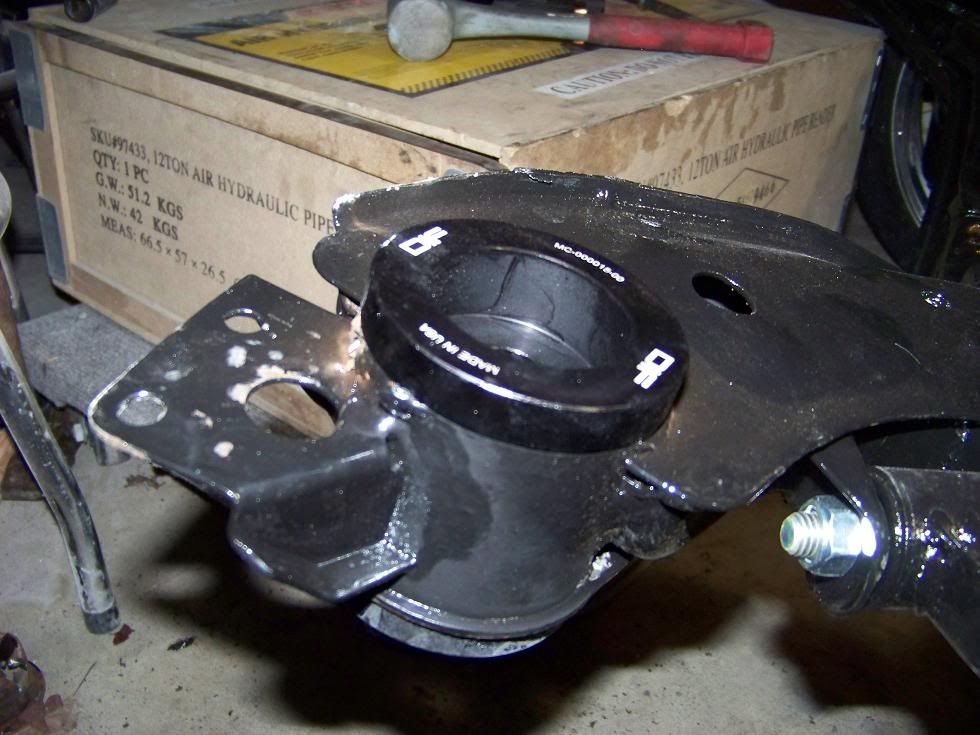 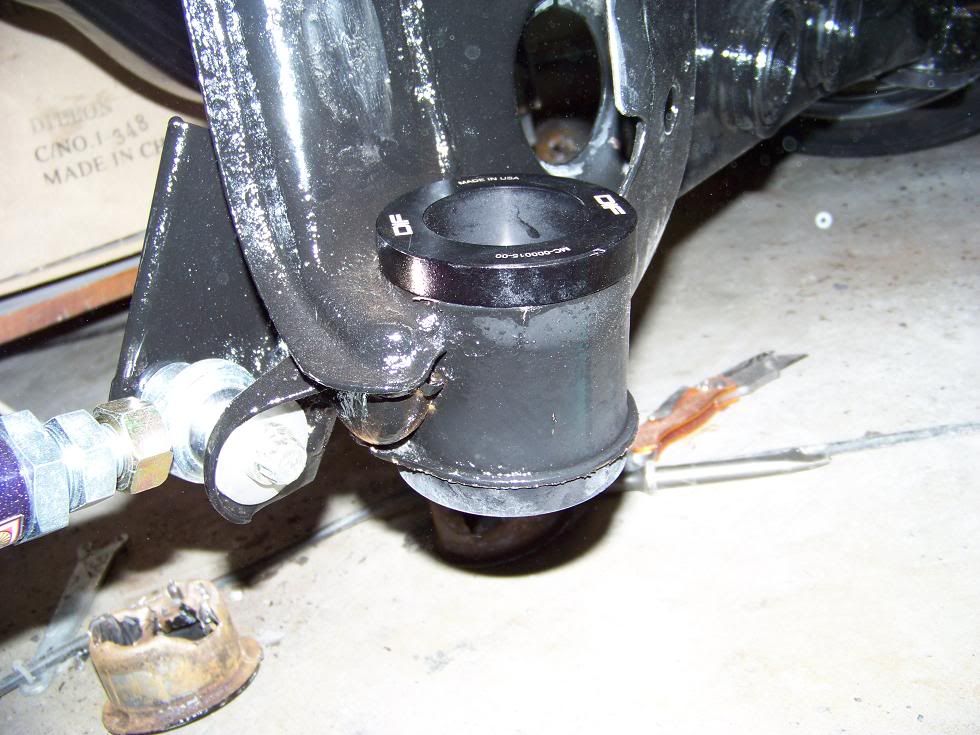 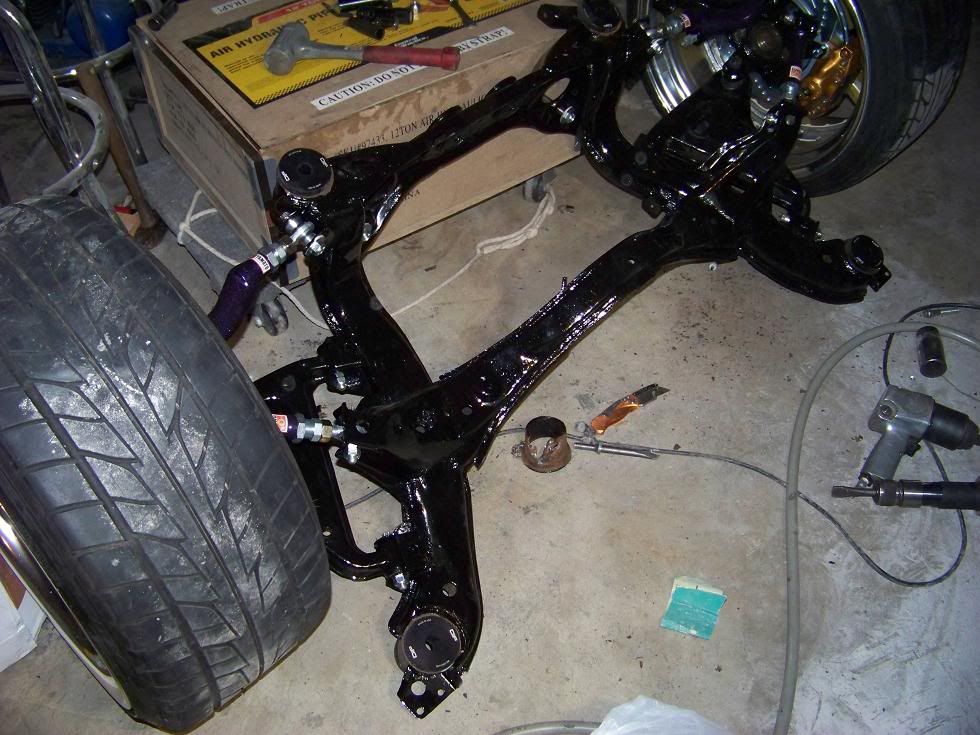 I have also bolted up my rear brake set-up and my wheels. My brakes are STI rear calipers on top of EBC Braking EVO Rotors. My wheels are 19x10 Racing Harts CR's with Purple Muteki sr48 lug nuts. 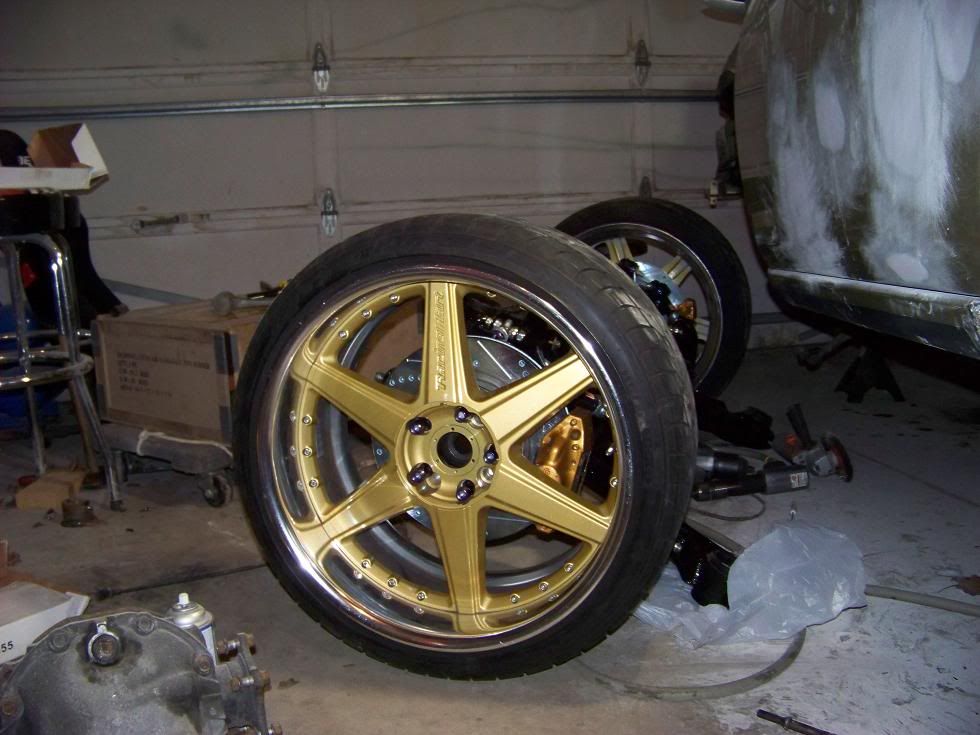 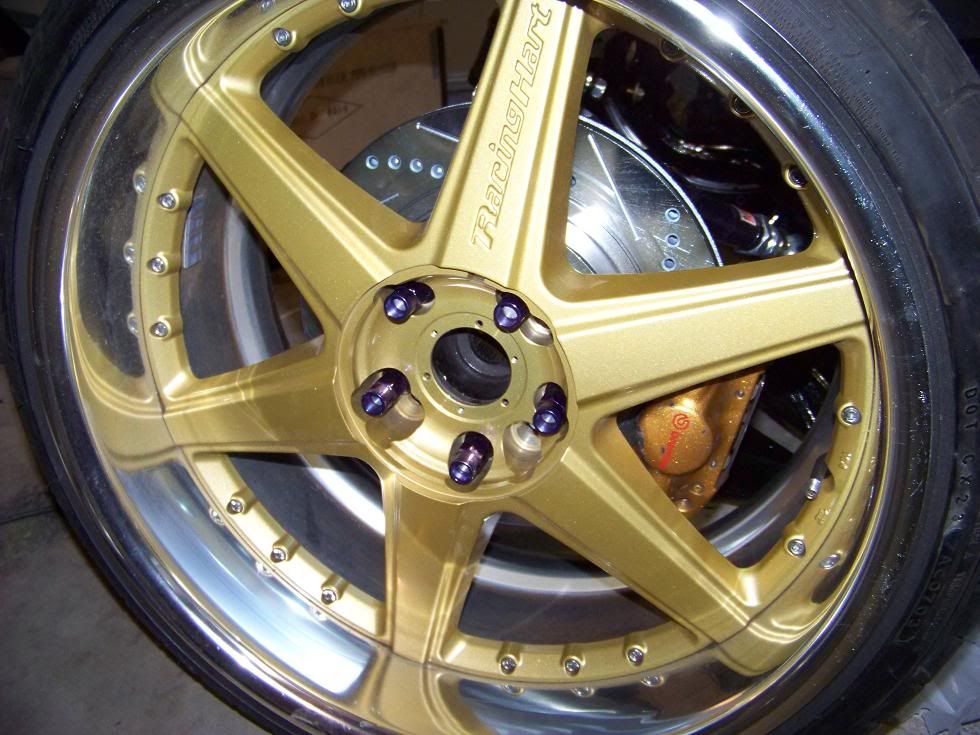 Then I pulled my fuel pump from the tank to replace it with my Walbro pump. 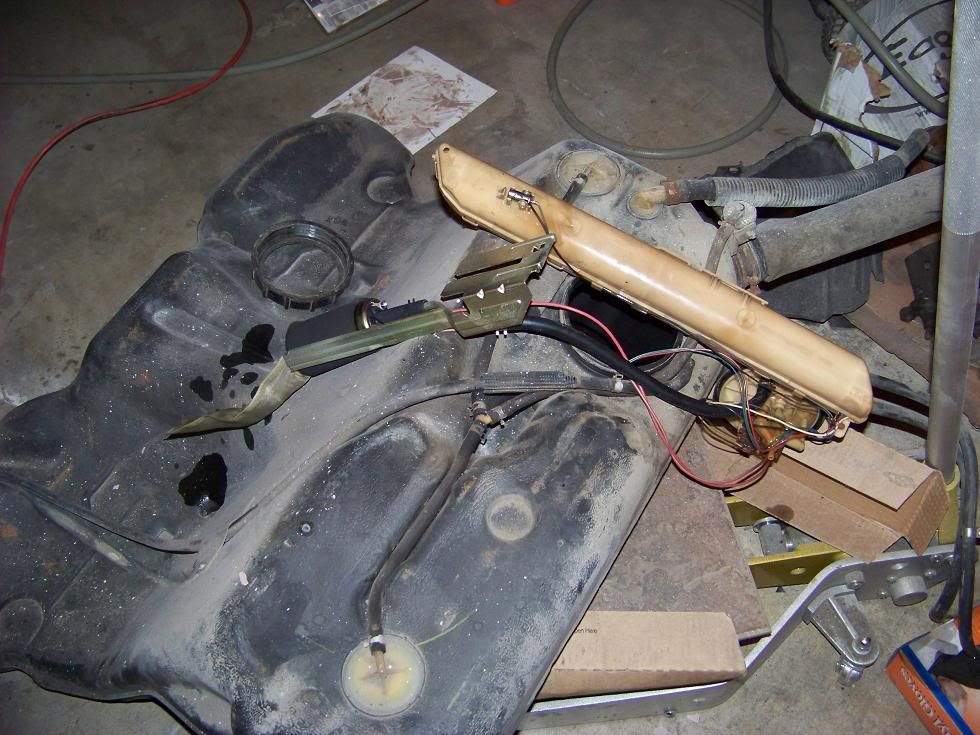 Out with the old one... 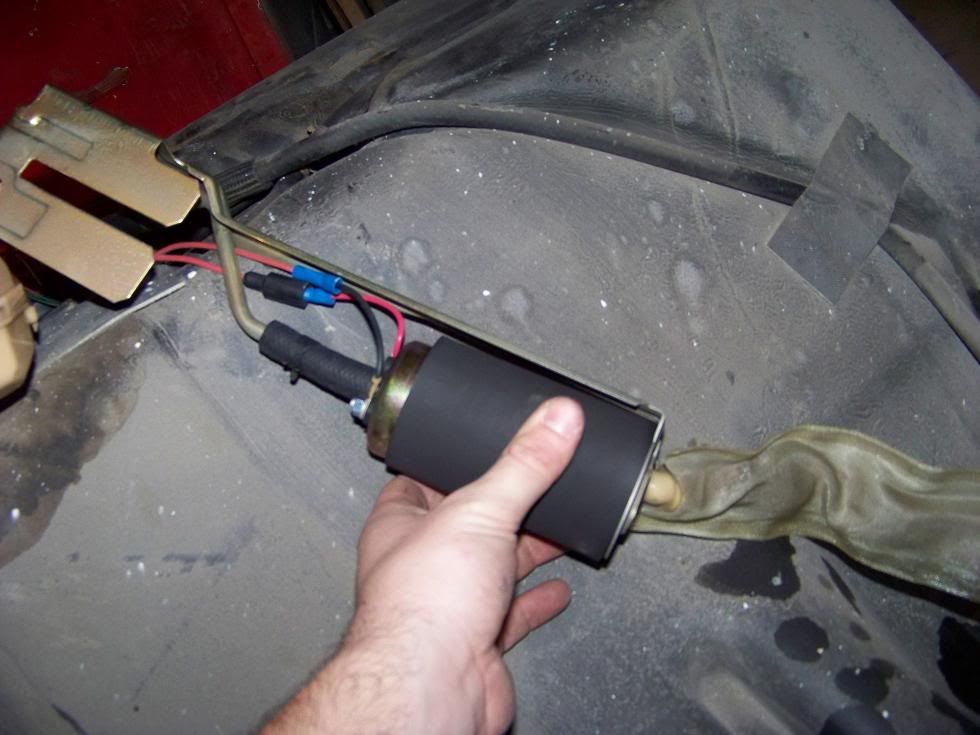 I have never pulled a fuel pump before so can anyone help me? What is this? 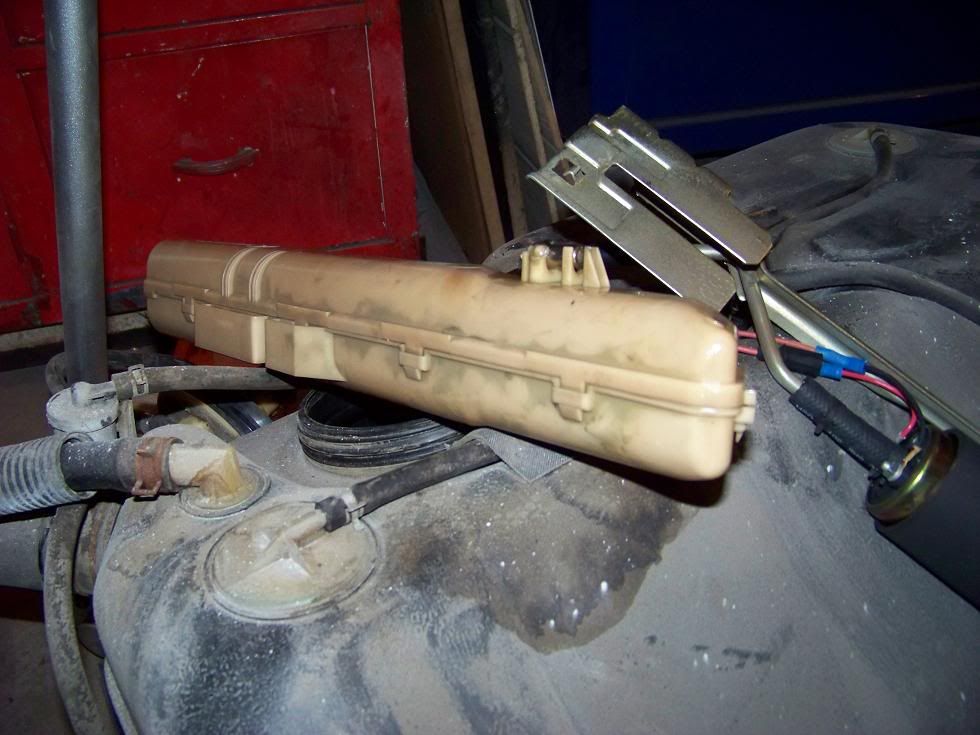 Thanks and Enjoi
__________________
http://zilvia.net/f/chat/331550-slyd...pic-heavy.html |
|
|
|
|
03-31-2011, 10:16 AM
|
#136 | |
|
Zilvia Junkie
Join Date: Jun 2008
Location: North SD
Age: 35
Posts: 457
Trader Rating: (15)
 Feedback Score: 15 reviews
|
Quote:
|
|
|
|
|
|
03-31-2011, 12:26 PM
|
#137 |
|
Zilvia Junkie
|
Alright, Thanks. I thought that was it but wanted to make sure. I need to replace mine because my fuel gauge doesn't read correctly but I'm running out of time so I guess that will have to wait until next time...
__________________
http://zilvia.net/f/chat/331550-slyd...pic-heavy.html |
|
|
|
|
03-31-2011, 12:41 PM
|
#138 |
|
Leaky Injector
|
Amazing build, I just went through the entire thing. Great attention to detail! Do you have any more pics of your seat mounts? I'm curious as to whether it sits lower than it would with proper bride rails.
|
|
|
|
|
03-31-2011, 01:07 PM
|
#139 |
|
Zilvia Junkie
|
Thanks. I will try to get some tonight. I still need to paint them. I do not believe they will sit lower than the legit bride/buddy club rails. I just made these so I don't have to worry about adjusting my seat ever and/or let other people drive my car.lol
__________________
http://zilvia.net/f/chat/331550-slyd...pic-heavy.html |
|
|
|
|
04-01-2011, 10:33 AM
|
#143 |
|
Zilvia Junkie
|
Thanks guys. I wont be able to go to any events this year most likely because I am leaving for basic on the 12th this month. I think I may be dropping it off at a shop to get a motor put in while I am away but you will have to wait and see
__________________
http://zilvia.net/f/chat/331550-slyd...pic-heavy.html |
|
|
|
|
04-05-2011, 08:17 AM
|
#144 |
|
Zilvia Junkie
|
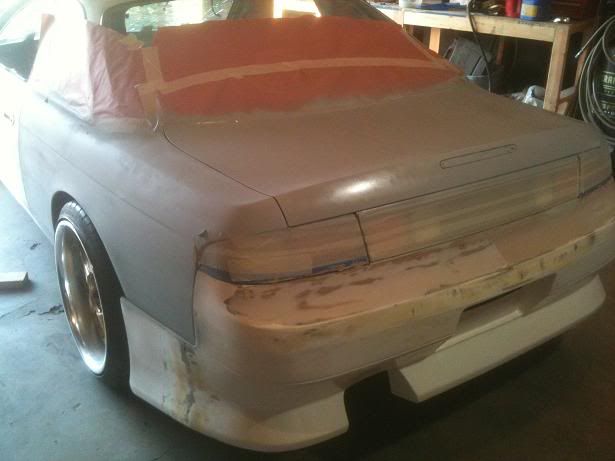
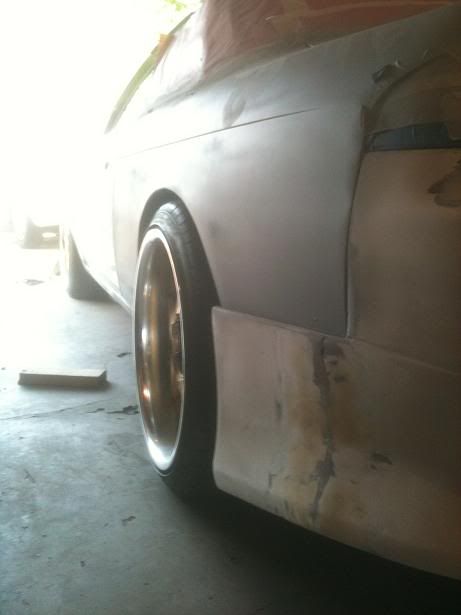
Alright guys...this may be my last post for quite some time. I leave for basic in exactly a week and have a lot to do so here is an update.
Here are some pics of where the car was at yesterday morning... 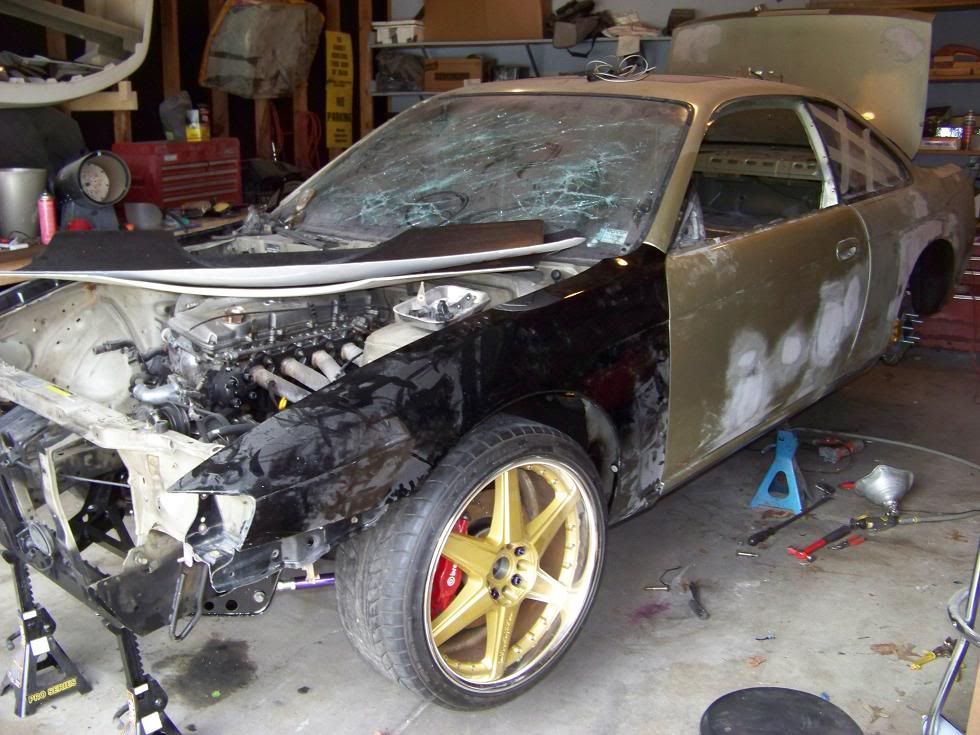 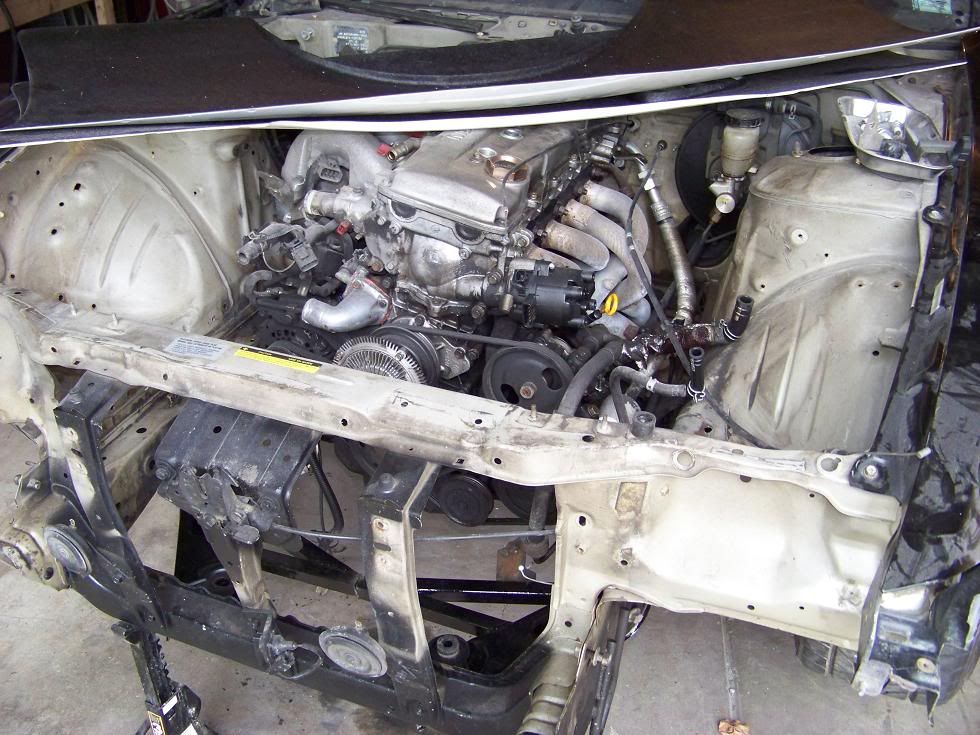 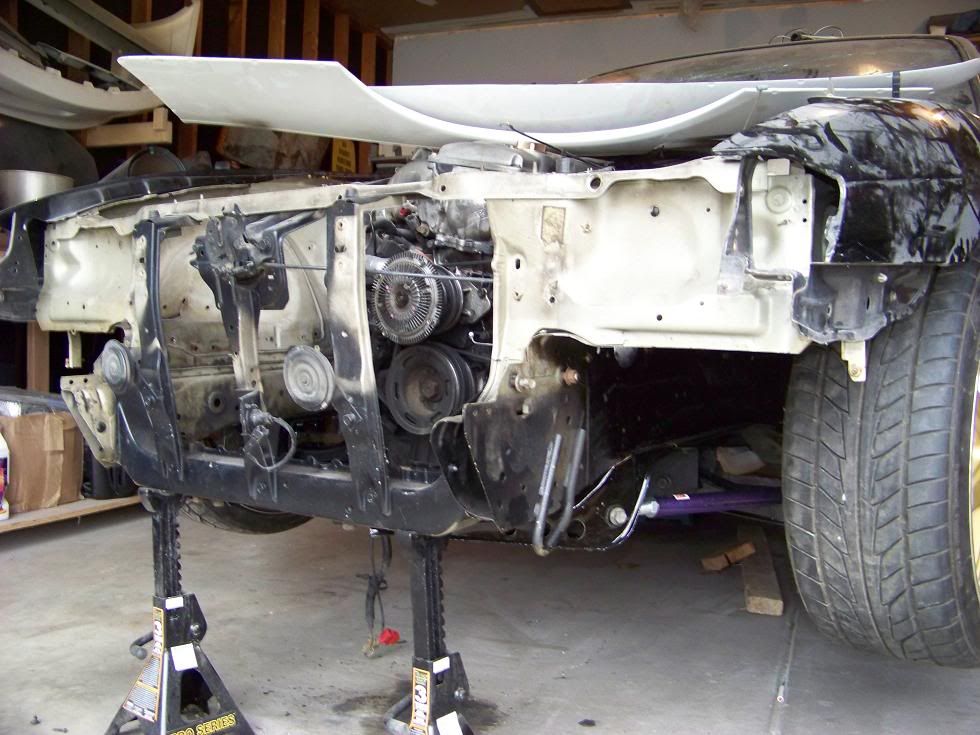 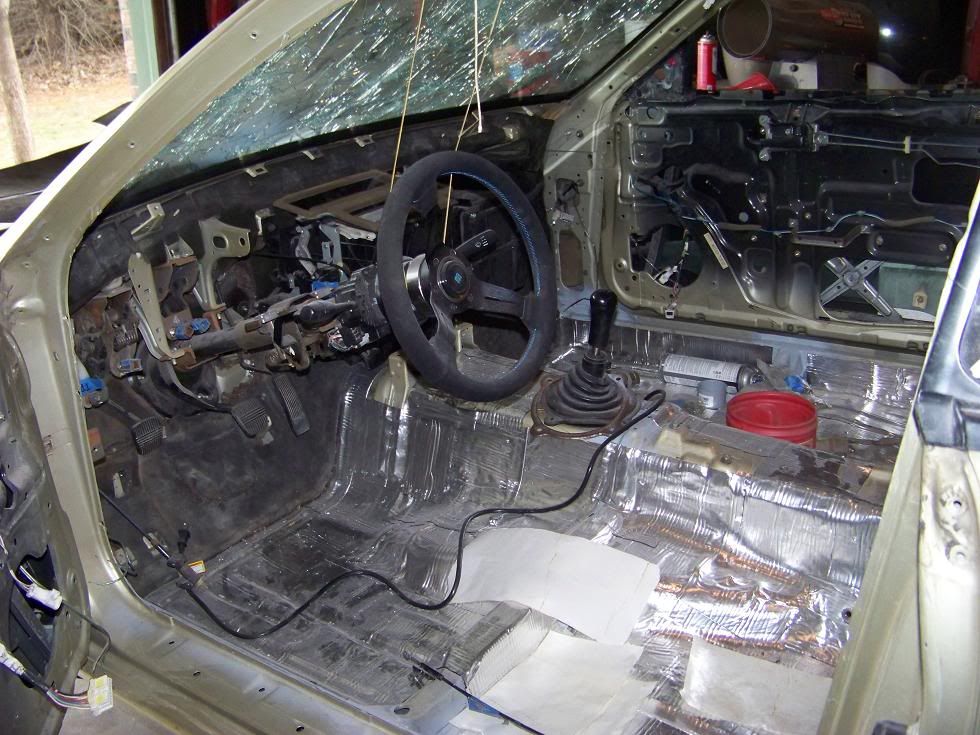 From the time those pictures were taken, I put the front fenders, bumper support and hood on. I also put the rear tire back on and adjusted the spacers on the rear brakes. Last of all, I began to run the wires back thru the car. Here are some misc. shots of the fancy stuff.lol. 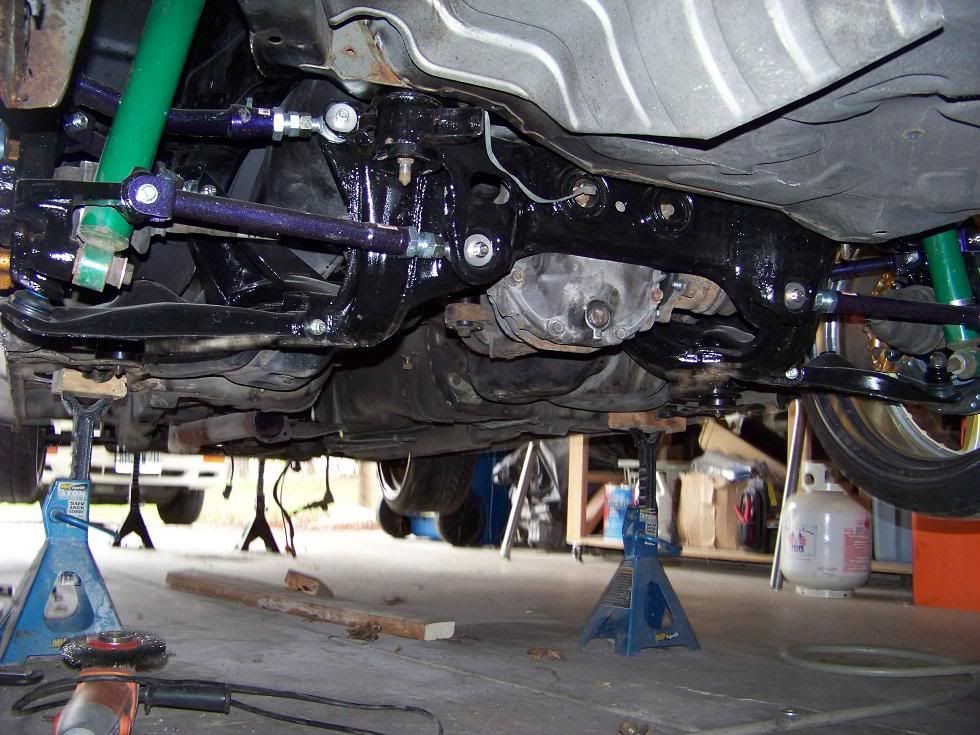 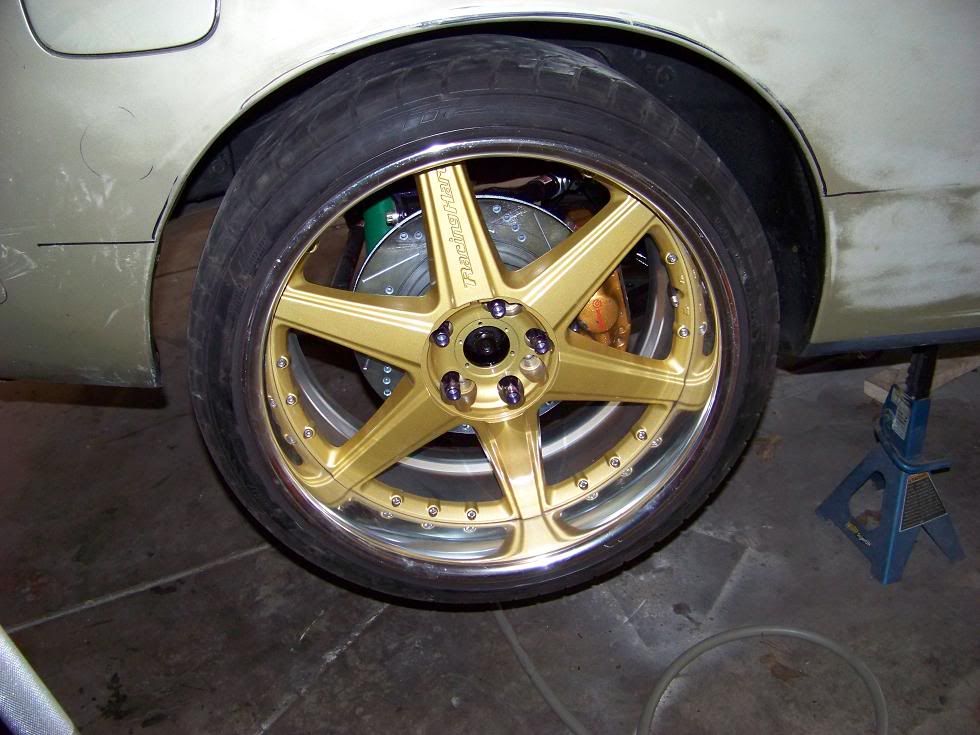 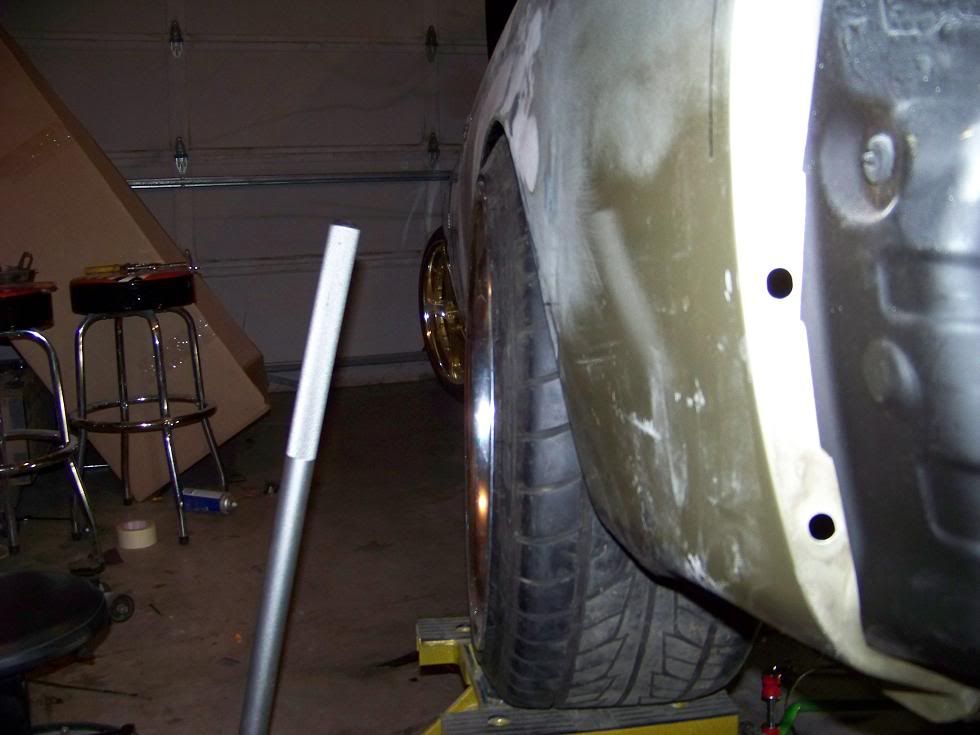  I am going to try to get some more work done today before I head out to the lake for a couple days retreat. My original plan was dropping the car off at a local shop(Nocturnal Motorsports/JDM Hook Up) and have them install an rb25 while I was at basic and tech but I don't think I have enough of the money to start it while I am away. Anywho...I will be trying to get it back up and put together enough to be a solid roller and then when I am back I will possibly drop it off for a new engine. I just want to say thanks for everyones feedback and help on the problems I encountered. If I am not back on here before I leave, I will see ya on the flip side. Andrew
__________________
http://zilvia.net/f/chat/331550-slyd...pic-heavy.html |
|
|
|
|
07-10-2011, 06:55 PM
|
#145 |
|
Zilvia Junkie
|
So I finished up Basic and now I am in tech school. I have been looking around for new cars and what not but have decided to use the money I got from basic and selling my bike and atv. Well, I didnt have time to get these pics up before I left but here are a few of how the car is sitting at the moment...
   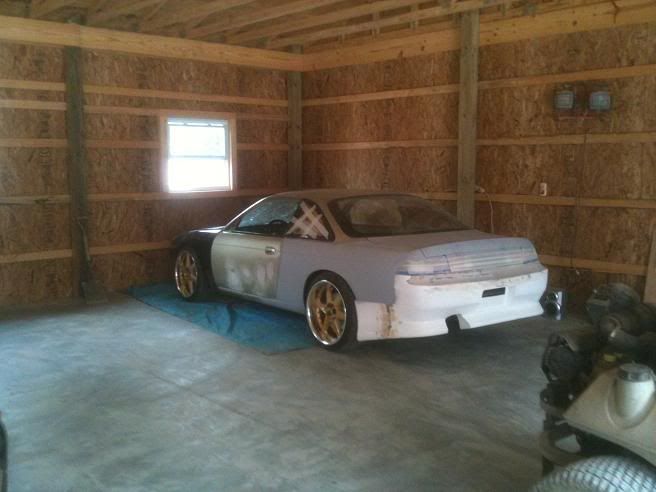 So that is how its sitting now. I have been thinking of going with an rb25 but because I have expensive taste and like to do things right the first time, I think I will be putting a red top in it so I can spend a bit on parts to make it a stout daily/track car that is reliable. Your car is only as good as it is reliable in my eyes and I don't want to worry about it breaking down all the time and having trouble finding parts so that is it for now. I will update with the parts I will be buying since I can't exactly work on it at the moment. stay tuned...
__________________
http://zilvia.net/f/chat/331550-slyd...pic-heavy.html |
|
|
|
|
08-17-2011, 08:23 AM
|
#146 |
|
Zilvia Junkie
|
So I haven't been able to give adequate updates while I have been in Tech School. I am almost done here. I left April 12th for basic and then stayed at Lackland AFB for my Security Forces Tech School. It has been long and interesting you can say. I haven't ordered anything for my car yet but I do have an update.
Since I have been here, I have saved money and been looking at stuff quite often. I have to come to find a car for sale in my hometown that I could not pass up. Luckily the seller is a great person and completely hooked me up with a killer price so I just can't wait to get home to my new car. I had been talking of swapping an rb or ls into my car. After numerous quotes and pricing sheets, I found this would be more reasonable and achievable by purchasing this car. My boy is picking it up tomorrow for me so I will jump into it. It is a 1996 s14. Same color and same model as mine(se). The car has an rb25 swapped into it already with a few basic upgrades done to it. Thankful it runs good and has no cancer(rust). 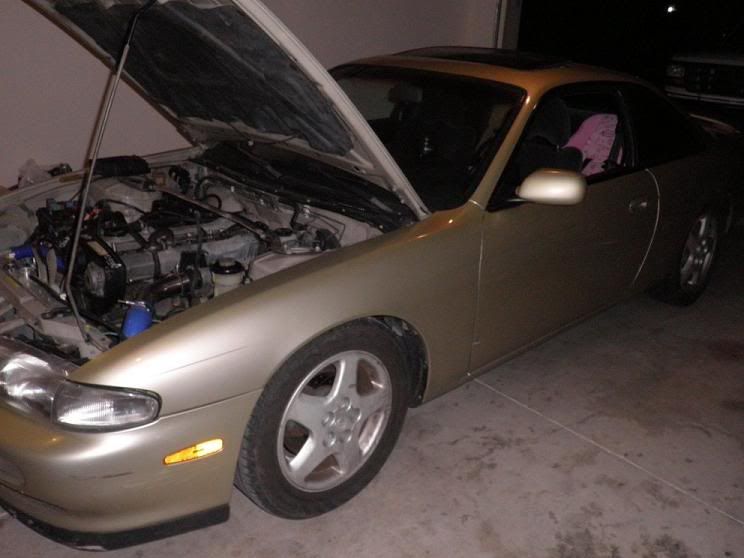 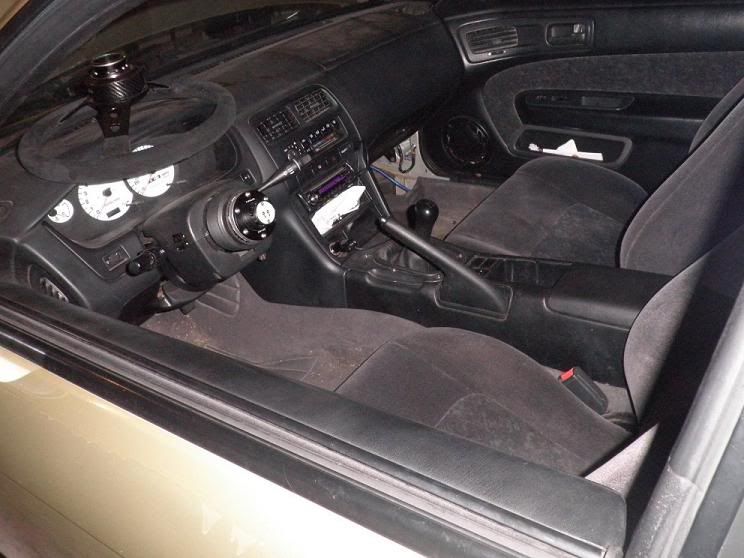 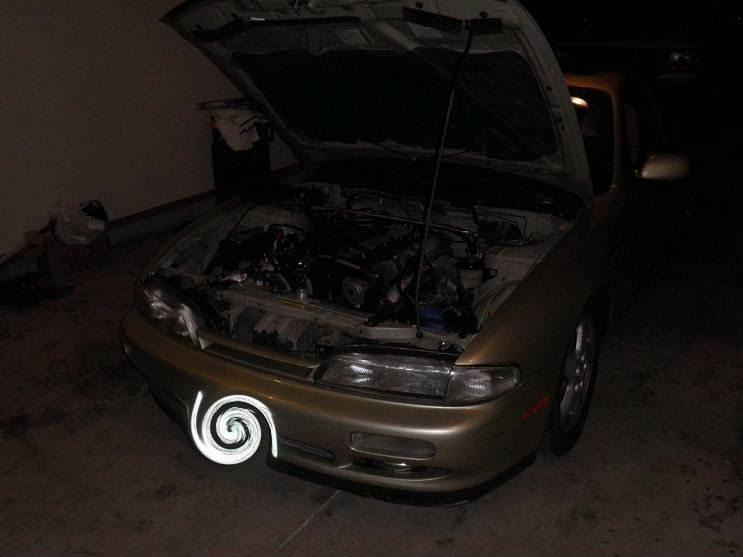 The new plan now is to use the parts I have scrounged up over the last 2 years or so and create a monster. I most likely won't do too much to the engine besides some little things here and there for a while to keep the drive-ability but I think it should be enough for a little while anyways... I have alot of good parts, like my subframe that I just assembled and my other suspension components, my brake set up, exhaust and wheels and most likely the front end, that will most likely find their way on to this car. Again, sorry for the long pause but I graduate in a month or so and will begin some of the transformation. Stay tuned!
__________________
http://zilvia.net/f/chat/331550-slyd...pic-heavy.html |
|
|
|
|
12-05-2011, 04:38 PM
|
#147 |
|
Zilvia Junkie
|
*UPDATE*
So I haven't been on in quite some time... This is due to joining the Air Force, going thru my tech school and then getting stationed in Little Rock, Arkansas. I did manage to make some progress since I have been off though. I ended up buying another s14. I was going to put an rb25 in my old car and after everything was priced up, I was looking at around 7k+. I found my new s14 with an rb25 already swapped in and some little mods done. Since I have been on break, I took both cars and merged them together. I am now the new owner of an rb25 powered s14. Currently, I am waiting on getting the car painted so it isn't with me now but here is some info on the things that have been done. The previous owner cut a few corners but nothing a little bit of tlc couldn't fix. The fan for example, was rigged up pretty well. I'm not sure what was the reasoning for the wiring but I had to fix it to say the least. It had twin altima fans on it if I am not mistaken. The fans were wired to a toggle switch that was mounted behind the driver side headlight. I'm not sure why but I fixed it. 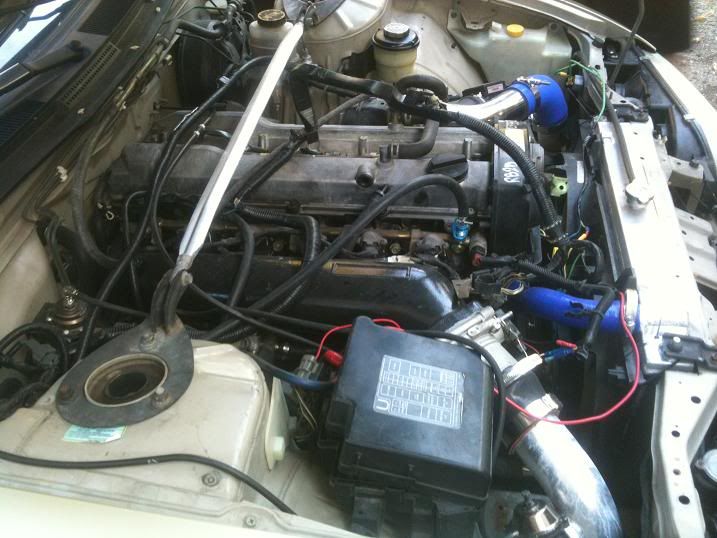  I replaced the fans with an Isis dual fan/shroud assembly. I would have to say the product fitment and performance has been terrific. I would definitely recommend this product.  I also got rid of the toggle switch with this dual fan controller kit. This was extremely easy to install. You wire up the constant power, ignition and ground wires. Also, to read the temperatures, I took the sensor probe and just pushed it thru the radiator fins and it was done.  I also took my complete suspension off of the old car and replaced the stock worn out crap on the new car. My subframe with my Yamato Garage components, my sway bars, custom made power bar and my Tien coilovers. After that was all done, I replaced the stock wheels that were on the car with my Racing Hart CR 19x9/10's. After that was all done, the car looked like this... 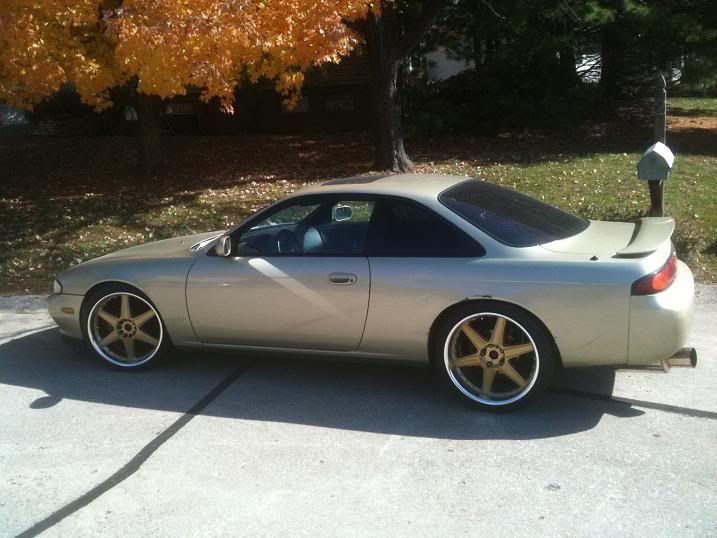 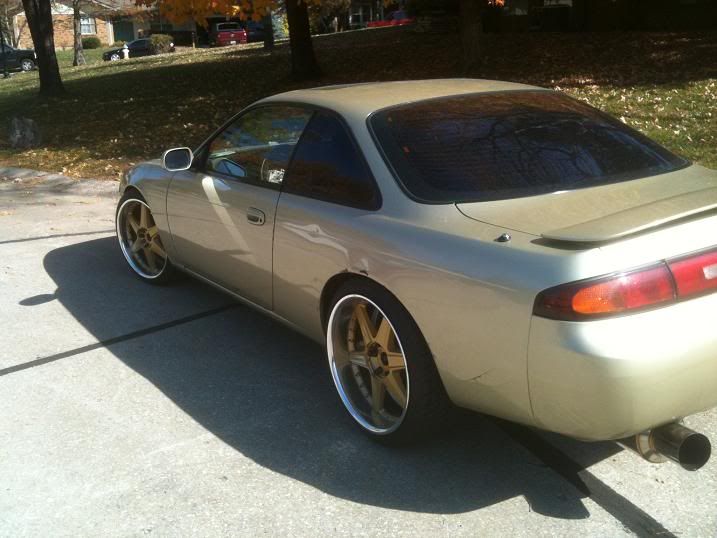 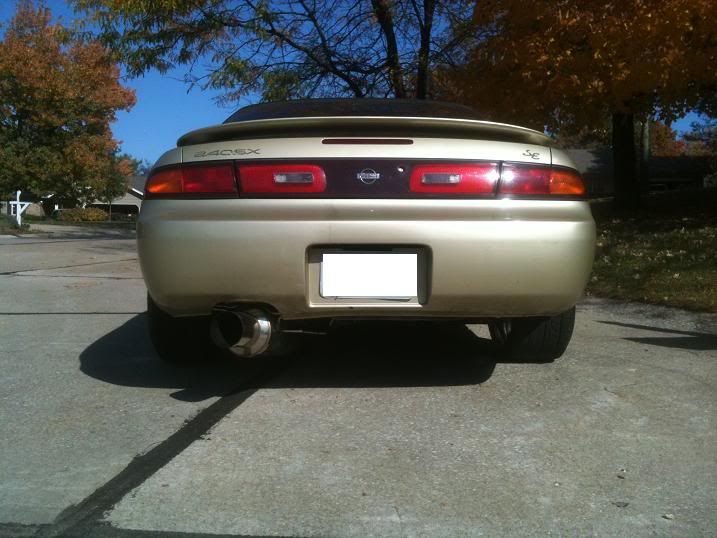 With some help from a buddy, I cleaned up the wiring, installed a new tps, put in my bucket seat and did a once over on the car. The car has nice power and runs pretty strong. The suspension is responsive and rides nice. I still have things to go over. The wiring has been a bit of a mess so I think that I may replace it with a WS pre-made harness. I also need to upgrade the MAF to a Z32 MAF and get a good tune. The BOV needs to be replaced with my Greddy Type S because it is not working properly and the mounts need to be replaced because they look horrendous. The power steering also needs to be addressed because instead of doing what was needed to make it work or remove it completely, the lines were just chopped and the visible parts were removed. This has made it extremely difficult to turn which is not ok for me. It is hard to turn even when driving. I also have numerous parts that I have gathered for the car. I need to put on my APEXi turbo timer. I bought this harness and it is a very easy plug and play assembly(already tested it out). 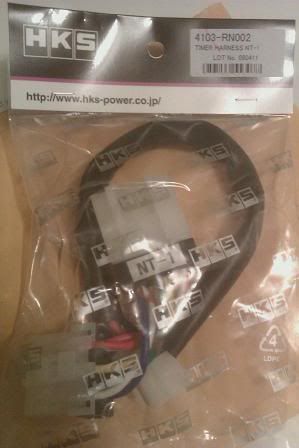 Now that I have my AEM Tru Boost Controller and UEGO wideband, I need to install them. To mount them, I bought this ATI Ez Pod that mounts right on top of my steering column. 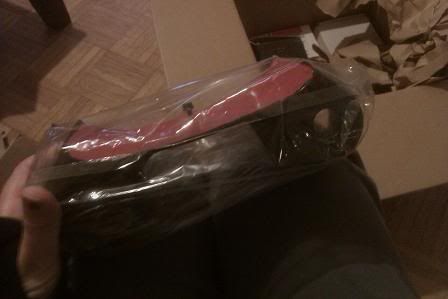 For the engine, I bought an Isis short throw shifter, an Isis Oil Catch can and an OEM shifter bushing to take some slop out(bought before shifter so it will most likely be used later on). 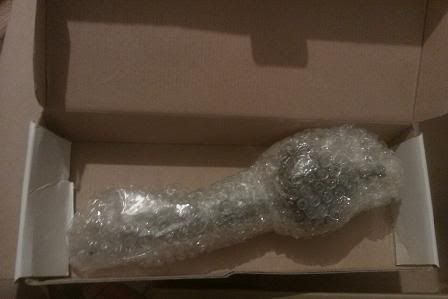 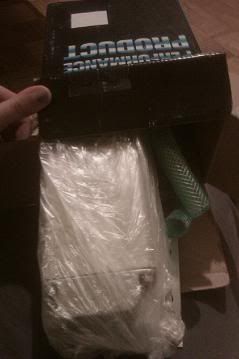 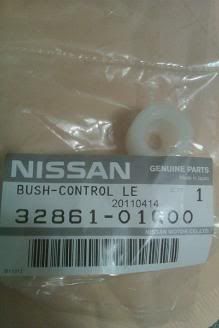 I also have Tien inner tie rods and need to get some tie rod ends to complete the steering. 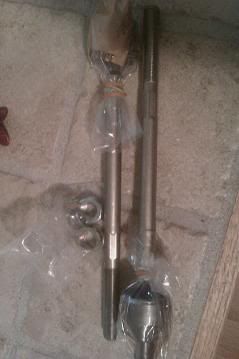 Well, thats about it for now. Here are some pics of the engine bay from how it started to being cleaned up a little bit. 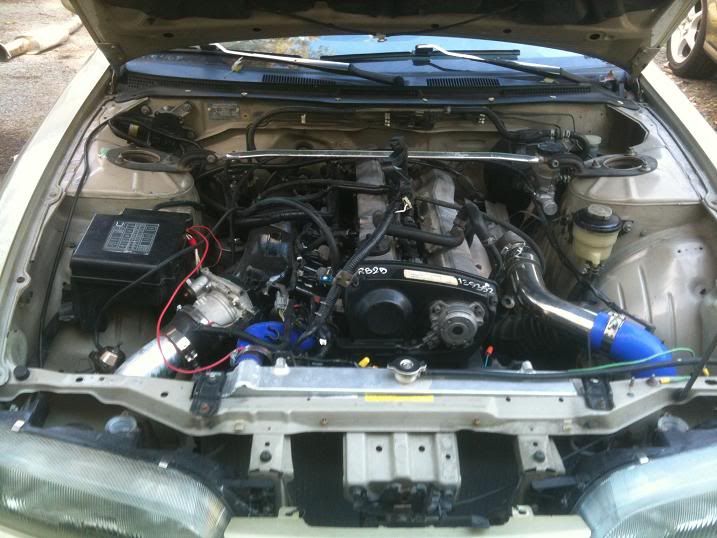 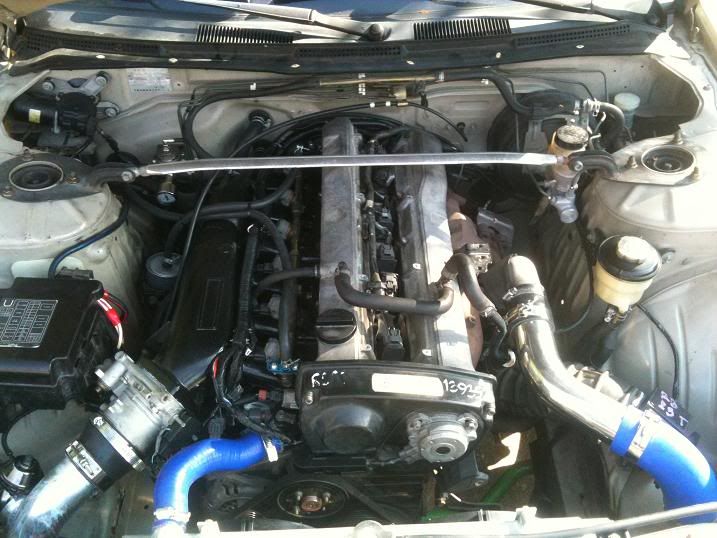 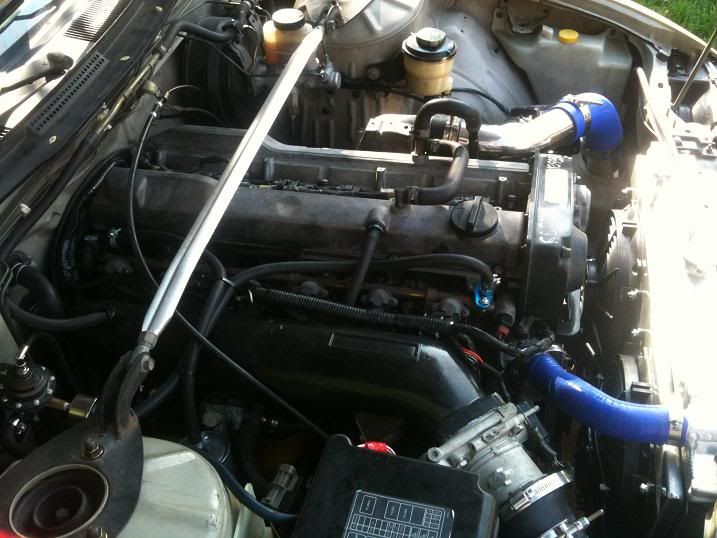  Well, there it is. Let me know what you think and if there is anything you recommend, feel free to speak your mind. Enjoi
__________________
http://zilvia.net/f/chat/331550-slyd...pic-heavy.html |
|
|
|
|
12-05-2011, 04:54 PM
|
#148 |
|
Leaky Injector
Join Date: Oct 2008
Location: Las Vegas
Age: 33
Posts: 63
Trader Rating: (1)
Feedback Score: 1 reviews
|
Nice build man.
You got to BMT 2 days before I graduated, depending on what TRS you were at I might have seen you. I was at the 324th. How did you like basic? |
|
|
|
|
12-05-2011, 05:43 PM
|
#149 |
|
Zilvia Junkie
|
For real man? I was 324th. My mti was SSgt Romero. It wasn't really bad. I'm 23 so I was one of the older guys goin thru but it wasn't bad...just hot. I'm secfo so my tech school was at lackland too
__________________
http://zilvia.net/f/chat/331550-slyd...pic-heavy.html |
|
|
|
|
| Bookmarks |
|
|


 Linear Mode

