|
|||||||
| Tech Talk Technical Discussion About The Nissan 240SX and Nissan Z Cars |
 |
|
|
Thread Tools | Display Modes |
 12-30-2006, 09:42 PM
|
#31 |
|
Zilvia Junkie
 
Join Date: Apr 2004
Location: buffalo,ny
Age: 43
Posts: 541
Trader Rating: (0)
  Feedback Score: 0 reviews
 |
today's update.
Gutted the rest of the interior: 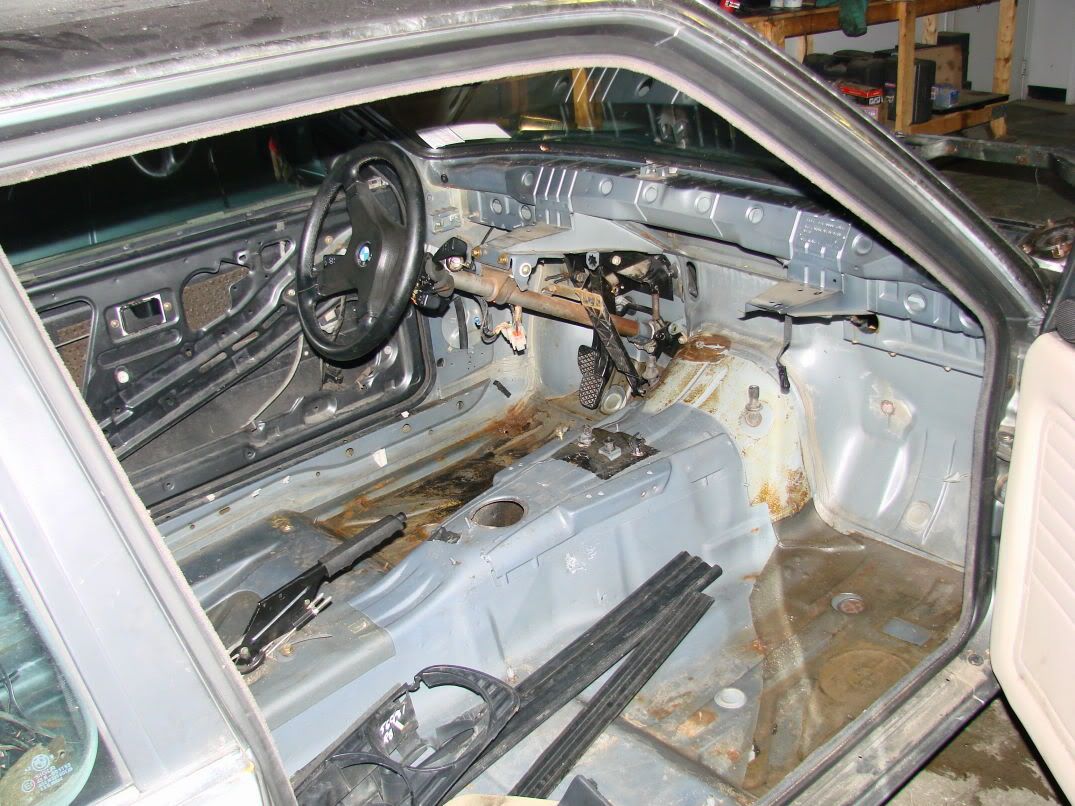 There are some holes in the floorboards that will be simple to patch up. Removed a lot of sound deadening. Seats + carpet easily weight 200+ pounds, not to mention all the underdash stuff that's not going back in. Cleaned the engine bay a bit with degreaser. Also cut off some unused bracketry for cleanliness. 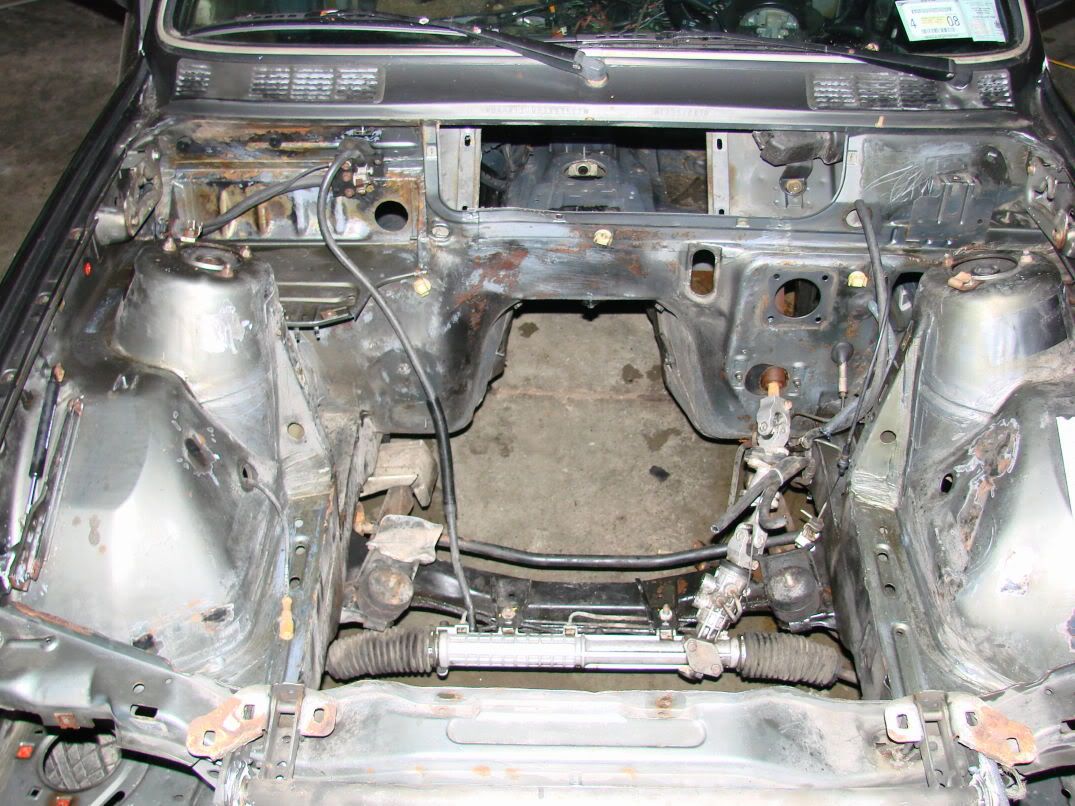 Next, I needed something that wouldn't take more than a day to do, so considering I am leaving on vacation tomorrow. Since there is no PS to be run on the car, we need to loop the PS lines. This is where the lines attached: 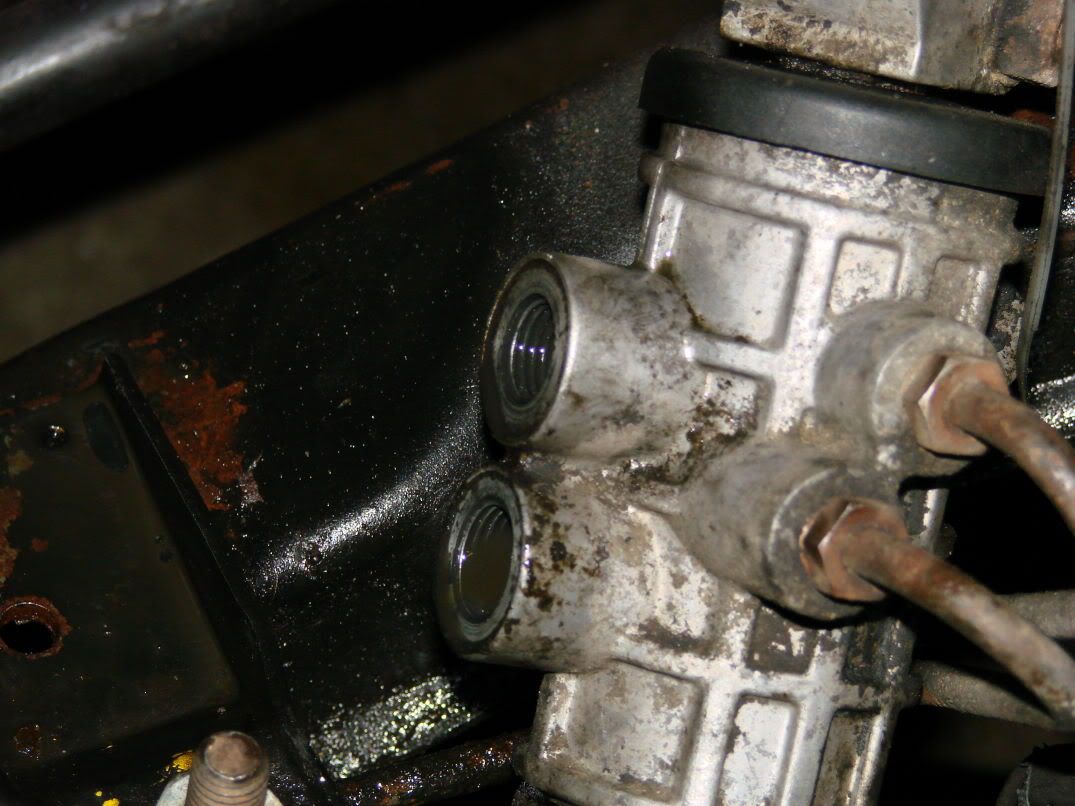 With 2 banjo bolt style fittings like these: 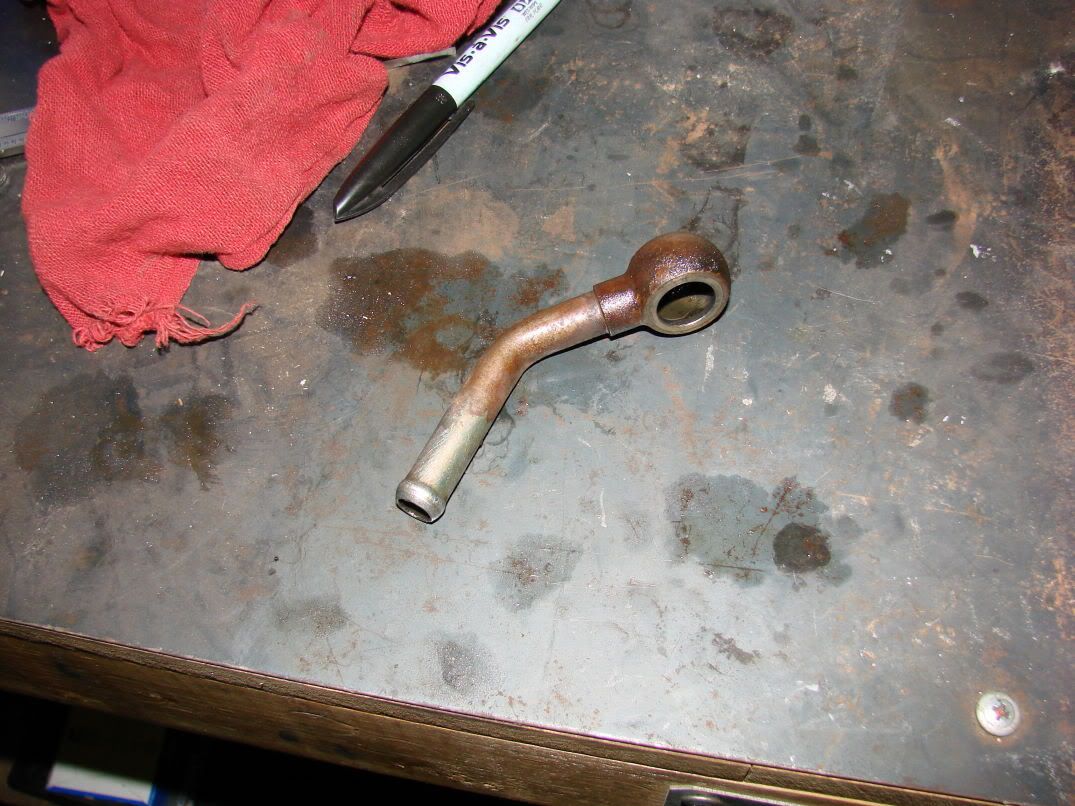  They both appeared to be on the same plane, so this is what don and I came up with:   The 2 small ports on the end will be tacked closed with weld. We went to the machine shop at work and hammered it out in an hour or so... 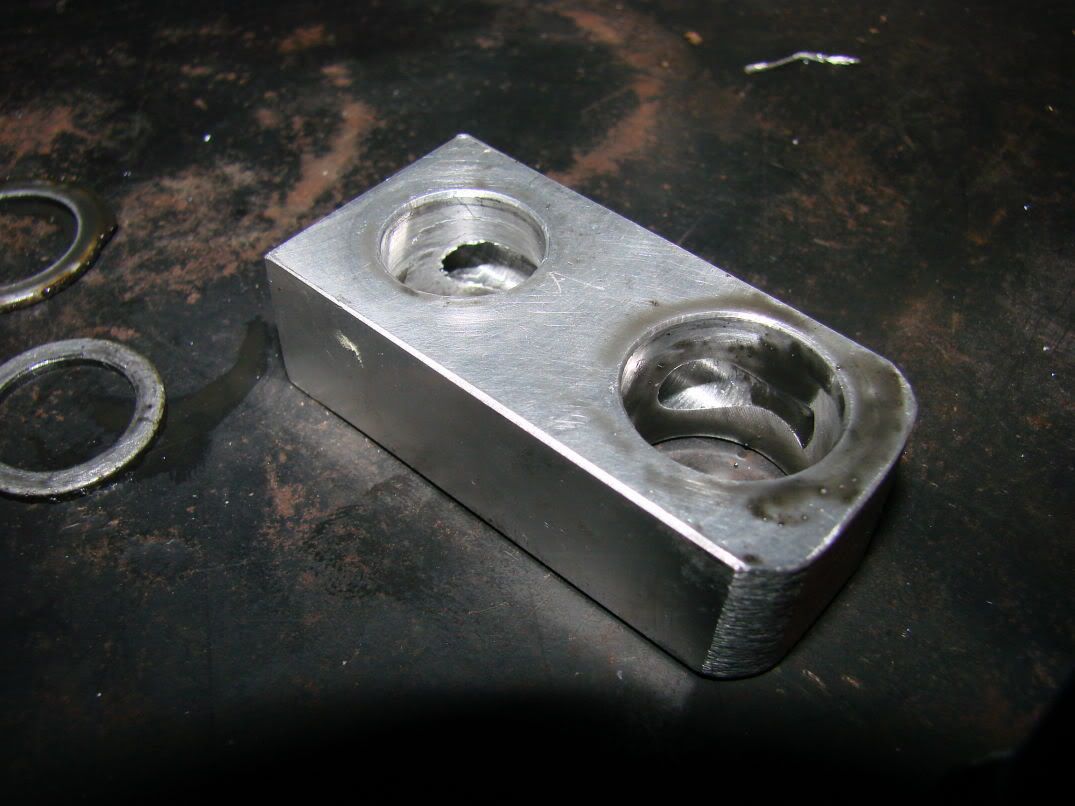 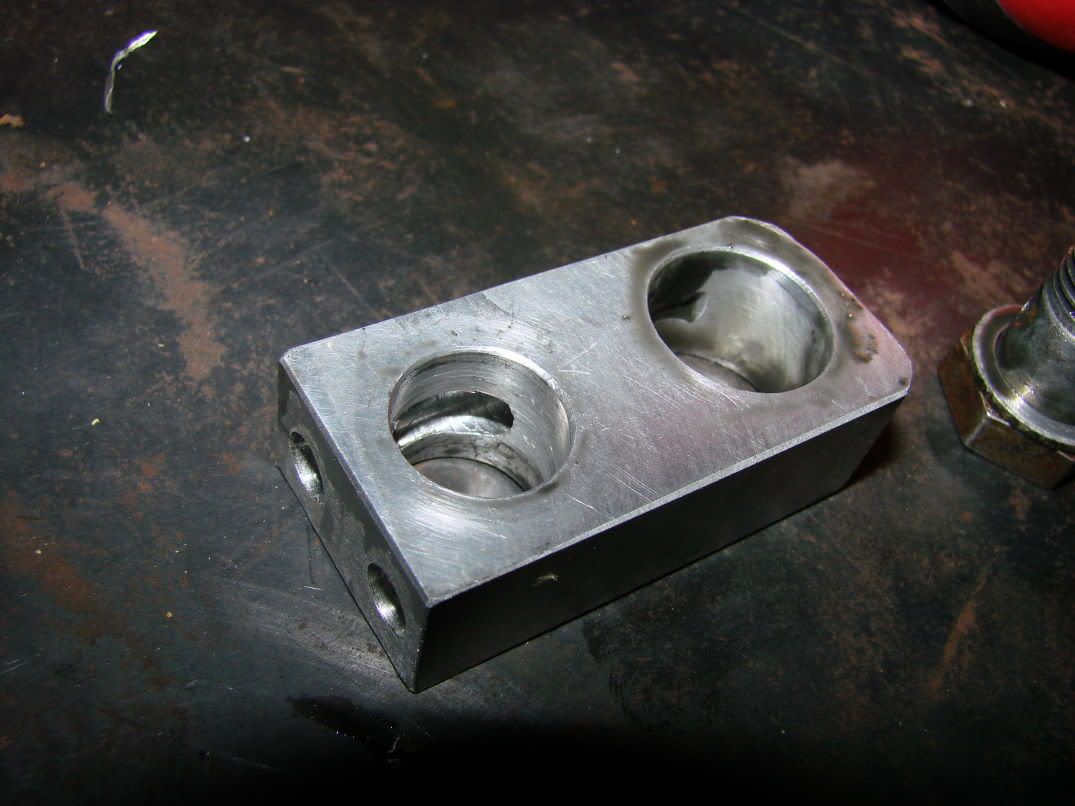 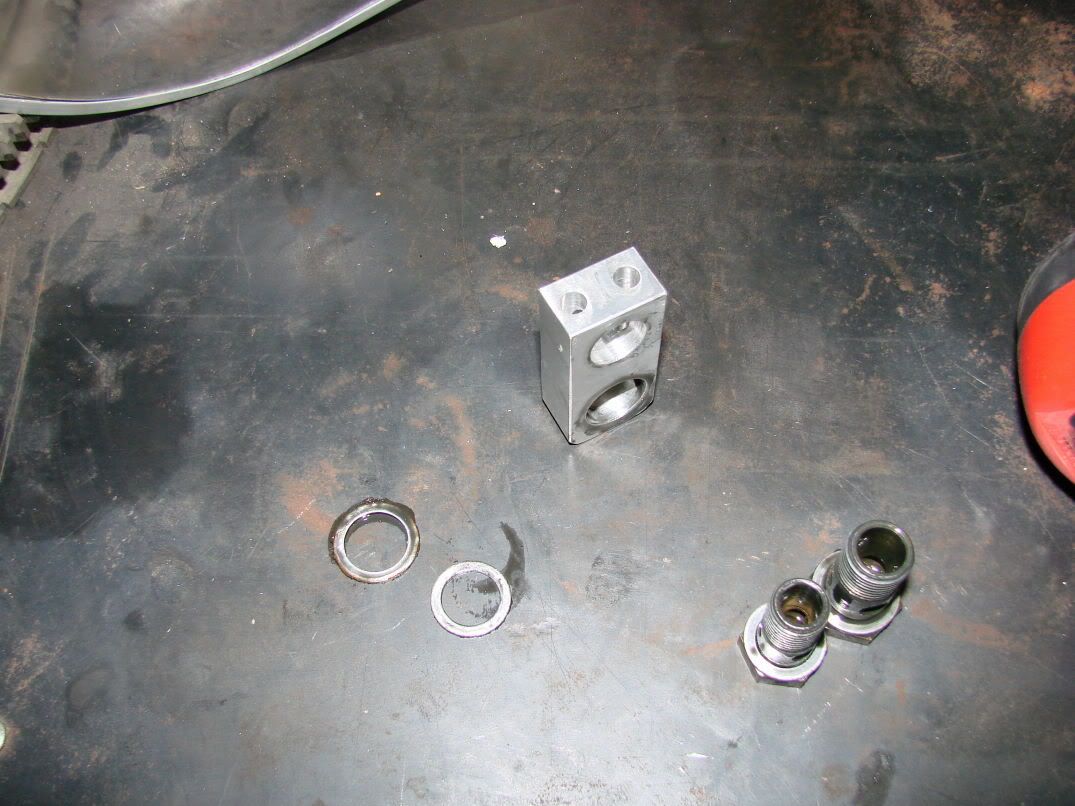 Temporarily installed (still needs to be welded):  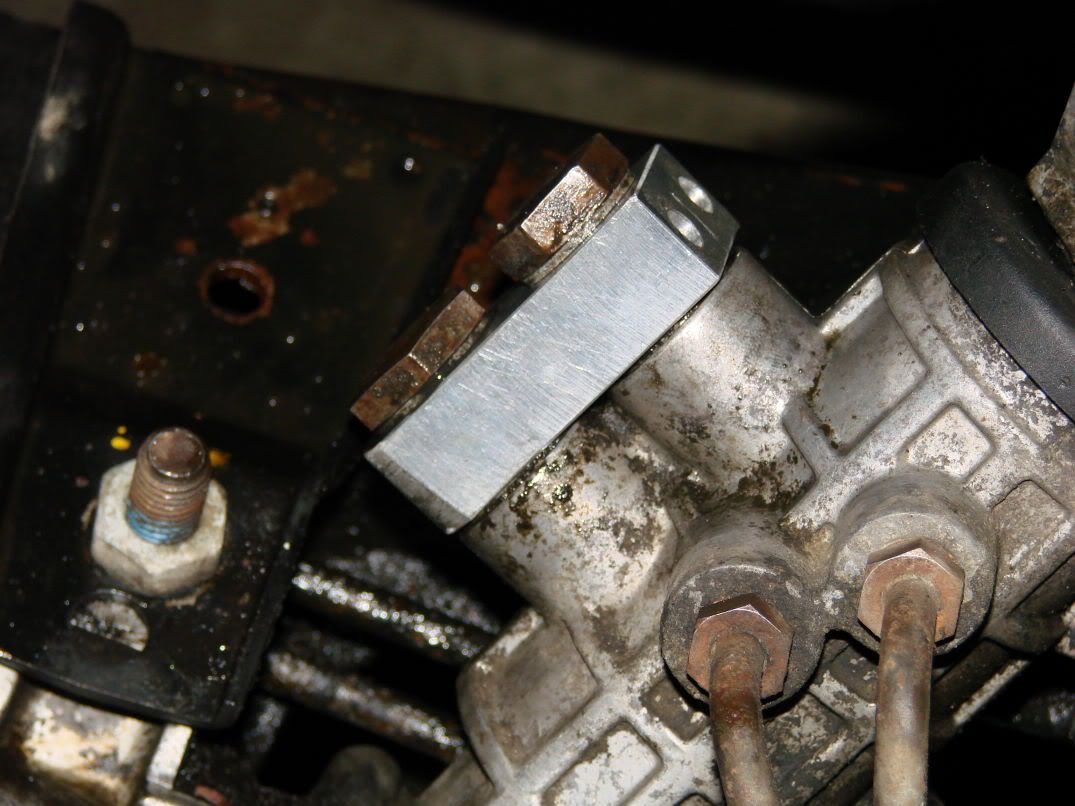 That's it for now. Expect the updates to resume on the 10th or 11th. |

|

|
| Sponsored Links |
|
12-31-2006, 05:52 AM
|
#34 | |
|
Zilvia Junkie
Join Date: Apr 2004
Location: buffalo,ny
Age: 43
Posts: 541
Trader Rating: (0)
Feedback Score: 0 reviews
|
Quote:
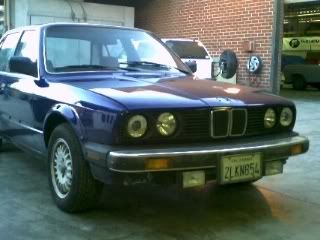
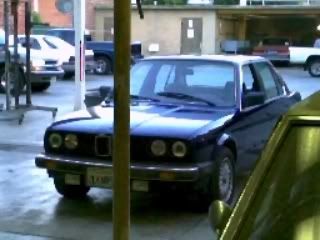
sti = daily elise = weekend whore BMW = car to beat up on unsuspecting domestics with. |
|
|
|
|
|
01-06-2007, 11:26 PM
|
#35 | |
|
Zilvia Member
 Join Date: Apr 2004
Location: san diego
Age: 37
Posts: 194
Trader Rating: (0)
 Feedback Score: 0 reviews
|
Quote:
your project would be much better if it involved a single cam engine with push rods  nah this car will be bad ass, iv been helping him with it, he just better not lose motivation on this project |
|
|
|
|
|
01-13-2007, 05:19 PM
|
#40 | |
|
Zilvia Junkie
Join Date: Apr 2004
Location: buffalo,ny
Age: 43
Posts: 541
Trader Rating: (0)
Feedback Score: 0 reviews
|
Quote:
Something close to stock. Maybe shifted forward slightly... The motor is heavier, but we are losing a lot of fron end accessories... But we are also losing a lot of rear end weight as well... We'll have to see... Two days of updates: THURSDAY: Ok, last night i got back into it, no pictures though, sorry. We removed the fuel tank and stripped the sound deadening from the interior. We decided that we are going to run a 10 Gallon-ish fuel cell in the spare tire well, with the sump mounted such that it hangs out of the well a bit. My GT35R arrived, but had the wrong exhaust housing on it, so we sent it back. We also decided we are going to be making a new exhaust manifold. The old one i made was "suckier" than i remembered it being... Plus it gives us a chance to use Don's new, baller ass header modeling system. The next step is going to be to mount the engine and transmission, as well as cut out the transmission tunnel. While we are welding in the new tunnel, I want to take care of the few rust holes in the chassis... I'd really like to have someone knowledgeable with bodywork have a look at it and tell me how this should be addressed So if you've got experience with this kind of thing... especially those people who restore old cars, let me know when you can have a look at it... maybe lend a hand... It's one of the few things that don and I know very little about. I hope to have the motor mounting squared away before the following weekend... SATURDAY: OK. Back in the shop today.the next step is mounting the engine and transmission. Since the transmission tunnel requires heavy modification to allow the transmission to fit, we are first going to mount the engine, then the transmission. The major constraining body is the oilpan/crossmember interfaceto be safe, I decided that a minumum 3/4" of clearance will suffice. The motor is going to be solid mounted, so this shouldn't be a problem. This is the shape of the oilpan: 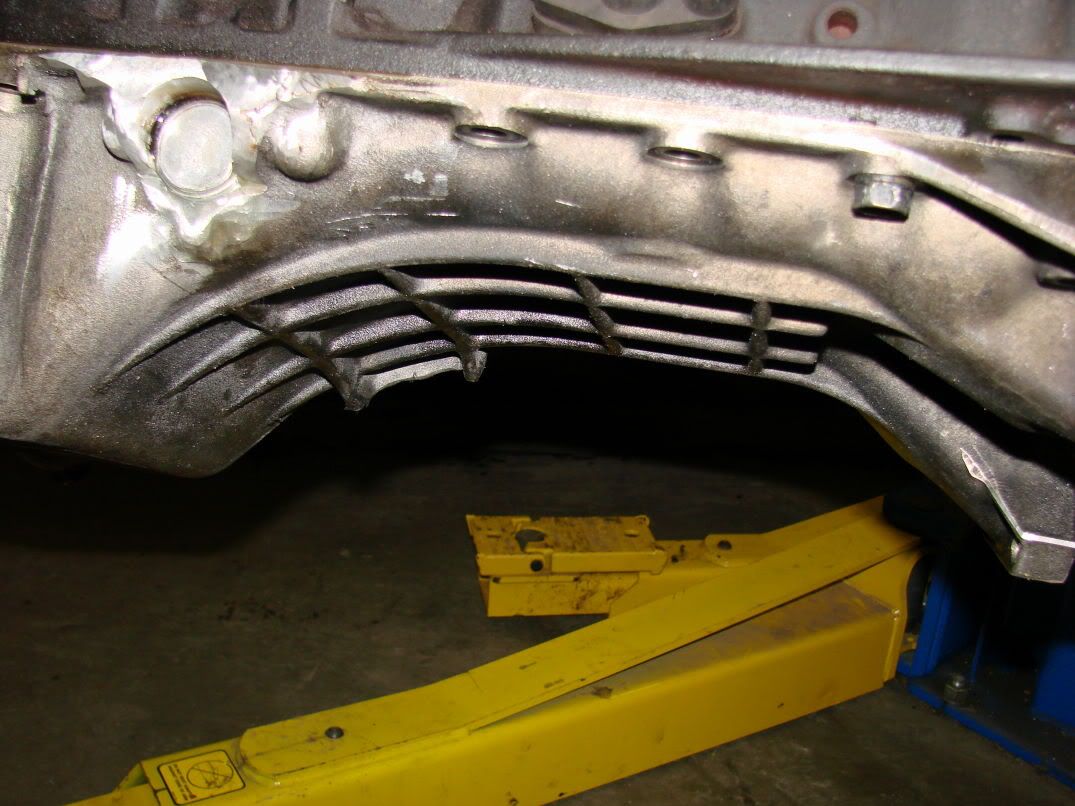 So i crafted up this shim out of 3/4" plywood: 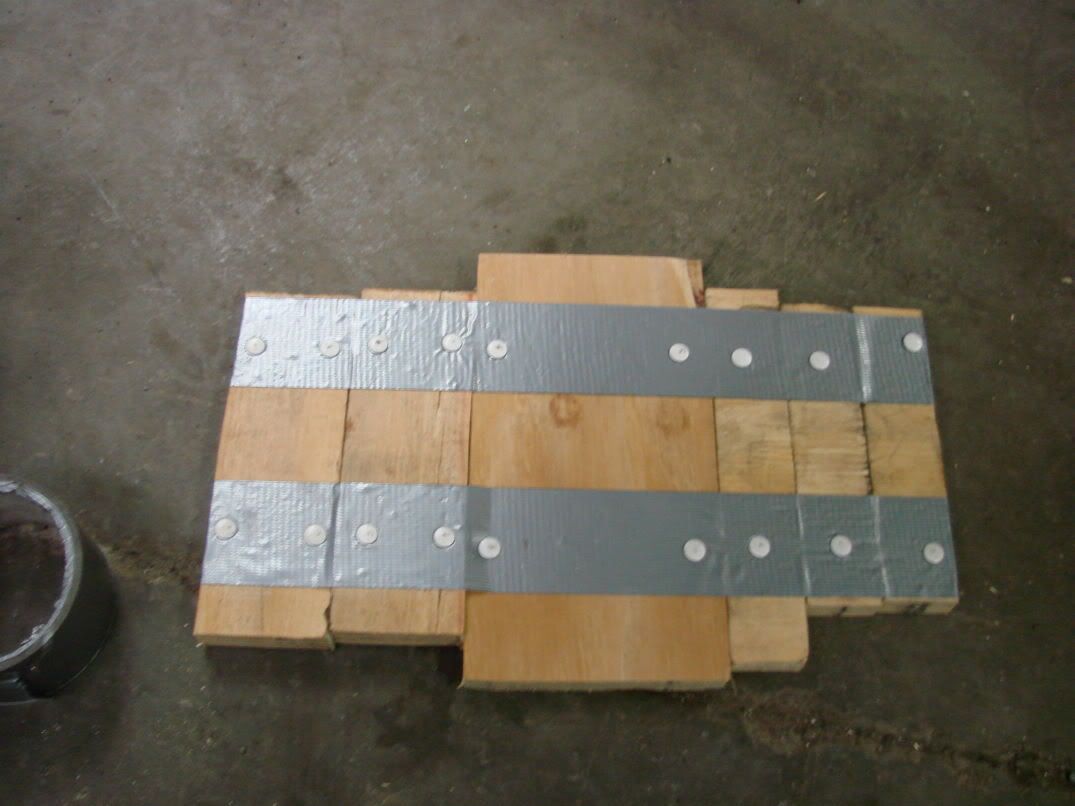 Then installed it with some mechanic's wire. (OK, I lied, I couldn't find any mechanic's wire, so I just jogged some welding wire out of the mig): 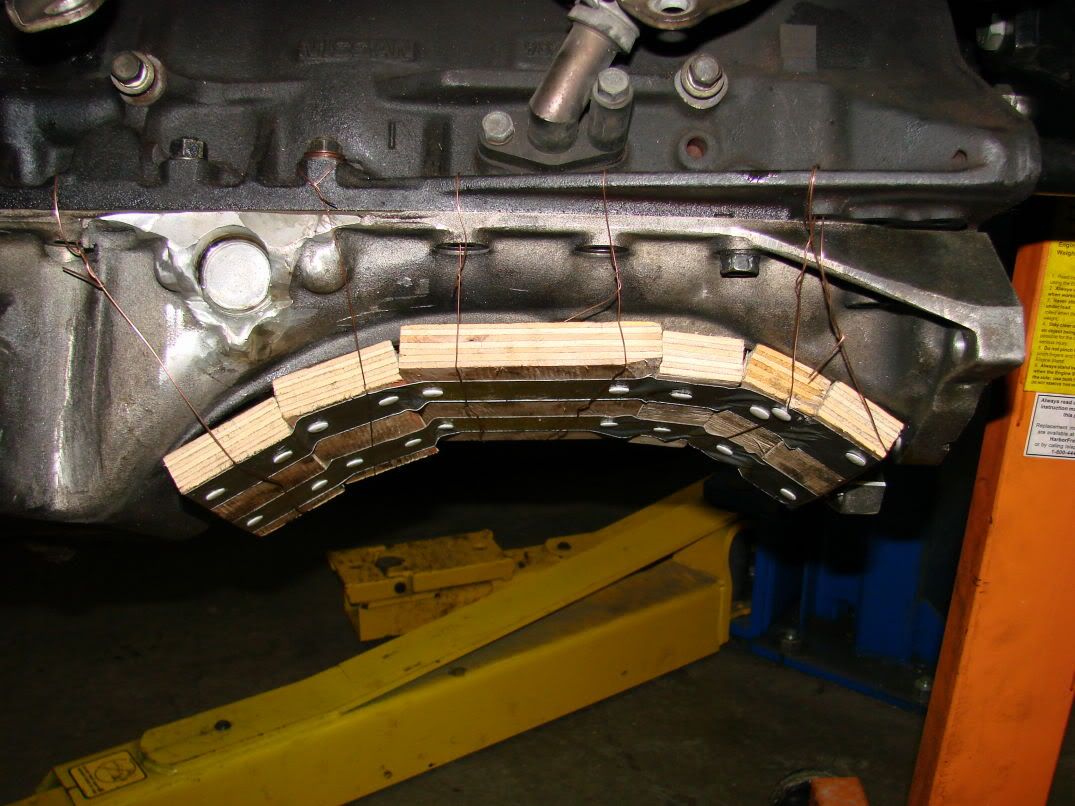 This shim will allow us to set the motor right onto the crossmember, design and build the motor mounts, then the shims will be removed, allowing for the 3/4" of clearance. So we set the motor in the car. We used mike's skyline to get some preliminary measurments and angles. I was really nervous about how the motor would fit, viewed from the rear, but i was quite pleased with the result. Some minor shimming and twisting, and i think we have a very close idea as to a final motor position. We are going to use something like this:  on the flywheel mounting flange to perfectly aim the engine at the rear dif. Here are some pictures of the motor resting in the chassis: 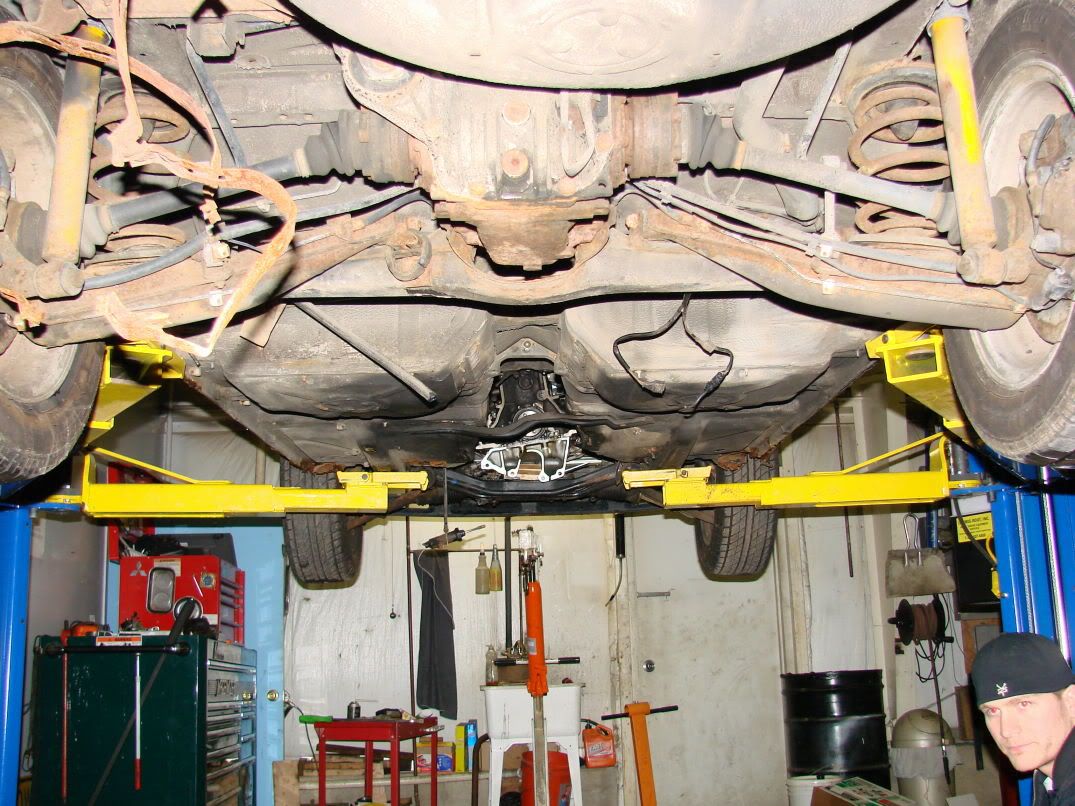 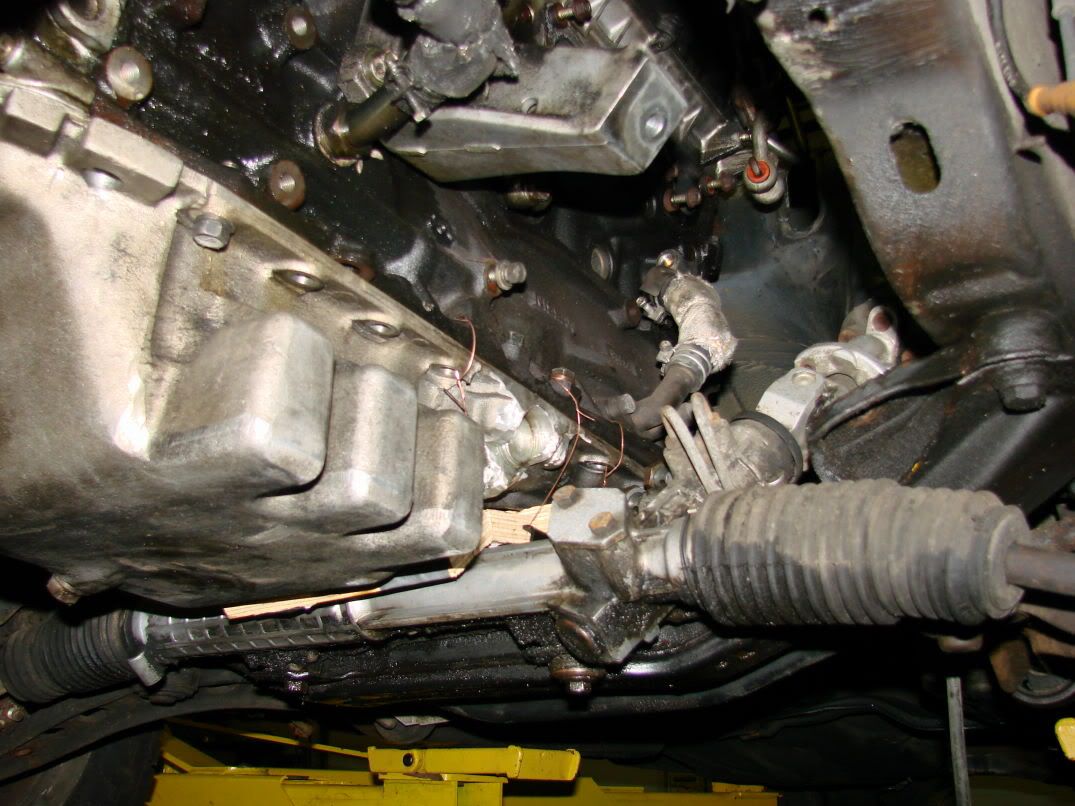 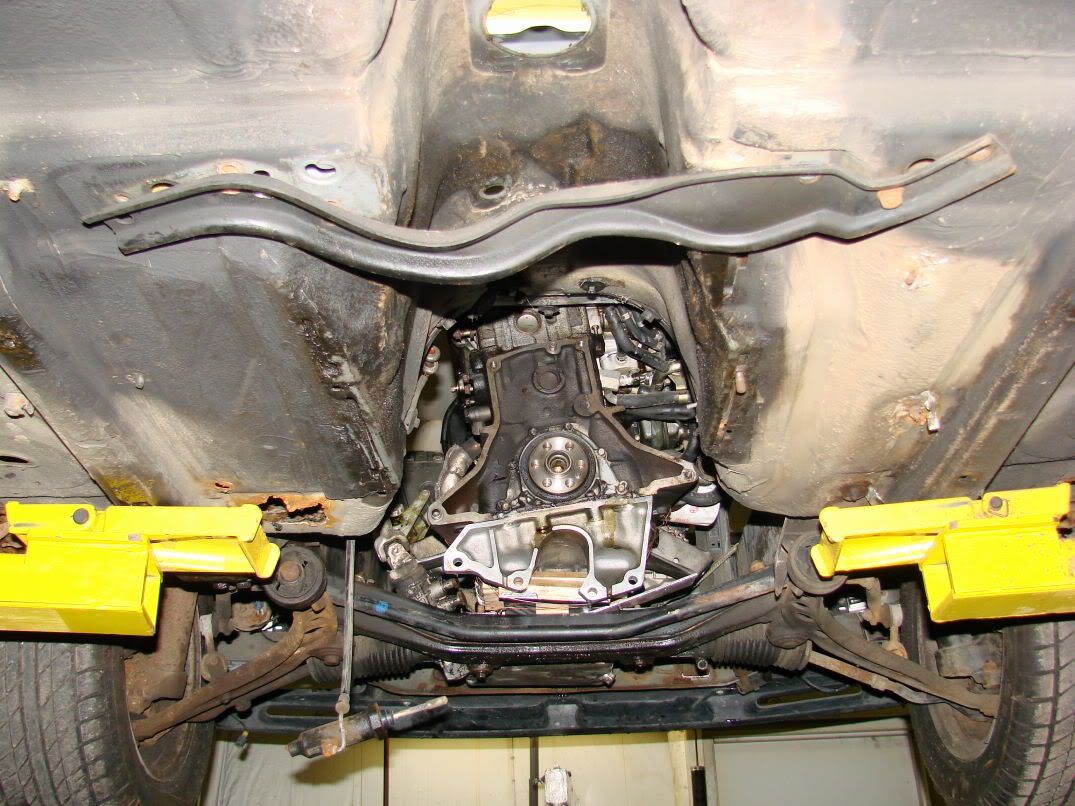 |
|
|
|
|
|
01-14-2007, 04:34 PM
|
#41 |
|
Zilvia Junkie
Join Date: Apr 2004
Location: buffalo,ny
Age: 43
Posts: 541
Trader Rating: (0)
Feedback Score: 0 reviews
|
Sunday:
Got that laser level from harbor freight. They didn't have the 16 dollar one, so i had to buy the one that came with way more bullshit:  It was 40 bucks. Meh, whatever. 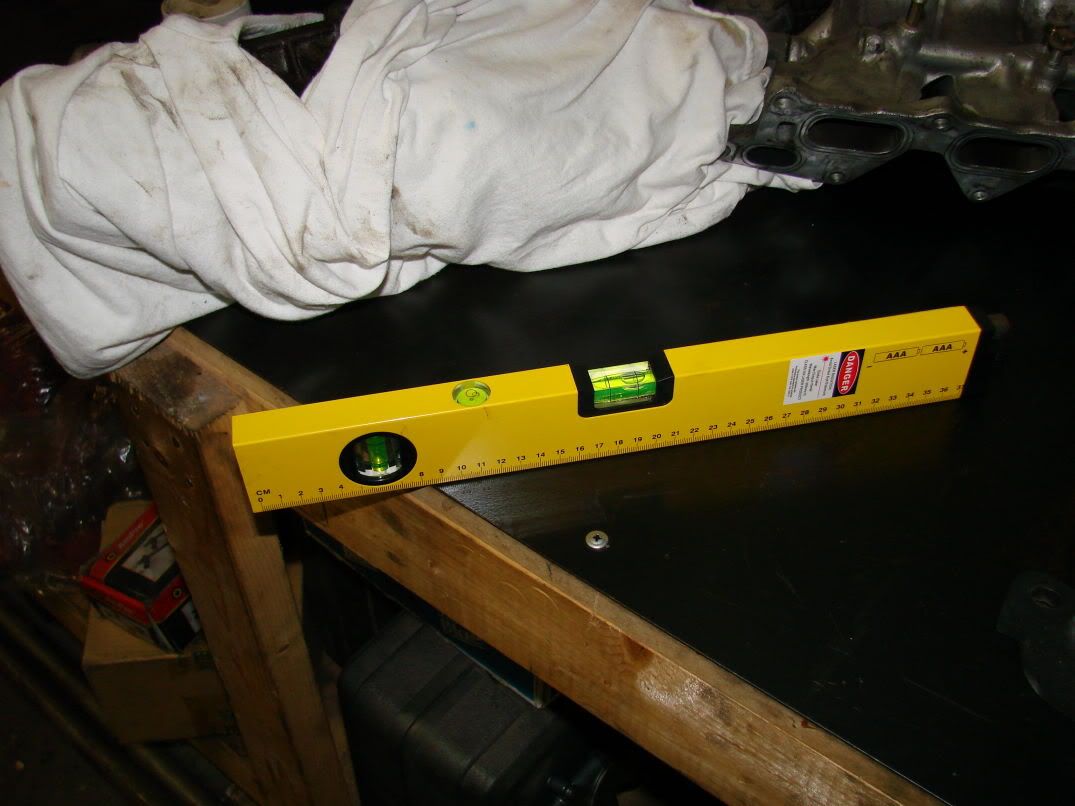 So i butted the end up against the crank snout. Like so: 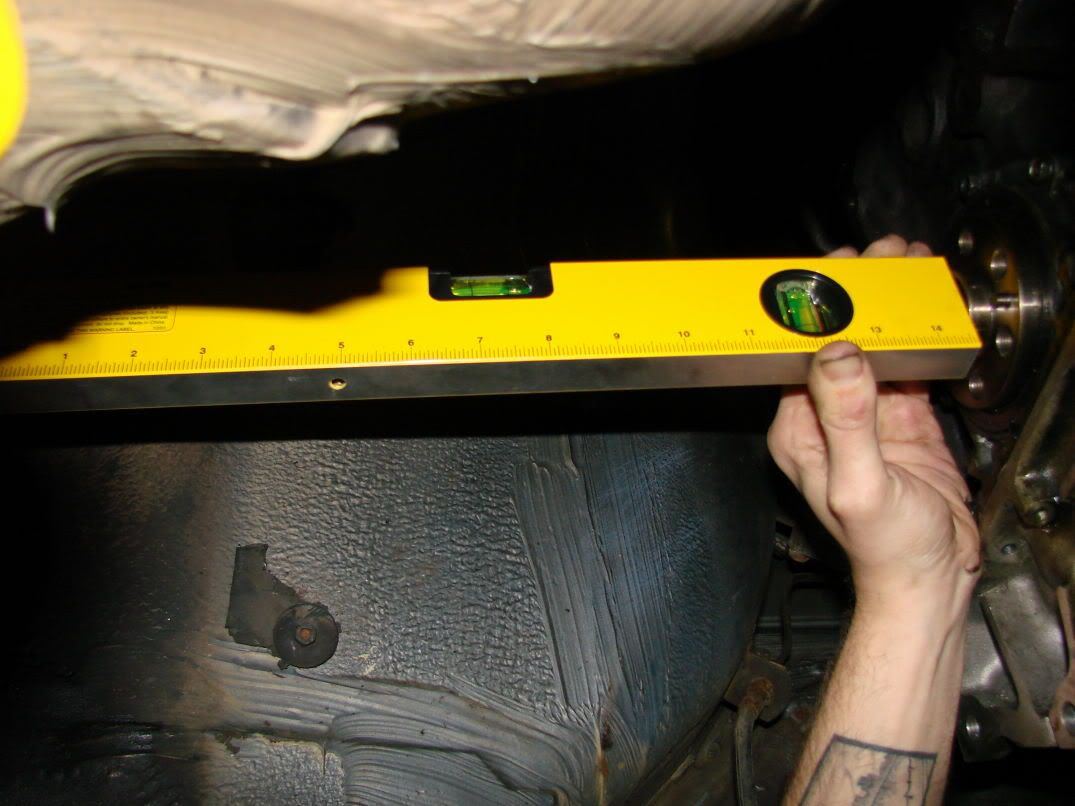 Apparently my "eyecrometer" was right on... If you look carefully you can see the red dot right in the center of the diff flange. 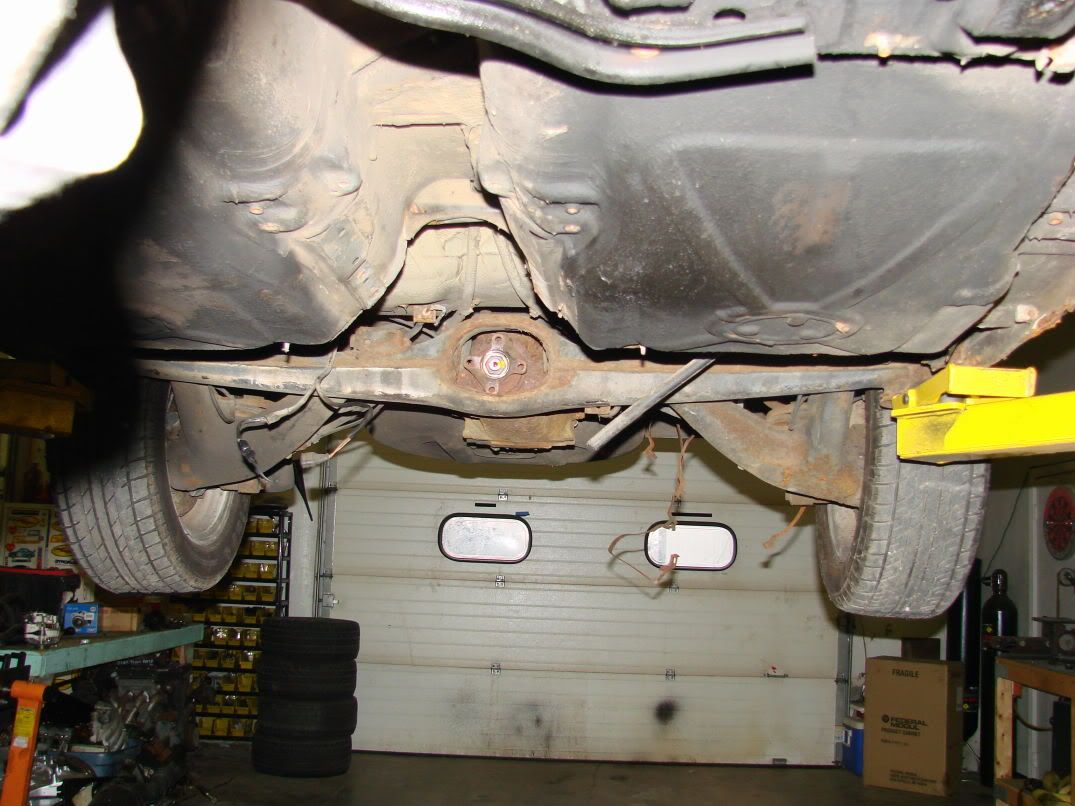 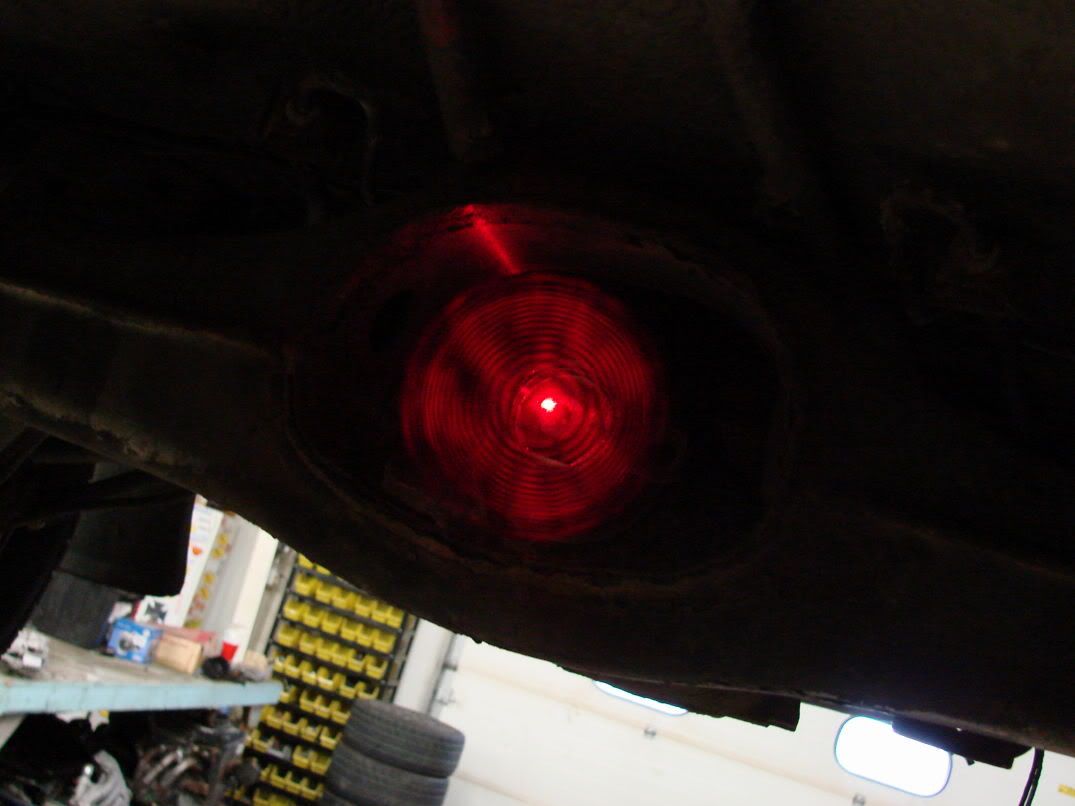 Since i know the motor is more or less in an good position, I started mocking up TEMPORARY motor mounts out of some angle stock i had laying around. I will finish these and post pictures tommorow. 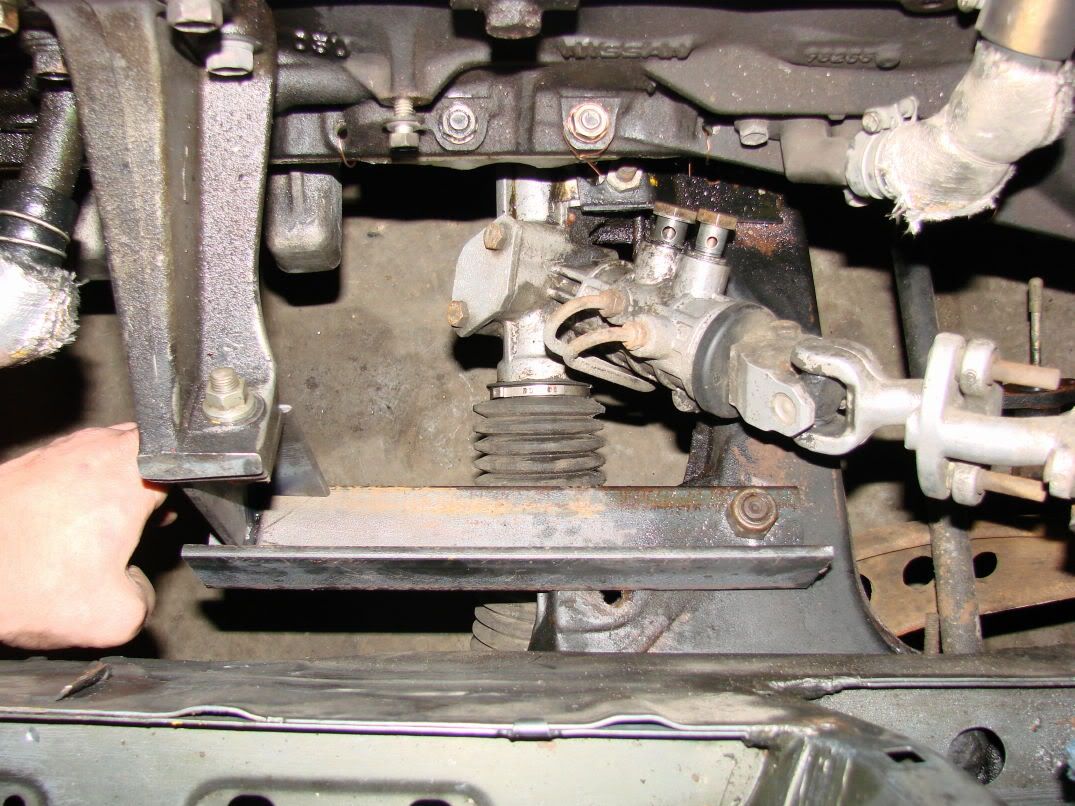 The bolt hole in the lower angle is actually a ball joint on the lower control arm. The actual motor mount bolt is about 3" forward of that. The final finished motor mount will utilize both bolt locations to account for the fact that the motor is creating such a large moment on the crossmember. I may also triangulate the motor mounts forward into the radiator support or simply tie into the "frame rail". Either option will help stiffen the front end up. Much like the nissan "power brace" does on S13s:  |
|
|
|
|
01-14-2007, 04:48 PM
|
#42 |
|
Post Whore!
 
Join Date: Jan 2005
Location: Everywhere
Age: 40
Posts: 5,427
Trader Rating: (9)
Feedback Score: 9 reviews
|
Yes, very nice work so far. It does seem like alot of stress on the crossmember. What about extending the bottom portion all the way to the firewall just to have it supported by 2 points instead of one?
Carlos |
|
|
|
|
01-14-2007, 04:54 PM
|
#43 |
|
Zilvia Junkie
Join Date: Apr 2004
Location: buffalo,ny
Age: 43
Posts: 541
Trader Rating: (0)
Feedback Score: 0 reviews
|
going to the firewall will interfere with some plans for the exhaust, but as i said, i may extend the mount forward, or simply weld a second bolting tab to the chassis...
|
|
|
|
|
01-14-2007, 05:31 PM
|
#45 | |
|
Zilvia Junkie
Join Date: Apr 2004
Location: buffalo,ny
Age: 43
Posts: 541
Trader Rating: (0)
Feedback Score: 0 reviews
|
Quote:
|
|
|
|
|
|
01-14-2007, 06:13 PM
|
#47 |
|
Zilvia FREAK!
 
Join Date: Oct 2006
Location: Salt Lake City
Age: 36
Posts: 1,154
Trader Rating: (0)
Feedback Score: 0 reviews
  |
dude. we have the same haircut. im not emo tho
__________________
The gap between MORE and ENOUGH never closes.  DriftUtah | UtahNissans | MySpace | I <3 Drifting.  Keep it Real. Keep it Real.Secret Society |
|
|
|
|
01-16-2007, 06:57 AM
|
#50 |
|
Zilvia Junkie
Join Date: Apr 2004
Location: buffalo,ny
Age: 43
Posts: 541
Trader Rating: (0)
Feedback Score: 0 reviews
|
Temporary motor mounts: COMPLETE
Finished up the temporary mounts. They are very secure, but obviously, there is some flexure from the length of the moment arm. Extending the mounts forward appears to be the most viable option, so i'll probably go that route for the final product. The final mounts will be laser cut and formed, not this hackneyed jumble of structural steel. Next step: cut out tunnel/floor as needed and build transmission mount.... 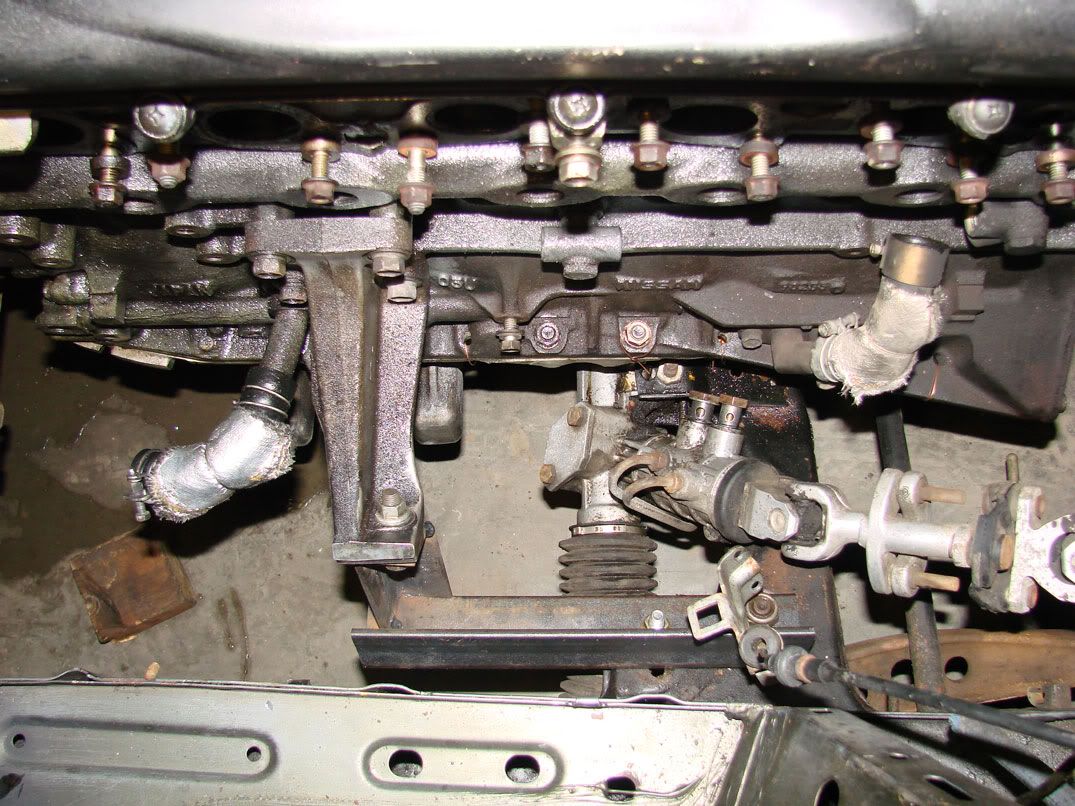 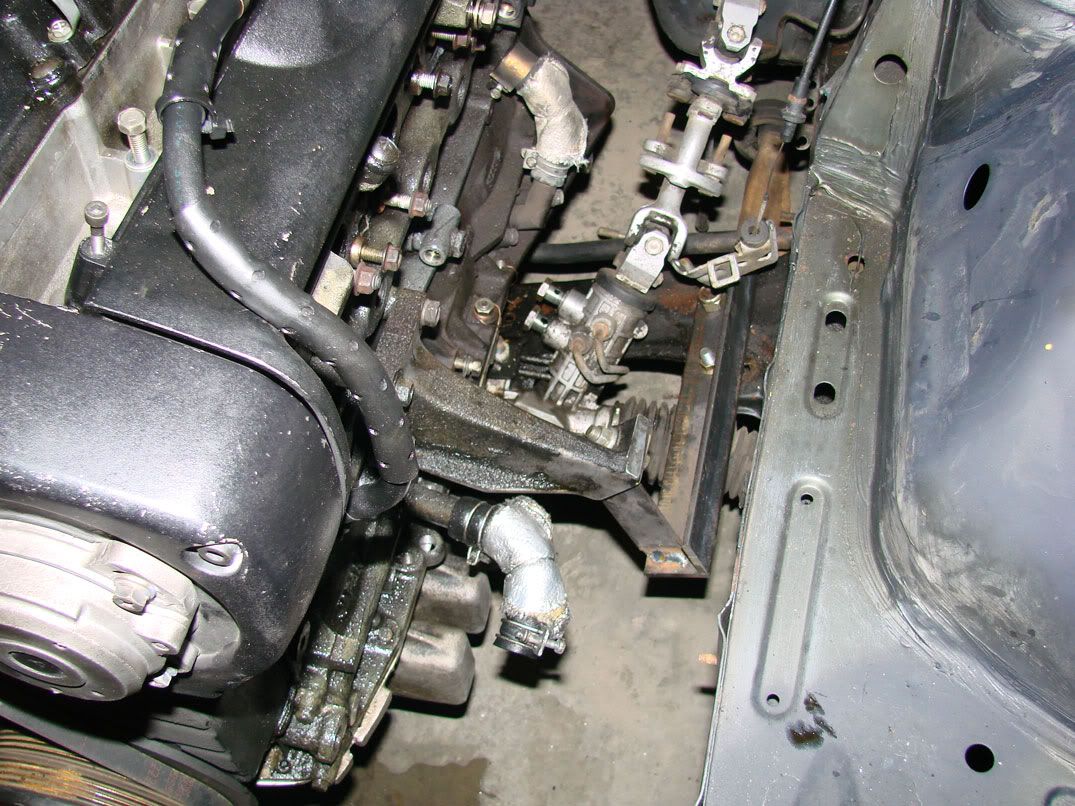 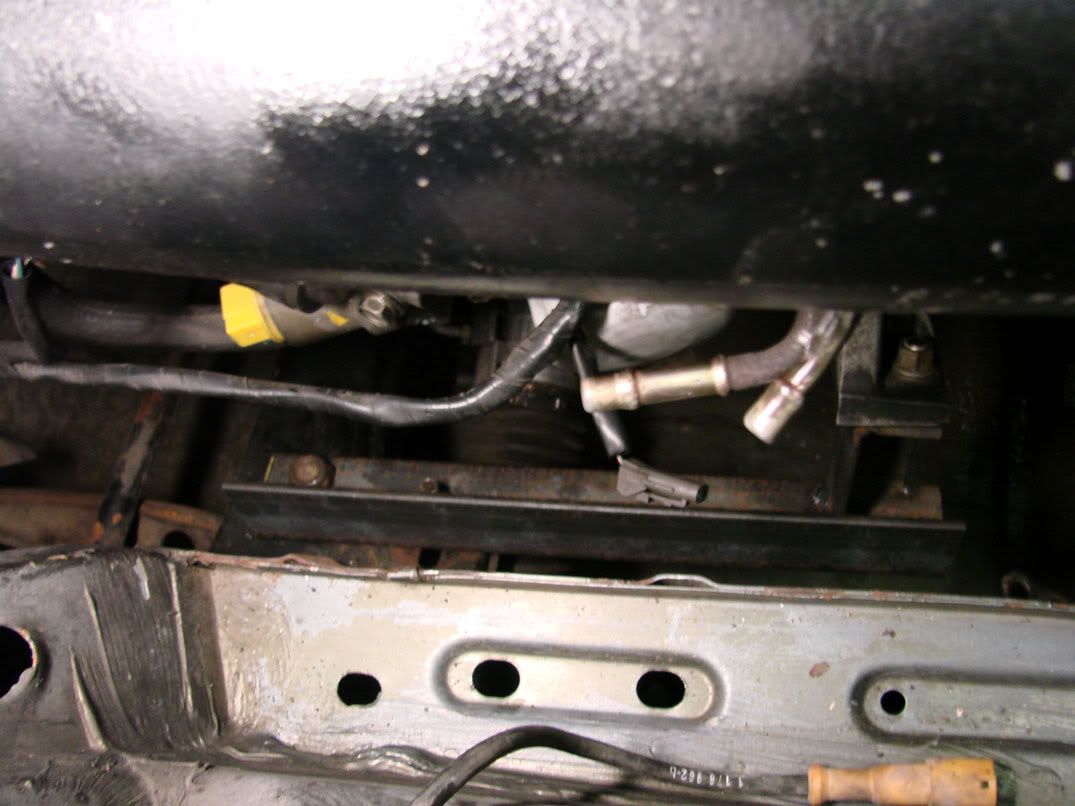 |
|
|
|
|
01-16-2007, 08:19 AM
|
#53 | |
|
Zilvia Junkie
Join Date: Apr 2004
Location: buffalo,ny
Age: 43
Posts: 541
Trader Rating: (0)
Feedback Score: 0 reviews
|
Quote:
It's not stress in though mounts, though, it's torsional stress caused by the huge moment arm. I am planning on extending the mount to the front radiator support, such that i convert a single cantilever support into a cantilever+pin beam or, even better, a dual cantilever... I am not going to make the final mounts until after the charge piping, transmission mount and tunnel are complete. This will allow me to use the shortest OAL for the intake tract. As far as design considerations are concerned, the motor mount is VERY flexible. |
|
|
|
|
|
01-16-2007, 08:29 AM
|
#54 |
|
Post Whore!
Join Date: Jan 2005
Location: Everywhere
Age: 40
Posts: 5,427
Trader Rating: (9)
Feedback Score: 9 reviews
|
Word, I don't know what you just said, but it sounds like you know what you are doing.
Here is another suggestion... what about using the frame rails like this...?  This creates more of a 60 degree support compared the the reaching out support. Carlos |
|
|
|
|
01-16-2007, 08:50 AM
|
#55 |
|
Zilvia Member
Join Date: Sep 2004
Location: Macon, GA
Age: 38
Posts: 244
Trader Rating: (0)
Feedback Score: 0 reviews
|
Are you planning on cleaning and repainting the gutted interior (if it stays gutted) to match the car? Paint the engine bay? That entire motor and engine bay could use a real cleaning and painting.
Car and project looks bitchin, though. Keep it up!!!
__________________
Real sports cars don't have cup holders. HKS SSQV and Type-I Turbo Timer FOR SALE |
|
|
|
|
01-16-2007, 09:01 AM
|
#56 | |
|
BANNED
 Join Date: Mar 2004
Location: Midlothian. VA
Posts: 2,050
Trader Rating: (0)
 Feedback Score: 0 reviews
|
Quote:
i think the crossmember is stronger than the frame rail on that car |
|
|
|
|
|
01-16-2007, 09:13 AM
|
#57 | |
|
Zilvia Junkie
Join Date: Apr 2004
Location: buffalo,ny
Age: 43
Posts: 541
Trader Rating: (0)
Feedback Score: 0 reviews
|
Quote:
correct. If i use the frame rail for anything at all, it will be to tie into for additional support. As far as cleaning the car, the whole car is going to be repainted, as is the motor. However, the flash on my camera makes it look WAY worse than it really is. When people come into the shop and see the car after seeing pictures online, they are shocked at how clean it ACTUALLY is. I have to figure out how to turn down the flash.  The final step for the car will be a cage, seats, new carpet, new dash, rotas :P and paint. |
|
|
|
|
|
01-16-2007, 09:16 AM
|
#59 | |
|
Zilvia Junkie
Join Date: Apr 2004
Location: buffalo,ny
Age: 43
Posts: 541
Trader Rating: (0)
Feedback Score: 0 reviews
|
Quote:
That's a good idea, but the frame rails' design isn't inherently strong torsionally. I need to transfer as much of the weight of the engine over the x-member as i can. |
|
|
|
|
|
01-16-2007, 09:18 AM
|
#60 | |
|
Post Whore!
Join Date: Jan 2005
Location: Everywhere
Age: 40
Posts: 5,427
Trader Rating: (9)
Feedback Score: 9 reviews
|
Quote:
Carlos |
|
|
|
|
|
| Bookmarks |
|
|


 Linear Mode

