|
|||||||
| Builds (and builds only) Got a build thread? It goes here, build threads anywhere else on the forum will be locked and never moved. |
 |
|
|
Thread Tools | Display Modes |
|
|
 02-05-2018, 09:44 PM
|
#1 |
|
Zilvia Member
 
|
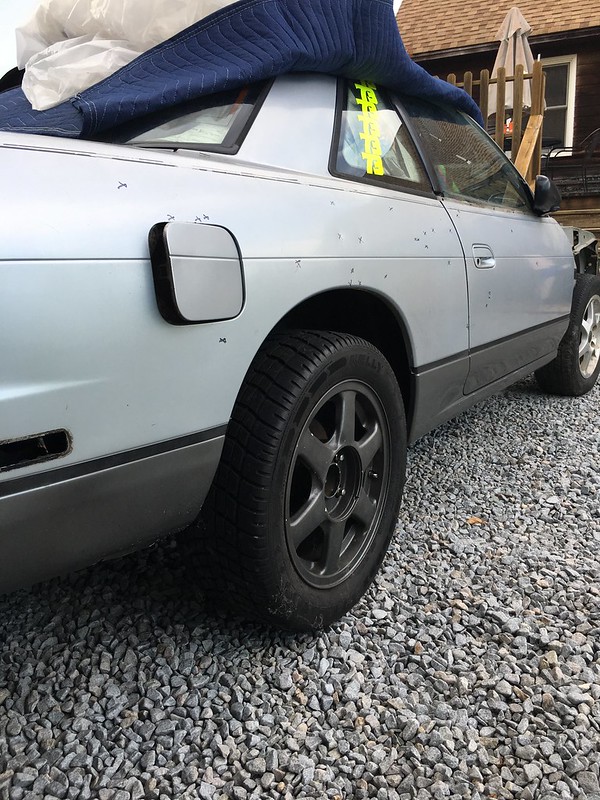
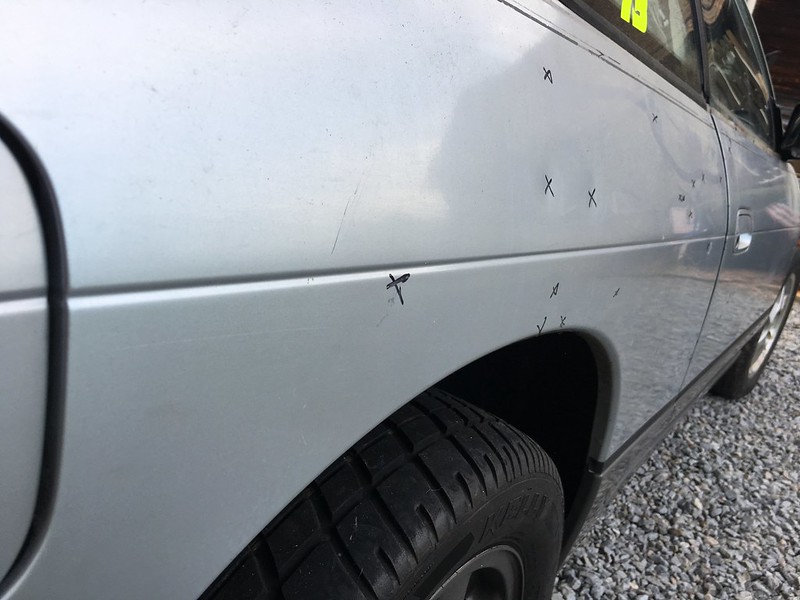
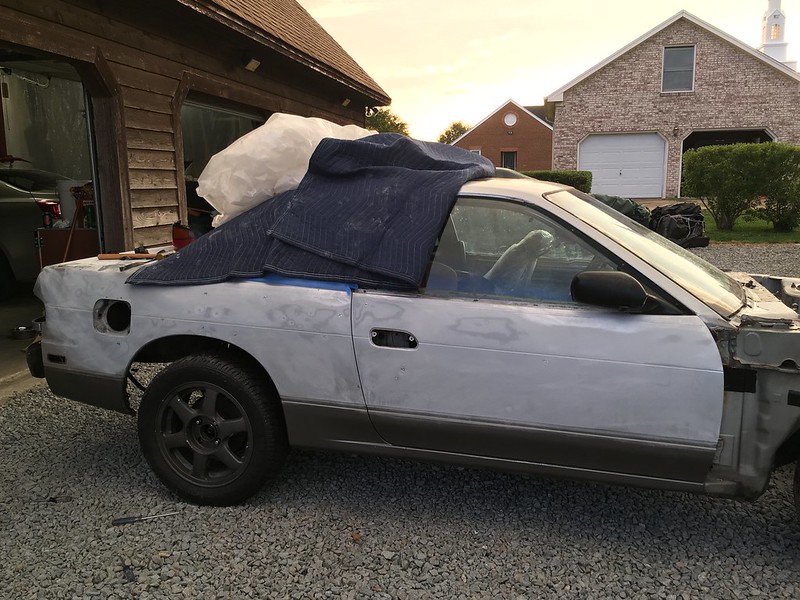
Around last Julyr my friends and I rolled the car outside to start blocking the car and marked out all the dents as well. The poor car is littered with them.
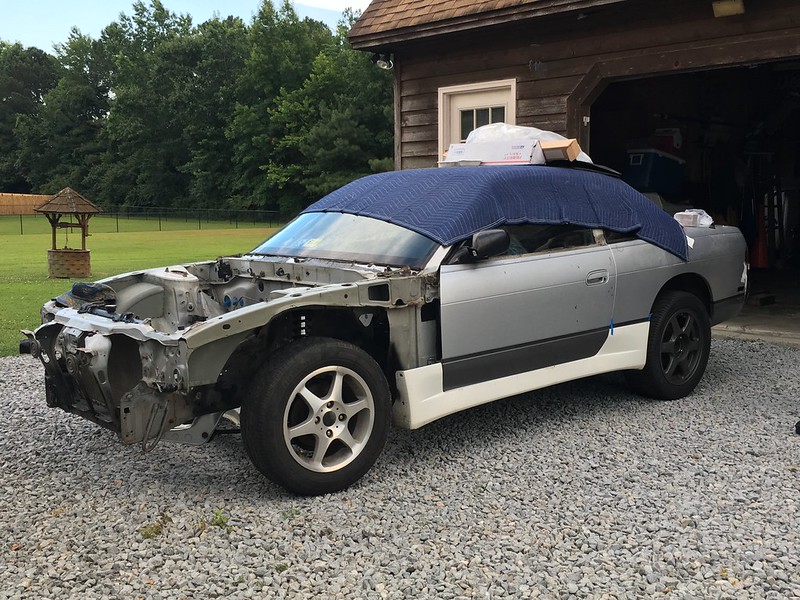    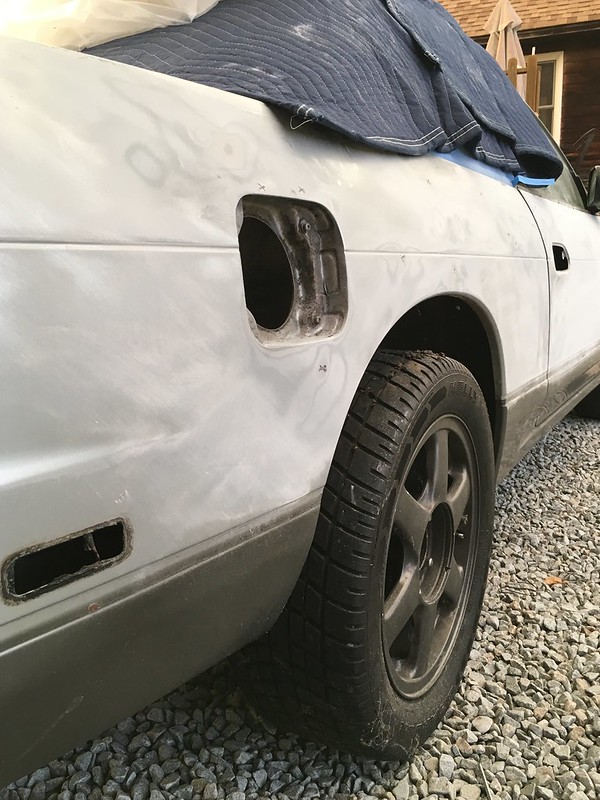 A reminder of how disgusting and dirty this car was when I found it. 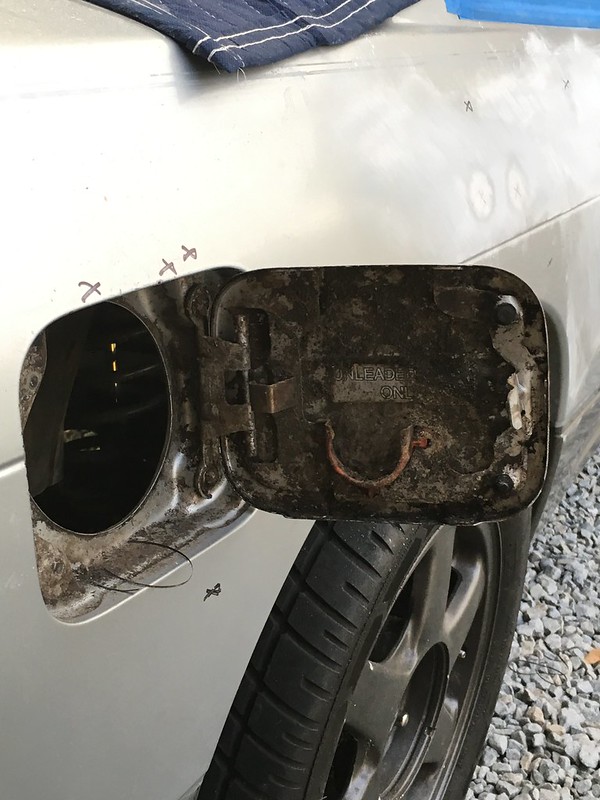 The donor car I got the trans from had a little mishap and the timing chain guides wedged up with the timing chain. Resulting in oil being all over the place not to mention years of the normal grime. So my friend and I got to cleaning. 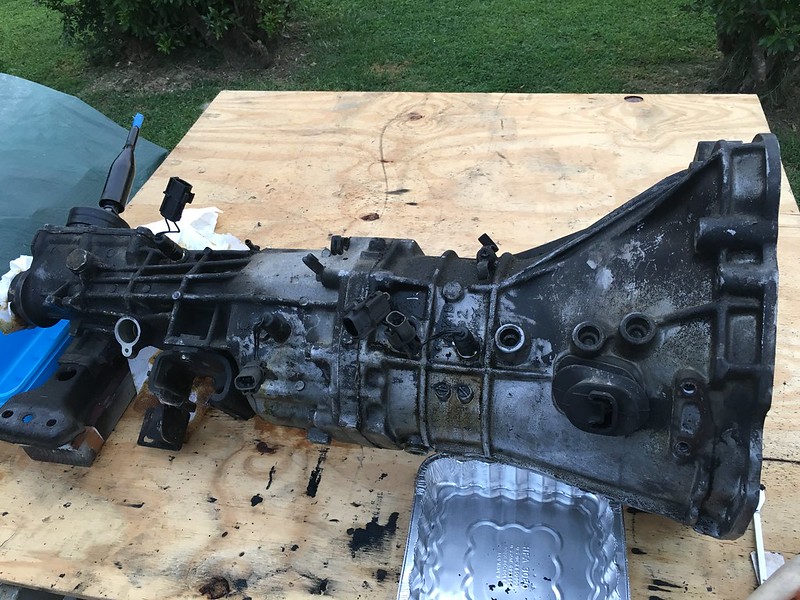 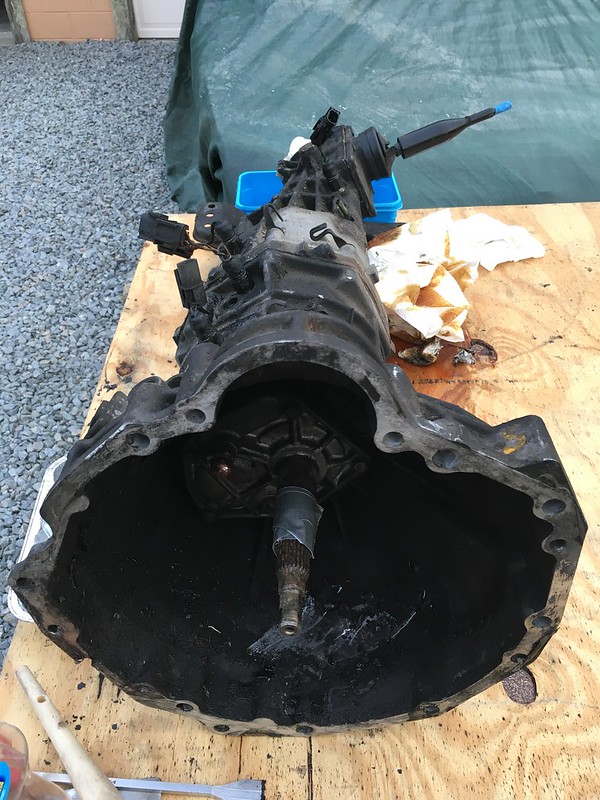 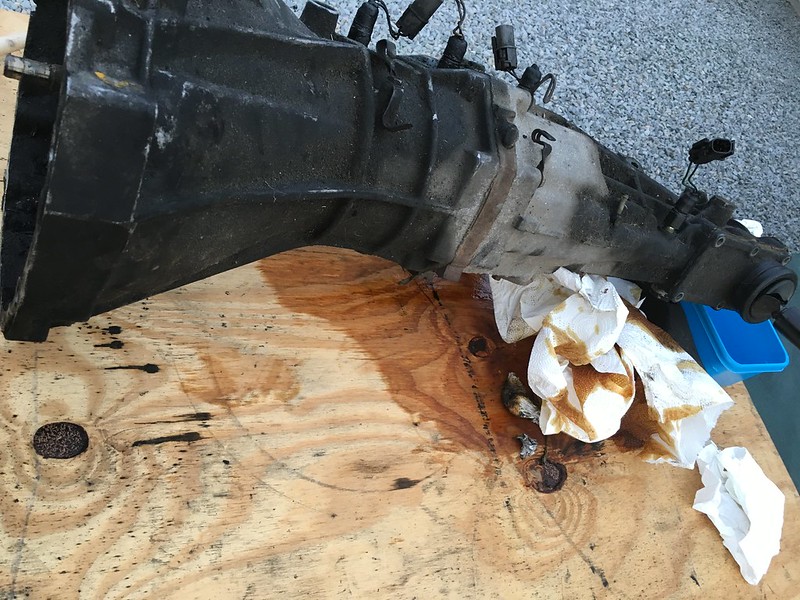 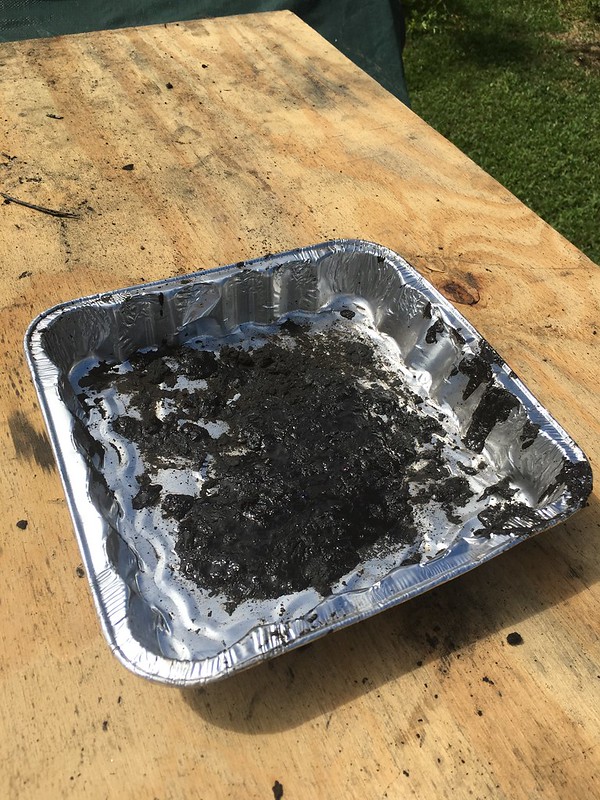 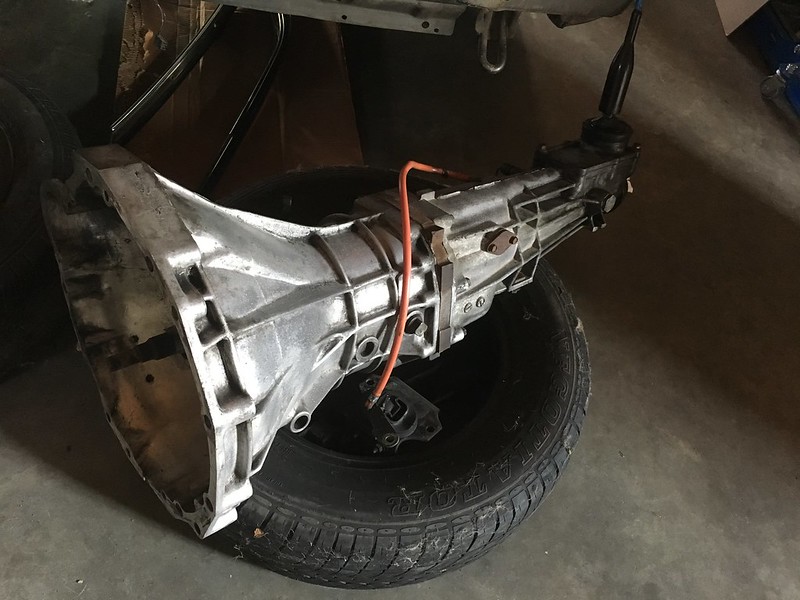 August rolled around and I found a deal on a Silvia front I couldn't pass up. The front included OEM metal fenders. They had a ridiculous thin layer of plastidip sprayed on them. I ended up spraying a couple coats of plastidip in order to remove the original layer. It worked pretty well except for on the top halves of the fenders. WD40 did the trick to remove what was left over. 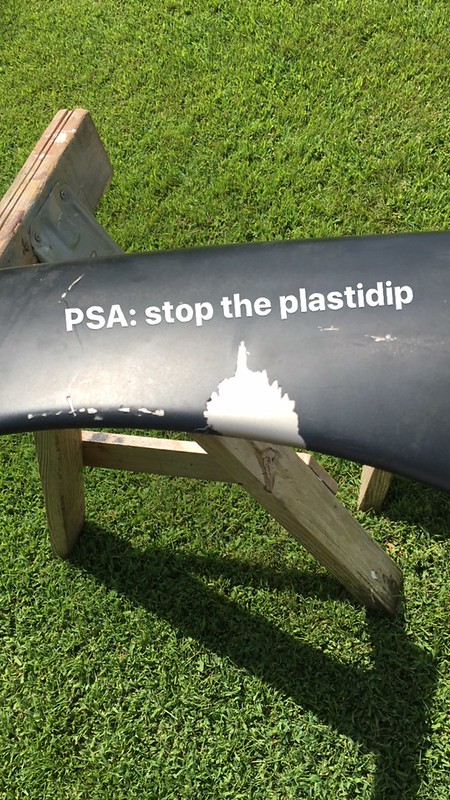 These trips and the bumper are for sale btw!! Check the VA FS posts. 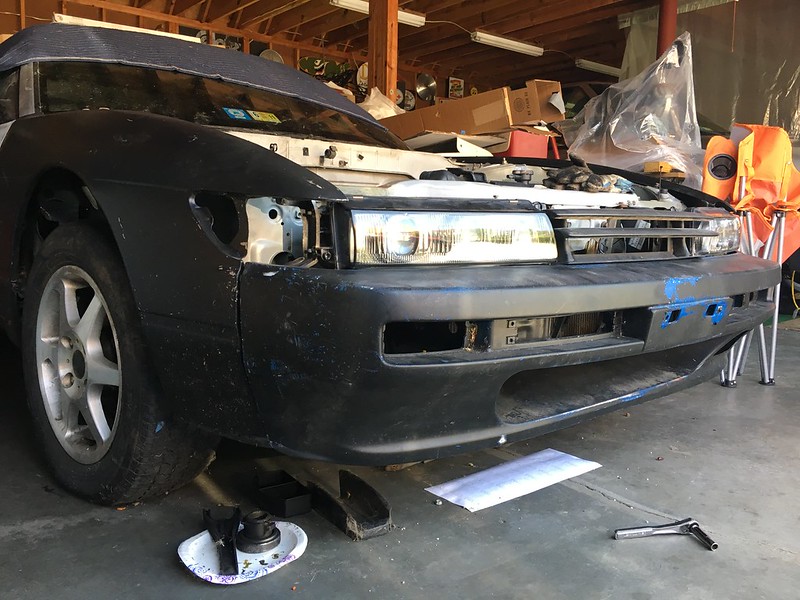 One of our kittens helping out. 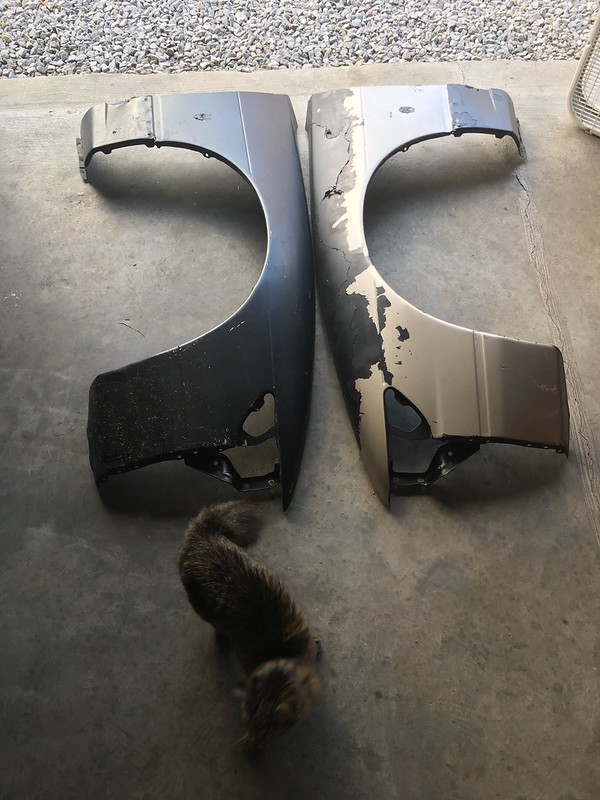 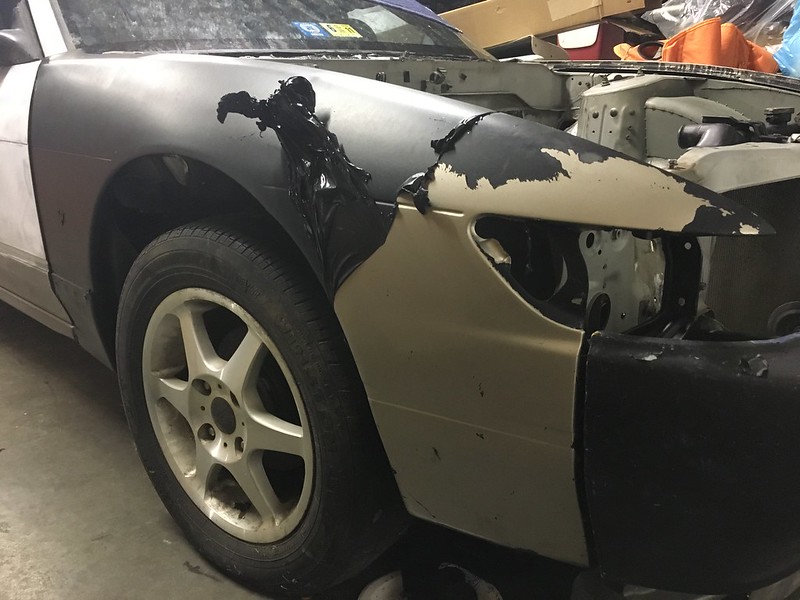 Quick test fit of the Advan Onis on the front. Ft. our bipolar tabby. Also the reason I keep the roof covered... the cats love sitting up there. 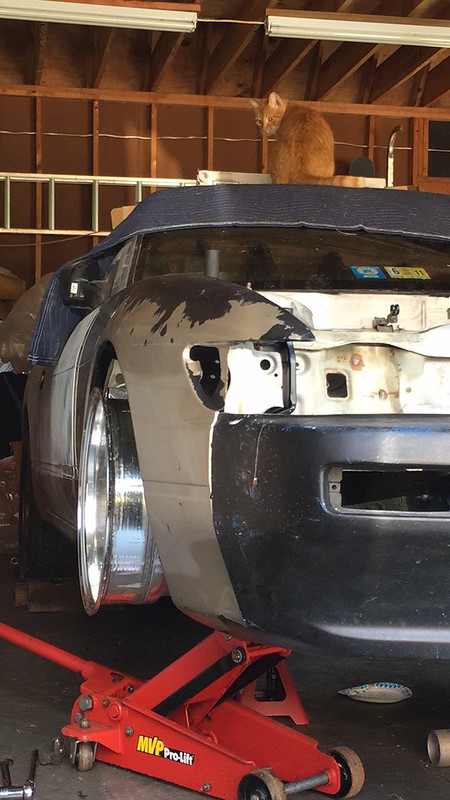 September, I picked up a Bride Artis 1.2 as well for a good price. The bottom of it still needs to be re-glassed.  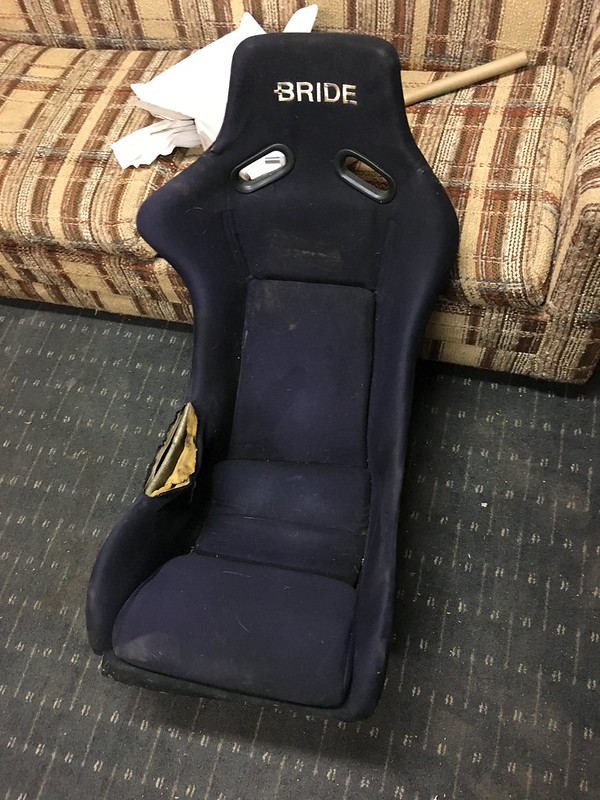 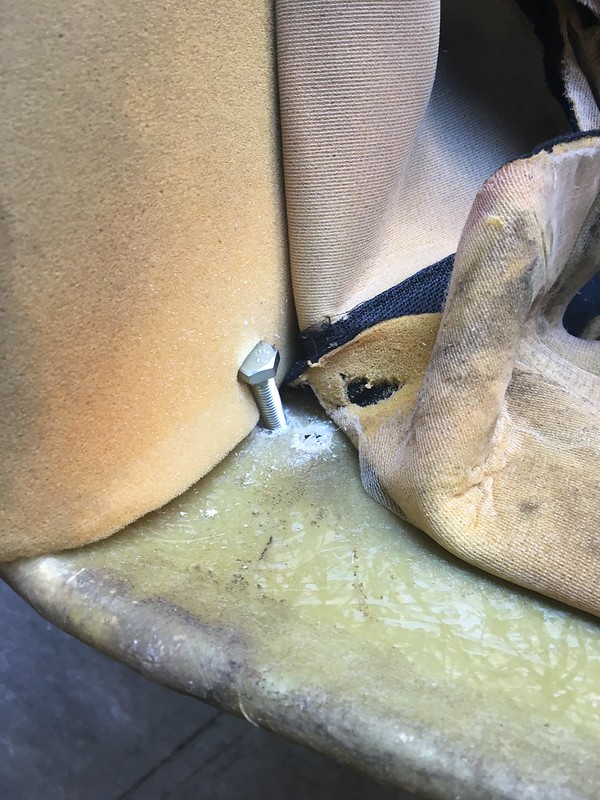 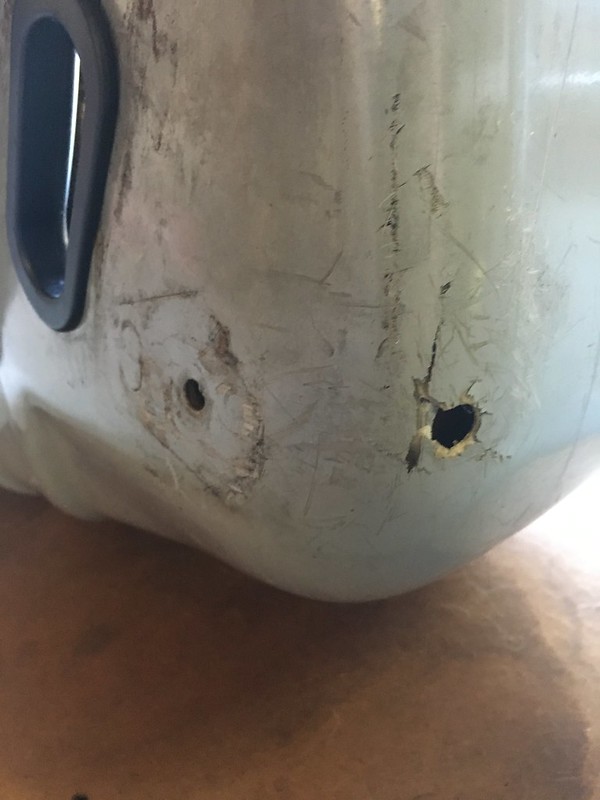 Stripped it all down to clean the fabric and add new foam. 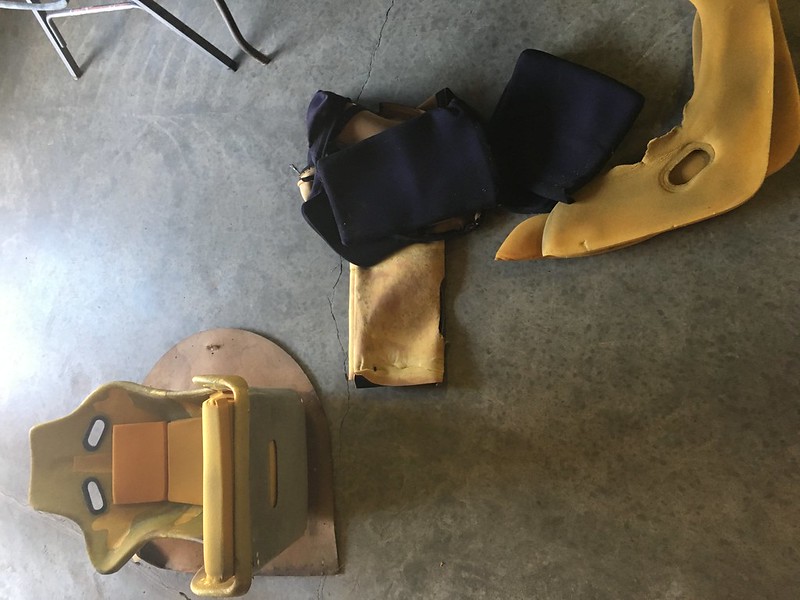 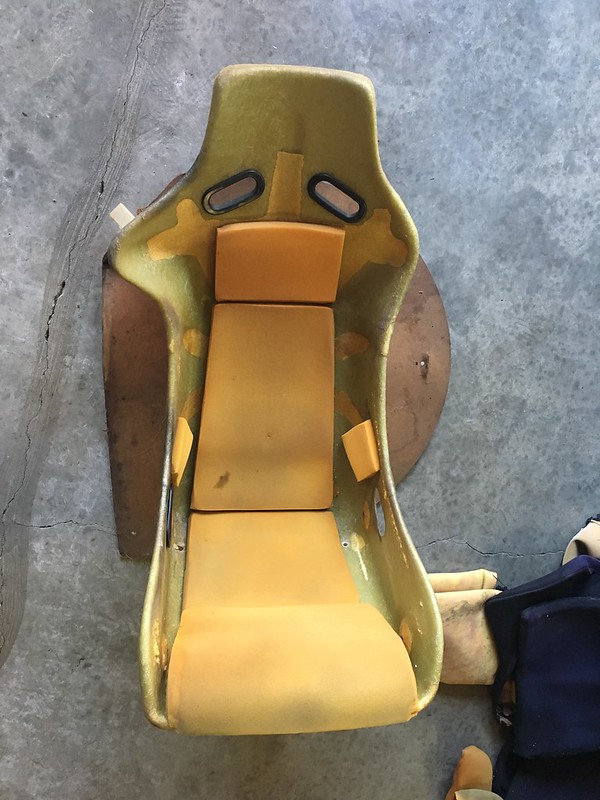 I just need to get a headpad for it and it'll be good to go... 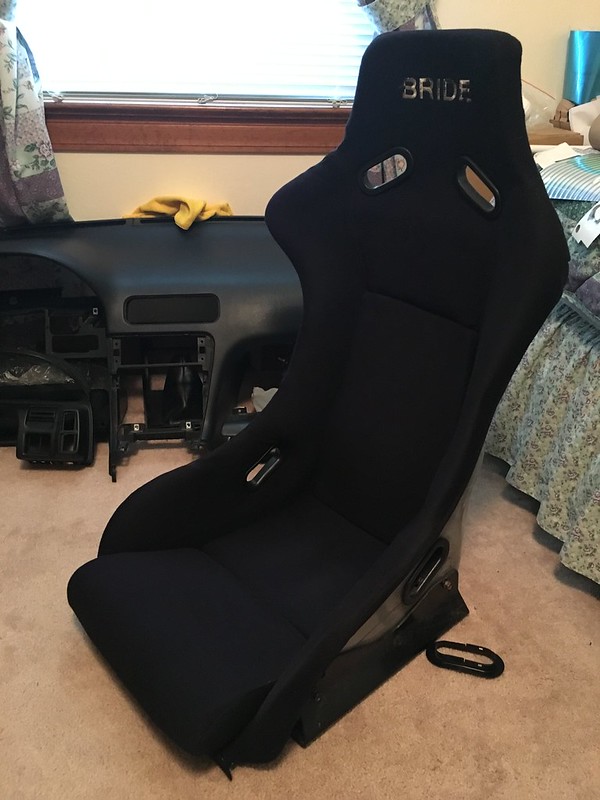 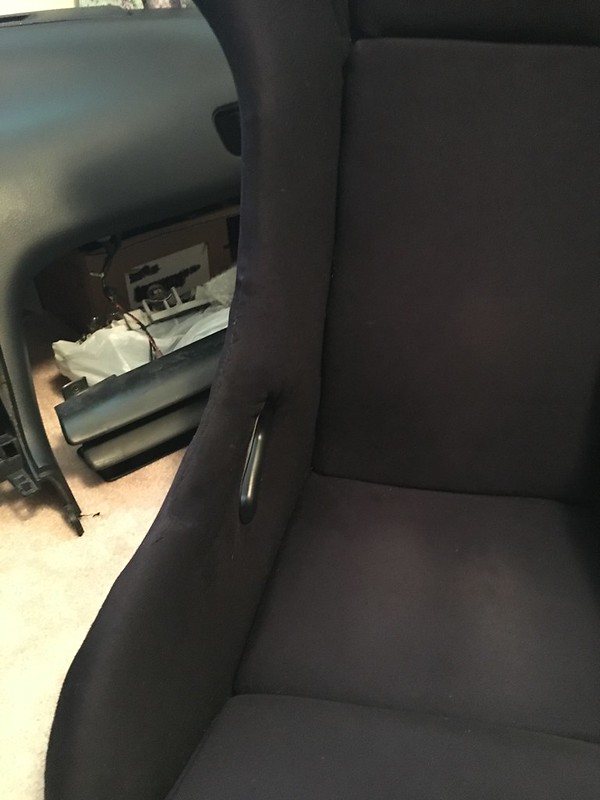 I was able to meet Koguchi at the Quickstyle event and we exchanged stickers. I cut him a Koguchi Power sticker I had drawn up for a work project. It's awesome he posted a picture of it on his IG account! 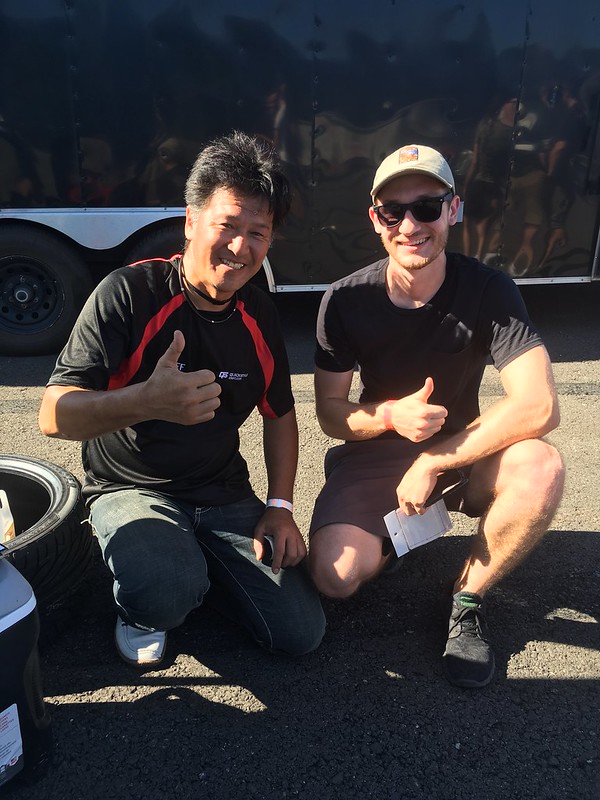 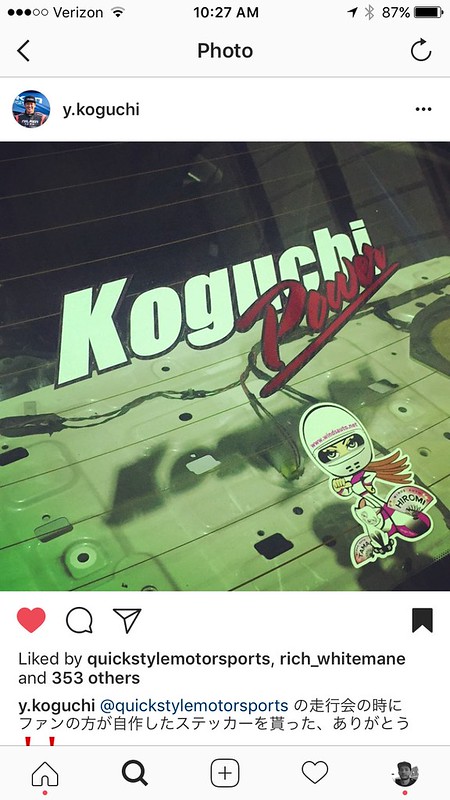 My friend Josh decided to ruin my bay harness with me..  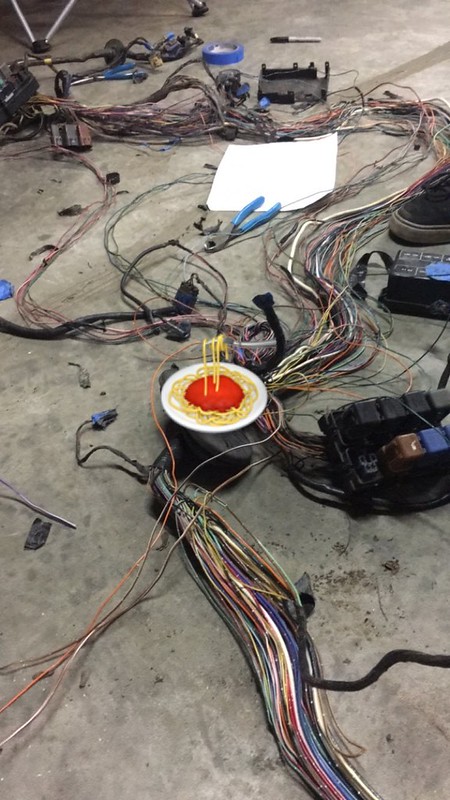 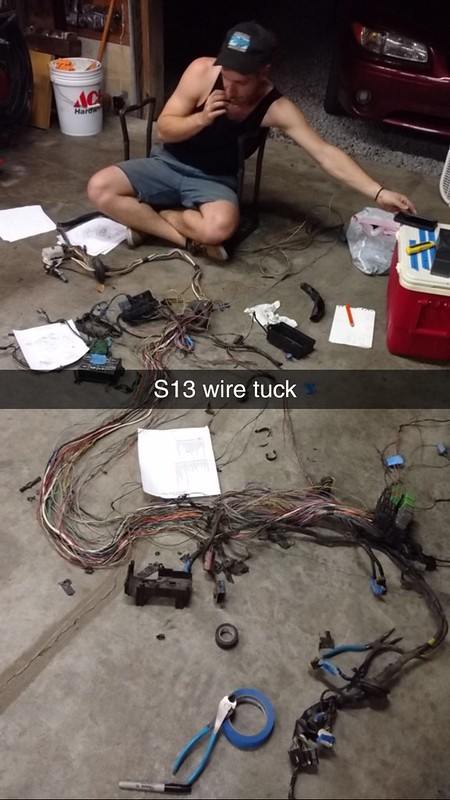 Cleaned up what I guess is the OEM doughnut. 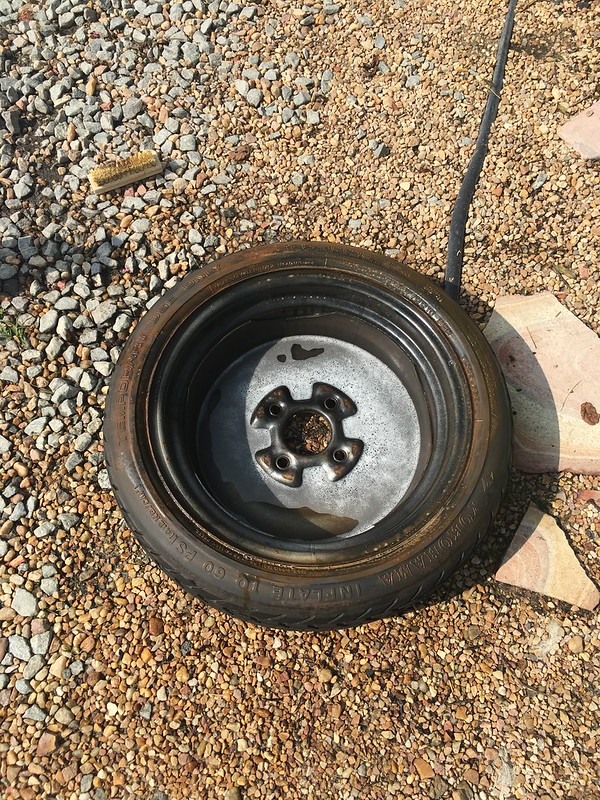  We did a quick test fit of the dash to line up the fuse boxes with the glove box and see how much space was available. 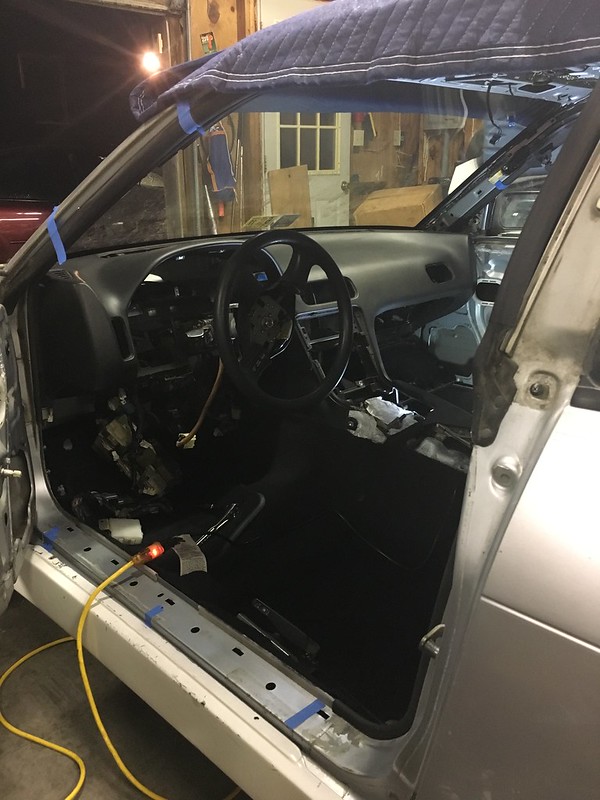 Replaced the upper control arms on my dad's truck and test fitted the wheels he should be running! 15x10 AR blades. 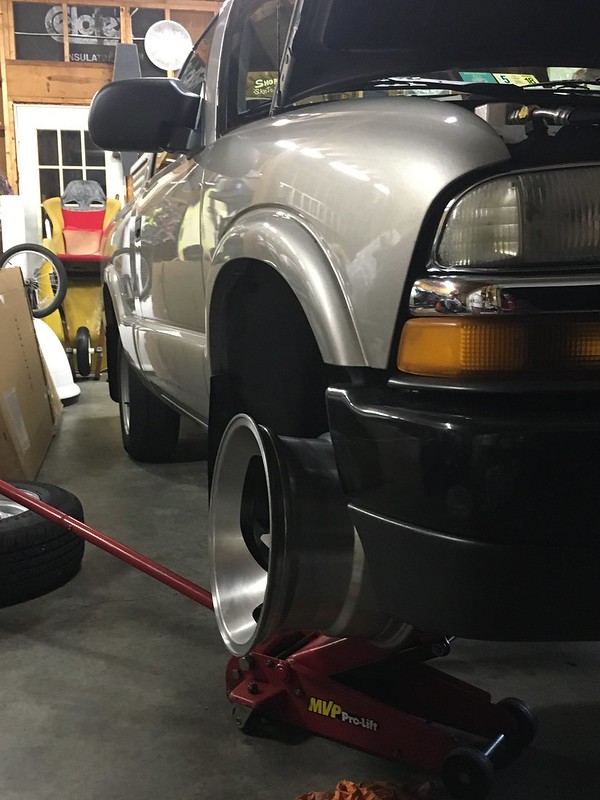 Cleaned up the steering firewall boot with a repaint and new seal. Also painted the steering shaft while I was at it. 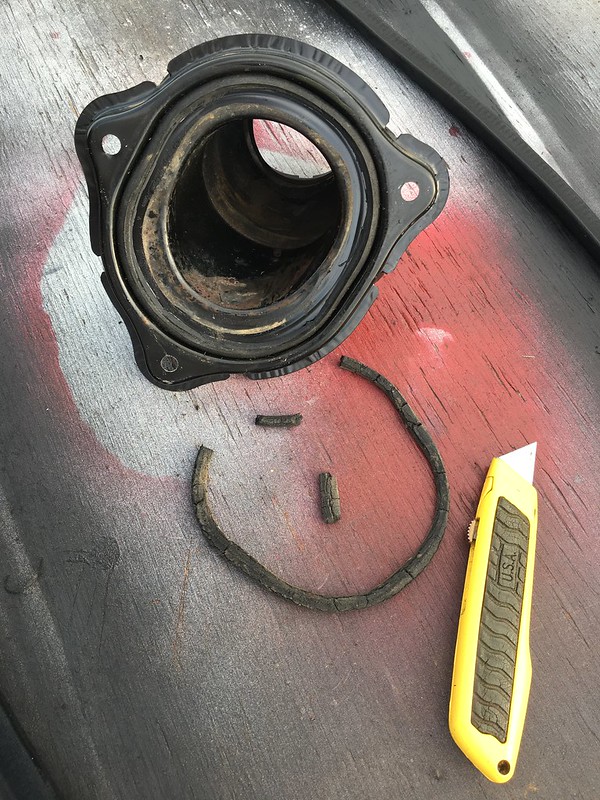 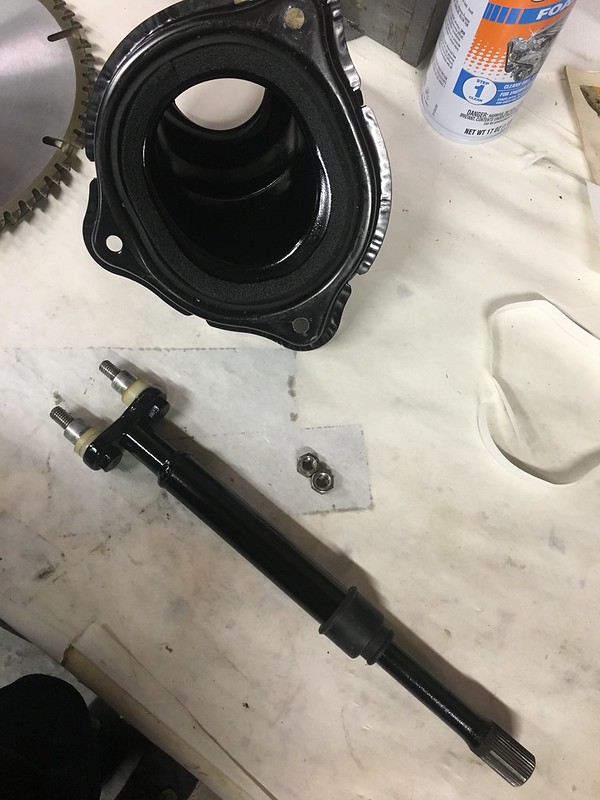 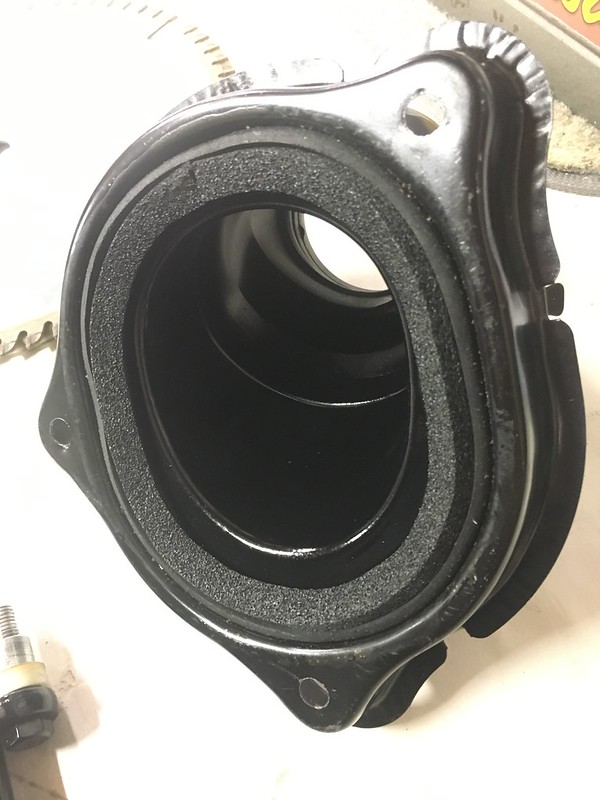 So in October I ordered the aero for my car through Mastermind NA. They were super helpful and professional. The parts finally arrived last Wednesday. TBO front bumper and their rear spoiler. Neither one was fitted properly for the pictures. Just simple mock up. Also the first time I've had the Onis on the car front and rear. 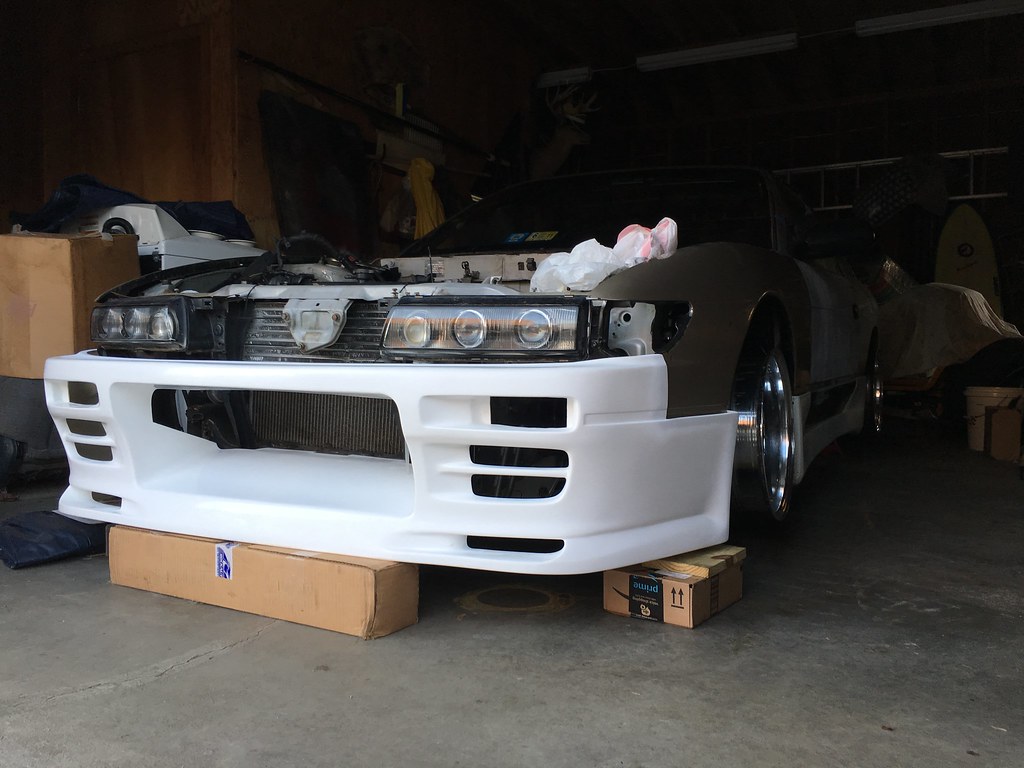 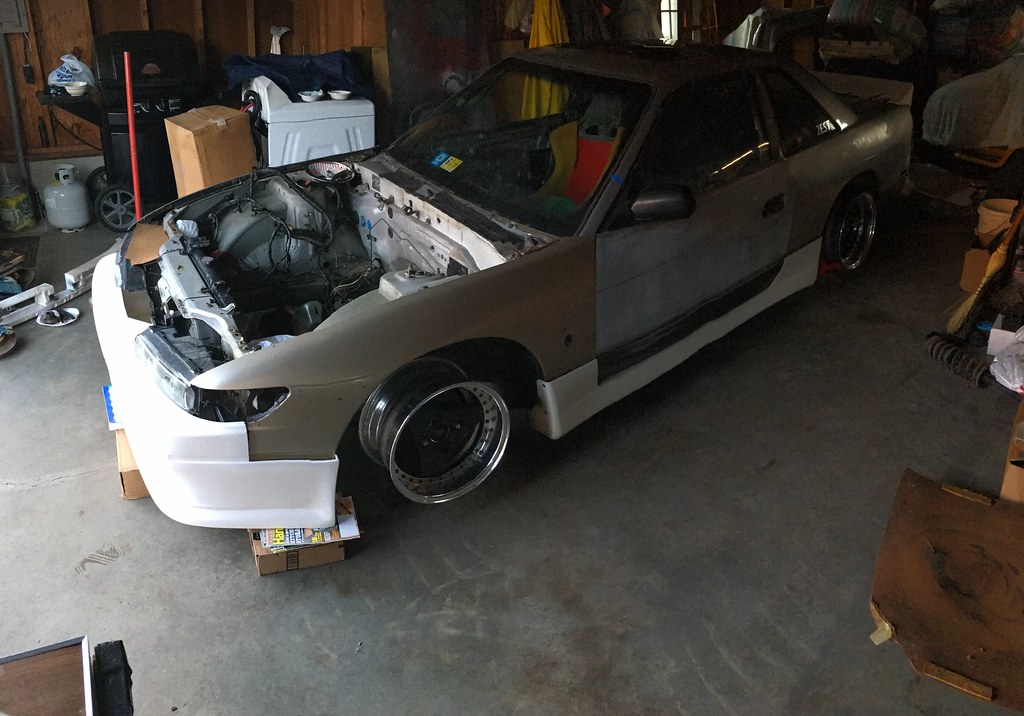 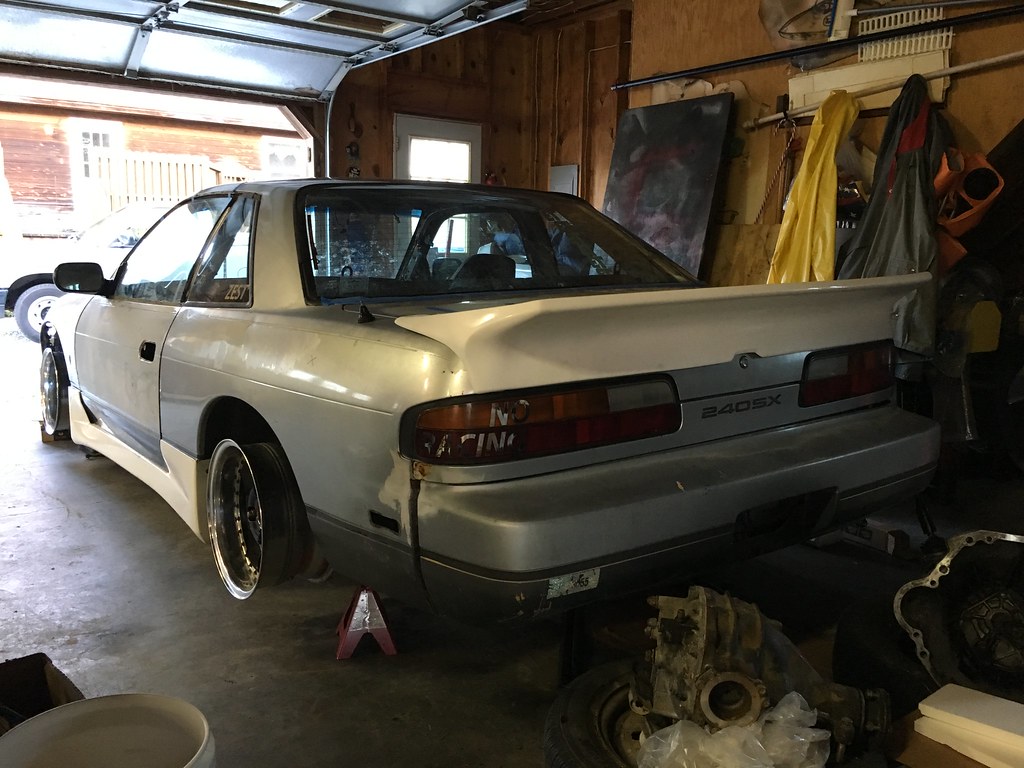 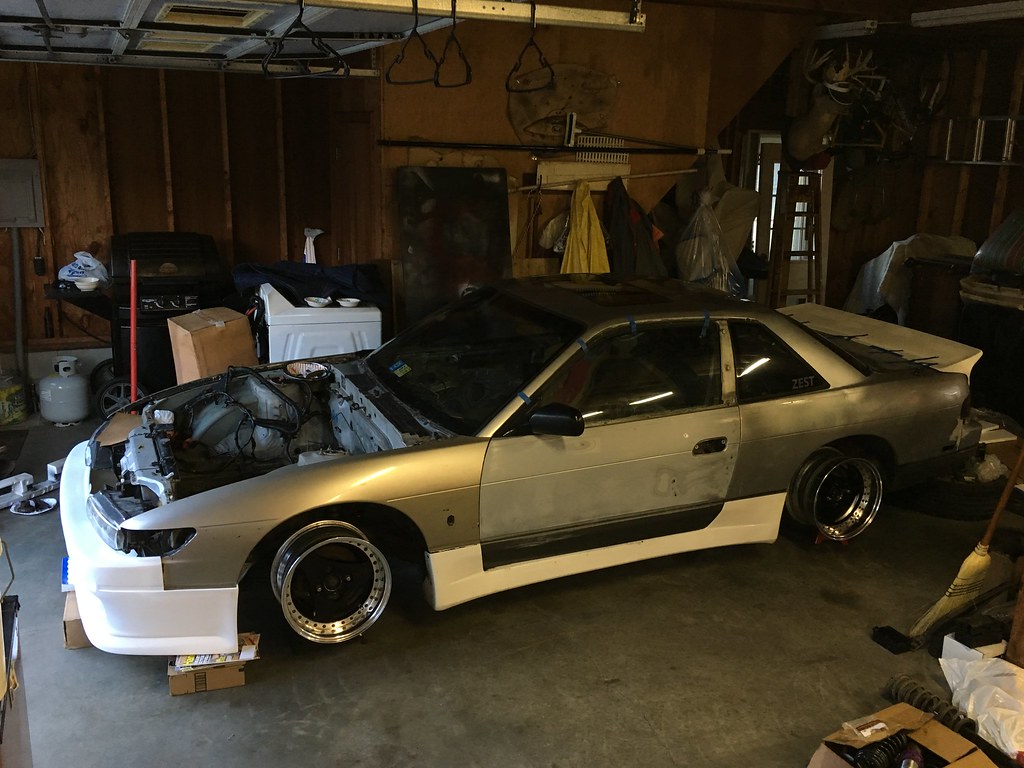 I'm really motivated to move forward and finish up the work that needs to be done. Maybe this will be updated in another 6 months.. |

|

|
| Sponsored Links |
|
01-26-2021, 08:25 AM
|
#2 | |
|
Zilvia Member

|
Quote:
 Great progress so far! Also, great choice re-stripping your bay and putting a new coat of primer. Etch primer isnt great, a better product you want for bare metal is a 2k epoxy primer, which seals the metal from moisture, especially in an engine bay that sees a ton of moisture and isn't sealed like the inside of the car. I'll be following to see your progress! Bring this to Spirit.JP once it's done  |
|
|
|
|
|
04-08-2021, 11:00 AM
|
#3 | |||
|
Zilvia Member
|
Quote:
Quote:
Quote:
So that's what I ended up spraying. I had some of it flash dry and stick into the wet primer. I've got filler primer over it and I'm trying to wet sand down all the nubs of paint without cutting through the epoxy. Frustrating to say the least. I'm planning to spectate Spirit.JP later this summer, hope I'll catch you there! No telling if the car will make it though ahah but that is the goal. |
|||
|
|
|
|
04-14-2022, 01:28 PM
|
#5 |
|
Zilvia Member
|
Spring/Summer 2021, all of this work was finished around October 2021. Funny enough I?ve moved to another state and not worked on the car since Zilvia went down. This is the progress made so far. I plan to return home and finish the wiring, fuel system and at least get the car inspected and registered before relocating the car. It?s feeling closer and closer to being completed, so it?s been good.
I rolled the car outside to do the final wet sand and cleaning before painting.   Prepping and shooting in the garage was not easy at all. This all was done by rattle can. Products used are Spraymax 2k primer, Automotive Touch Up 463 Dark Gray Metallic and Spray Max 2K Gloss. I think it turned out fairly nice given all the circumstances and it being the first time I?ve done a project this large.     With the bay painted, re-assembly has officially started.      I worked on the rear fitment. I went for more of a quarter pull rather than a flared roll.    As I said re-assembly had begun and with that it was time to toss in the engine I had picked up in 2020. Massive shoutout to all my friends and family that helped. Nick, Taylor, Dylan and Aaron all helped to get this engine together before I moved. My father and I dropped it into the bay together. A lot of sweating and careful movement was involved. Looking back I almost wish I had cut the core support and set it up for easy removal. Alas here we are. 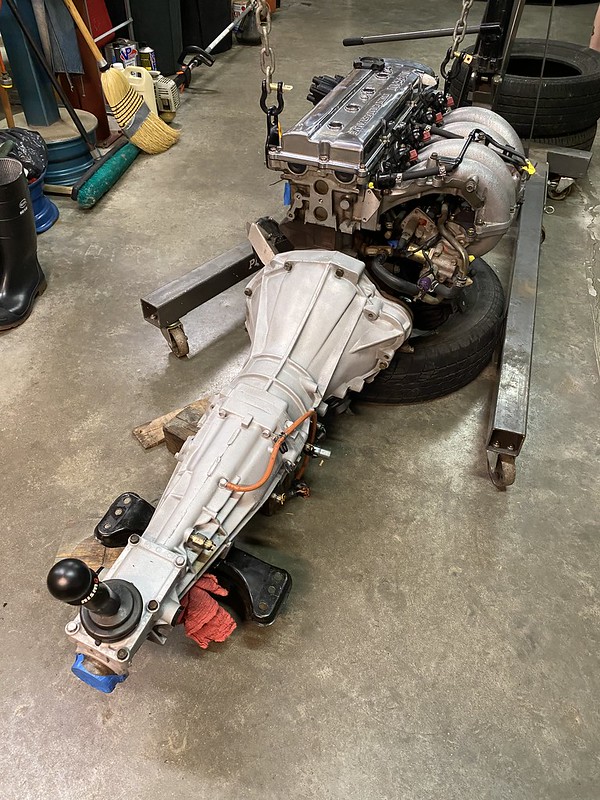  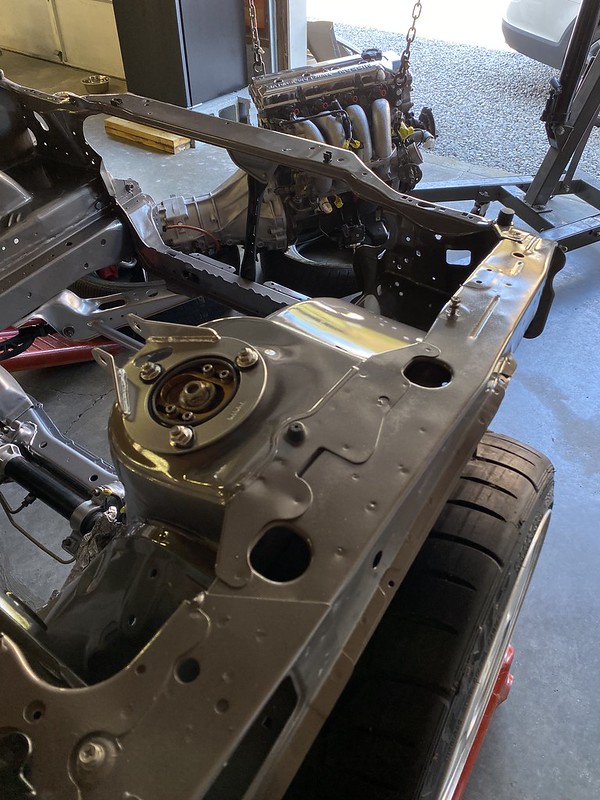    Free hoists tend to be the sketchiest things ever, this time did not disappoint. Vice grips and a ratchet strap did the trick.  Finally after many years the car has an engine between the rails.  This seems like an appropriate time to fully revisit the stages of the engine bay.   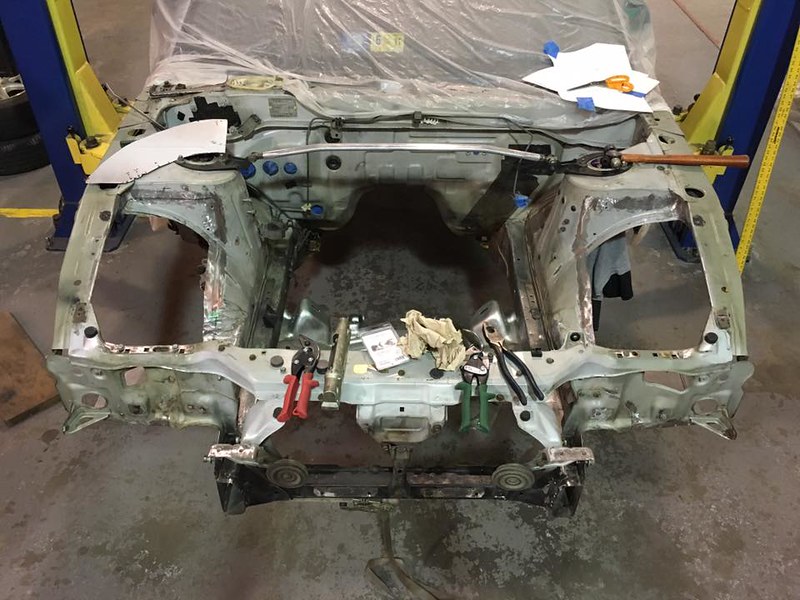   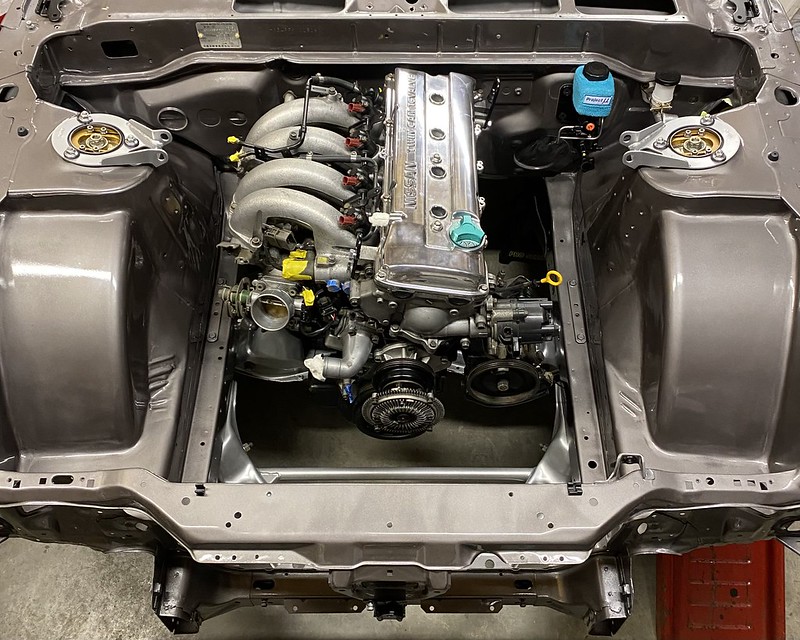 Thank you all again for the support and hopefully I'll have another update by the end of the year. |
|
|
|
|
04-26-2022, 05:39 PM
|
#7 | |
|
Zilvia Member
|
Quote:
|
|
|
|
|
|
| Bookmarks |
|
|


 Hybrid Mode
