|
|||||||
| Archive and FAQs Archives and Frequently Asked Questions about the 240SX are in here. |
|
|
Thread Tools | Display Modes |
 02-17-2007, 09:31 PM
|
#1 |
|
Post Whore!
 
|
Coolant Swirl Tank : How To Installment no.2 *Approved*
How to hook up a coolant swirl tank for constant bleed on your coolant system.
 This is great for road racing or pretty much any application to assure that your system is free of hot air pockets which can destroy cooling efficency and possibly blow your engine. Note Most of the KITS do not come with a provided radiator hose intercept T thing like for a temp gauge fitting etc. I used the Circuit Sports one which is almost the same thread as the greddy, just be liberal with teflon tape or get the Greddy one seperatly from them or the distributor(anodized blue). Youll need some simple tools 8mm socket 10mm socket 11mm open end 10mm/8mm open if you want Needle Nose Plyers A sharp Razor or in my case Spyderco Rescue Knife (ats55 steel ftw!). And if you want to do it like me- 1/8 pipe thread TAP and 1/8 thread (1/4 inch nipple fitting for the bleeder). A drill bit for metal is good too to start the hole if you want to retro fit it in the same way. 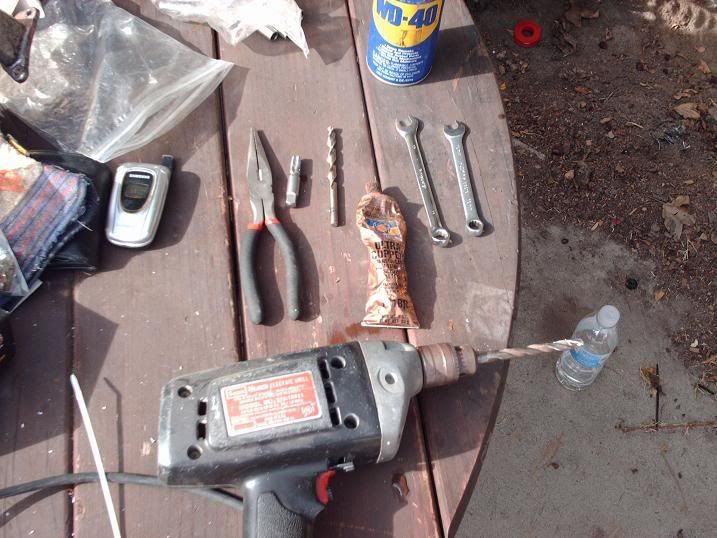 Some stuff youll need Extra 1/4 inch hose fuel or clear accrylic vaccum hose If you want to have backup length. Some small Hose clamps and optional stainless steel braided line If you want to route it the exact same way that I did on my install... New Hose clamps for the radiator hose are always reccomended. 1. Drain the coolant out of the Radiator Drain plug at the bottom or you can just pull the lower hose off and drain it into a pan. 2. Pull the top radiator hose off and prepare to remove the water jacket. The water jacket on the top of the engine is located on the exaust side. This is the side that i re-tapped for the 1/8th pipe fitting. This is the area your talking about...  3. The exaust side water kneck/jacket can be taken off with a 10mm socket and extension on a rachet. There are 3 in a triangle figure like the pic. Tap it gently with a rubber mallet to break the silicon seal. 4. **OPTIONAL** if you want to install a NISMO thermostat at this time (which I highly reccomend for summer states like CA or FL) --- 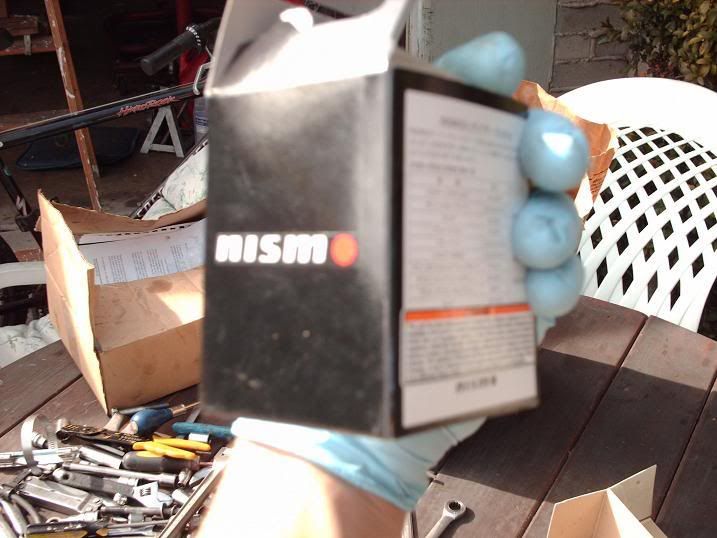 --Same goes for the intake side water kneck that houses the thermostat. Loosen the 3 10mm bolts and tap it gentle with a mallet. this kneck... 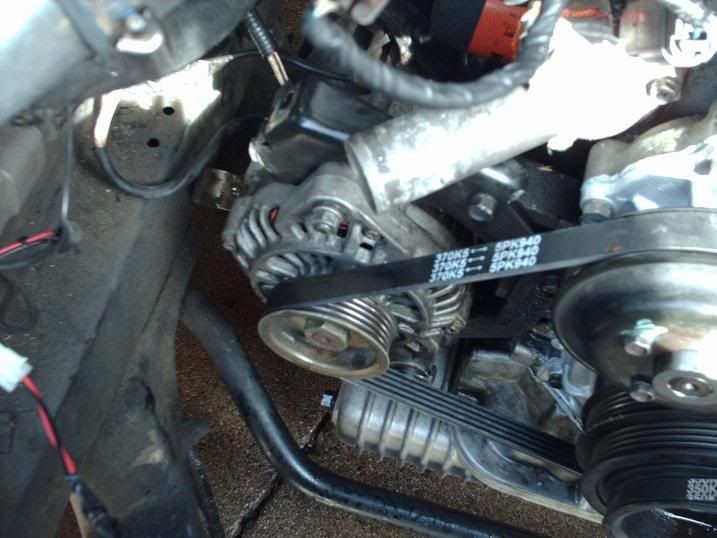 5.Ok, now with bot hoses off and kneck(s) off the motor take the exaust kneck and the loosen the 10mm bleeder screw out of it with a 10mm open end or socket. Now install the greddy or other provided nipple fitting which threads directly into the kneck. Be VERY careful when torquing it, a little more than hand tight and it will break and stay stuck in the bleeder area(tap). If this happens as It did to me cus im a power lifting east germn, then youll need to customize it. I used a 1/8 inch metal drill bit from ace hardware after unscrewing the brken piece with a screw driver that was sharpened. Drill the hole larger so you can fit the 1/8th inch pipe thread tap into the hole and re tap it. make sure its centered when you drill the hole so you dont compromise the rise out of the kneck. Now get your tap and an 11mm open end (as that was the size of the top of my tap's drive head). and spray some wd-40 on the place your about to tap then slowly start to tighten it into the new virgin aluminum. Re tap it a couple times and take your time. Then when you think youve got good thread hand thread your new brass nipple fitting into place and then wash it throughly out with a jet from a hose from your house to get all aluminum shavings out. 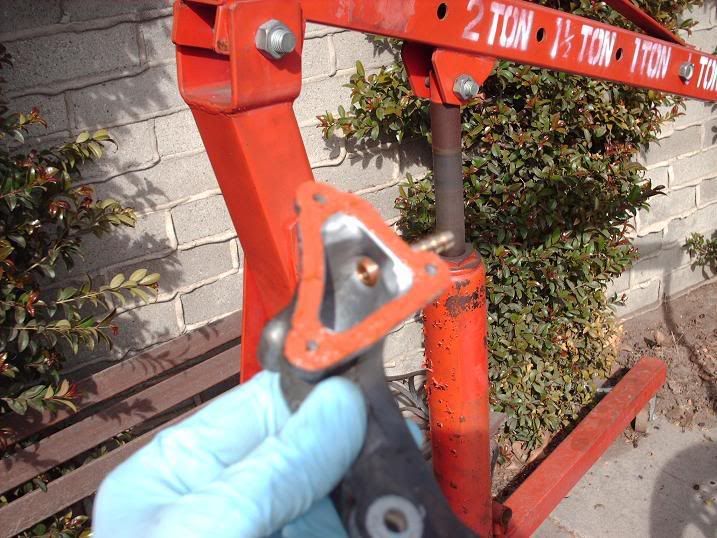 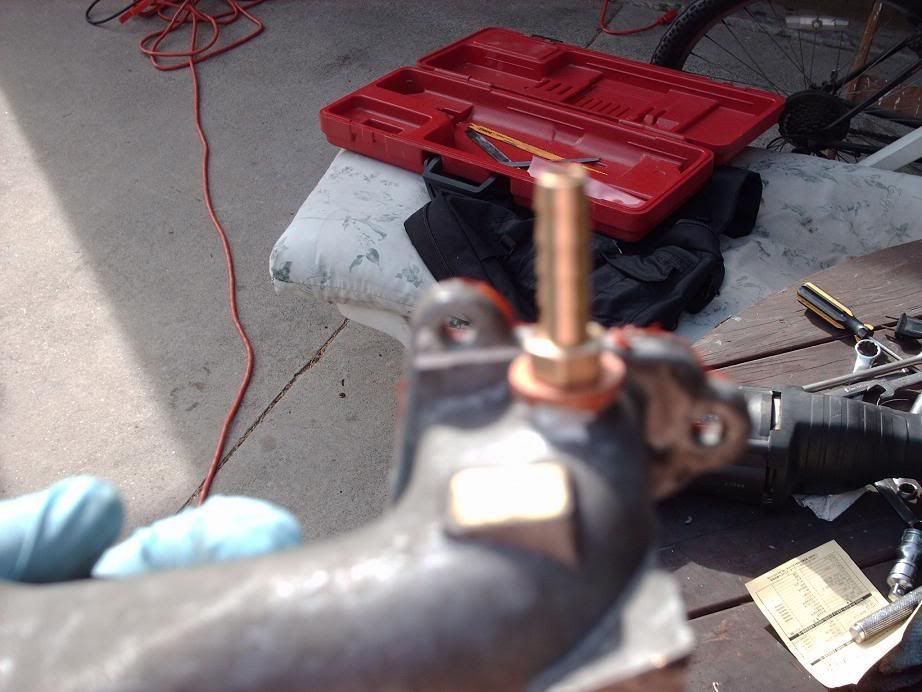 6. After Cleaning the kneck surface and block mating surface (get the old silicon off), Your well on your way to finalizing the easy install... Re apply either Ultra Grey (which i reccomend if you can get it) or High Temp Silicon (i used copper but usually dont reccomend), just the right mount (not too liberally, to the surface of the water kneck on the block and the kneck itself. Now just re-tighten the Bolts 3 (10mm). About 6 ft lbs or one good 45 deg turn once it tight with a rachet. 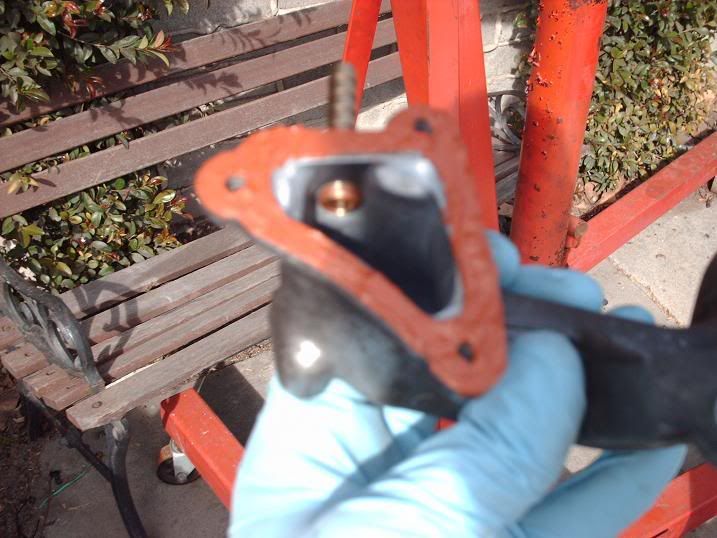 7. Now Re- attach the upper radiator hose 8. Now take the lower radiator hose and cut it in half, with the shorter length being towards the radiator although it does not matter. Take your CS or Greddy Insert for the Rad hose and insert and clamp, and also tighten down the other provided fitting for this piece in the kit. (also a nipple). This will feed into the bottom fitting of the swirl pot itself. 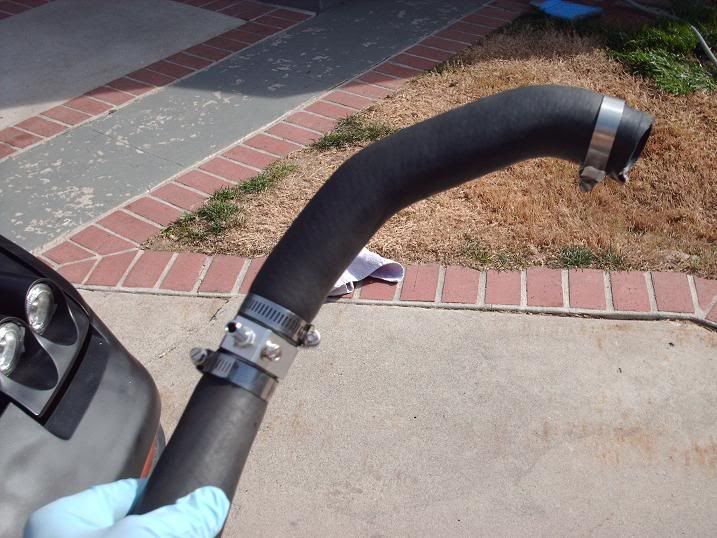 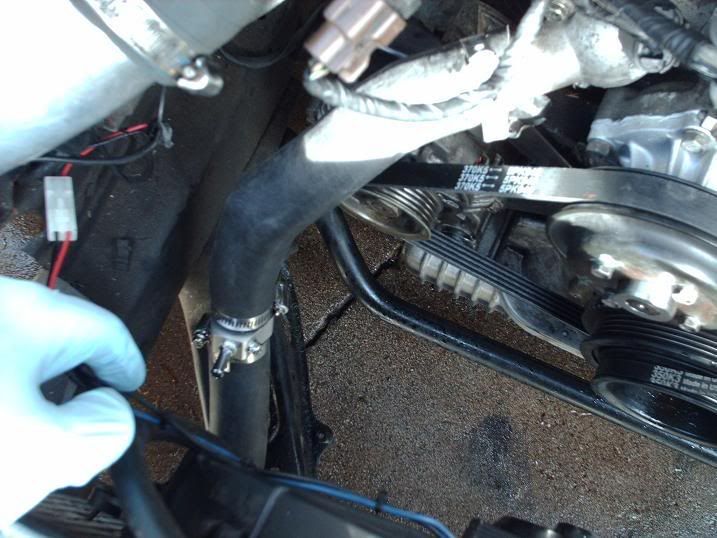 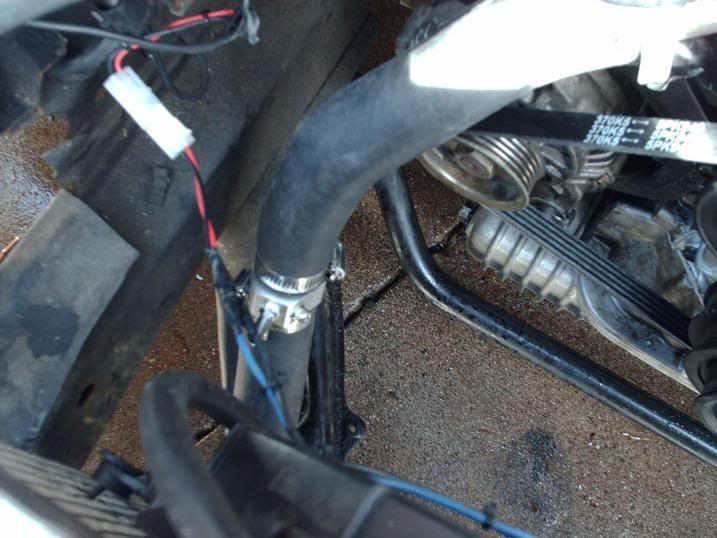 9.Ok now take the provided line and your extra 1/4 inch line if you needed it. Here is how the line routing goes. Mounting- I mounted Mine to one of the Nissan Chasis pre-tapped 10mm holes on the side of the shock tower, I used two 10mm bolts to hold it in place. I reccomend using something like this. Make sure the Swirl tank is elevated in relation to the radiator cap and bleed hole. 1. The Upper Top Nipple feeds into the Resivor or Overflow tank (mine is in the mail soon so I just ran it as a overflow under the car for right now) CAUTION---make sure if you just dump this line it is not throwing coolant at the brake or wheel area. coolant is slick. My car is not driving, just idling. . 2. The Next nipple down the one that sticks out the same direction as the one I just mentioned goes to the Coolant Bleeder Nipple (the brass one for ex). 3.The one that is cock-eyed to these two goes to the Radiator Nipple (where the radiator cap is). the one with the more clear line in this pic 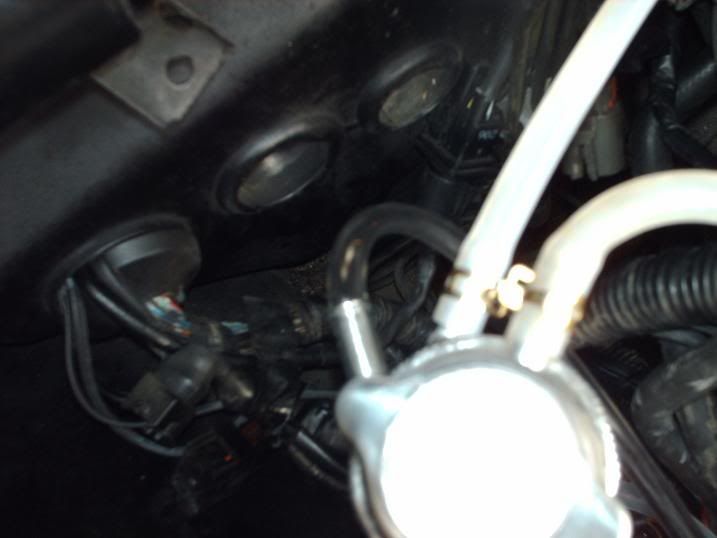 4. The Bottom Nipple feeds back into the Lower Radiator Hose which should now have your nipple fitted into the aluminum Greddy or Circuit Sports Insert. 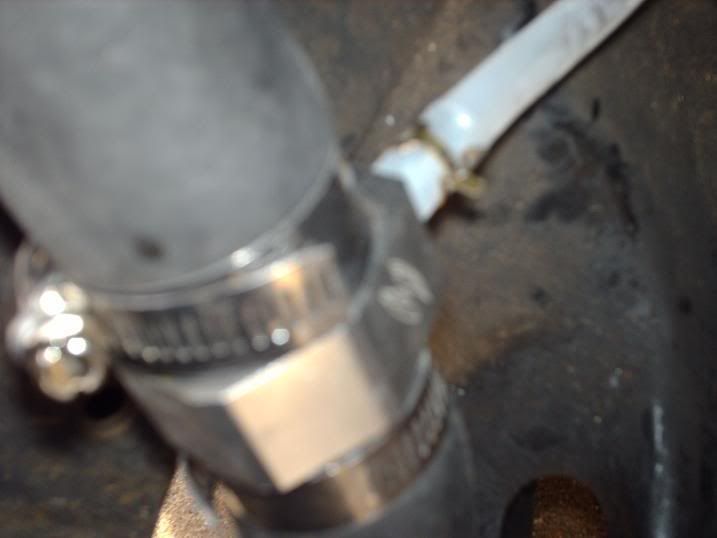 10. Route and snip and clamp (with provided clamps) use the needle nose to clamp the clamps on appropriately. If you route your around the back of the engine like me be sure to use steel braided line where it runs over the exaust side of the valve cover. 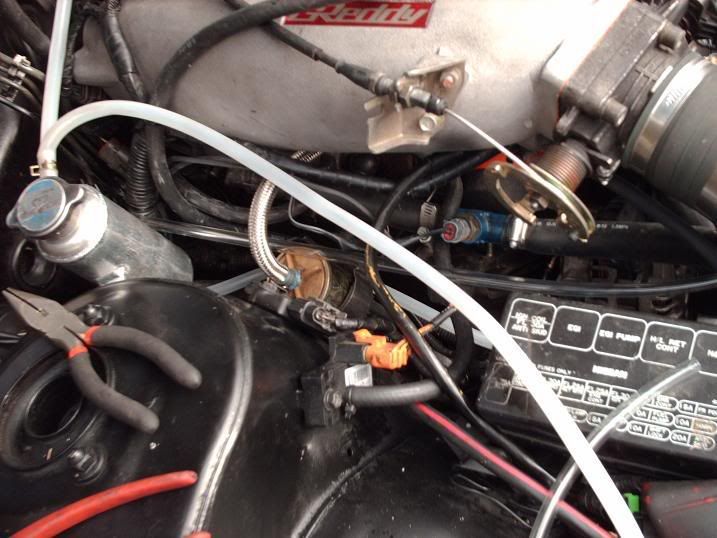 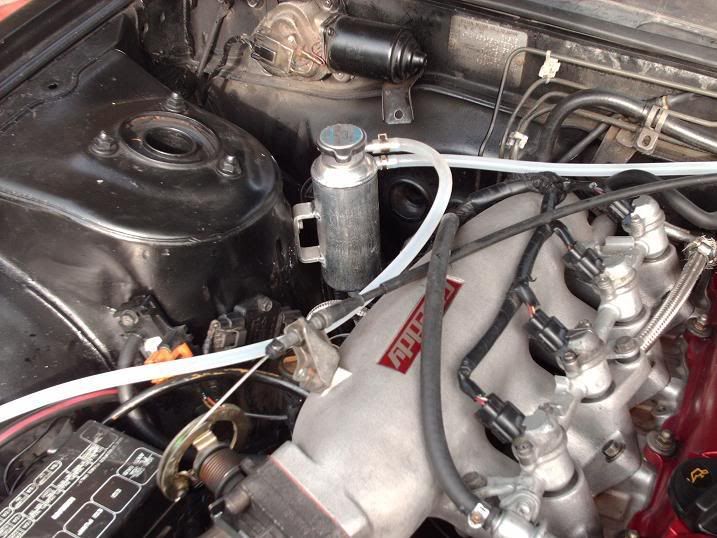 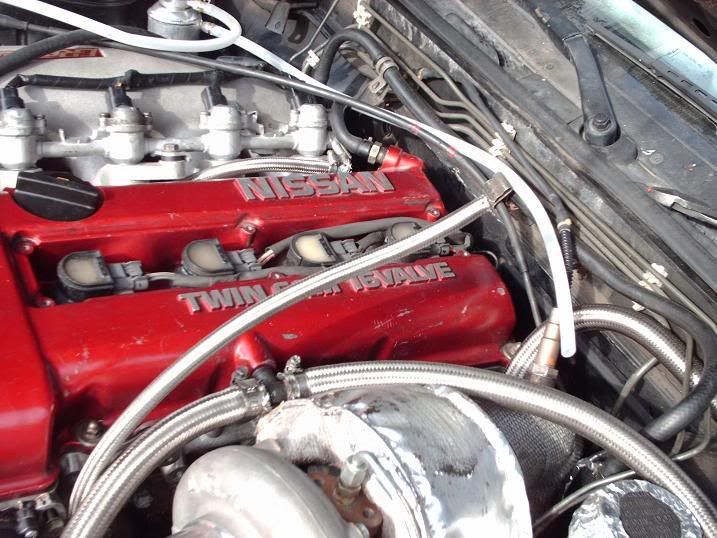 11. Now fill the car with the appropriate 60/40 or 55/45 mix of Coolant and Distilled water and let the car idle and warm up, You should see it working immediatly as coolant and bubbles come out of the bleeder line and travel into the swirl pot 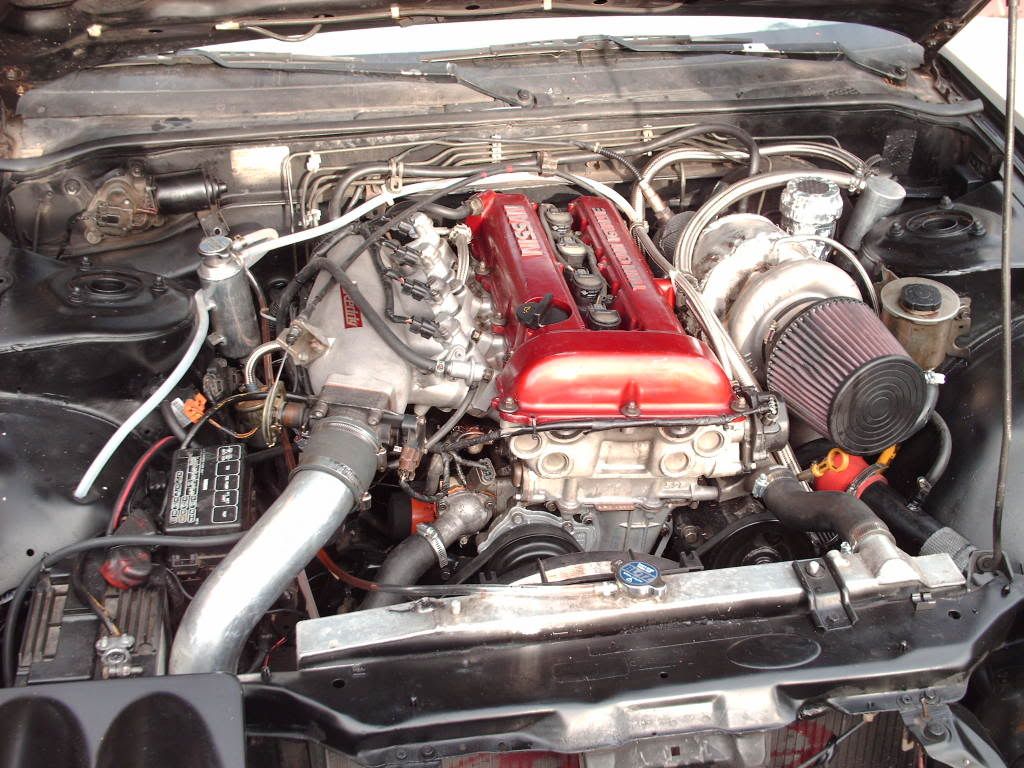 Thanks to Dousan for turning me onto this (aka Aaron). Note: This car is not being driven right now, be careful not to drain the res-line onto your brakes or tires. route it to a res or straigth under the car from the swirl tank location.* cheers and happy cooling -steve (kochan) Shadows
__________________
Like Me on FaceBook  ! !
|

|
| Sponsored Links |
| Bookmarks |
|
|


 Threaded Mode